Firstly apologies for the delay, hand the builders in for the last 2 weeks or so and it took priority I’m afraid.
Update is…
Internal memory fitted and working well.
Still can’t add folder to back up to NAS Drive. The may be due to me not really knowing what I’m doing to be honest. Thanks for the attachment you sent, I tried to work my way through it to no avail (but more due to me rather than content). Anyway I attach some screen shots that may be useful. If you can help in any way, again, greatly appreciated.
Screen Shots:
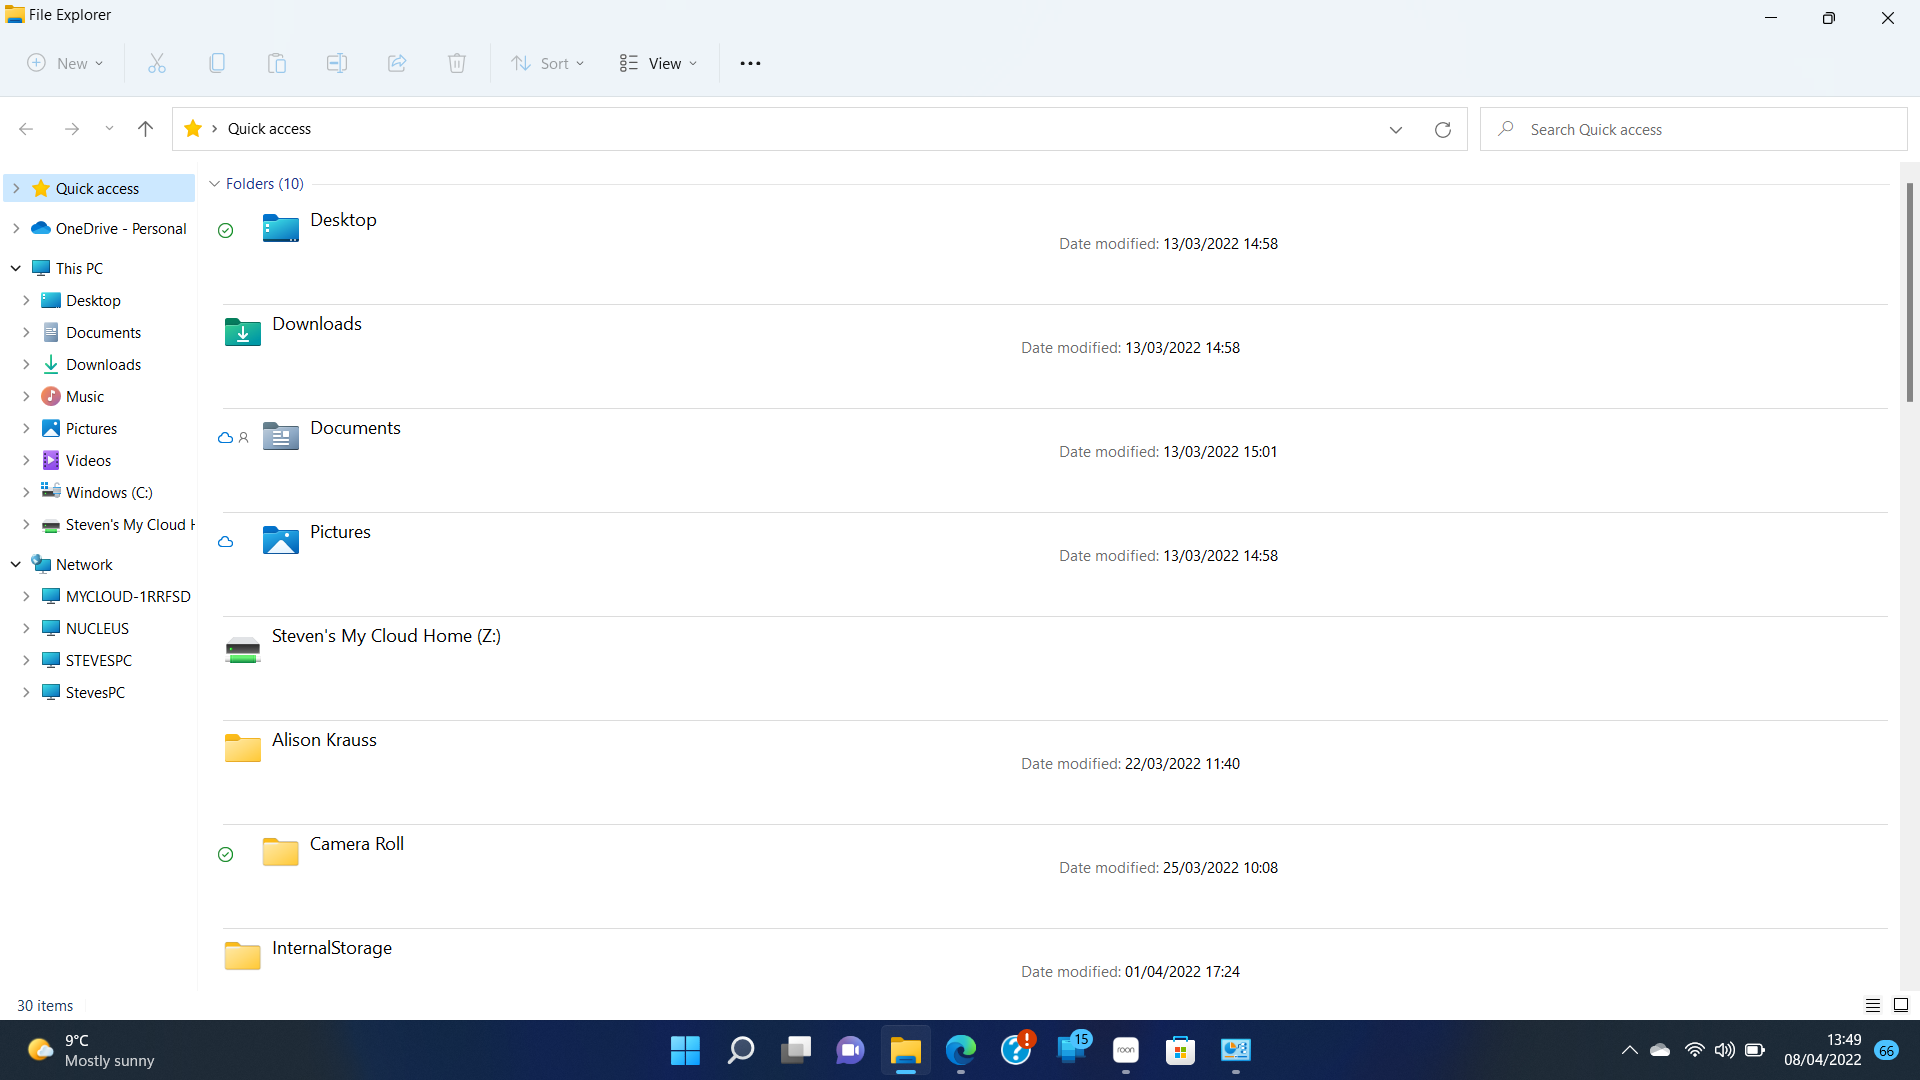
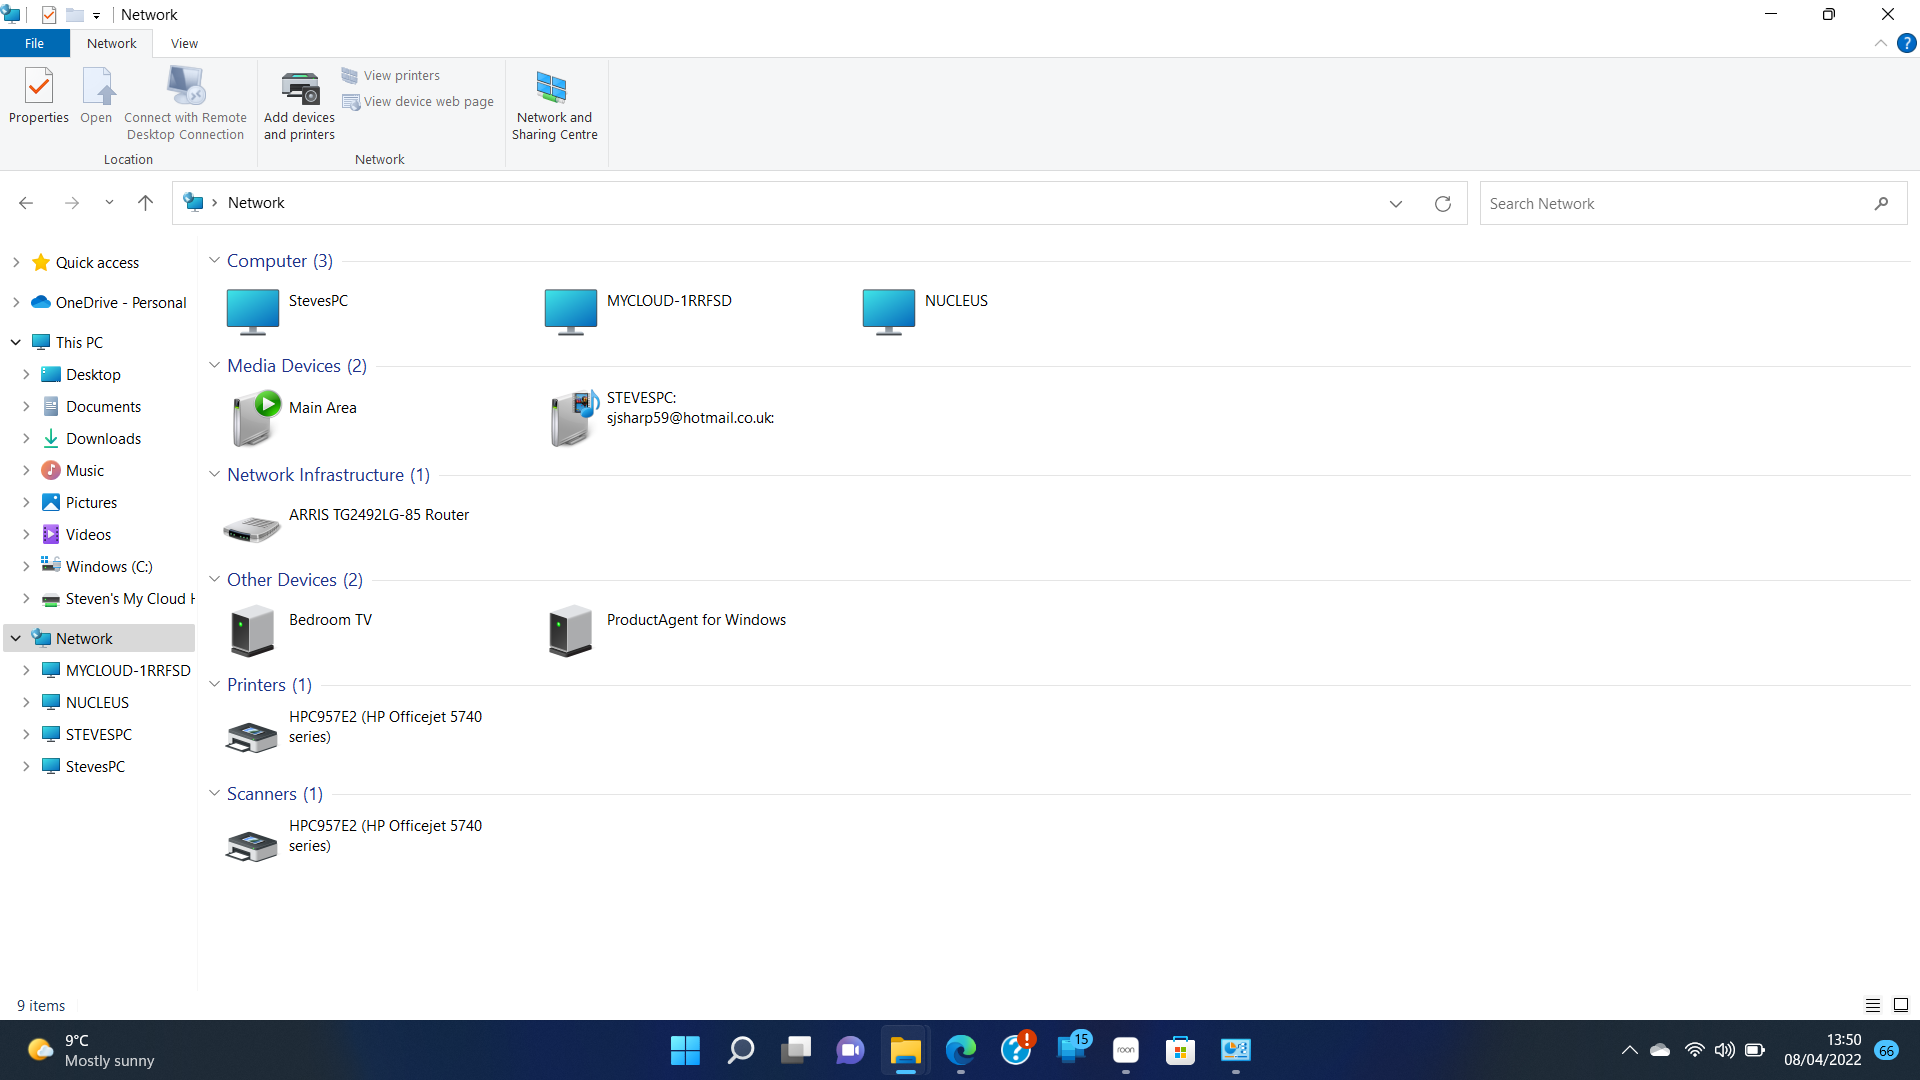
Shows NAS sitting under my PC and Network in file explorer
I would try the following steps to add a folder to back up to NAS Drive…
First create a folder on your NAS to hold the backups of your Nucleus using the administration functions of your NAS. Give it a name that is easily recognisable, for example: NucleusBackups
When you create the folder, you also need to assign read/write access permissions to it (with a username and password), and this username and password will be used by the Nucleus to access the folder on the NAS. Simplest would be to use the username and password that you have used for access by your PC.
An optional step would be to check that you can access this folder using Windows File Explorer.
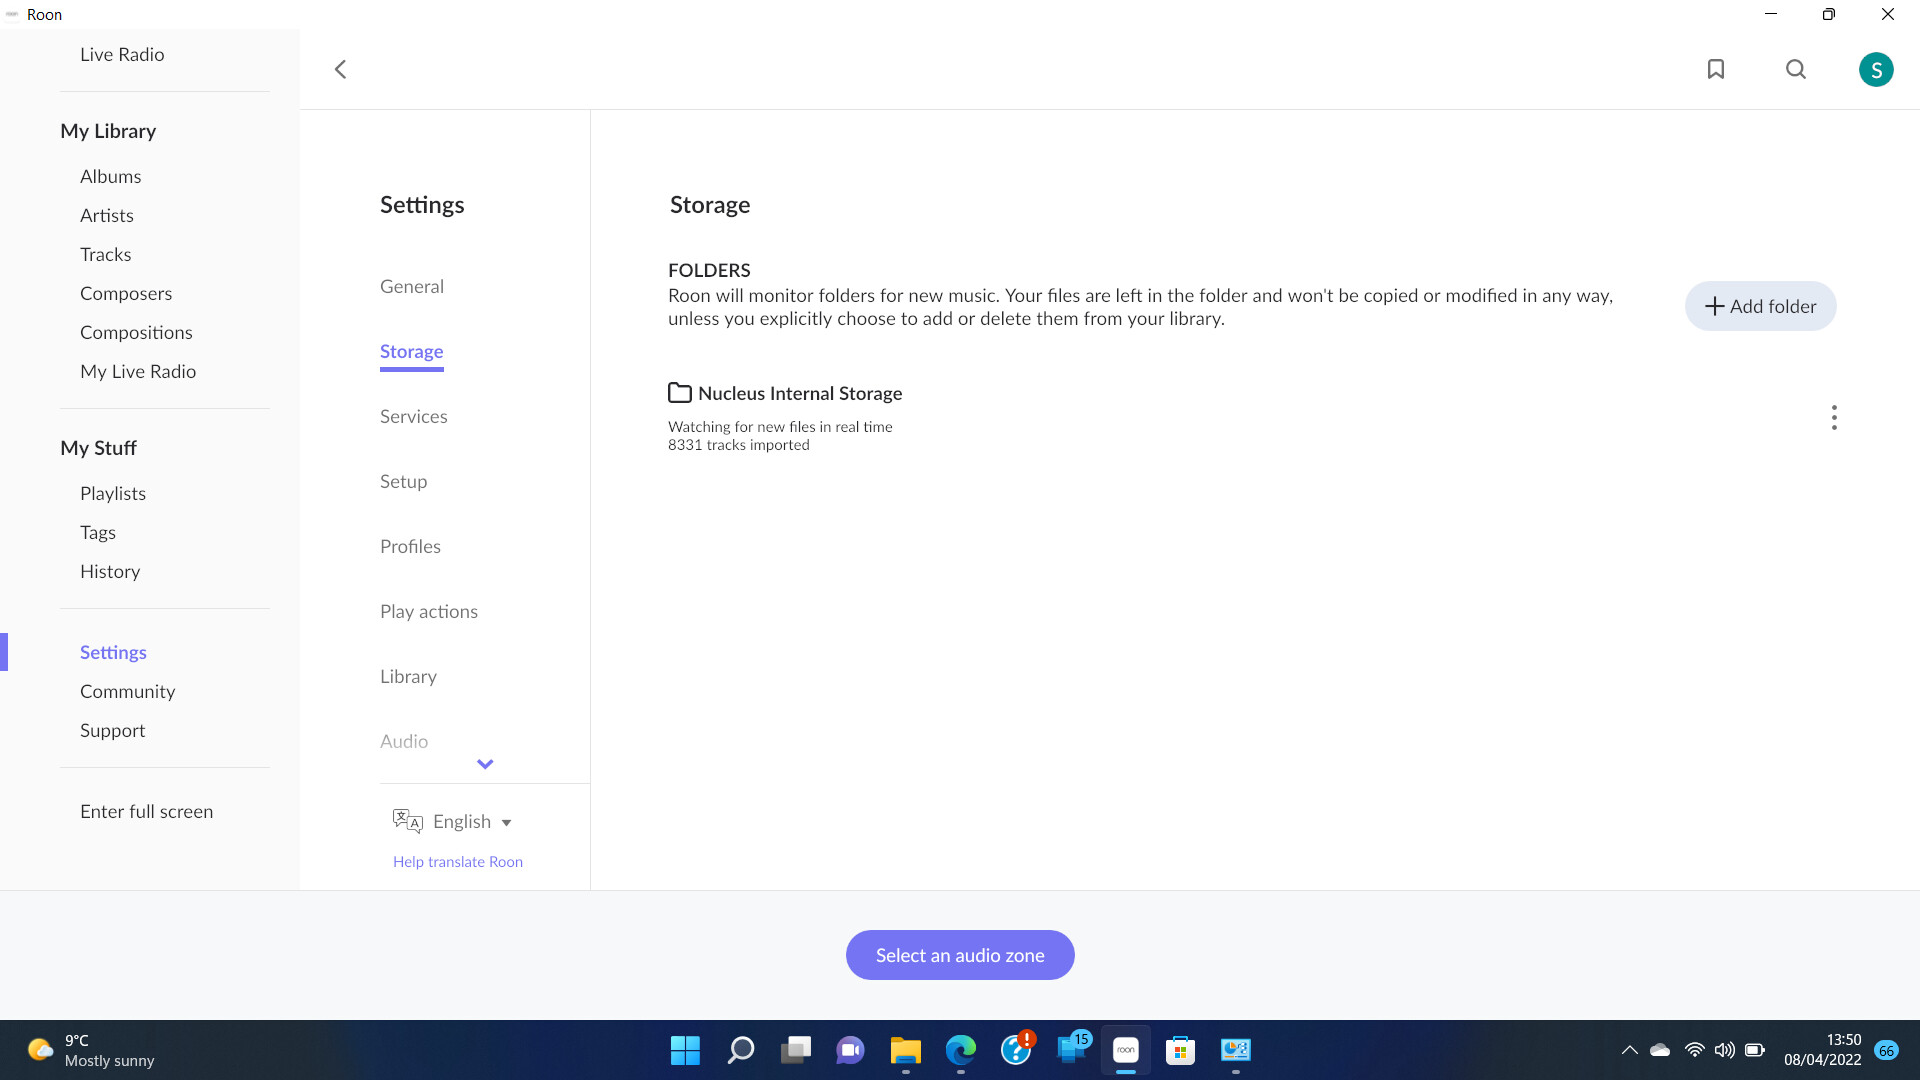
Now in Roon, you set up your scheduled backups. Go to Settings > Backups and click the “View” button by Scheduled backups.
Click the Add button. If your Nucleus and NAS are on 24/7, then you can leave the default settings alone on this screen. If your Nucleus and/or NAS are not running at 2am, then you will need to adjust the time when the Backups start in this screen. Bear in mind that when a Backup starts, a snapshot of your Nucleus database will be taken, and during a short period, you can’t be playing music. That’s why Backups are taken during the night for most people.
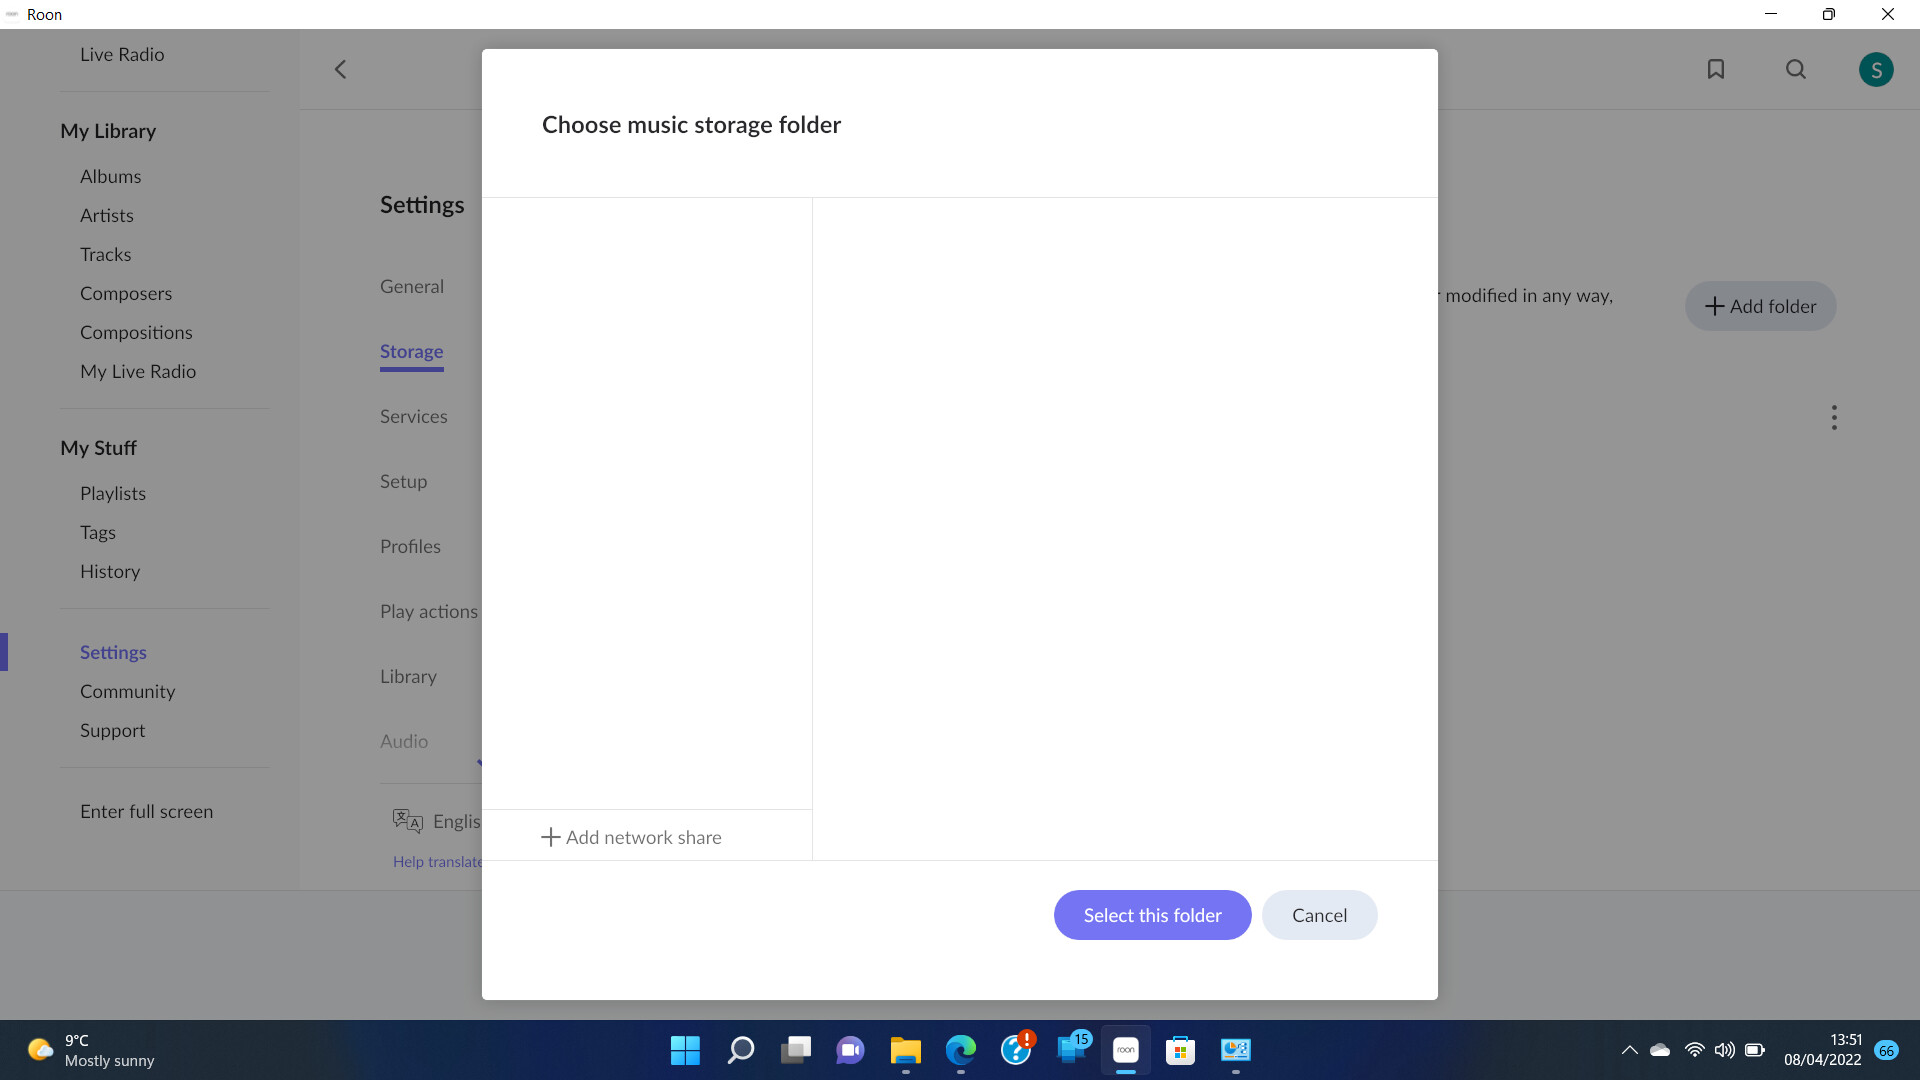
Click the Browse button. Now you get the “Choose folder to backup to” screen.
Click the “+ Add network share” link, and you will see the “Add network share” screen (the sameone that is in your last screenshot of your previous message).
Normally, you would add the network address for the backup folder on the NAS using the names of your NAS and the backup folder, e.g. smb://MYCLOUD-1RRFSD/NucleusBackups. However, the article on using a NAS with Roon has a note saying that for WD MyCloud devices, you may need to use the IP address of your NAS instead of the name. So then it would be (for example): smb://174.24.1.x/NucleusBackups - where ‘x’ is the last digit of the IP address of your NAS.
Add the username and password that you have used for access to the folder on your NAS, and click the “Add network share” button.
You are returned to the “Choose folder to backup to” screen in Roon. Select the folder (e.g. NucleusBackups), and click the “Select this folder” button.
Now you’re back at the “Add scheduled backup” screen, so click the “Save” button and you’re done.
You are returned to the “Scheduled backups” screen, and you can test your backup by clicking the “3 dots” menu, and choosing “Force backup now”.