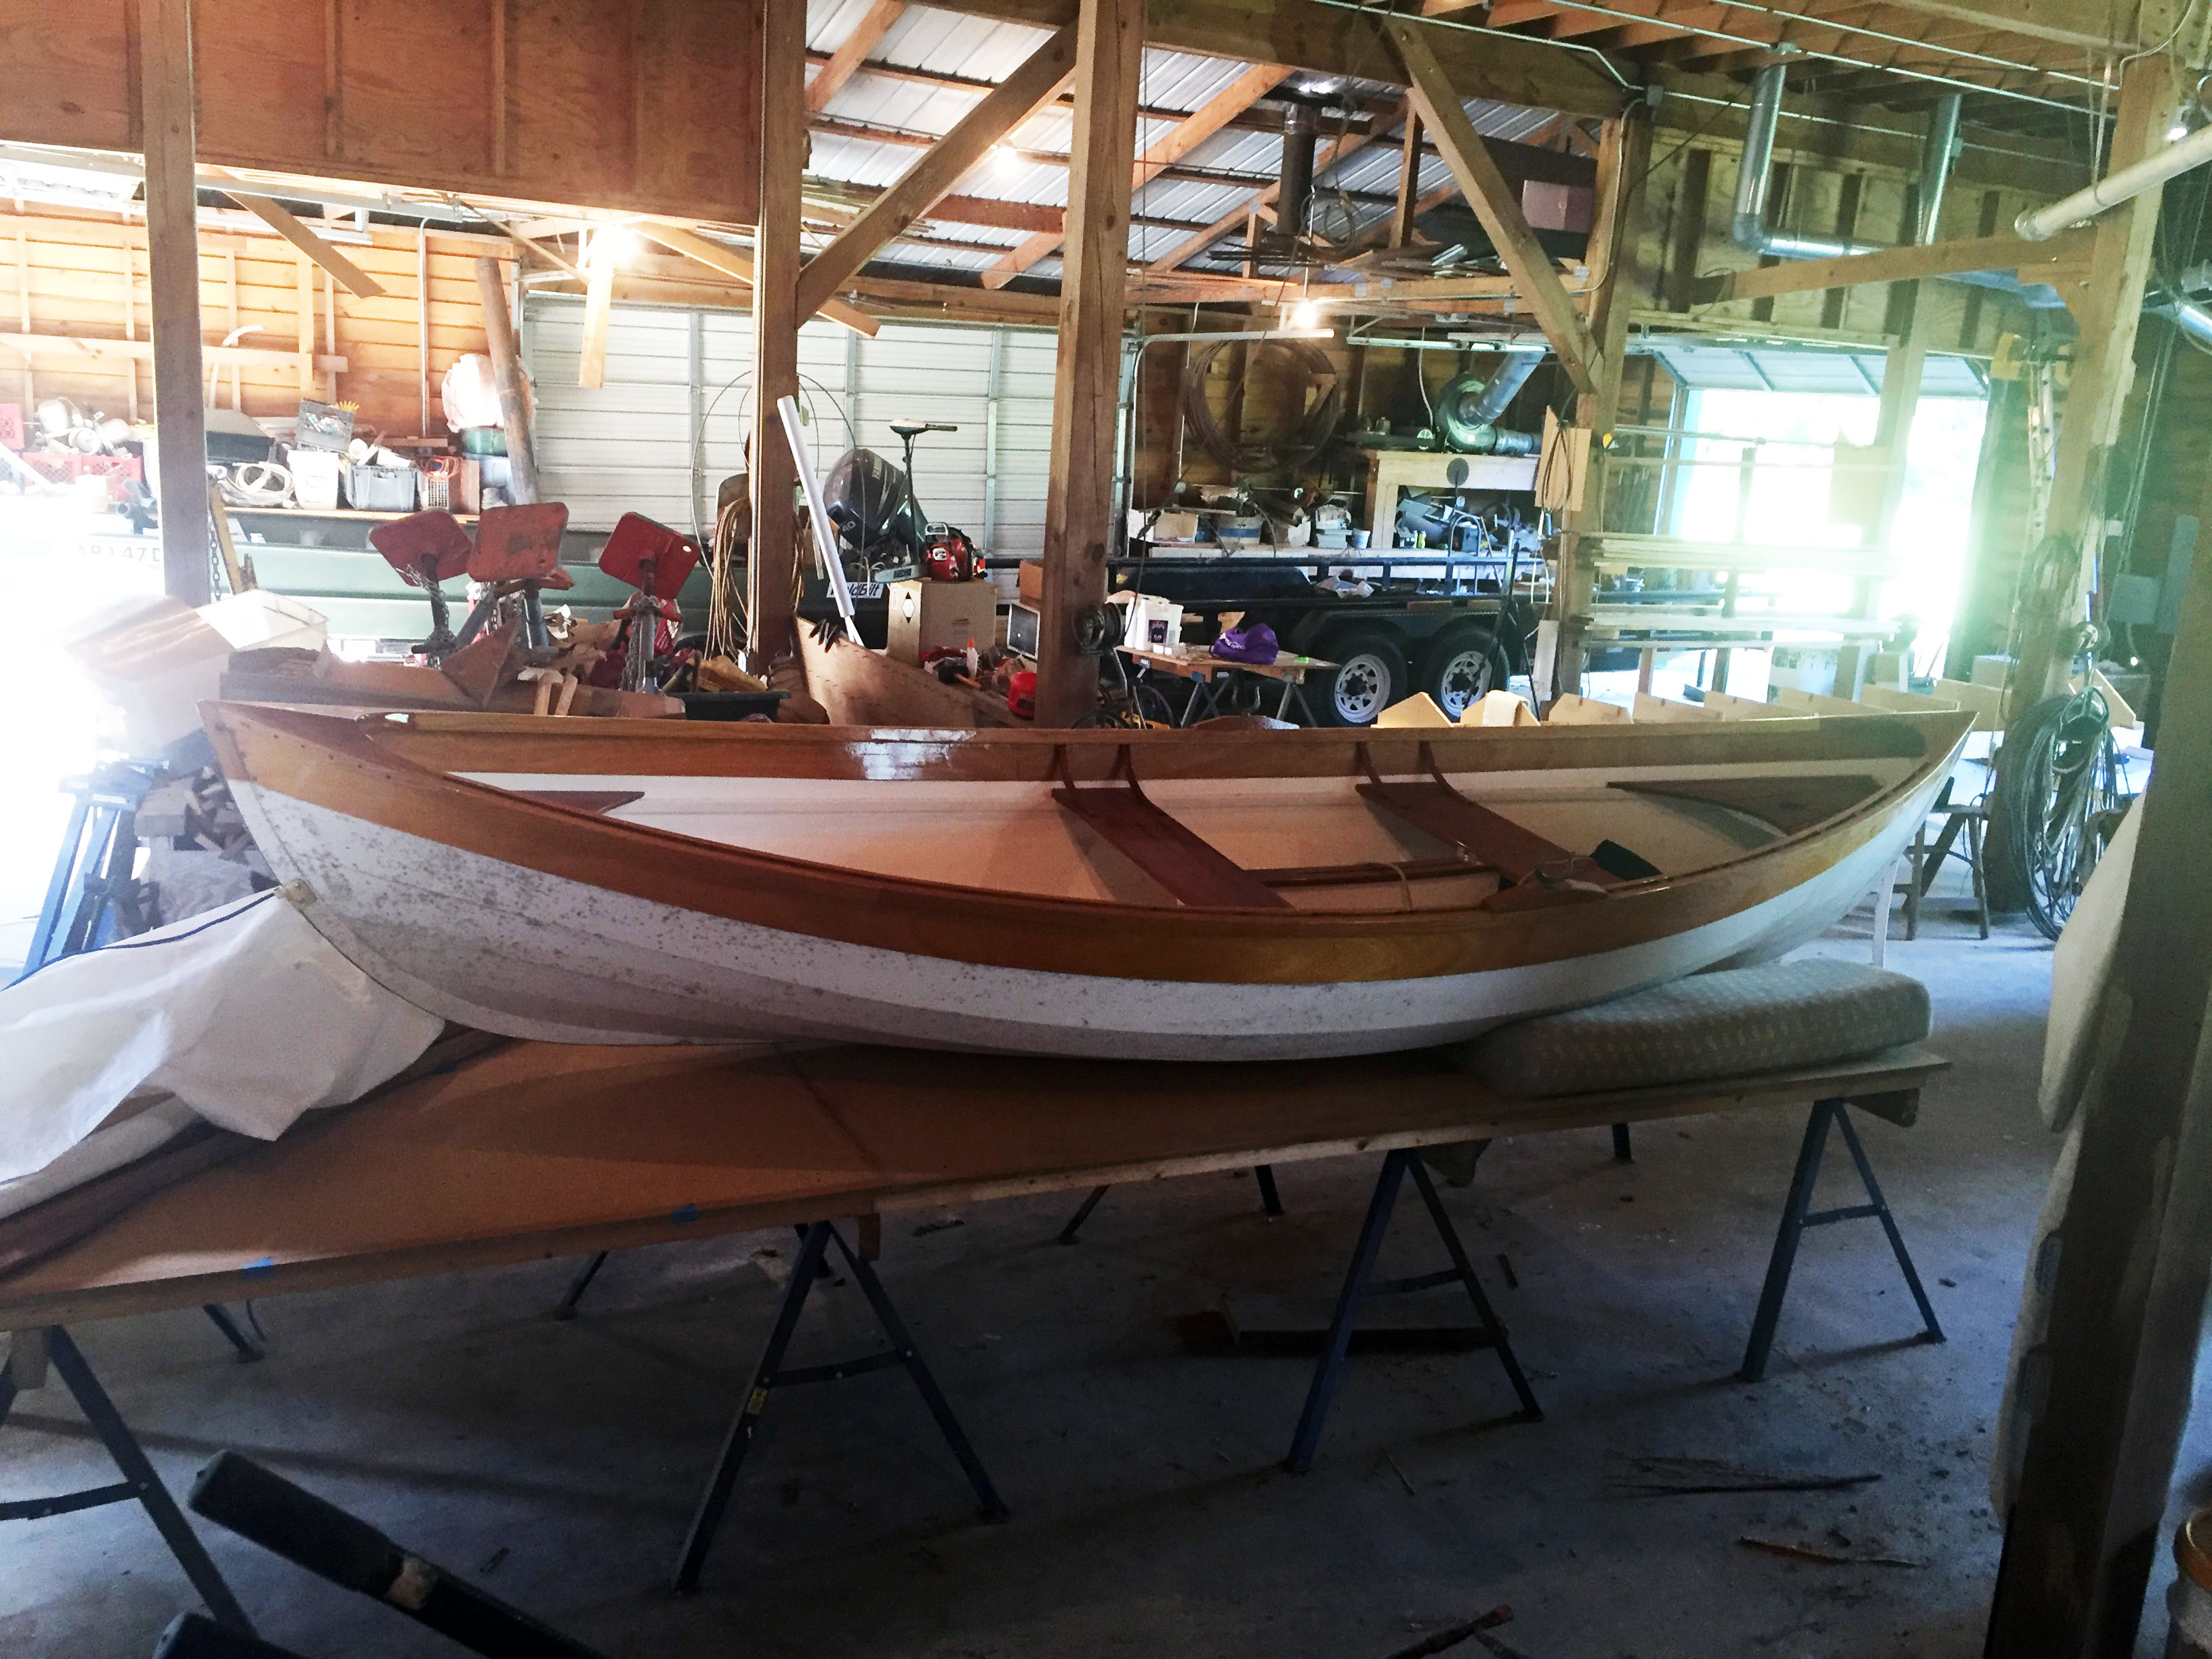
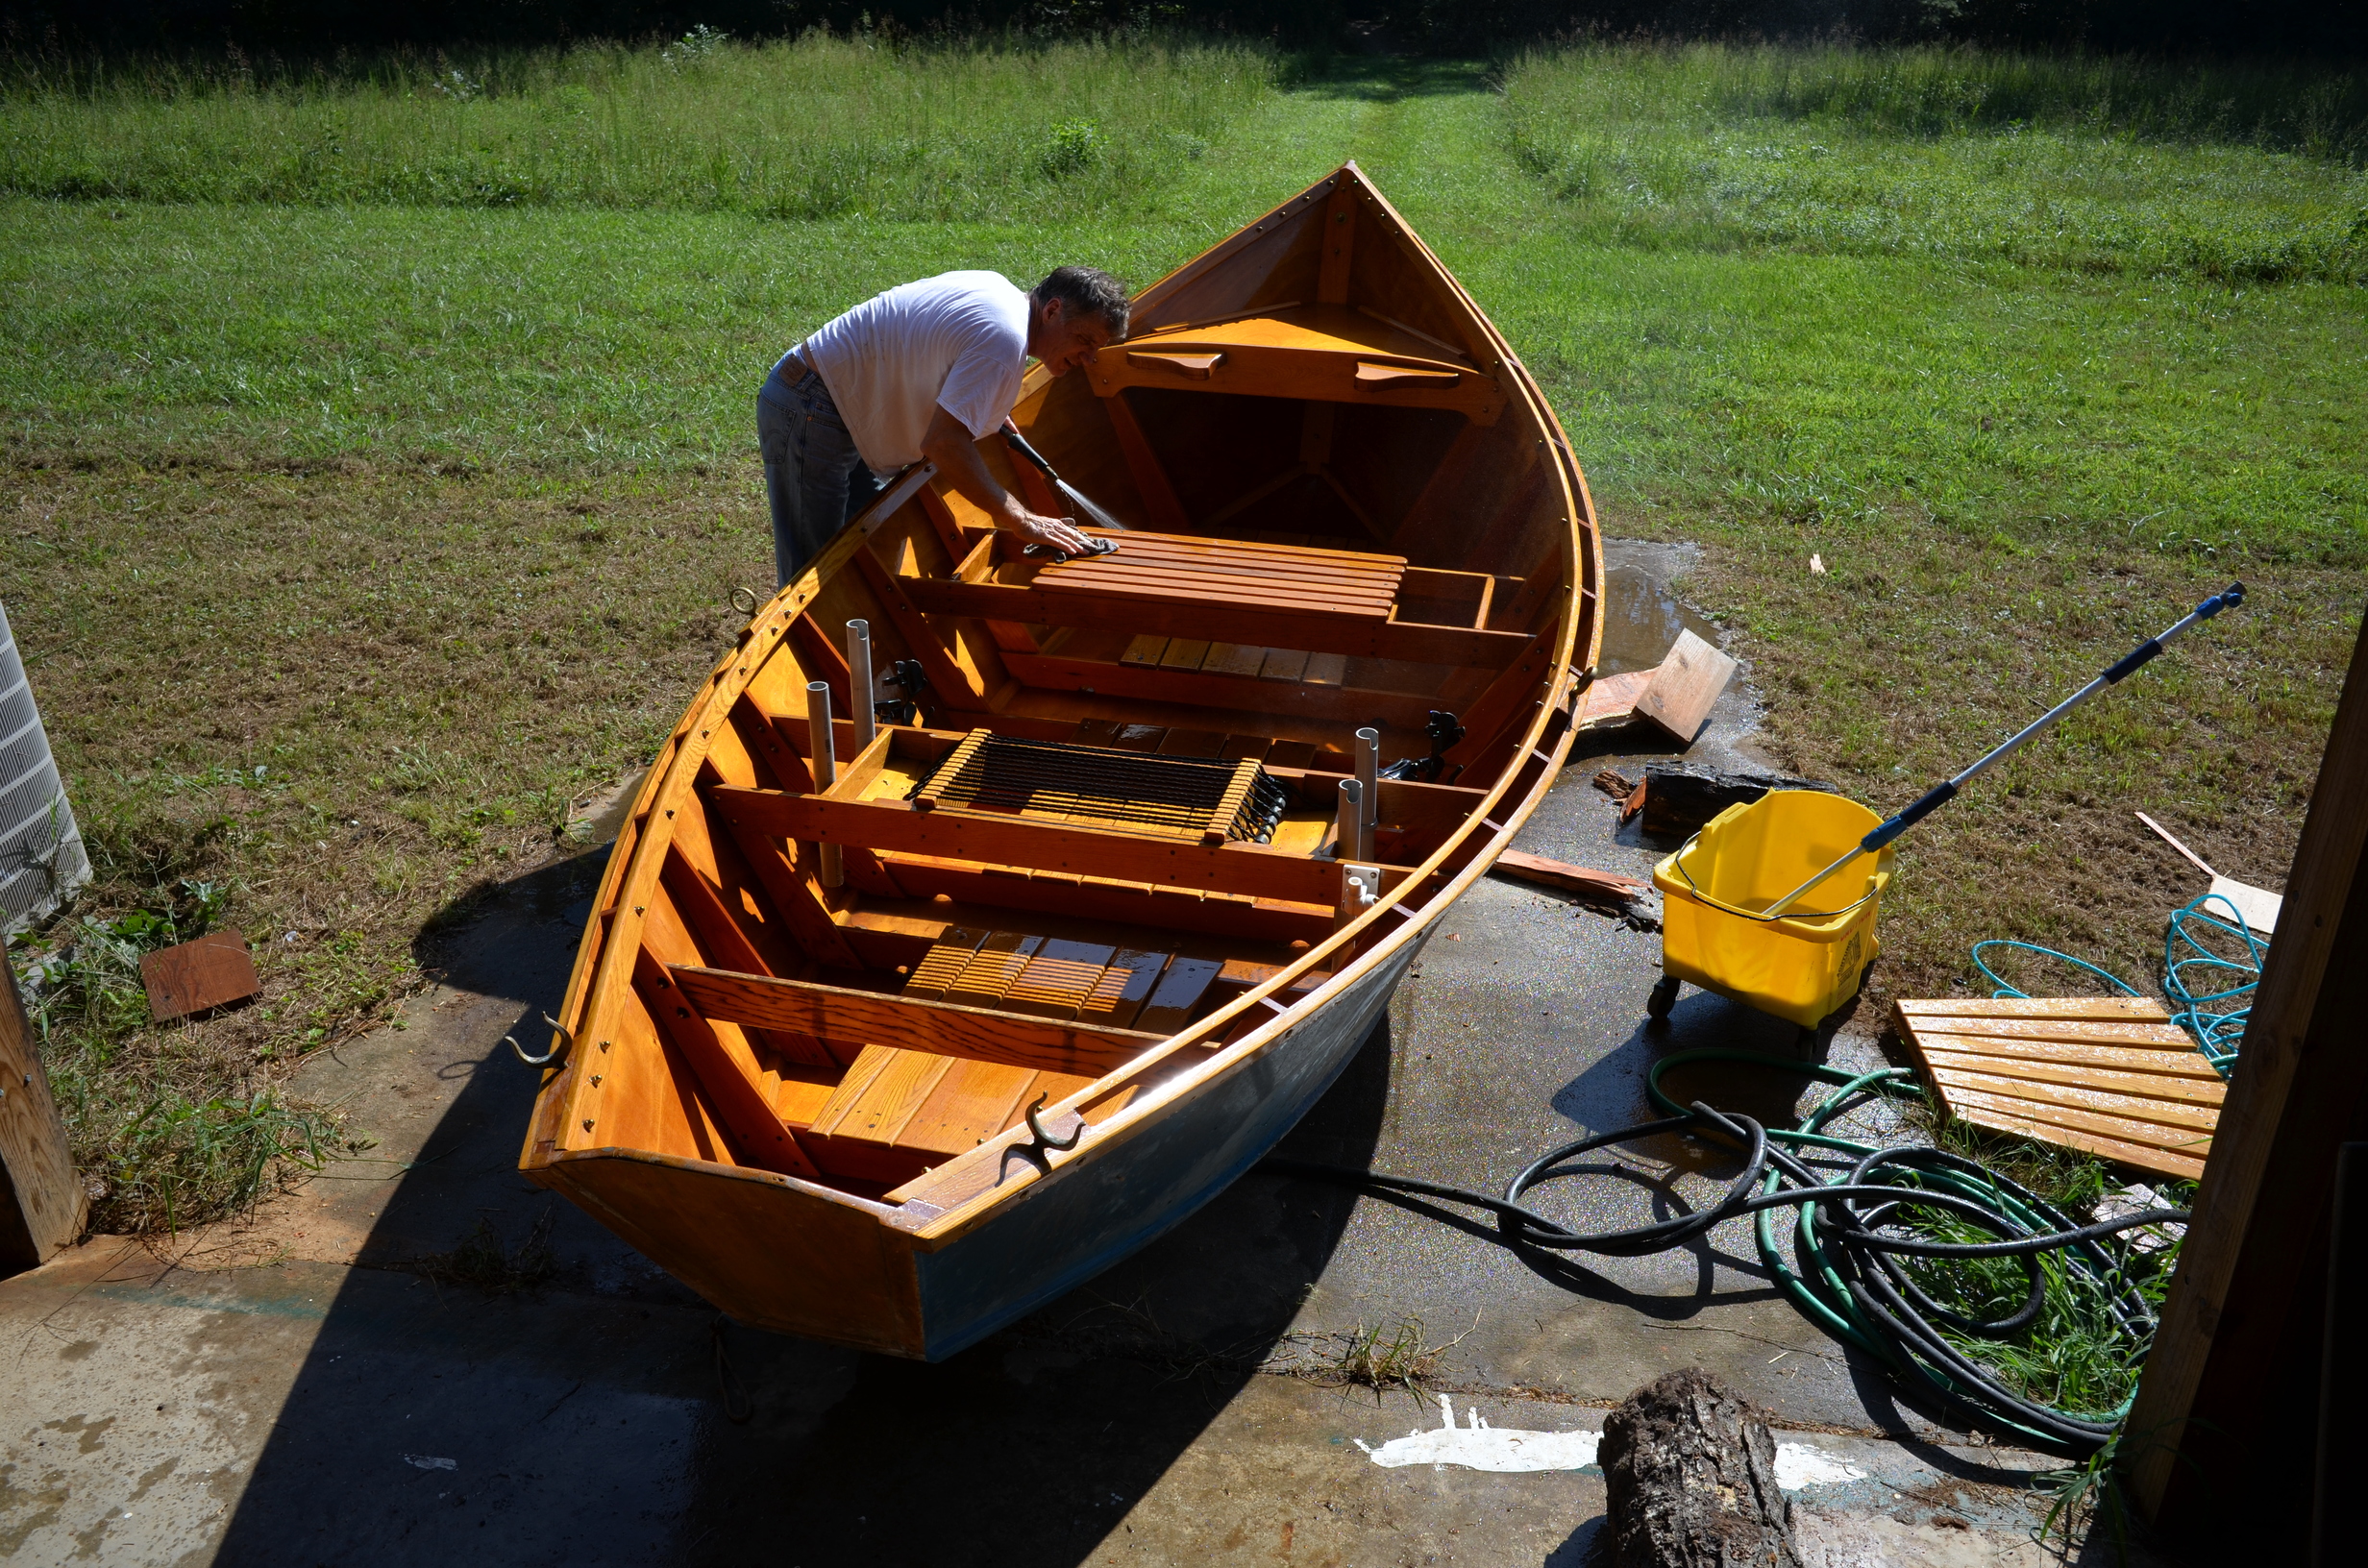
There were three reasons that I picked this particular boat design to attempt to build. It had a flat bottom that could easily be dragged up on shore and would work well in shallow water. The retractable keel was on the lee side (instead of the center) so I could lay down to sleep at night when exploring areas that I wouldn’t want to camp on shore (swamps). Finally the ends of the boat were covered with a solid deck. This allows a tent or shelter to completely cover the central part of the boat. The benefit is that it keeps both rain & mosquitoes out which is very important when you’re on the water along the southern coast of America.
For no particular reason other than it would be a challenge, I decided to make it out of native wood to my area. It would have been much easier to whip out a credit card and make a bunch of western red cedar appear. But this project was as much for time-consuming therapeutic reasons than it was to make a boat appear. I liked the challenge of converting a 2D blueprint into a 3D object.
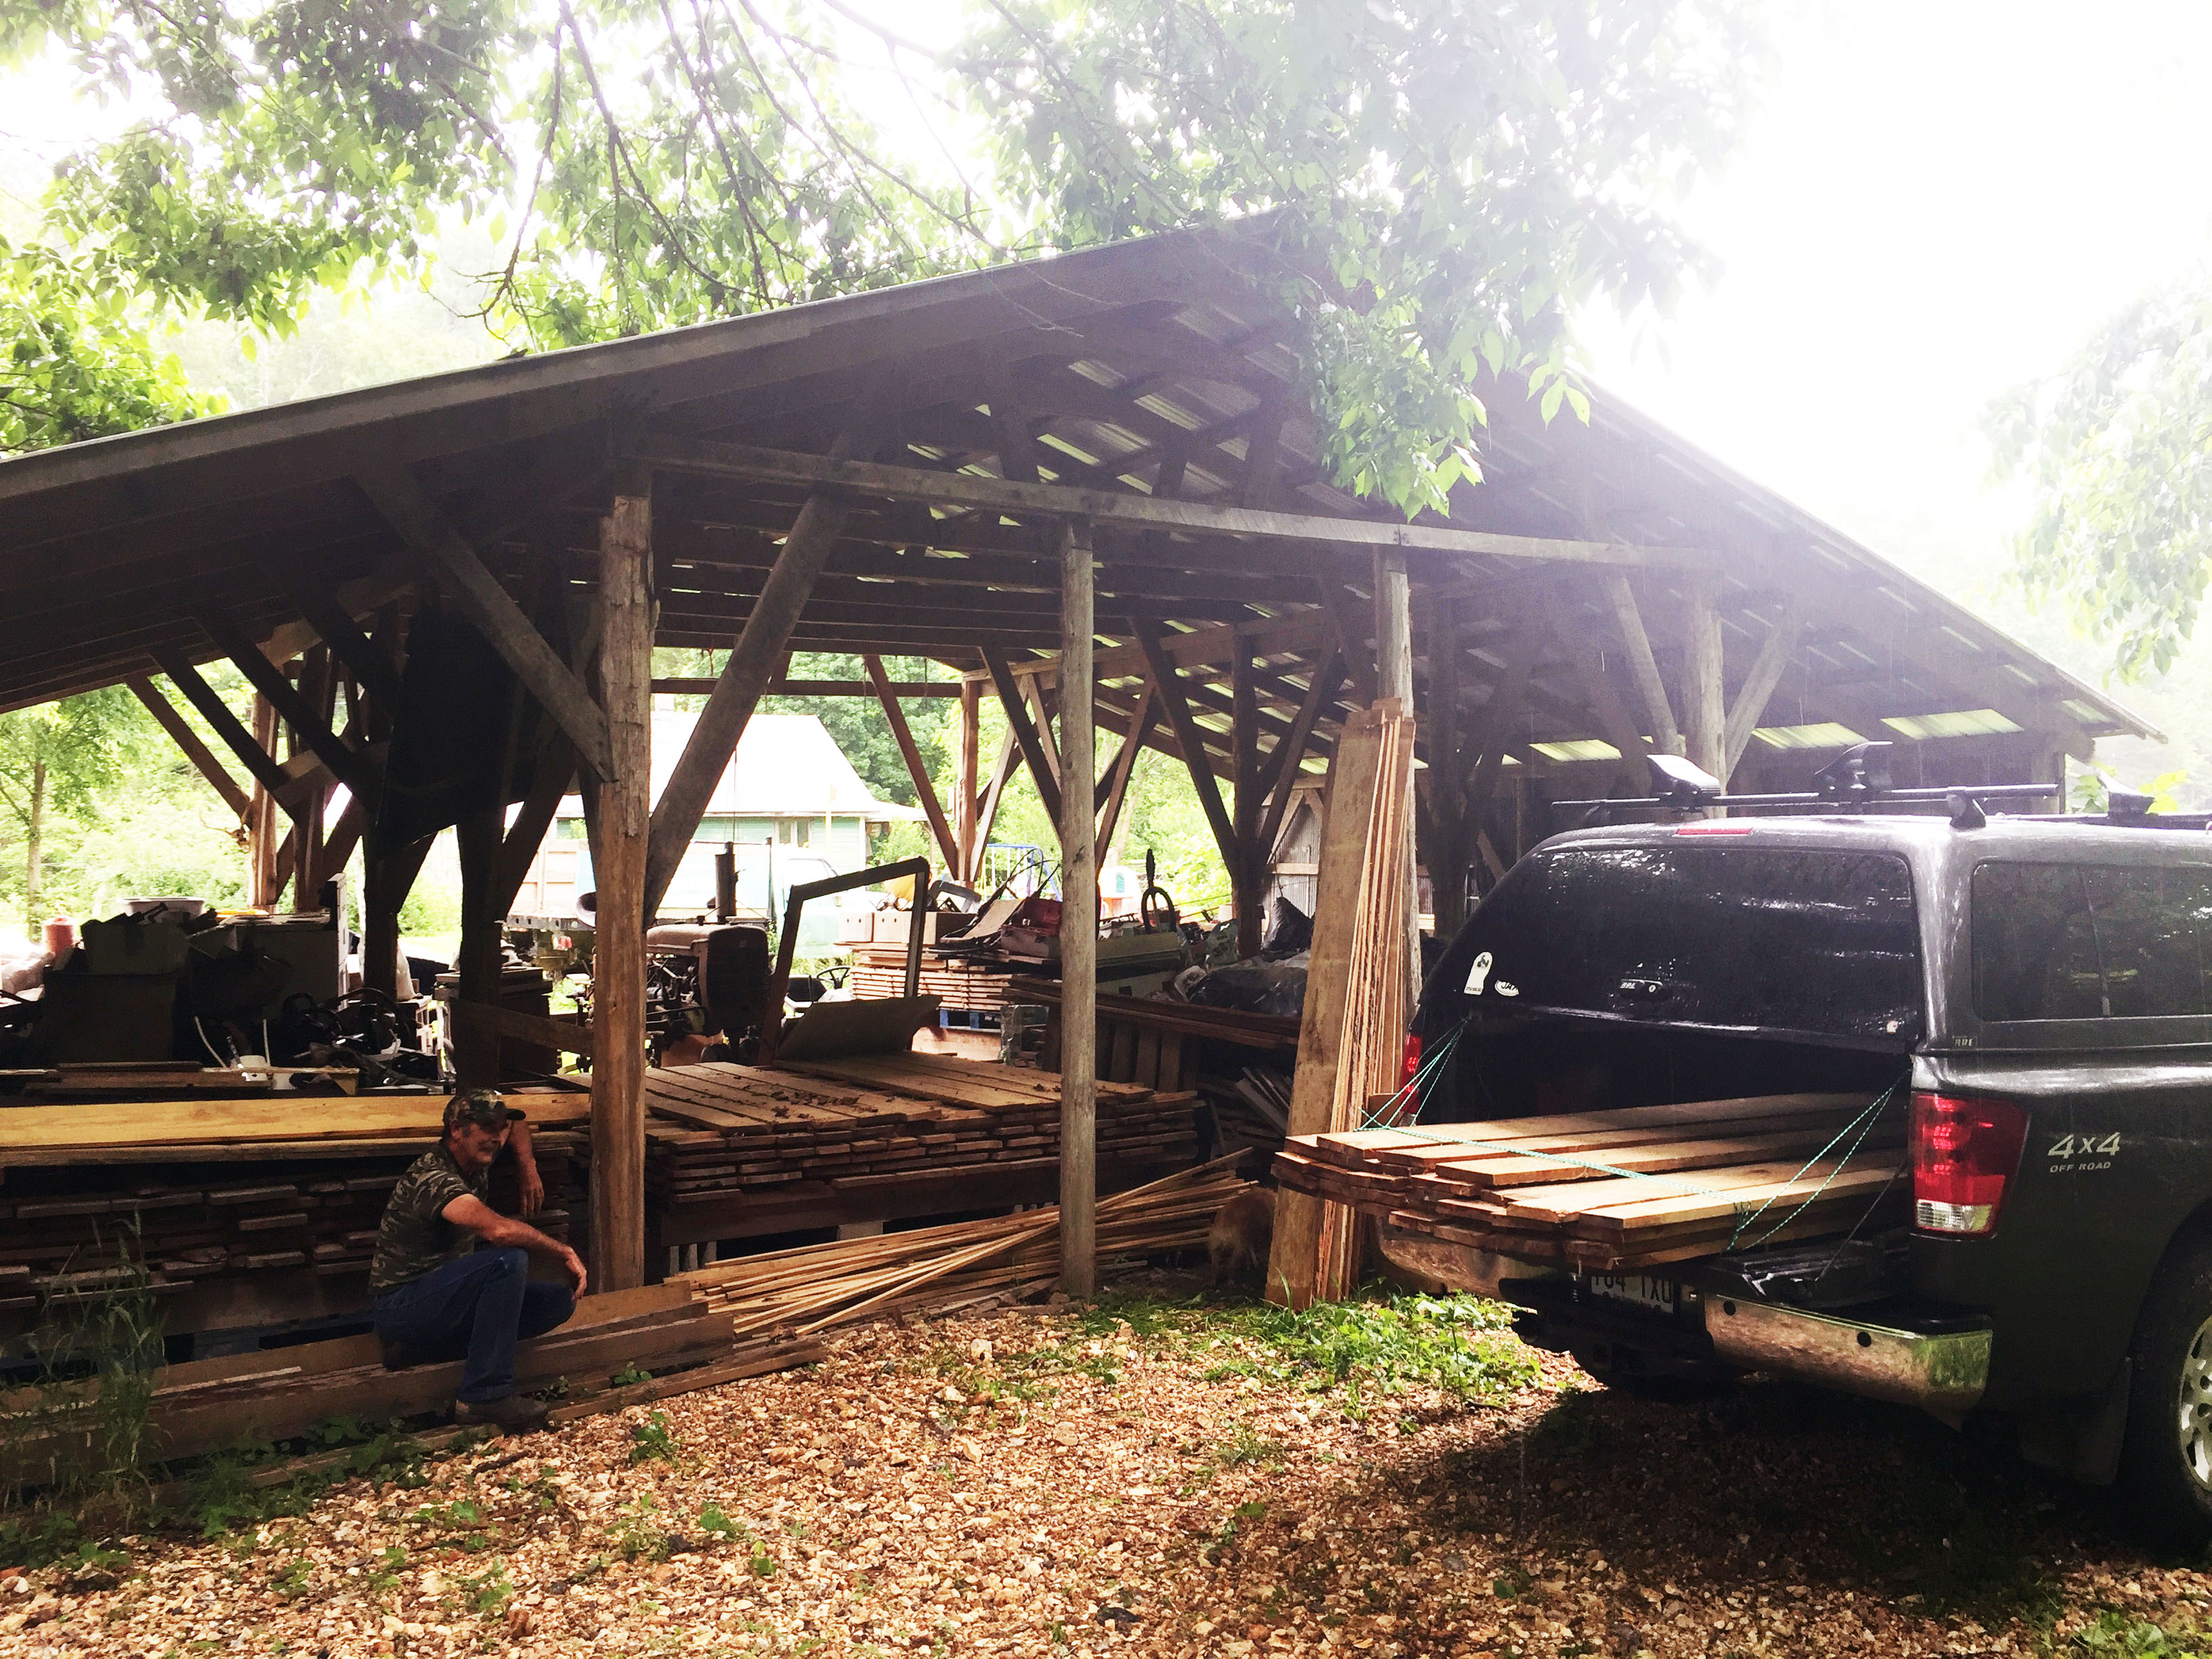
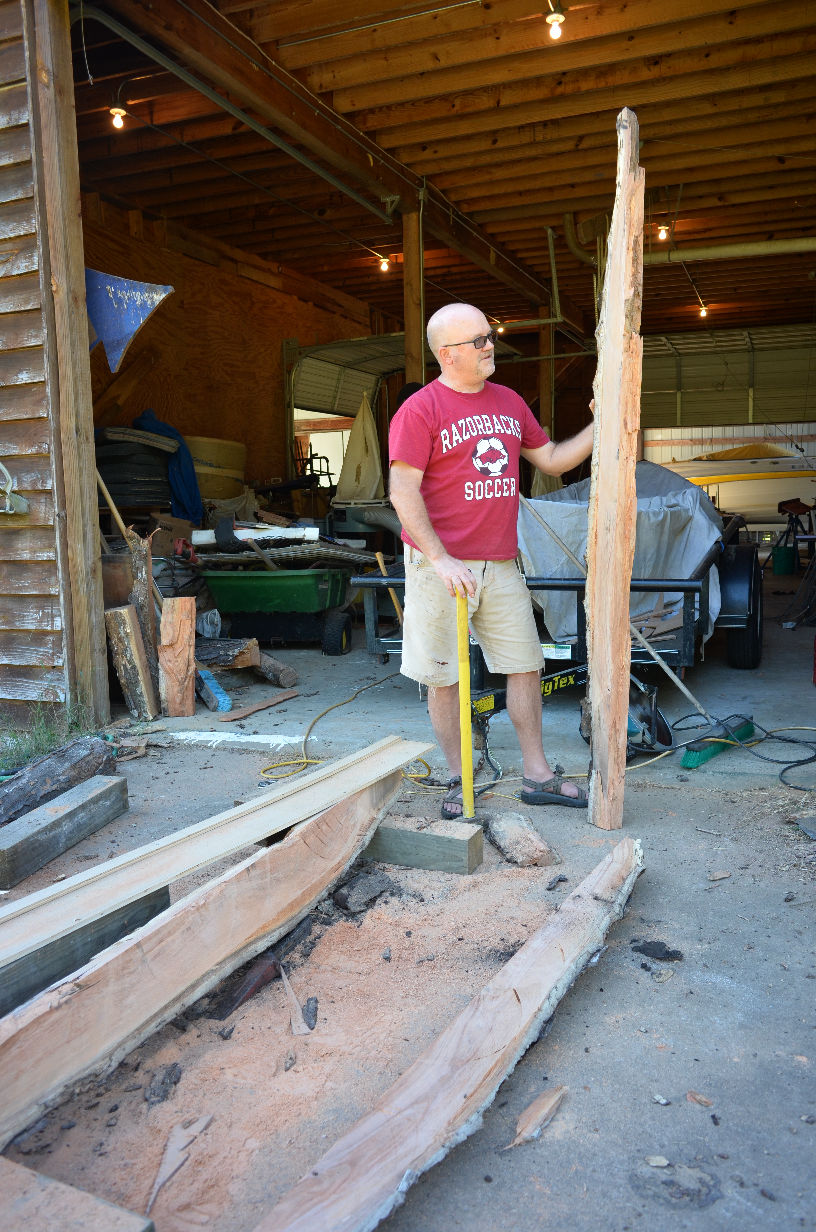
A guy on CraigsList said he had a bunch of sassafras that he had milled from a big tree that had been knocked down in a storm. So I drove several hours into a remote area of Missouri down a dirt road out of cellular coverage to to pick up a load.
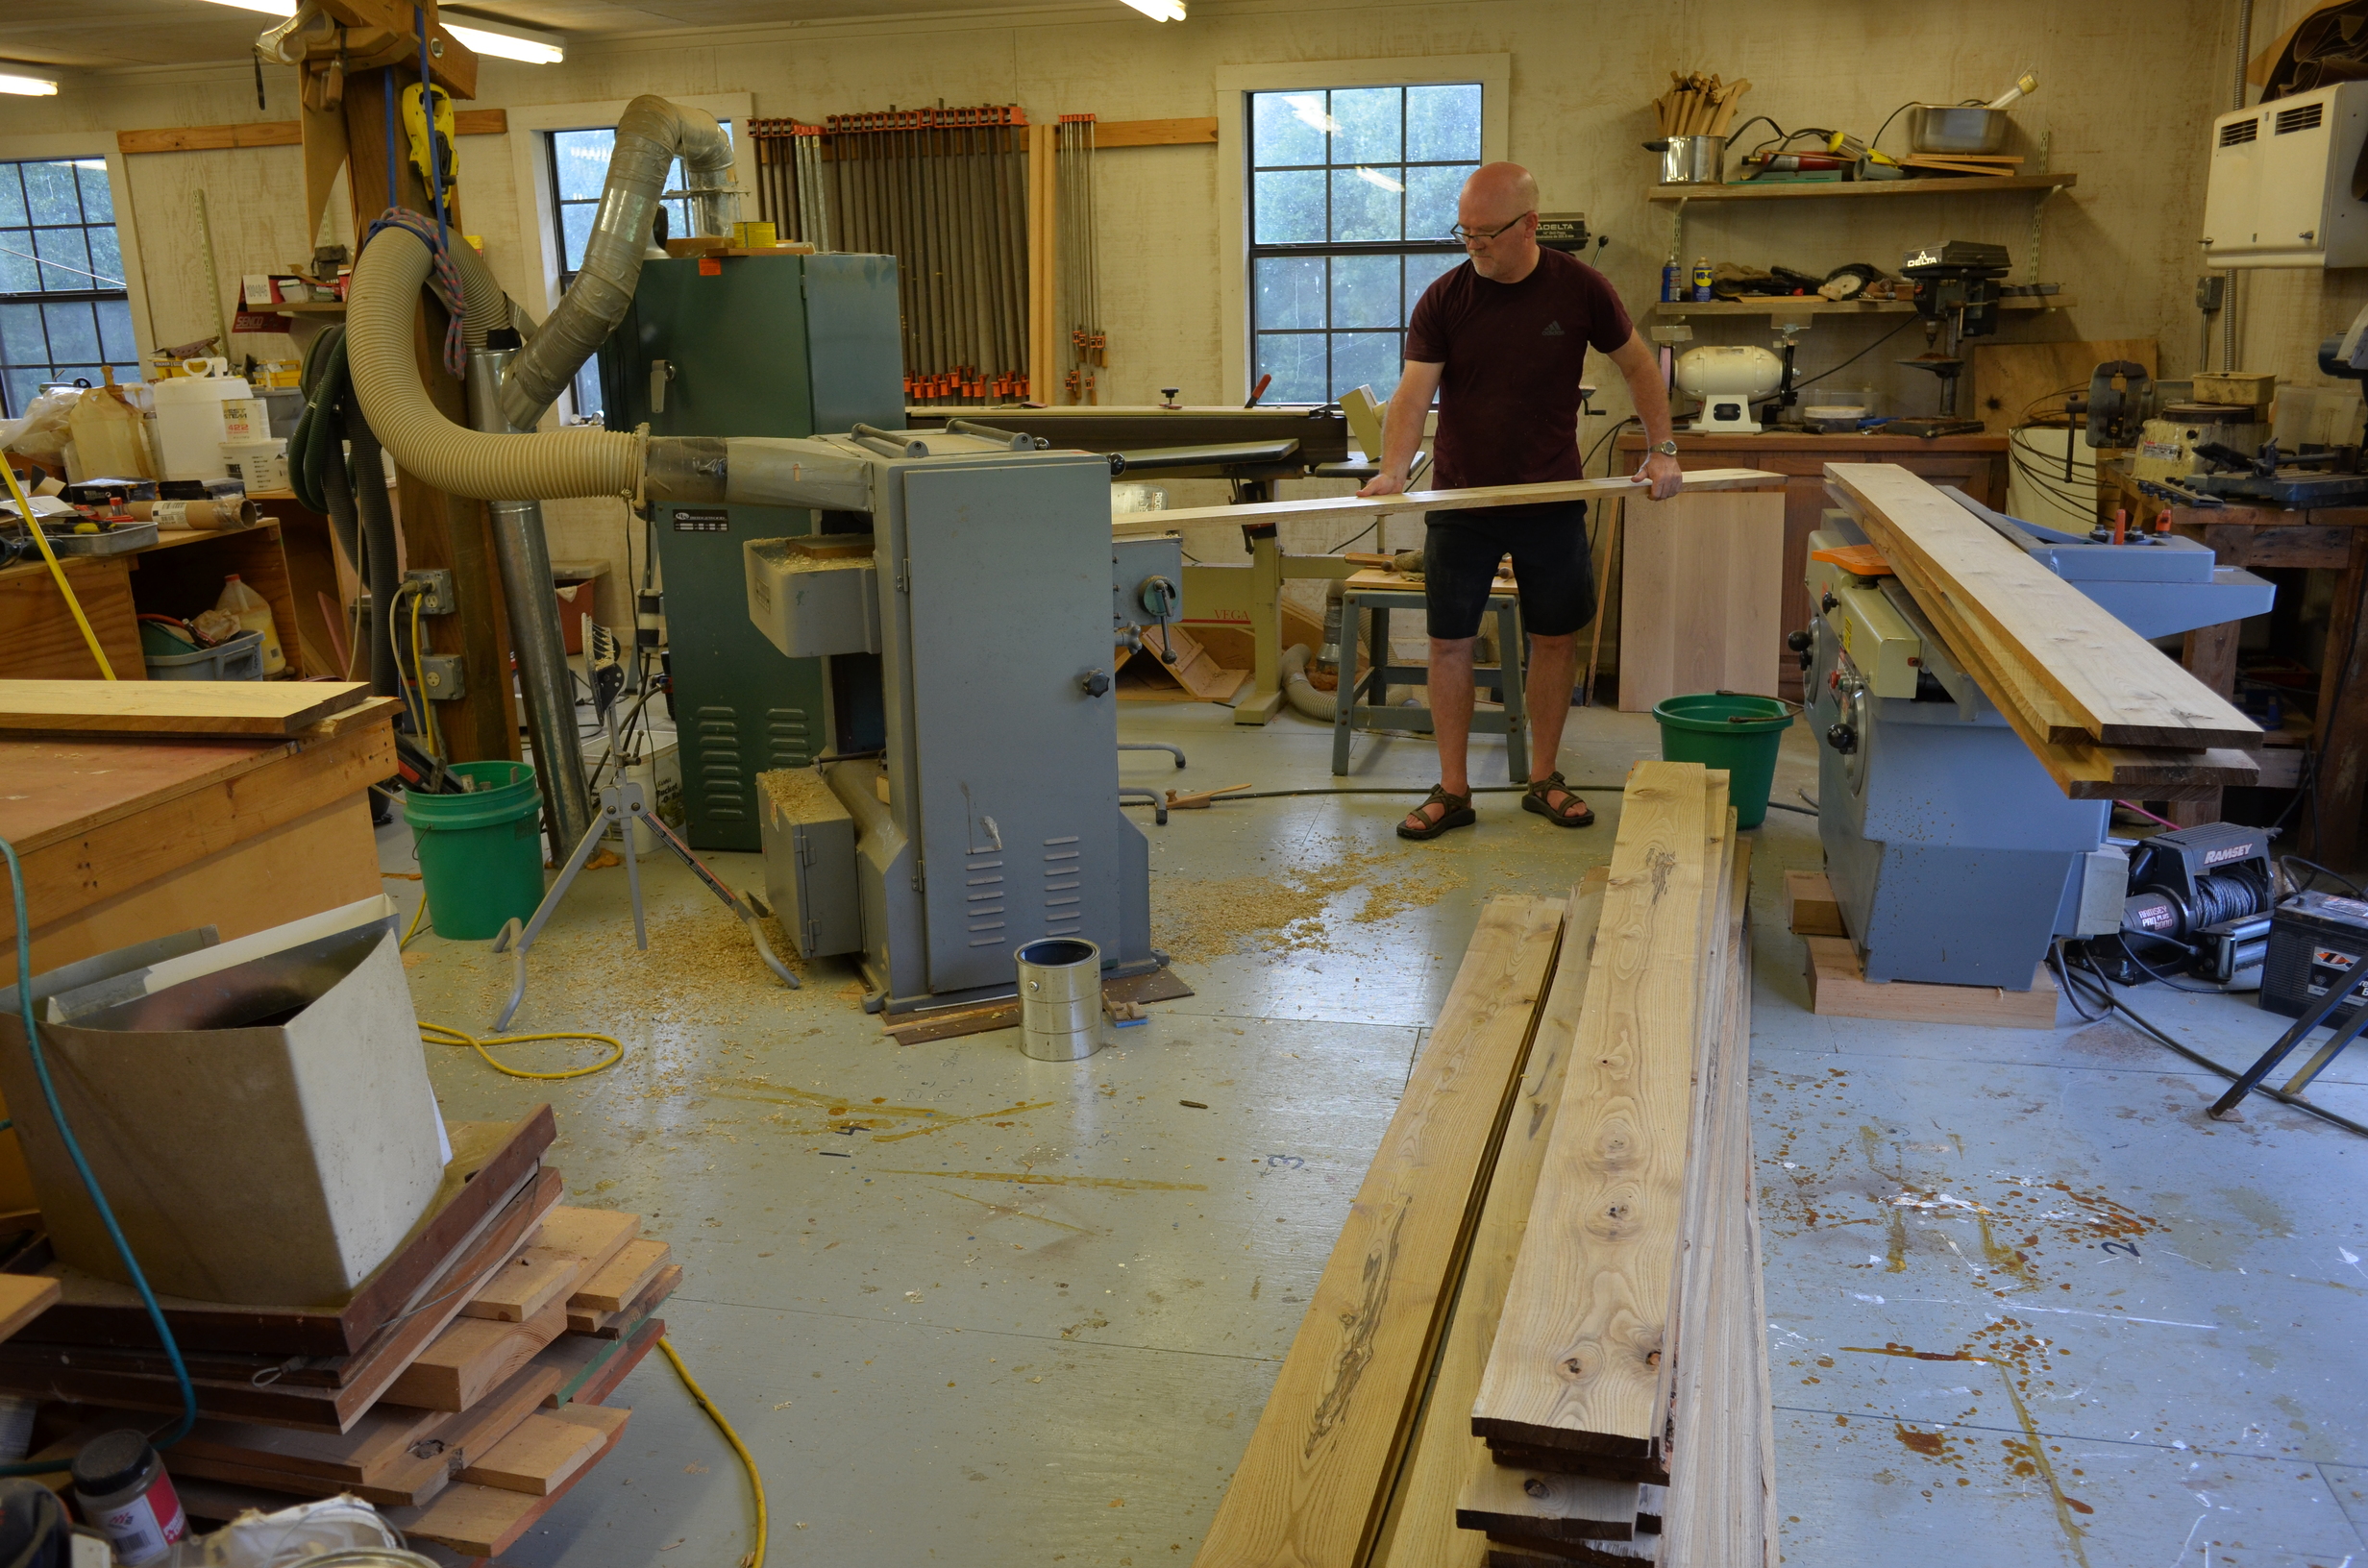
Sassafras is a great boat building wood. It has excellent rot resistance, mills well and make the shop smell like root beer when you cut it. The downside is it’s hard to find big trees and it has a lot of defects (and therefore a lot of waste). It took a lot of planing & trimming to get a usable amount of wood to work with.
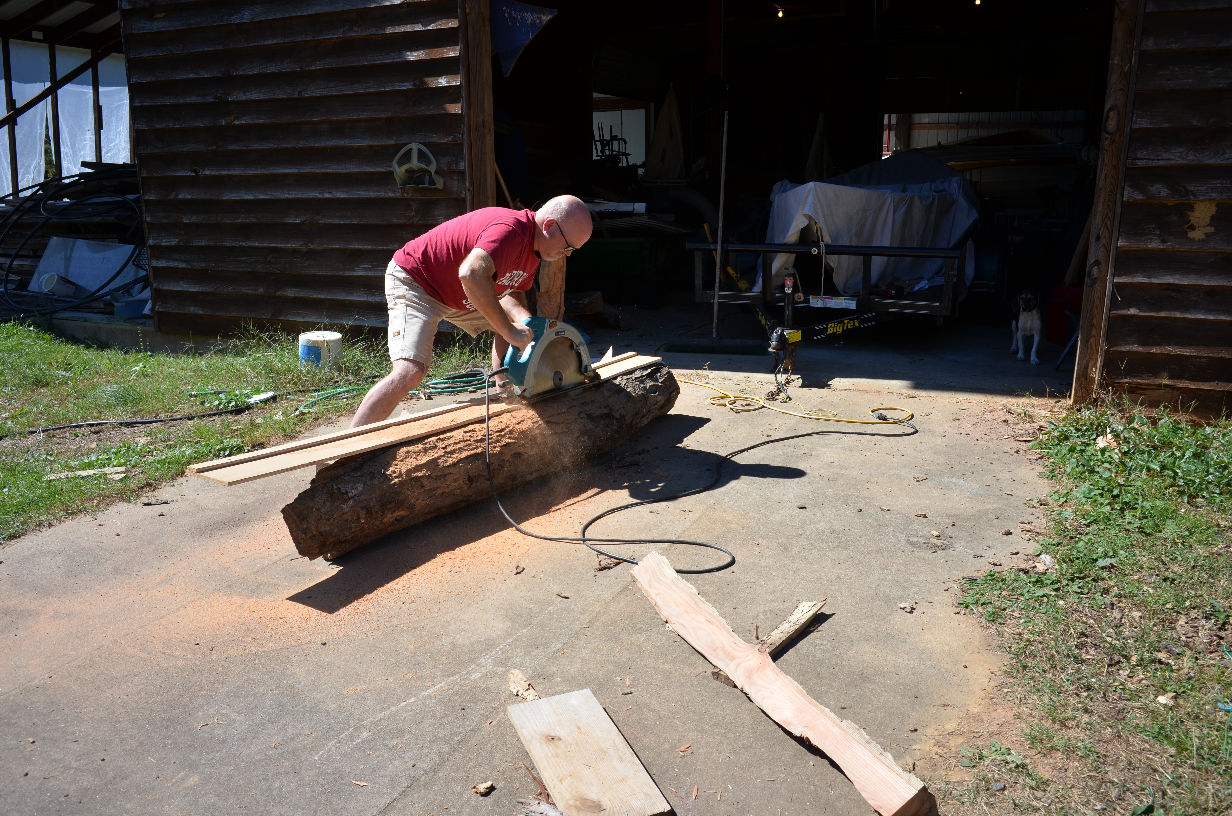
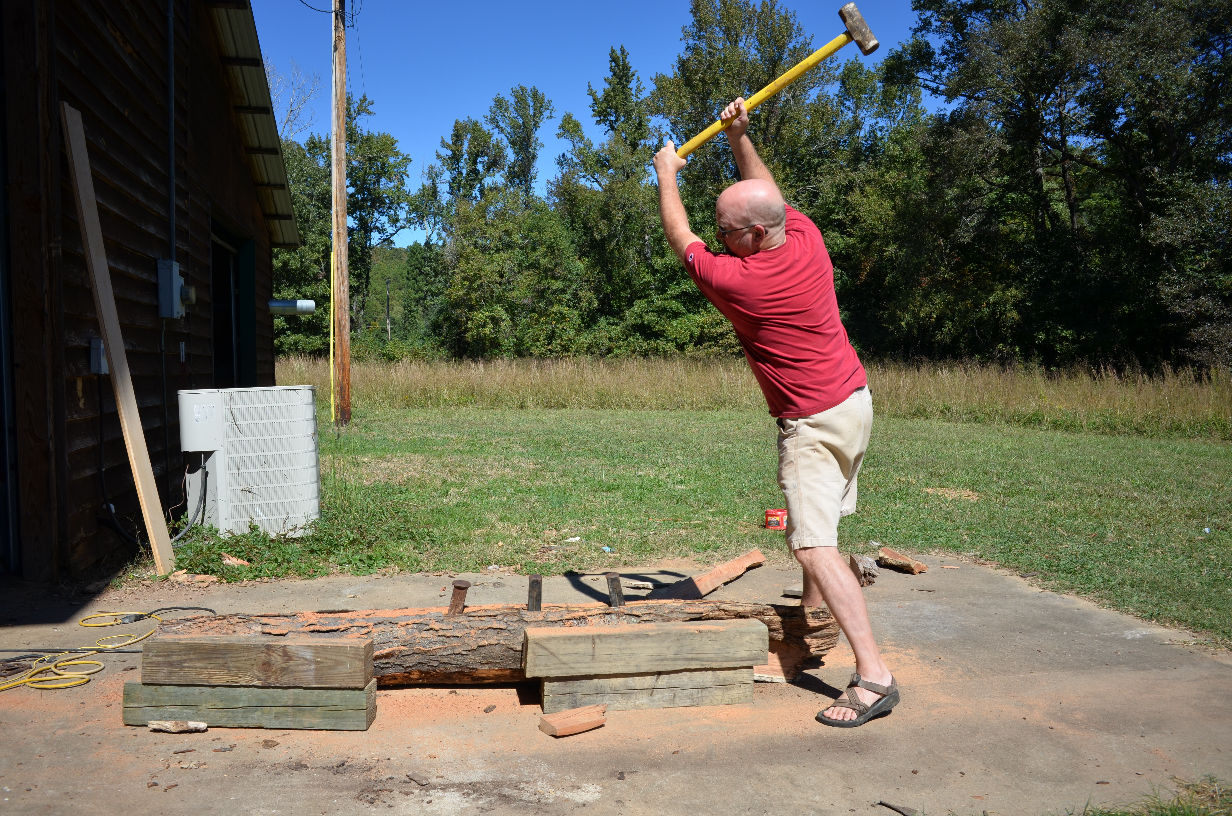
@brian, I really like Black Locust. It’s heavy, hard and works really well. The problem is it can have a bit of a beetle problem that creates some waste. Pat & I, instead of doing pub crawls, do crank & crawls on our bicycles to the microbreweries downtown. As we cycled along the river one day, we noticed a black locust tree that had been knocked down in a storm. So we wrangled some sections of it into the back of a truck & hauled it to the barn. I used wedges and a sledge to rive some billets out of it.
I used this piece to make the tiller and the edges for my centerboard & rudder.
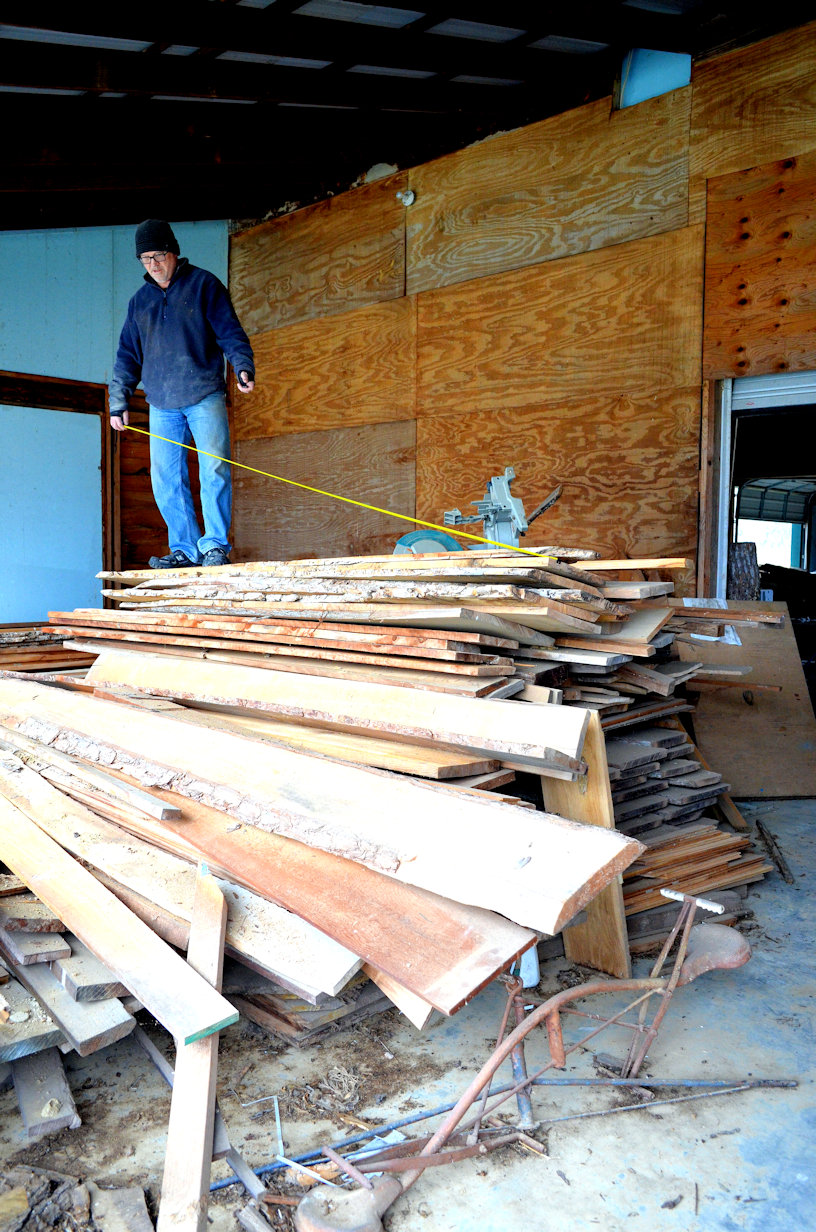
Fortunately Pat used to own a portable sawmill and was able to mill a lot of lumber (mostly pine, oak, cherry, cypress & cedar) that’s literally piled up everywhere. A really nice thing to have if you like woodworking.
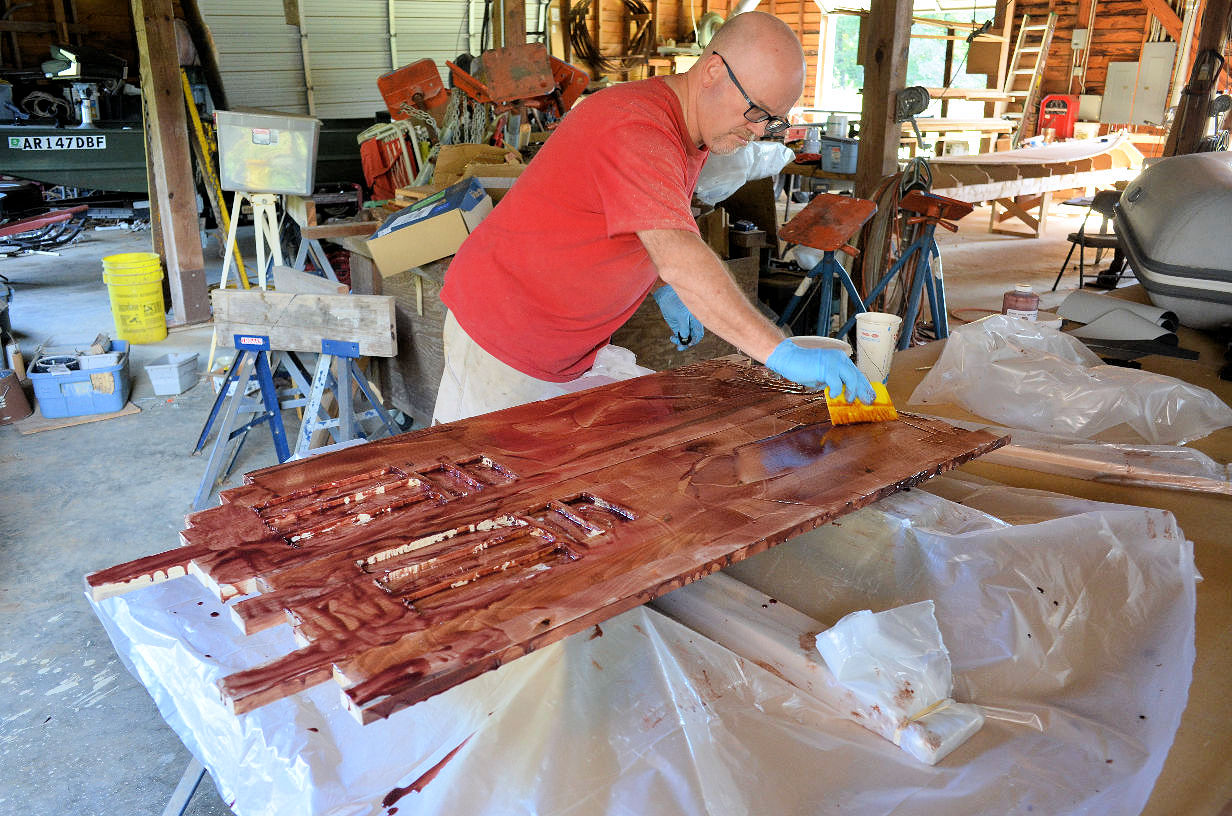
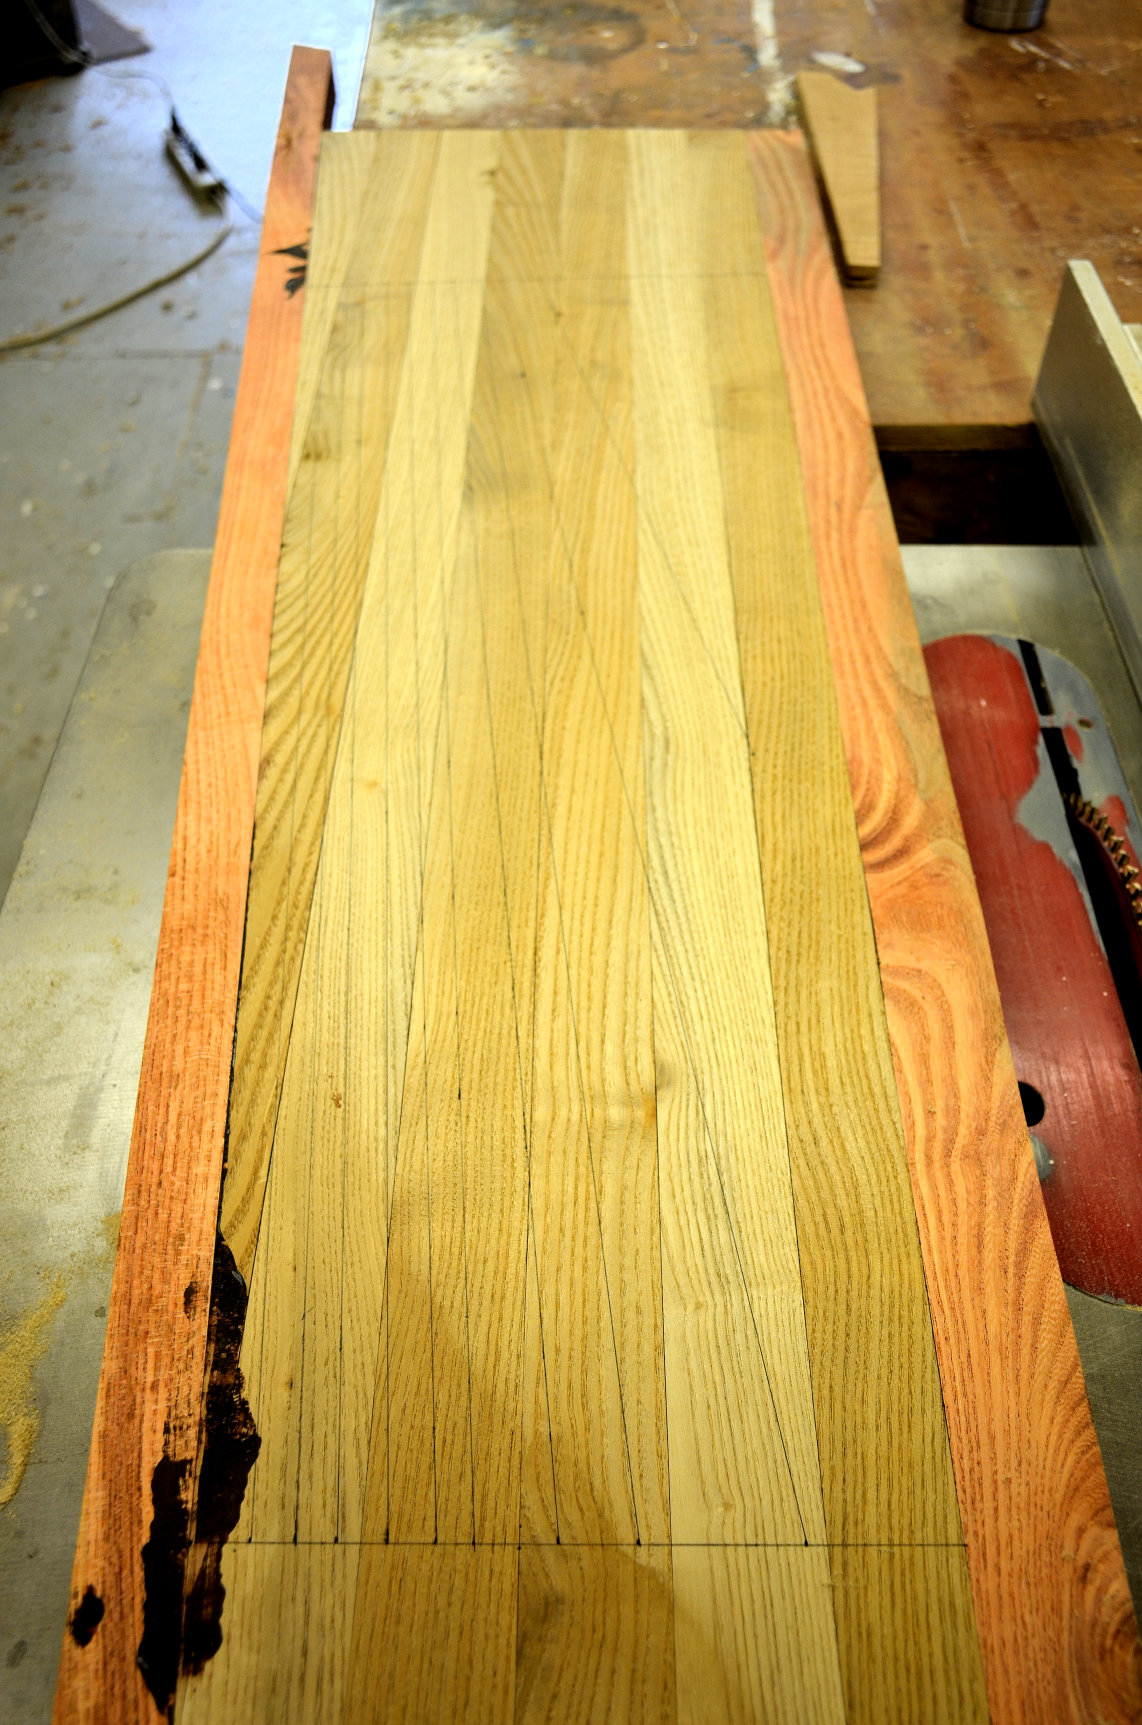
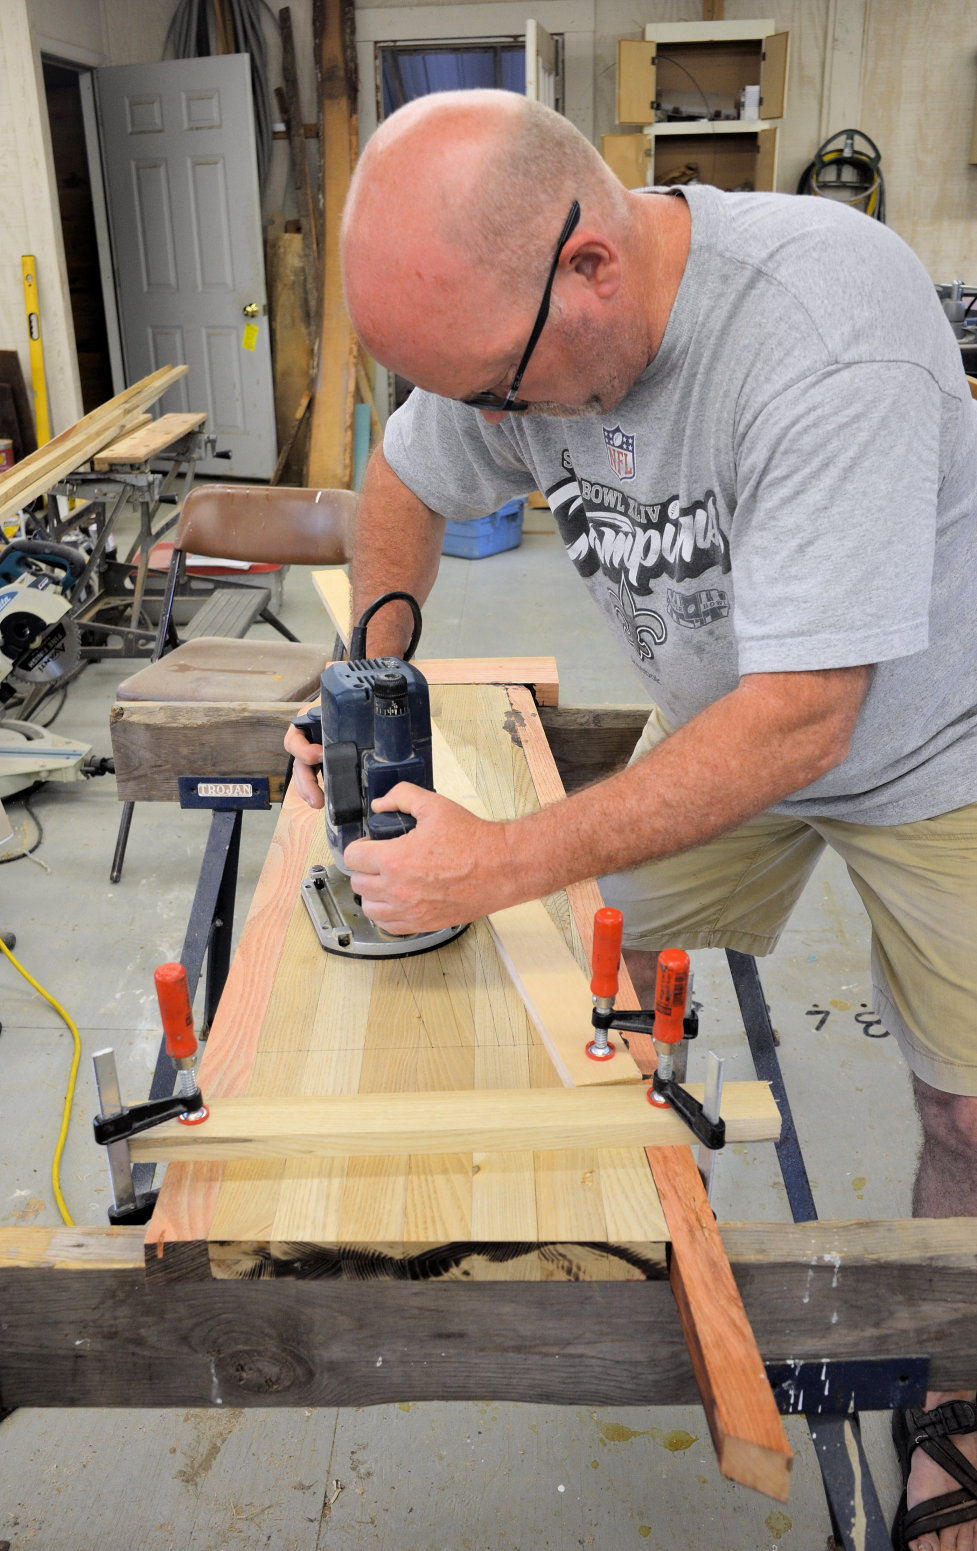
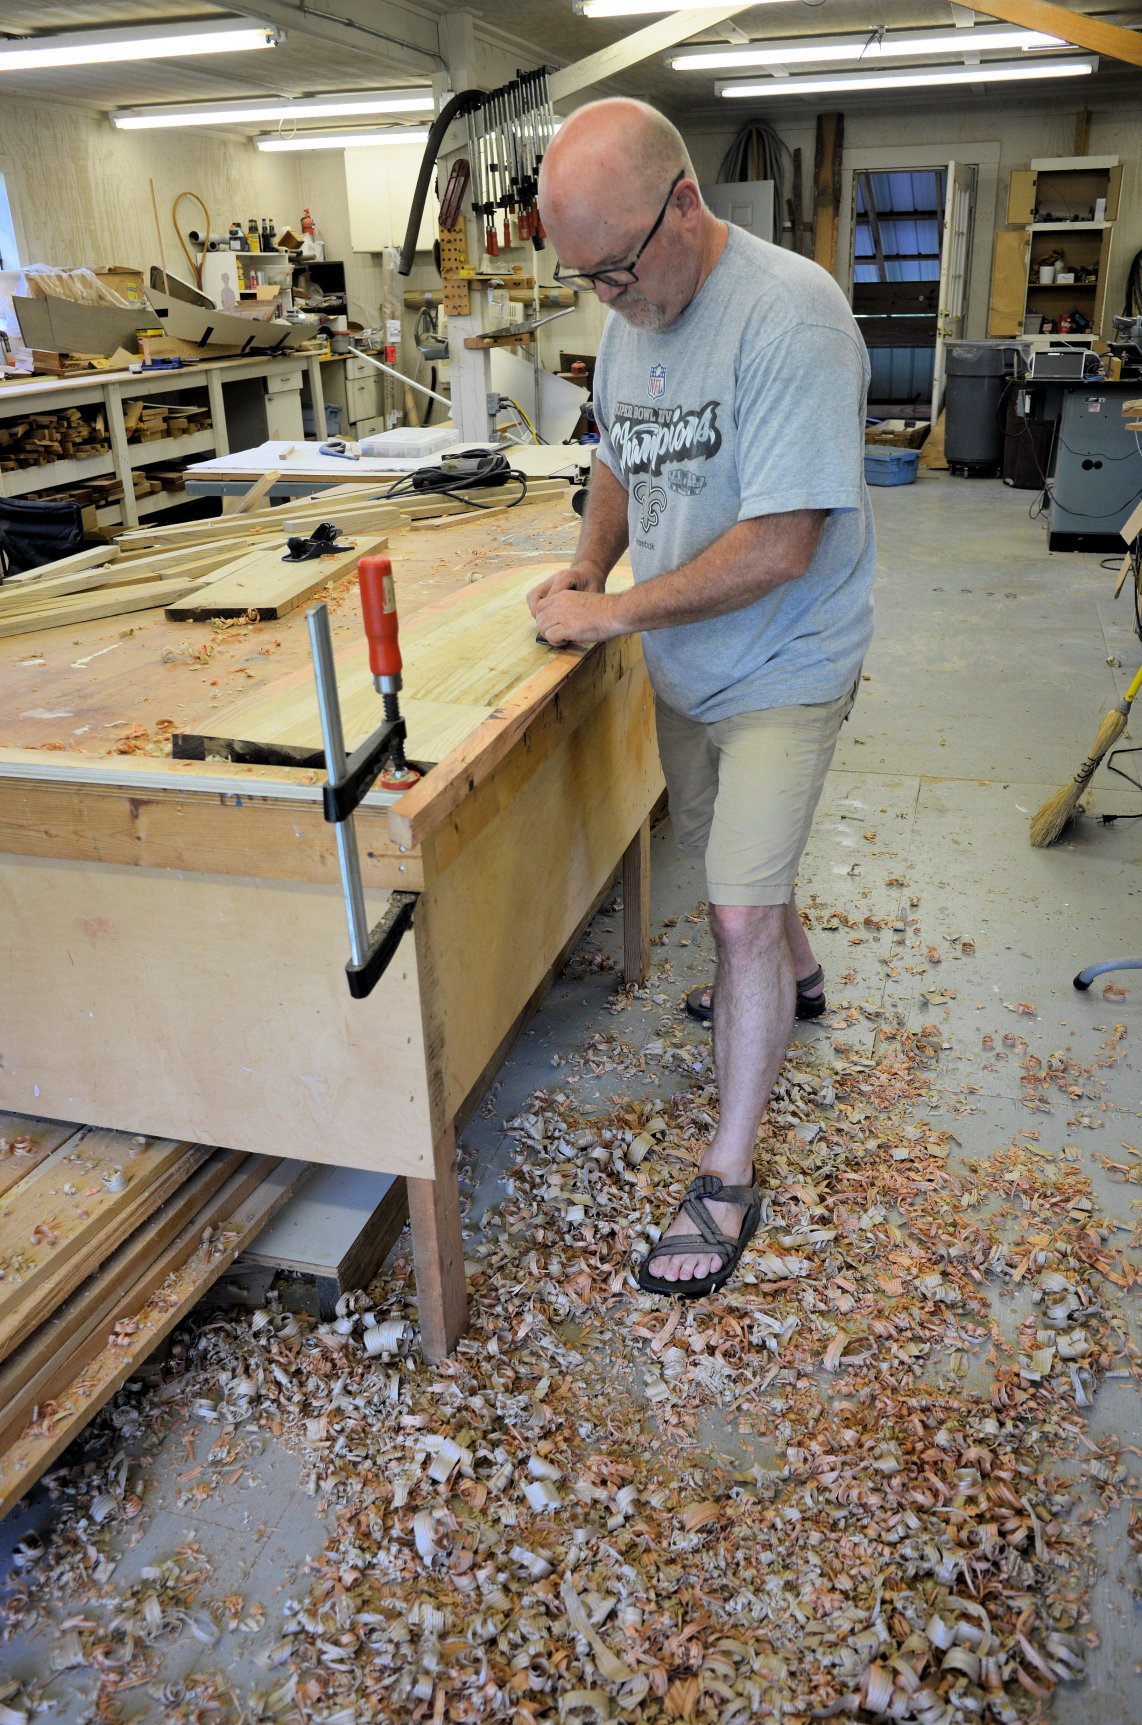
Here’s a few photos of me building the kick-up centerboard. It has a sassafras interior with a hard black locust edge. 12kg of lead helps keep it down but if it hits an underwater obstruction, it will pivot on a bronze pin and lift up.
Routing some spaces to put the lead ingots into the interior of the centerboard:
Using resorcinol glue to sandwich the halves together:
Drawing guide lines to help me plane the correct airfoil profile into the centerboard:
Routing differing profile depths into the guide lines to let me know where to stop planing:
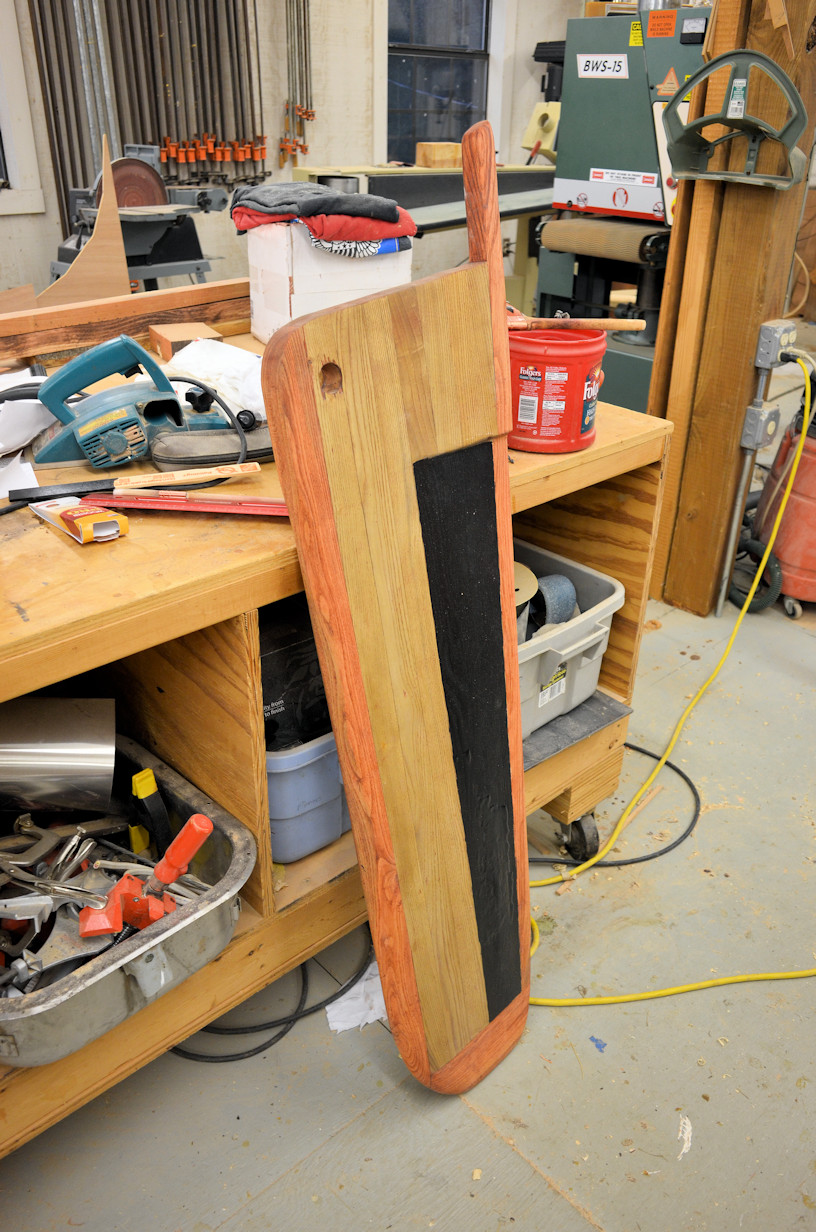
Almost finished. There’s a hole for the bronze pivot pin, a handle that will have a small cord through it to help lifting & securing it and a carbon fiber covering of the back area to protect the wood where it wasn’t as thick as I wanted near some lead inserts:
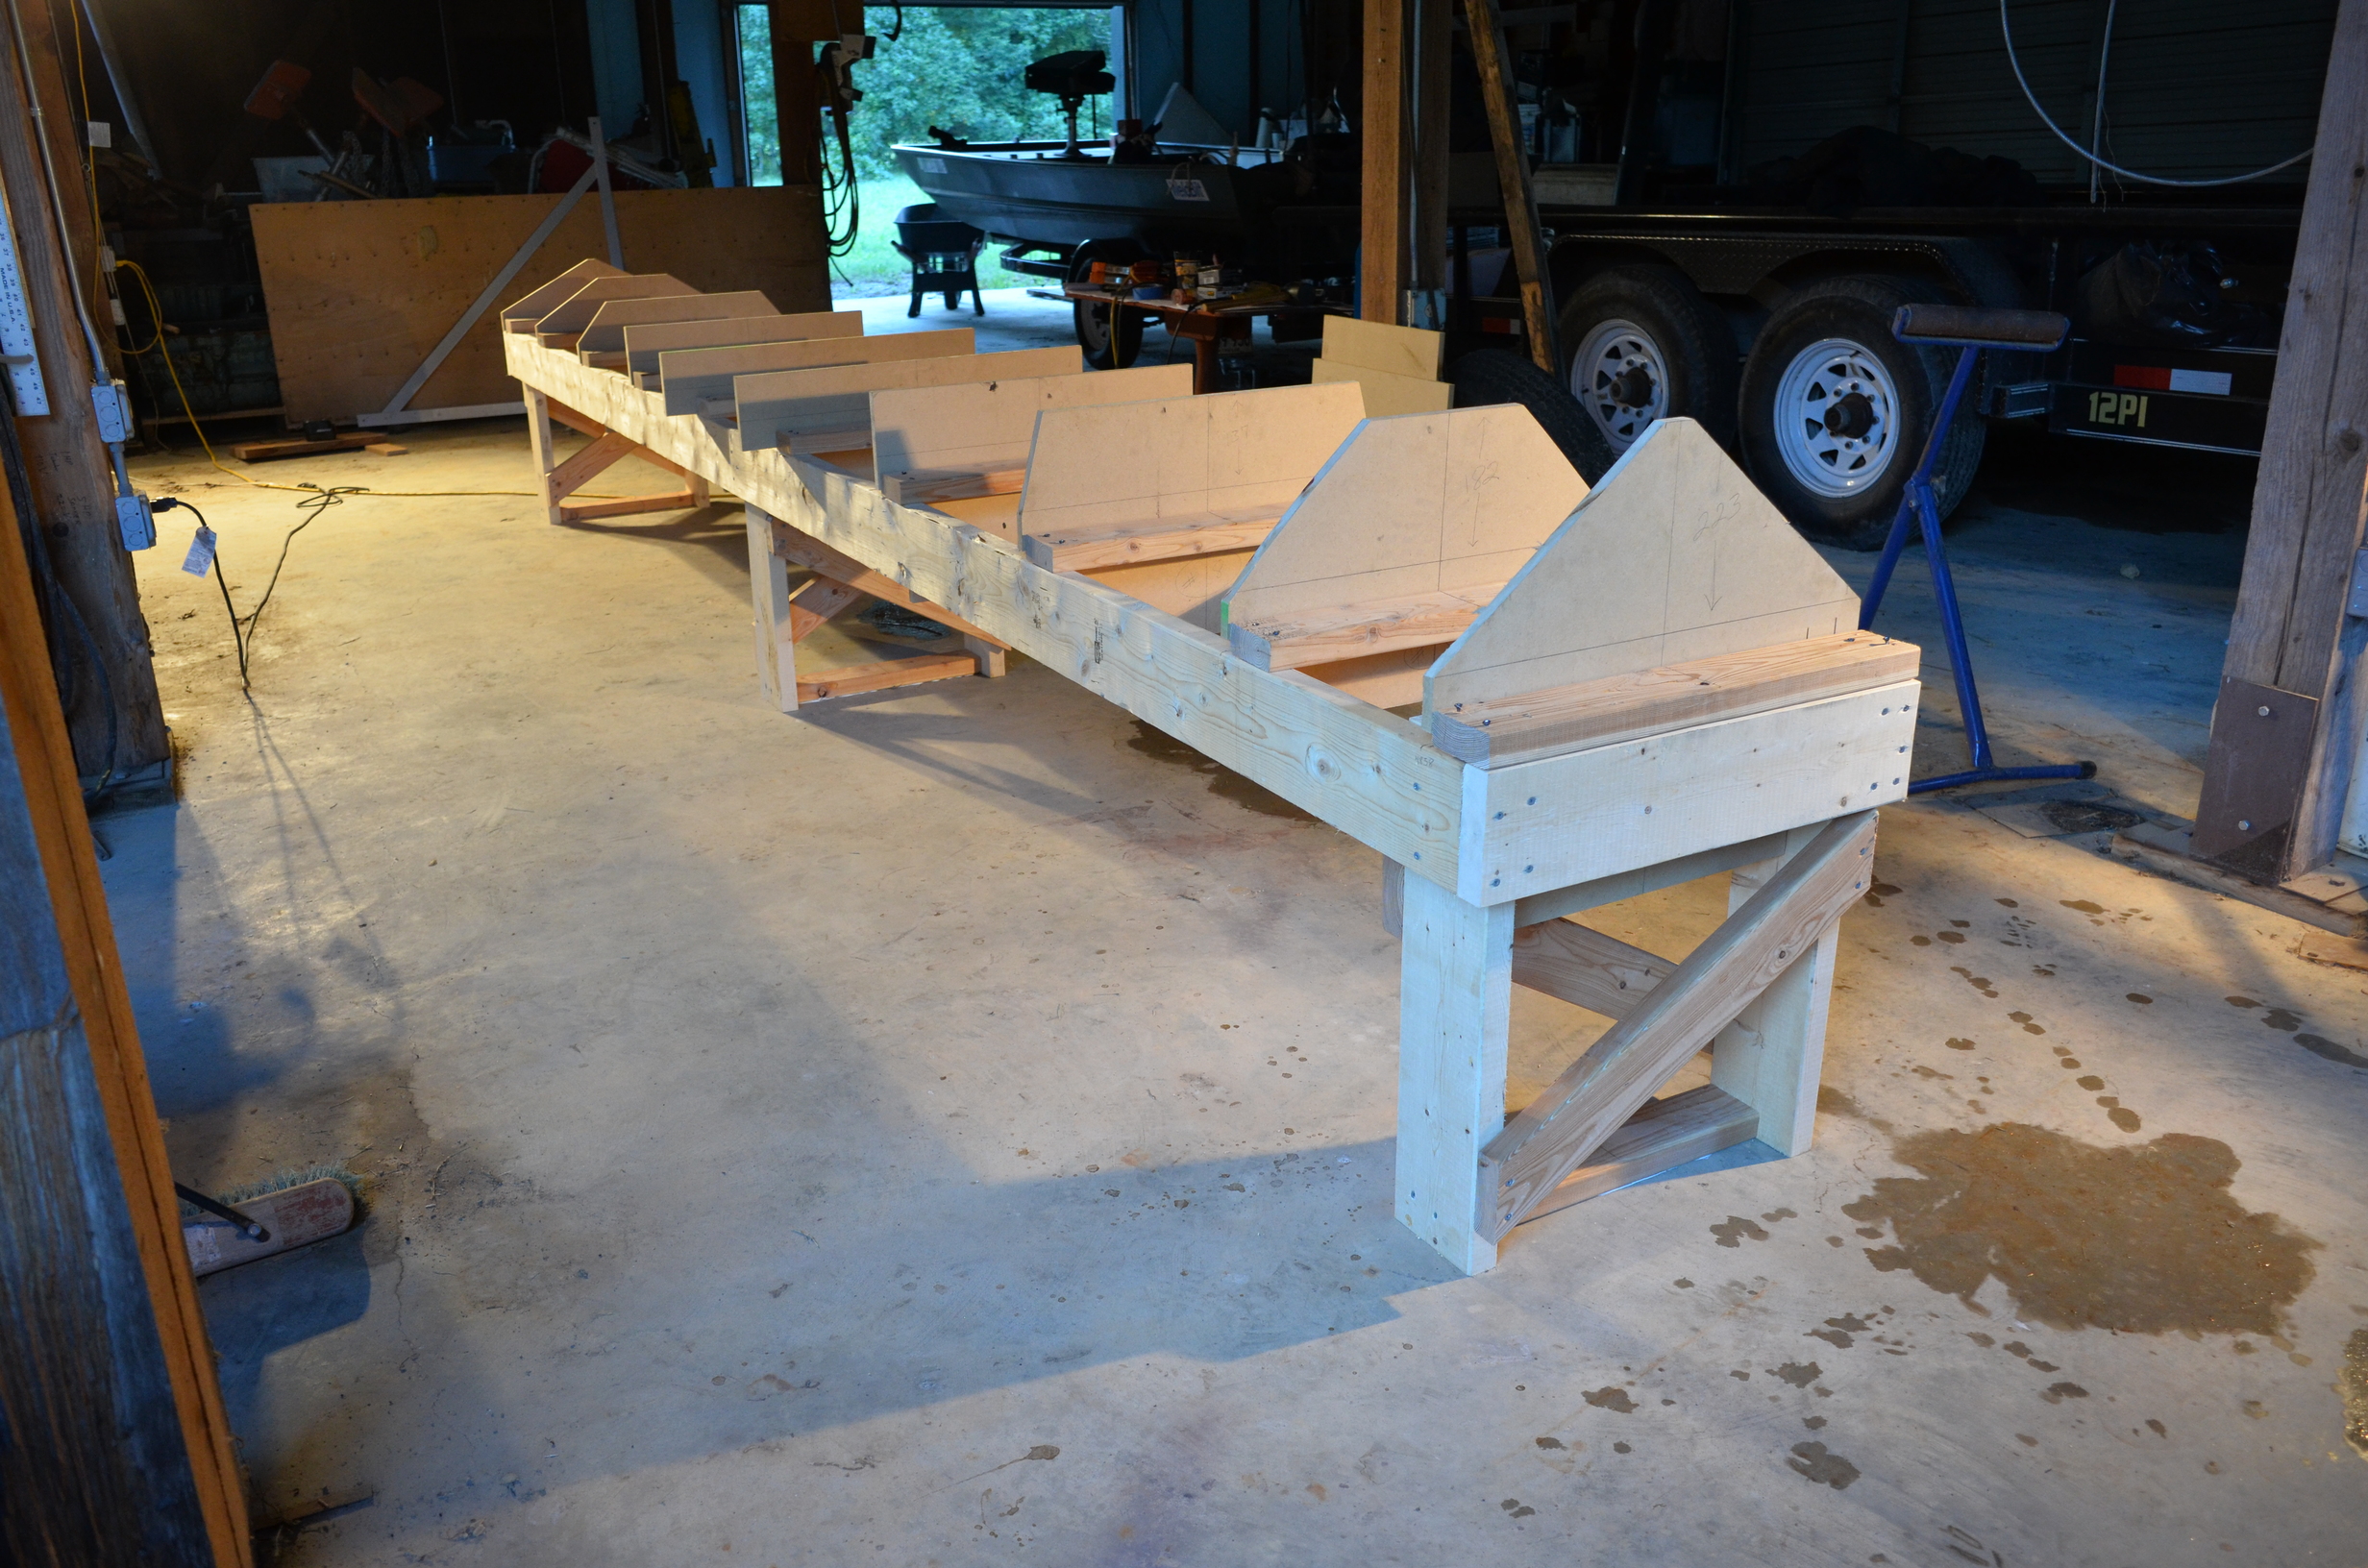
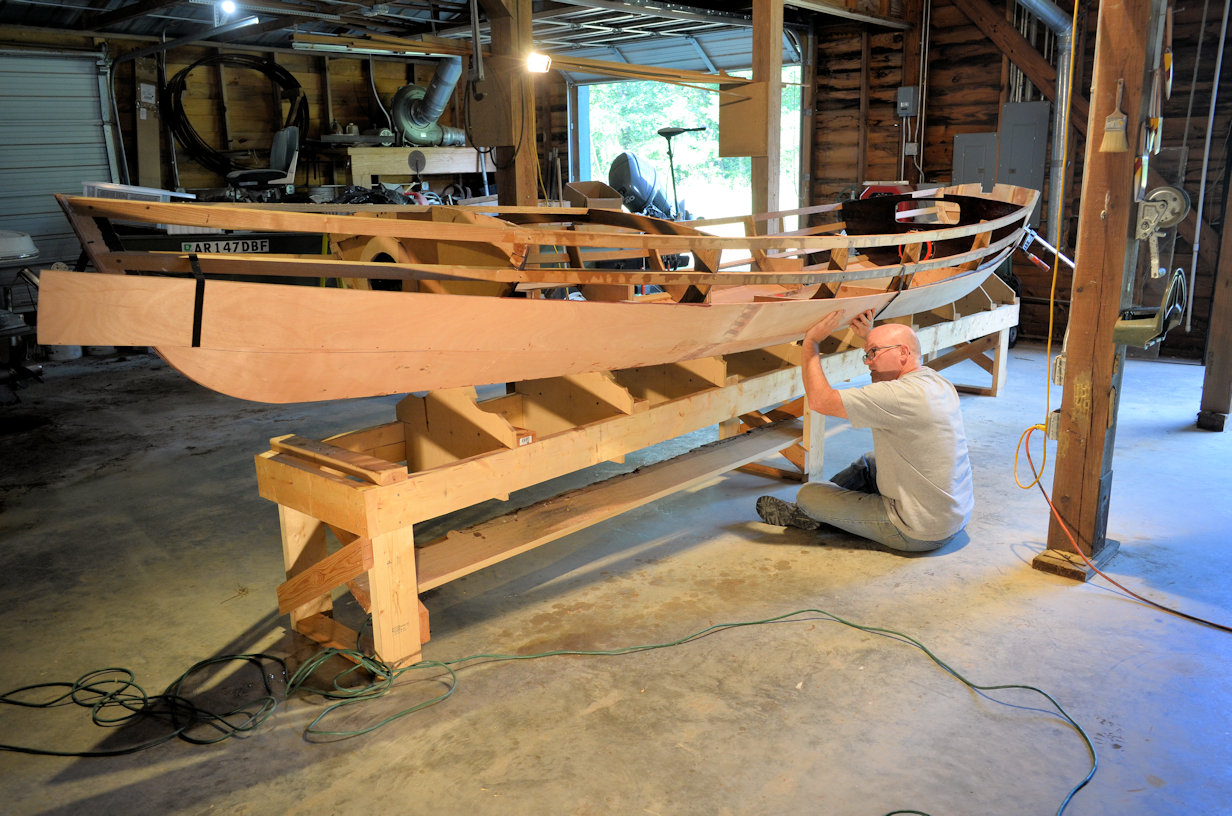
To start building the boat, I needed a solid base to do that from. So I built a low platform with crossbars at regular intervals. Then I cut out small pieces of wood with of various heights (according to the blueprints) to mount to each crossbar:
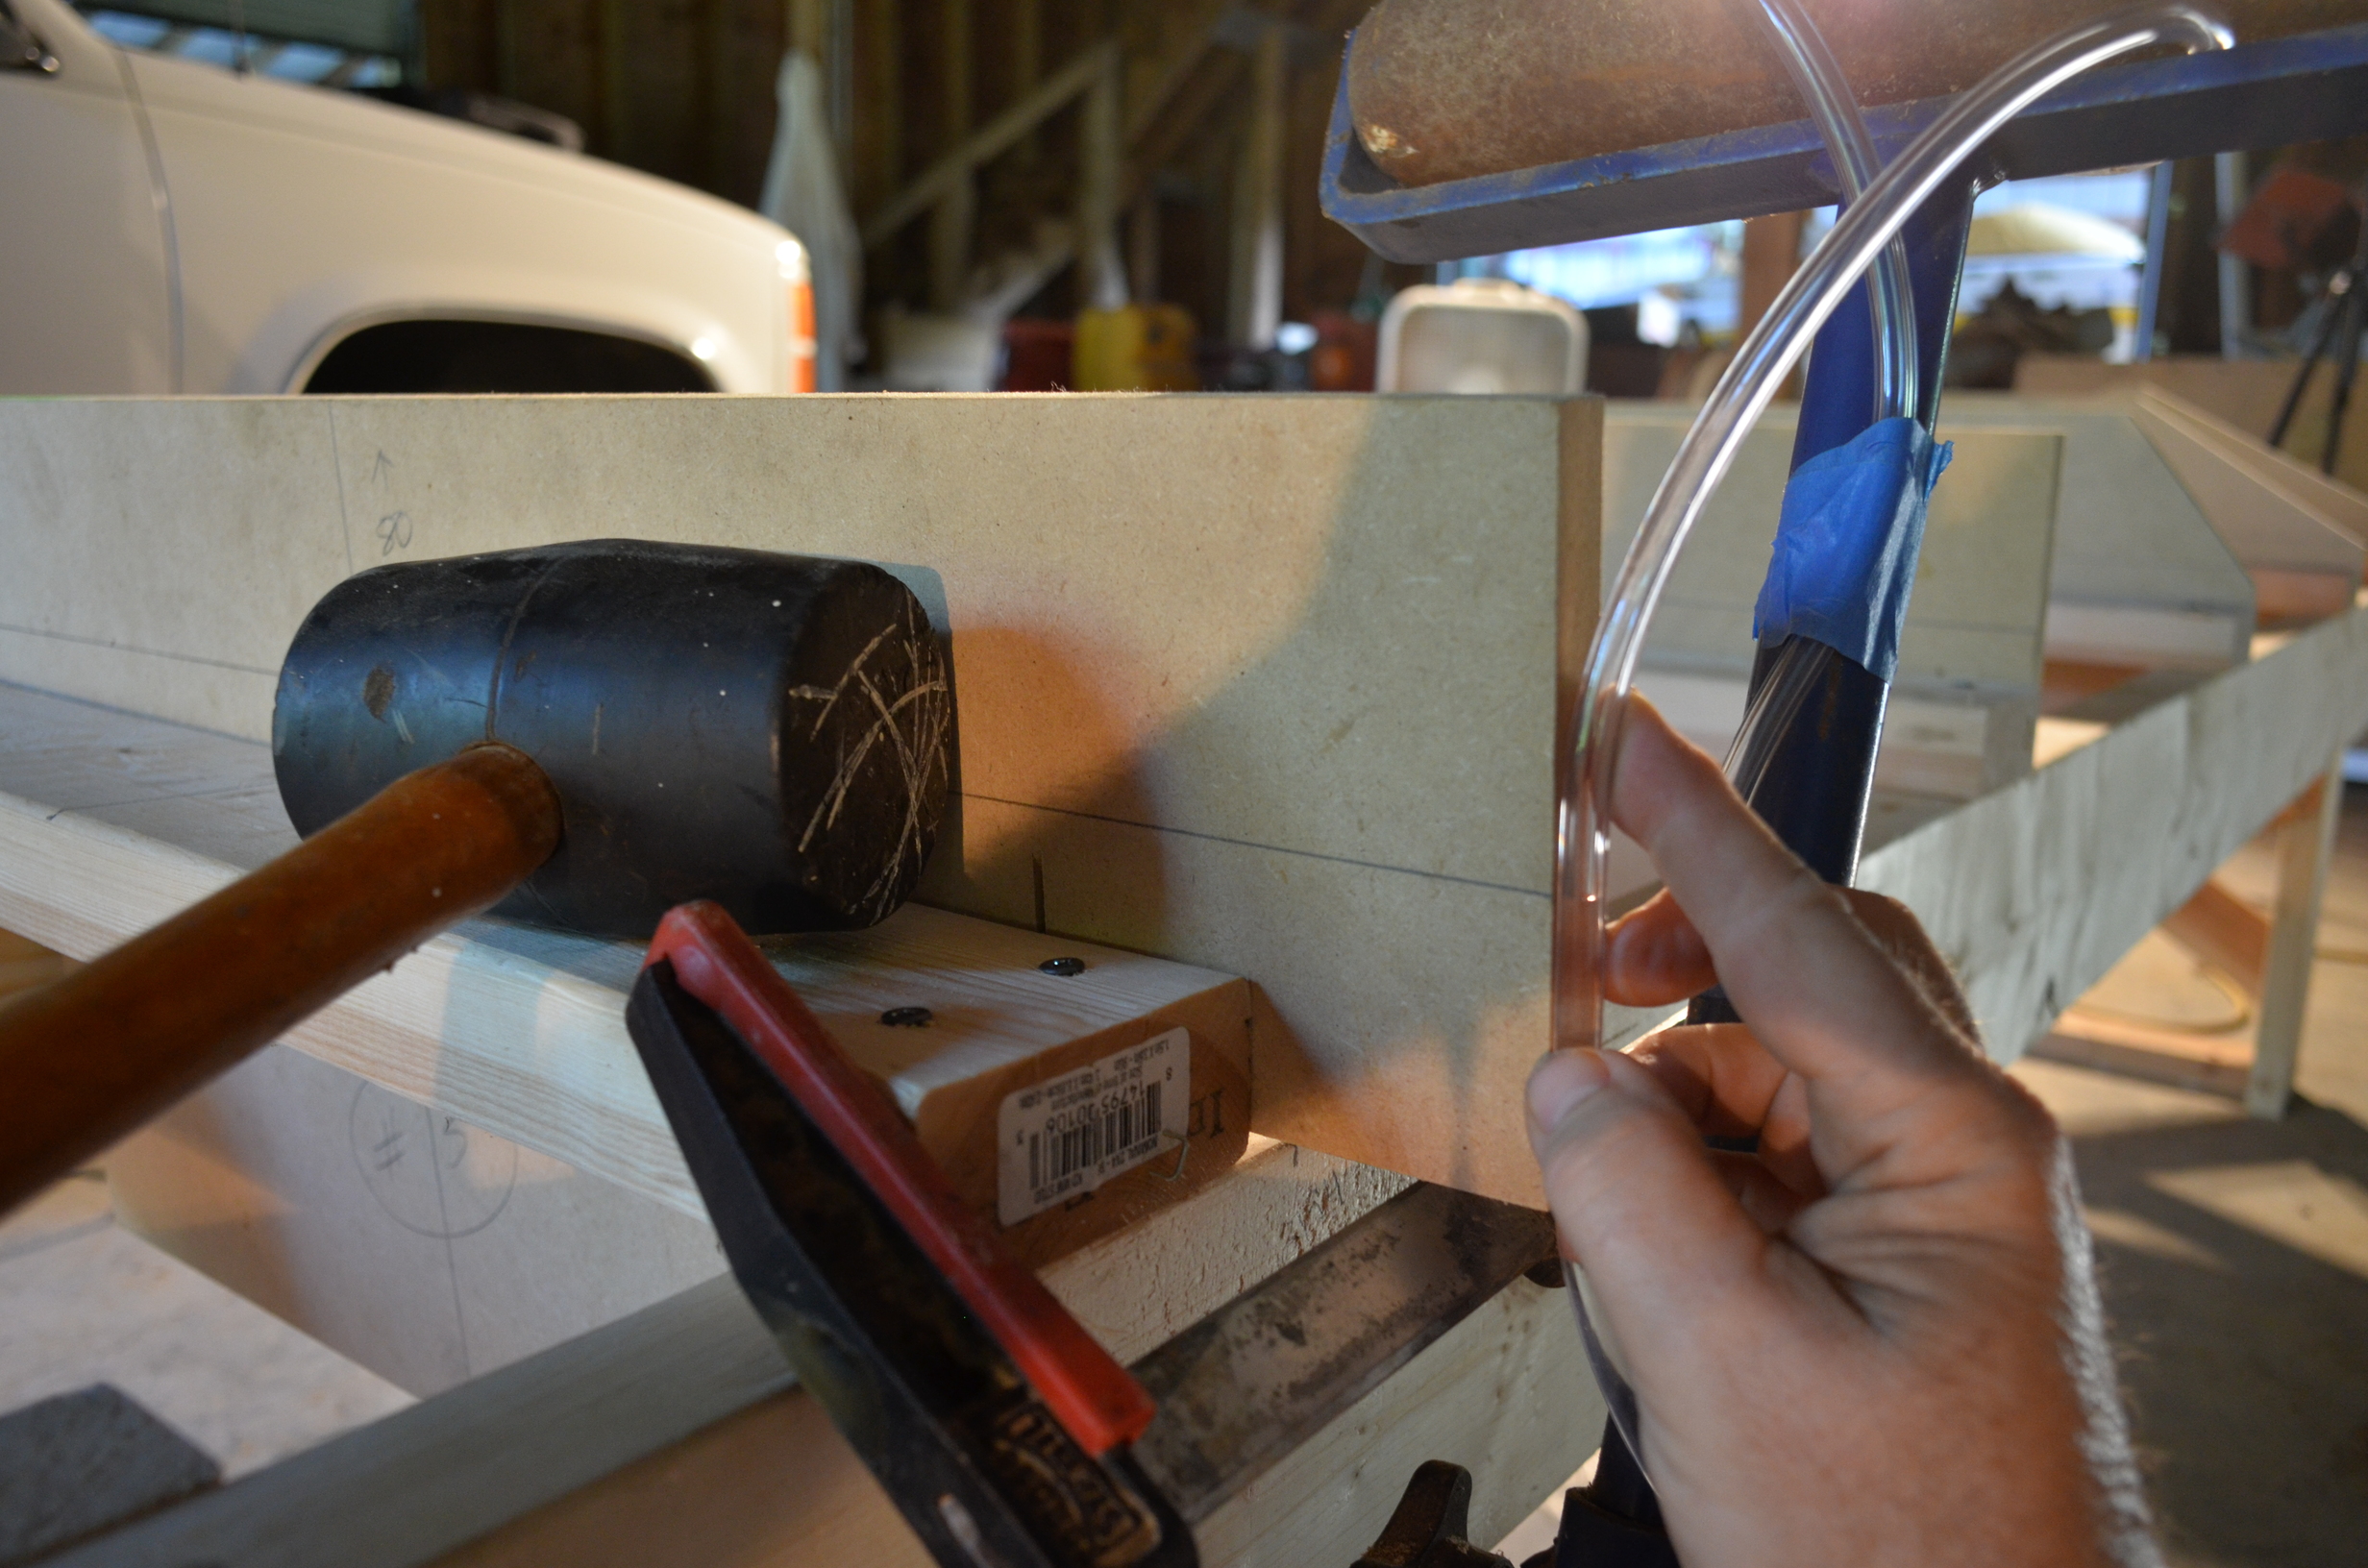
On each piece of wood was a reference line that was a specific distance from the top of the board. I then used a bucket of water hanging from a post and a long plastic tube to create a water level. I made sure every reference line was at the exact same level as every other board’s reference line. So even if the base wasn’t perfectly level because of imperfections in the floor, all of the boards were. In the picture below, the tip of the board is exactly 80mm above the reference line and the reference line is at the same level as the water in the tube:
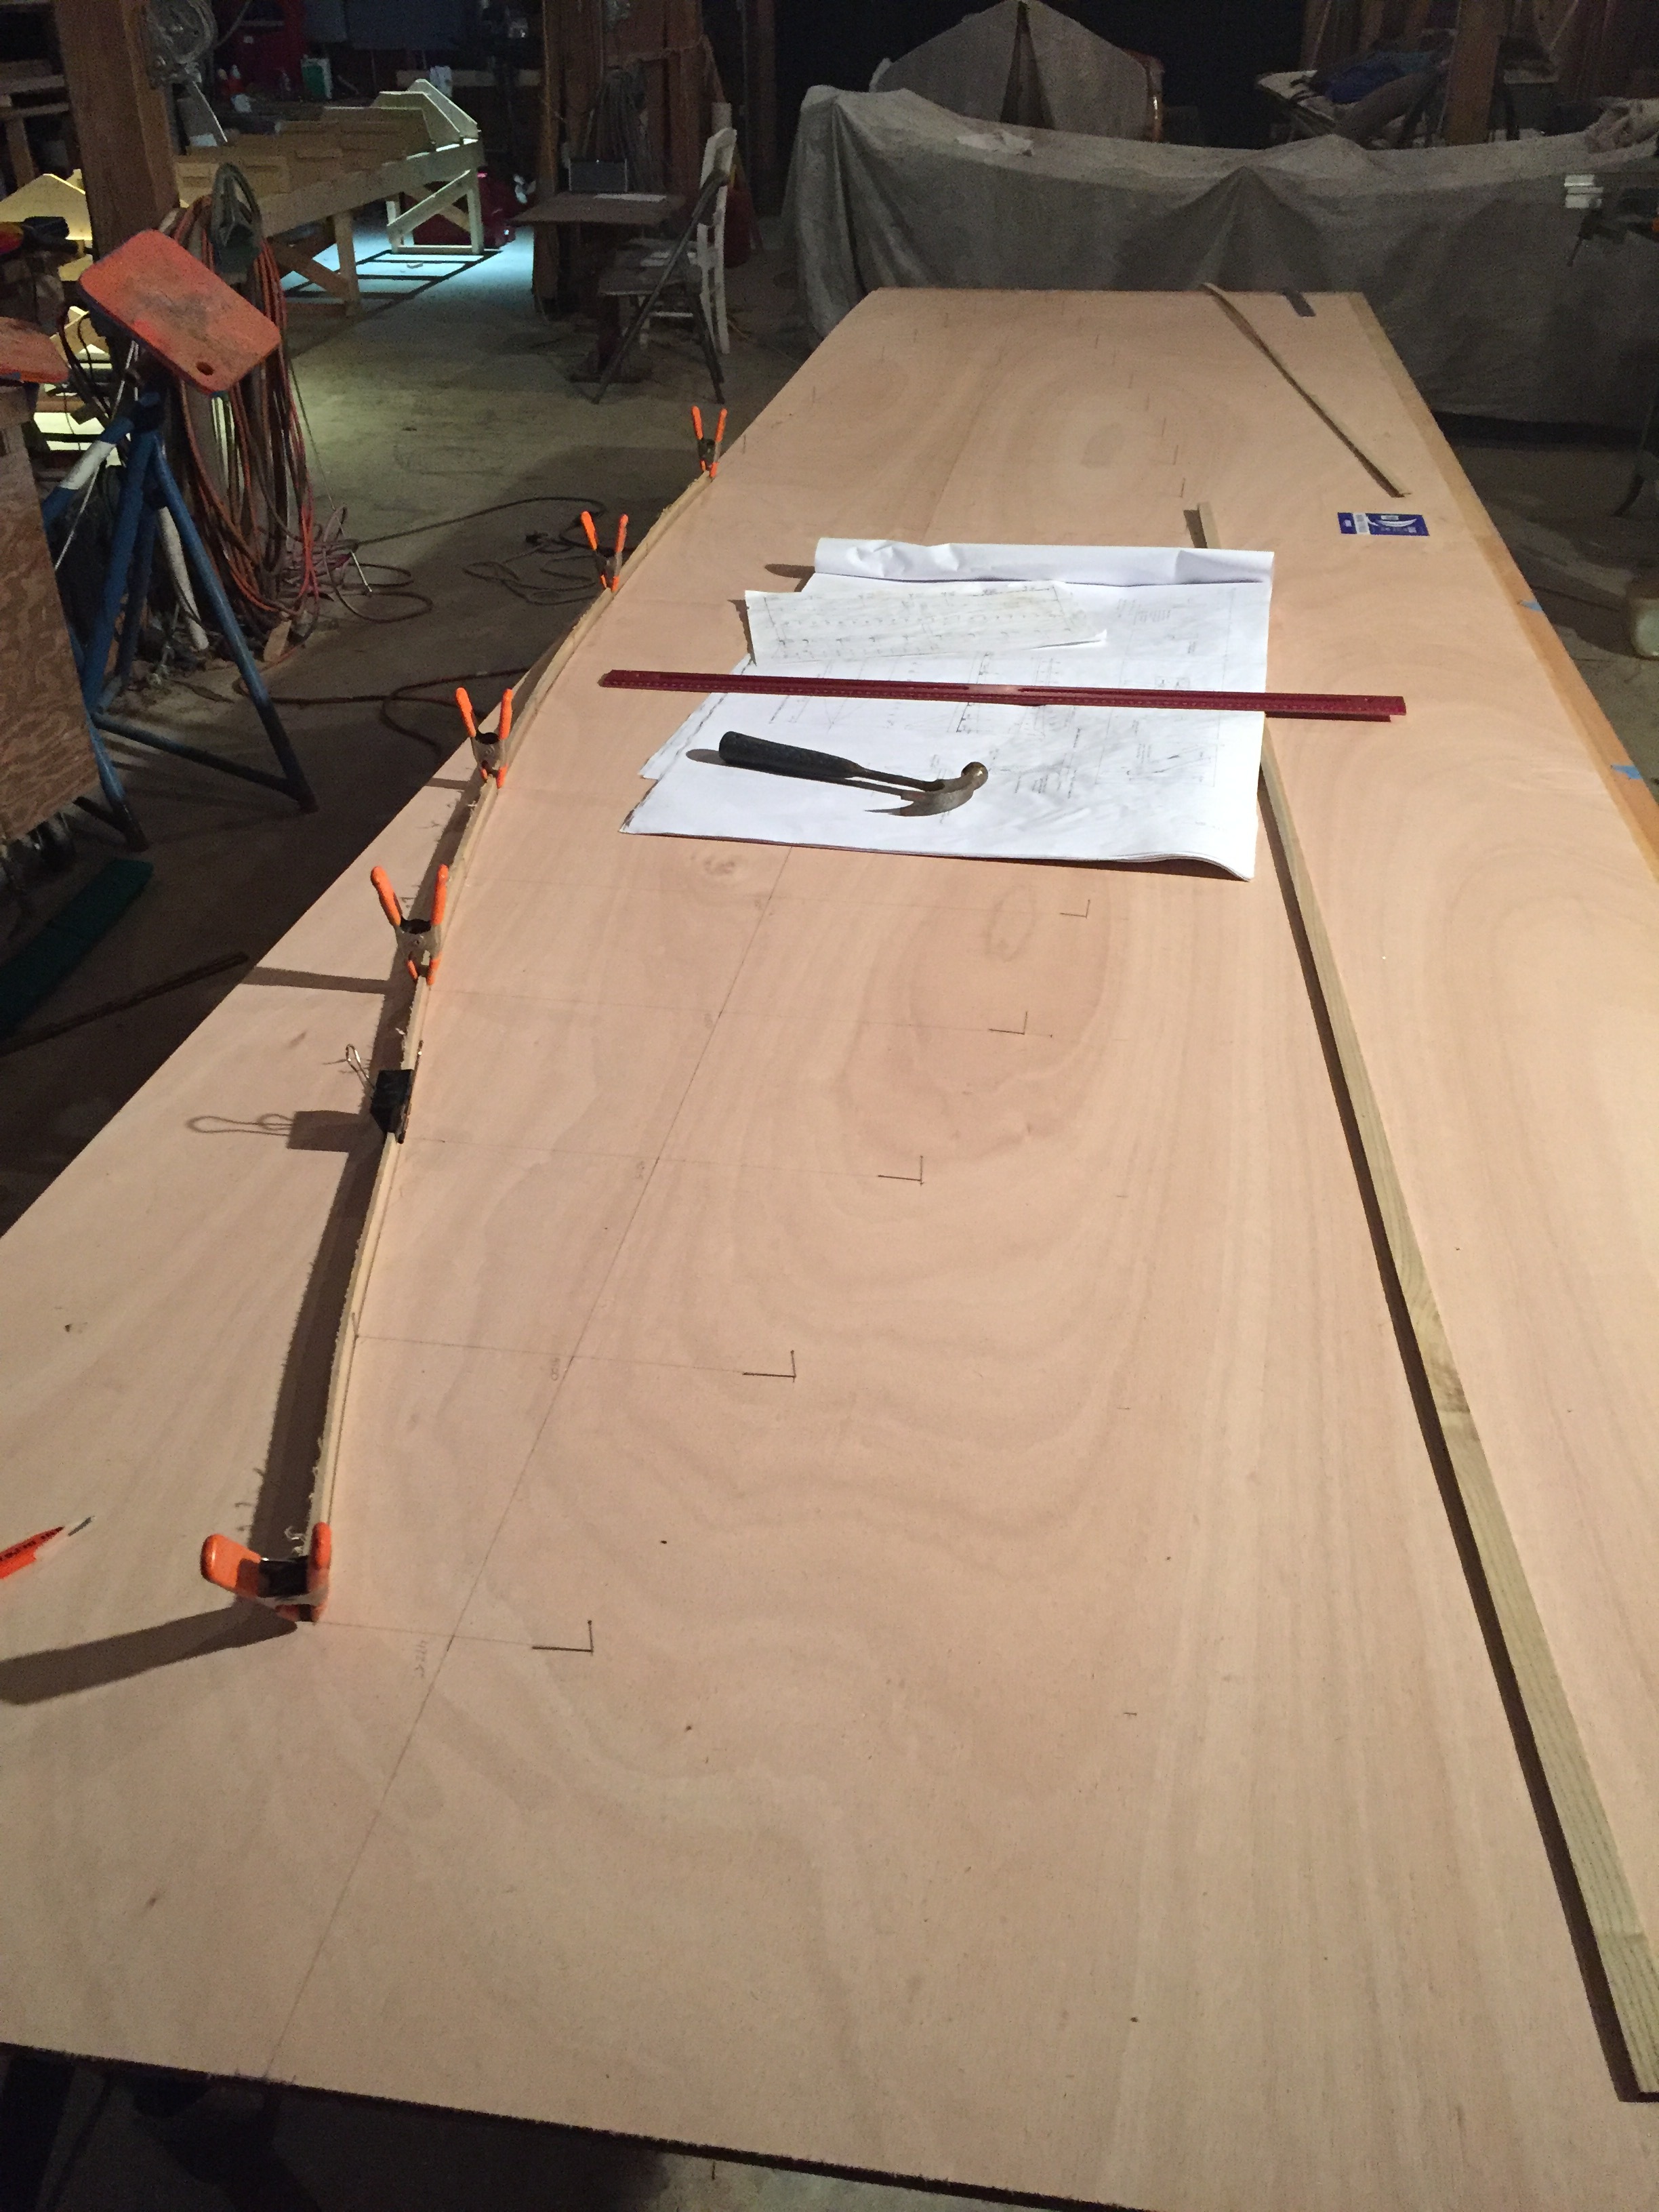
Cutting out the bottom of the boat using a spline run along small nails to get a smooth curve:
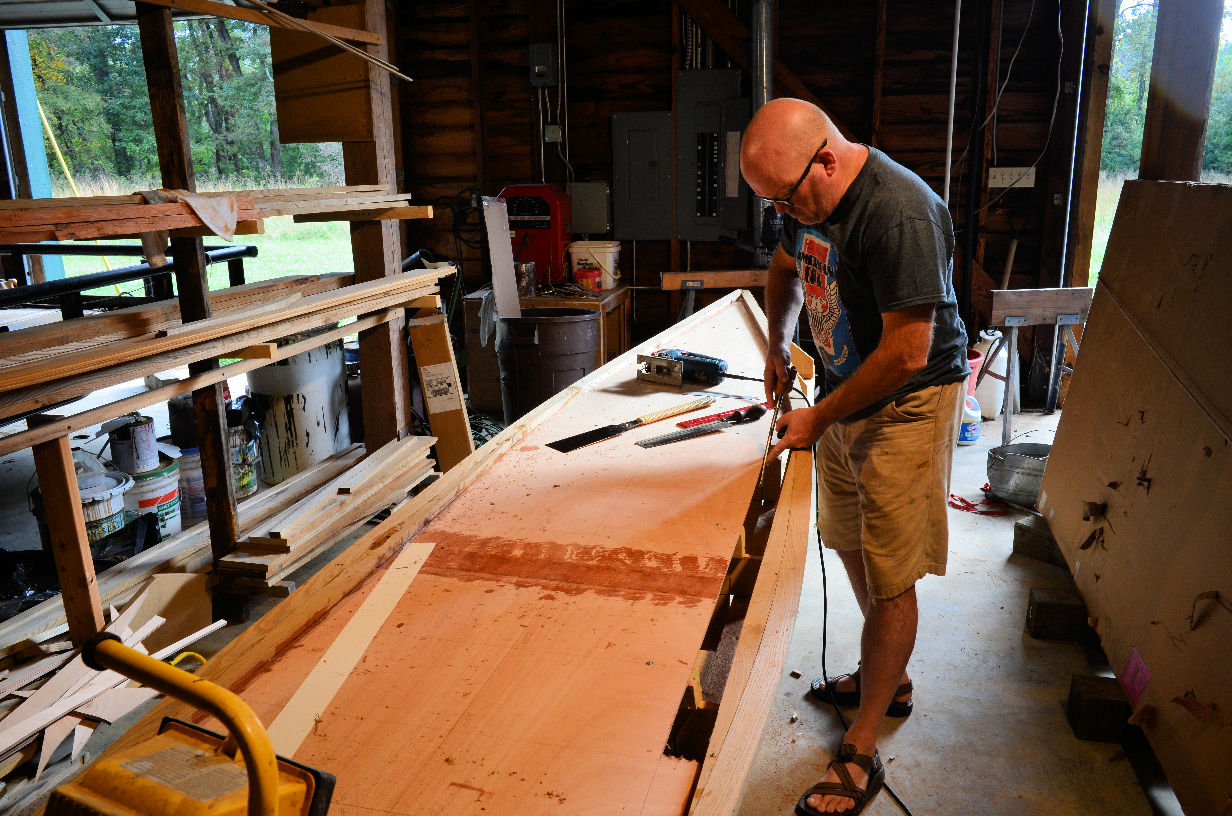
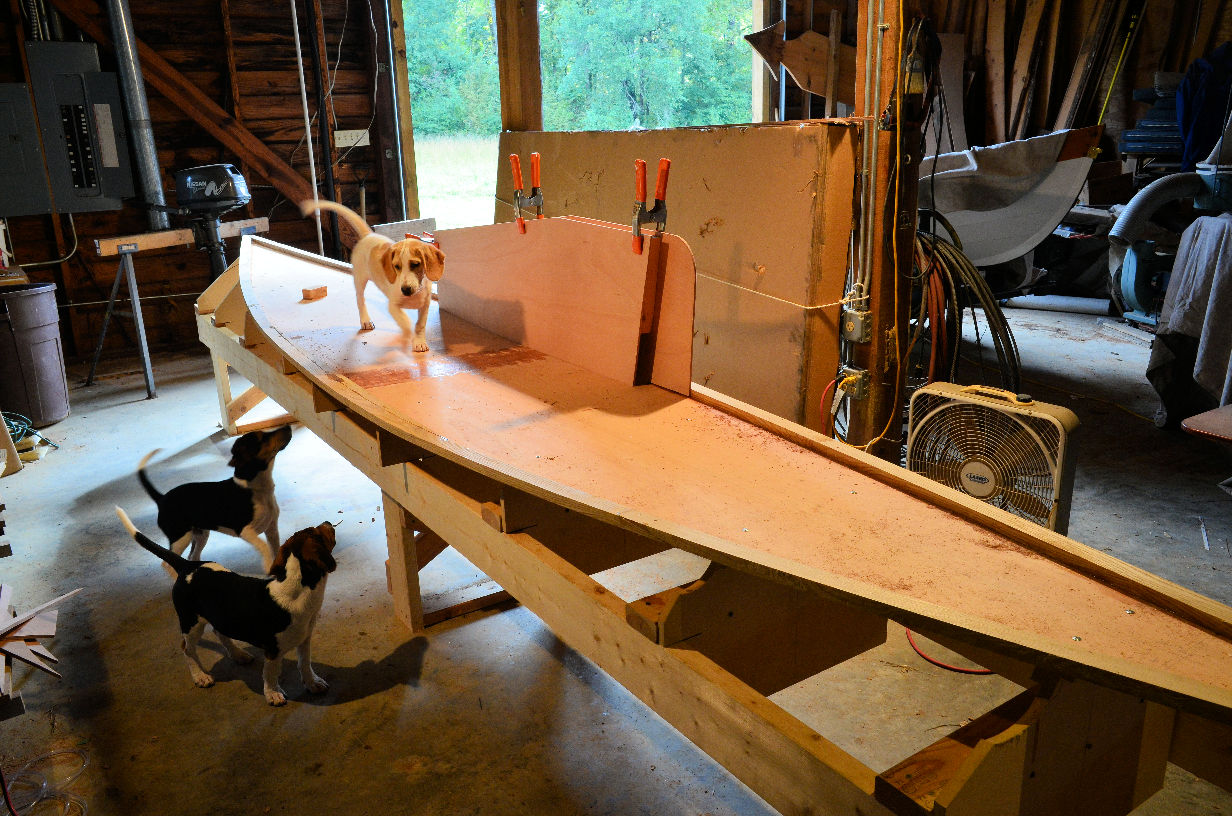
Mounting it on the base so it now has the correct curve:
Attaching the chine rail to the base. All of the bulkheads will lock into place between them and the bottom plank will attach to it:
Cutting a slot for the leeboard case:
Dry fitting the leeboard case:
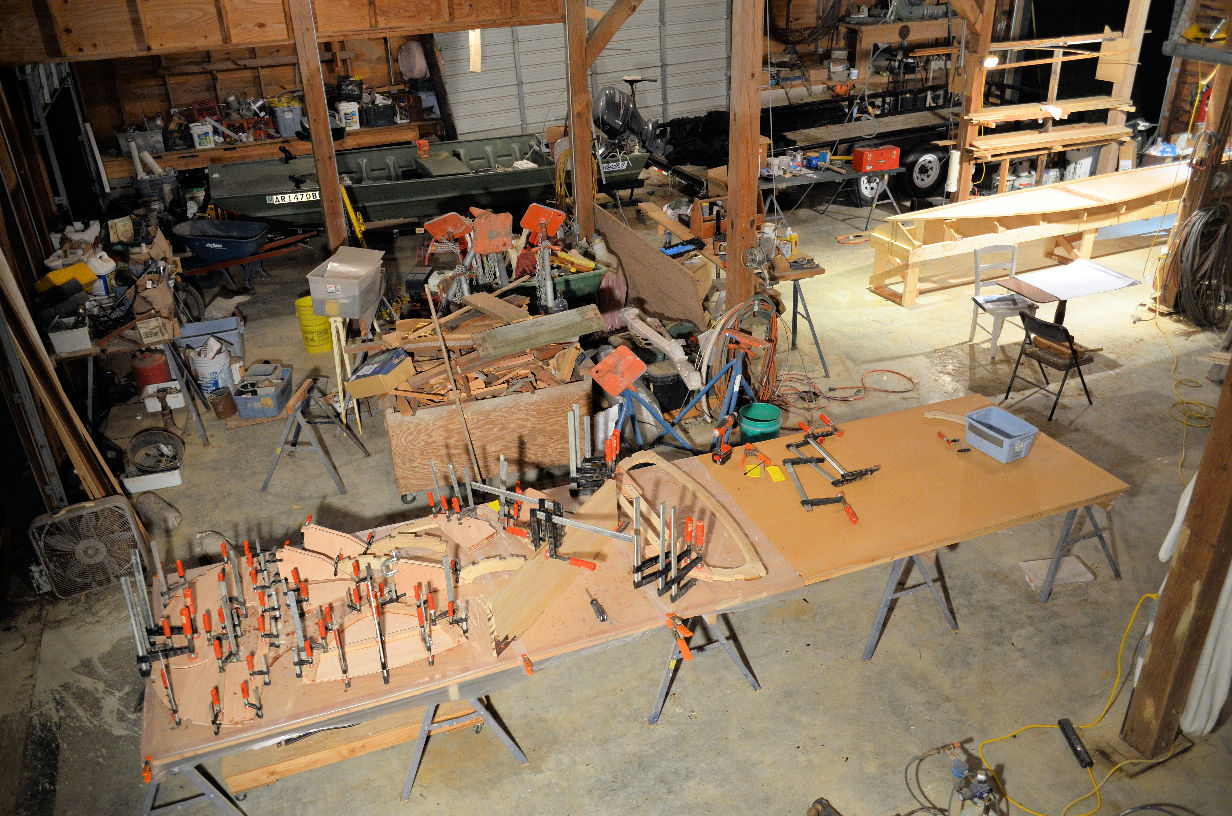
Gluing up some of the bulkheads made from sassafras:
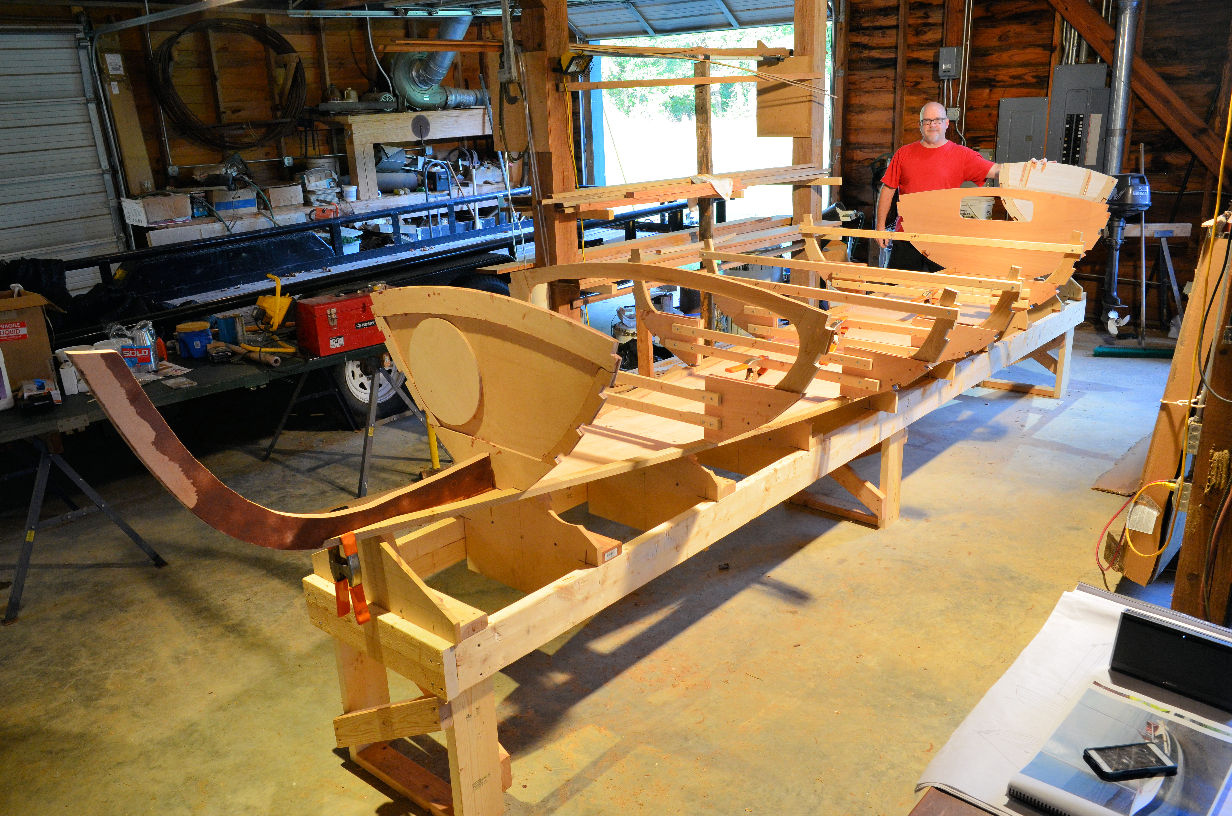
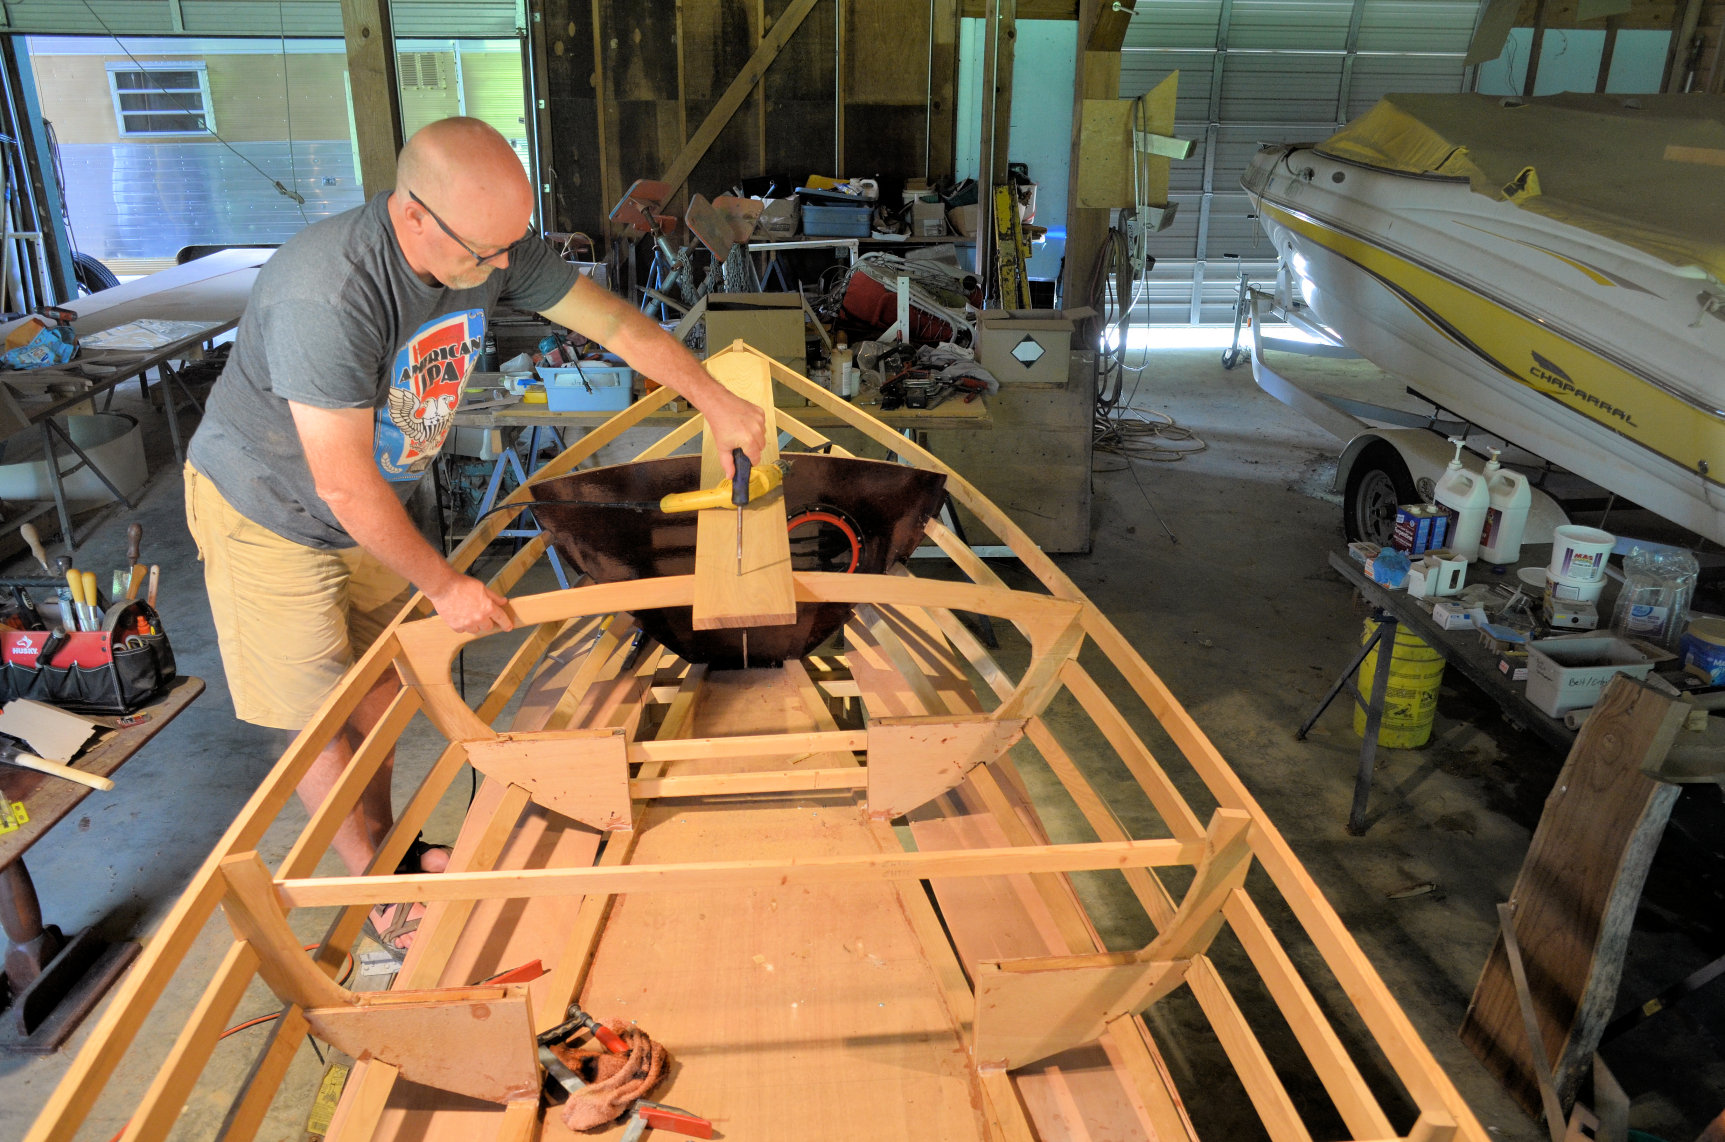
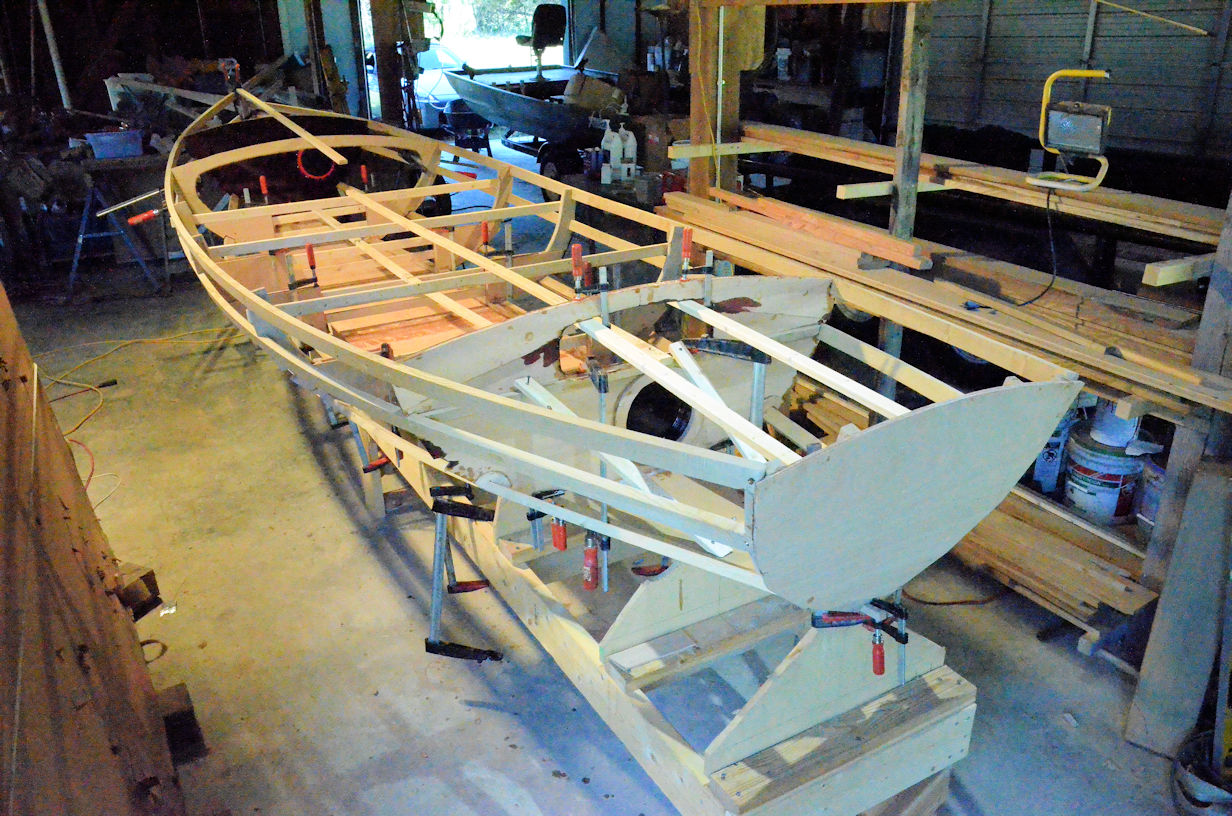
Dry fitting the bulkheads, transom and the bow. The boat will have watertight storage at the bow & stern that will also double as flotation chambers:
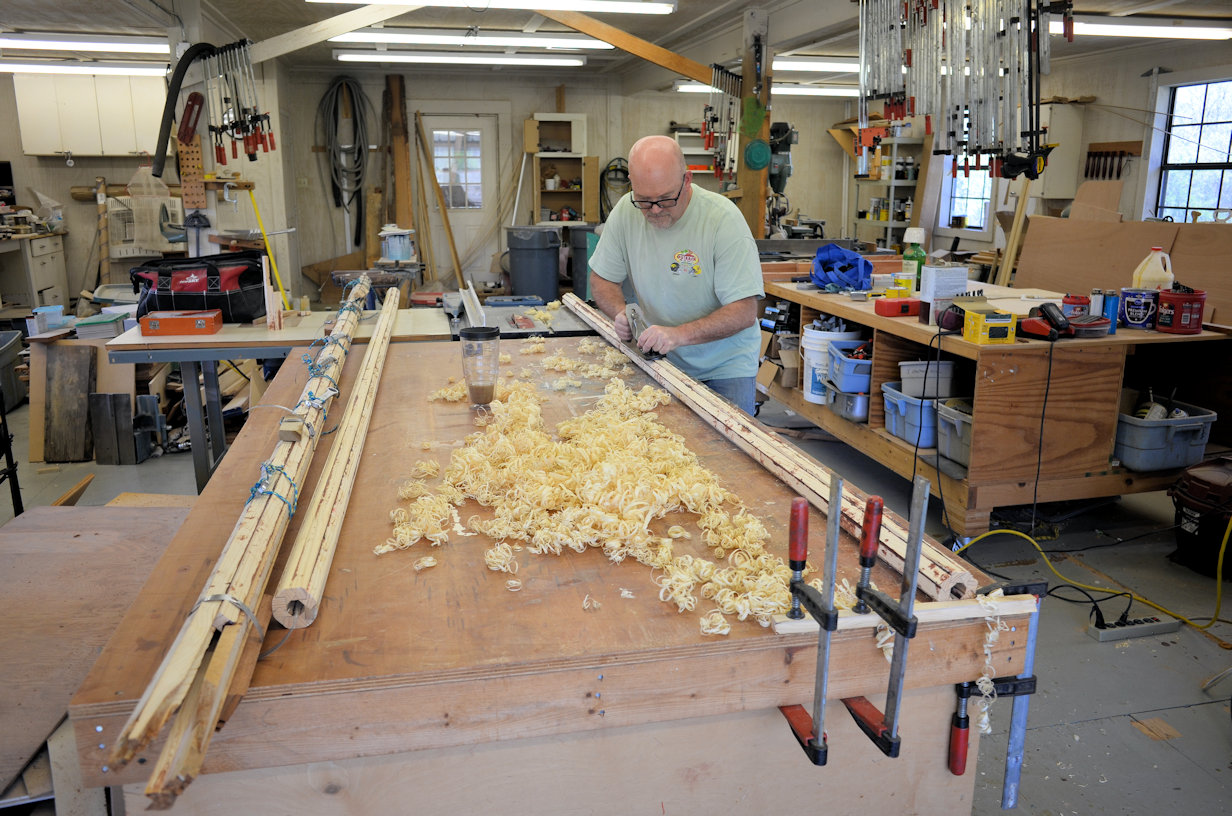
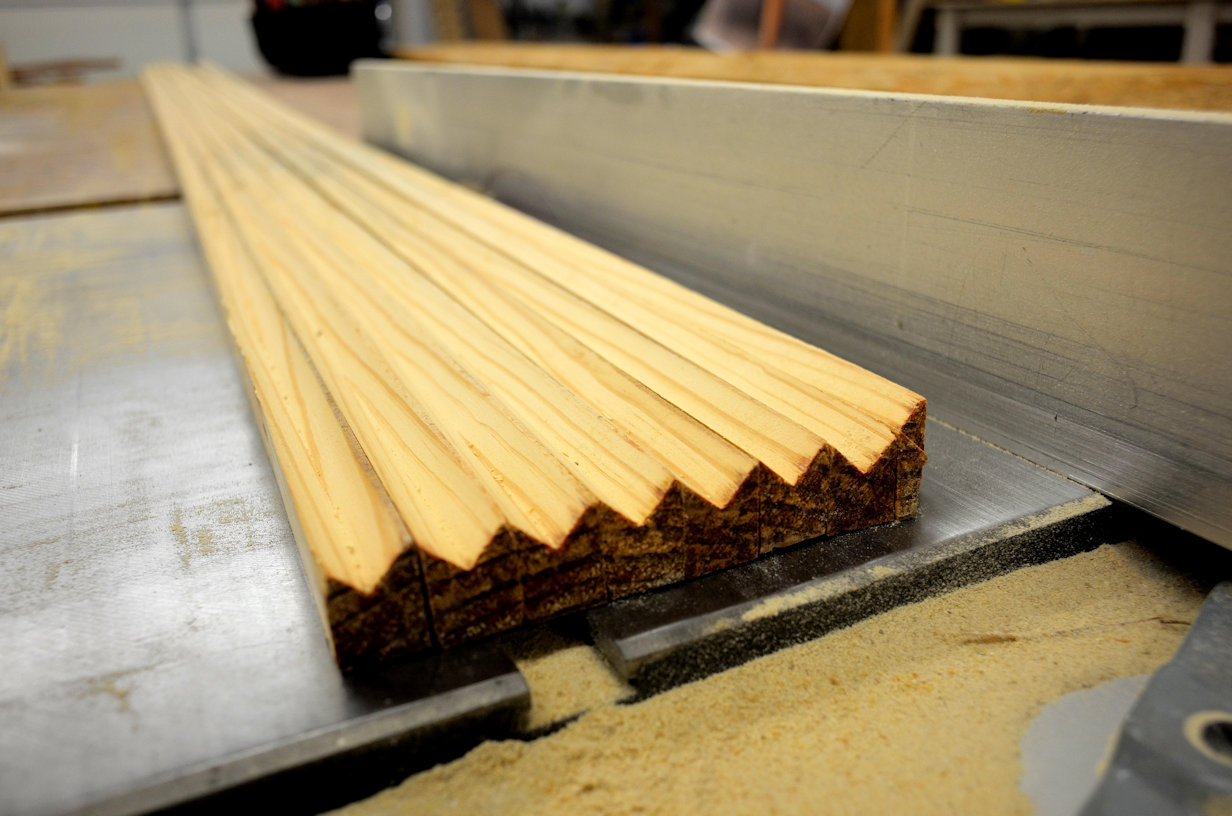
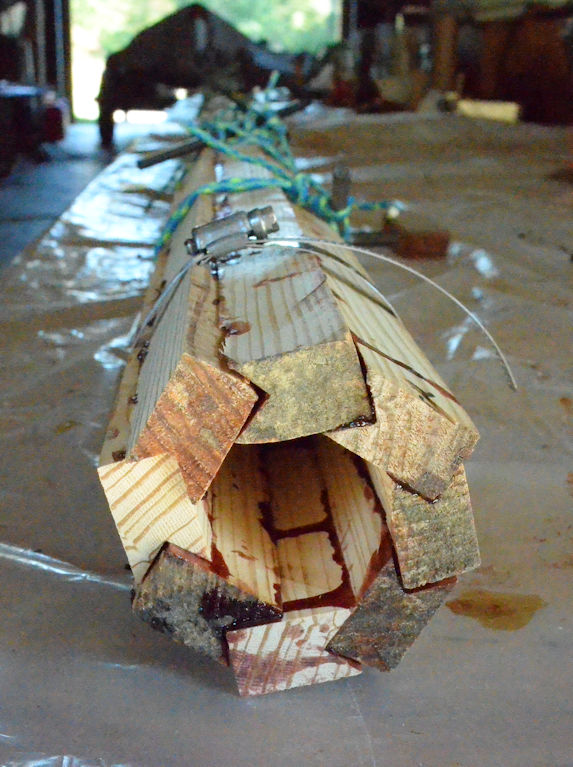
Here I’m doing some additional work on the mizzen mast, boom & gaff:
Documenting the build both digitally and with B&W film:
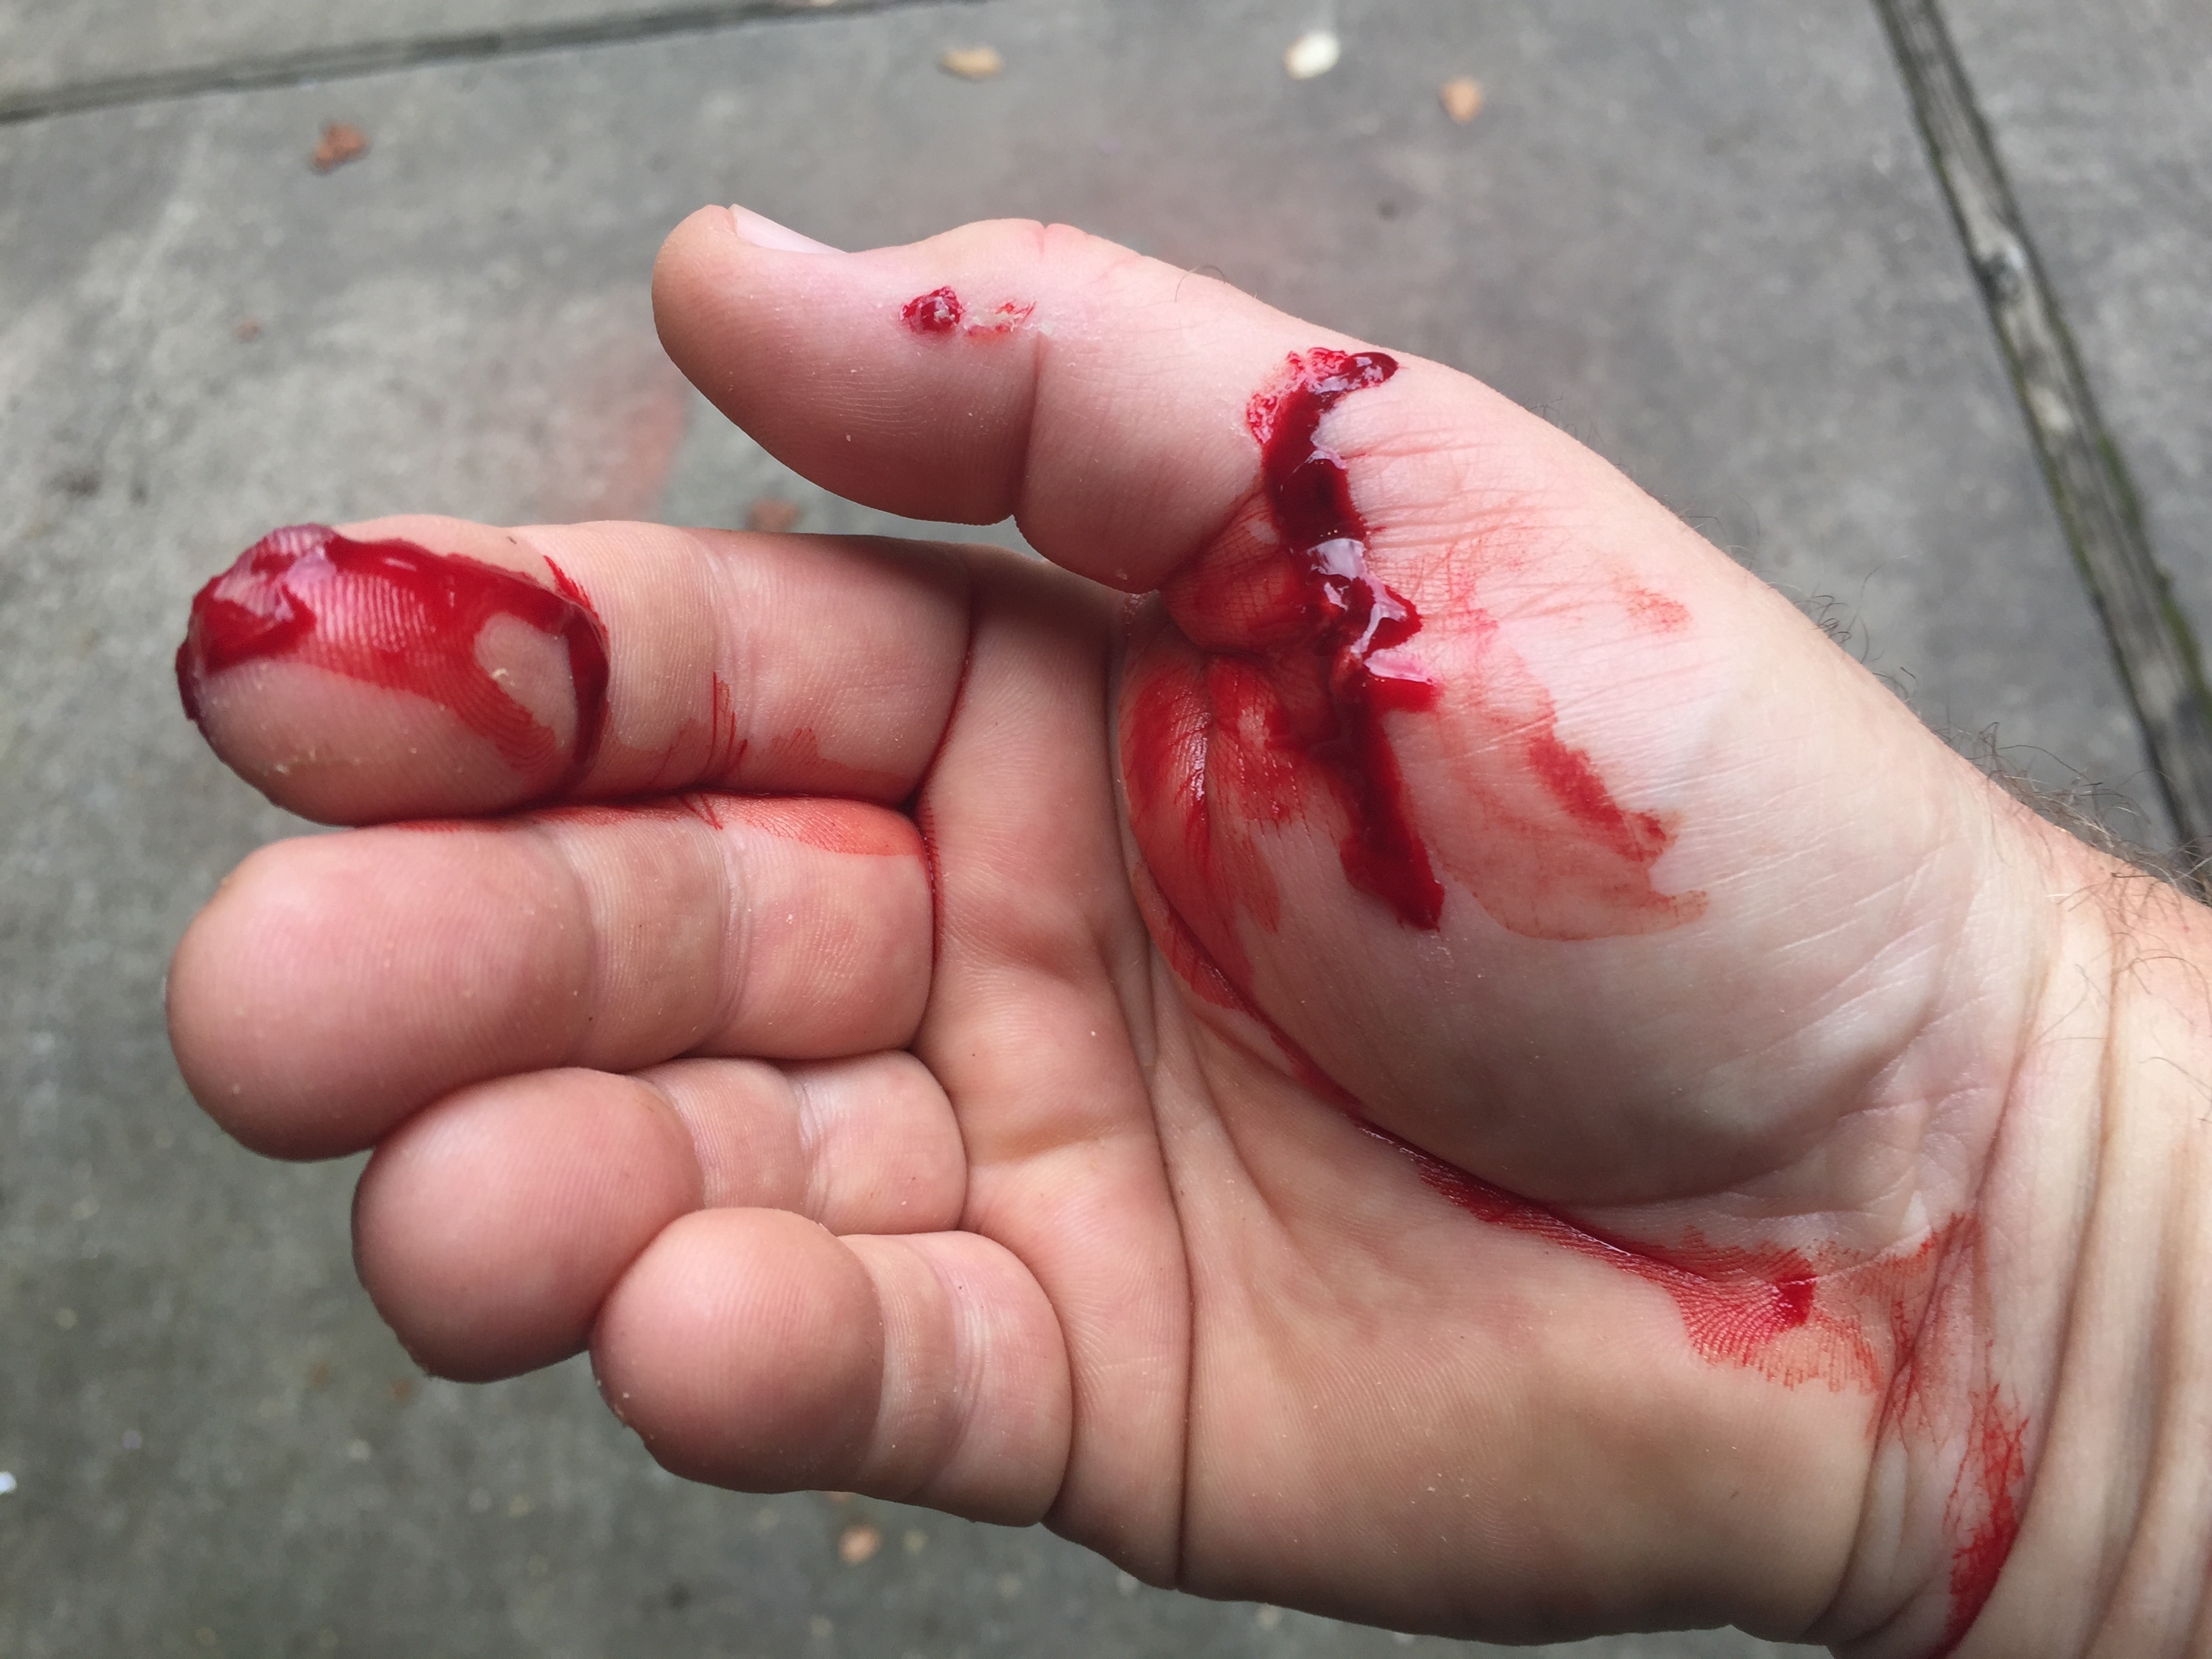
A word of warning on shop safety. No matter how careful you are, in certain situations everything can be going well and suddenly a kickback can catch you totally by surprise. My whole hand is starting to swell:
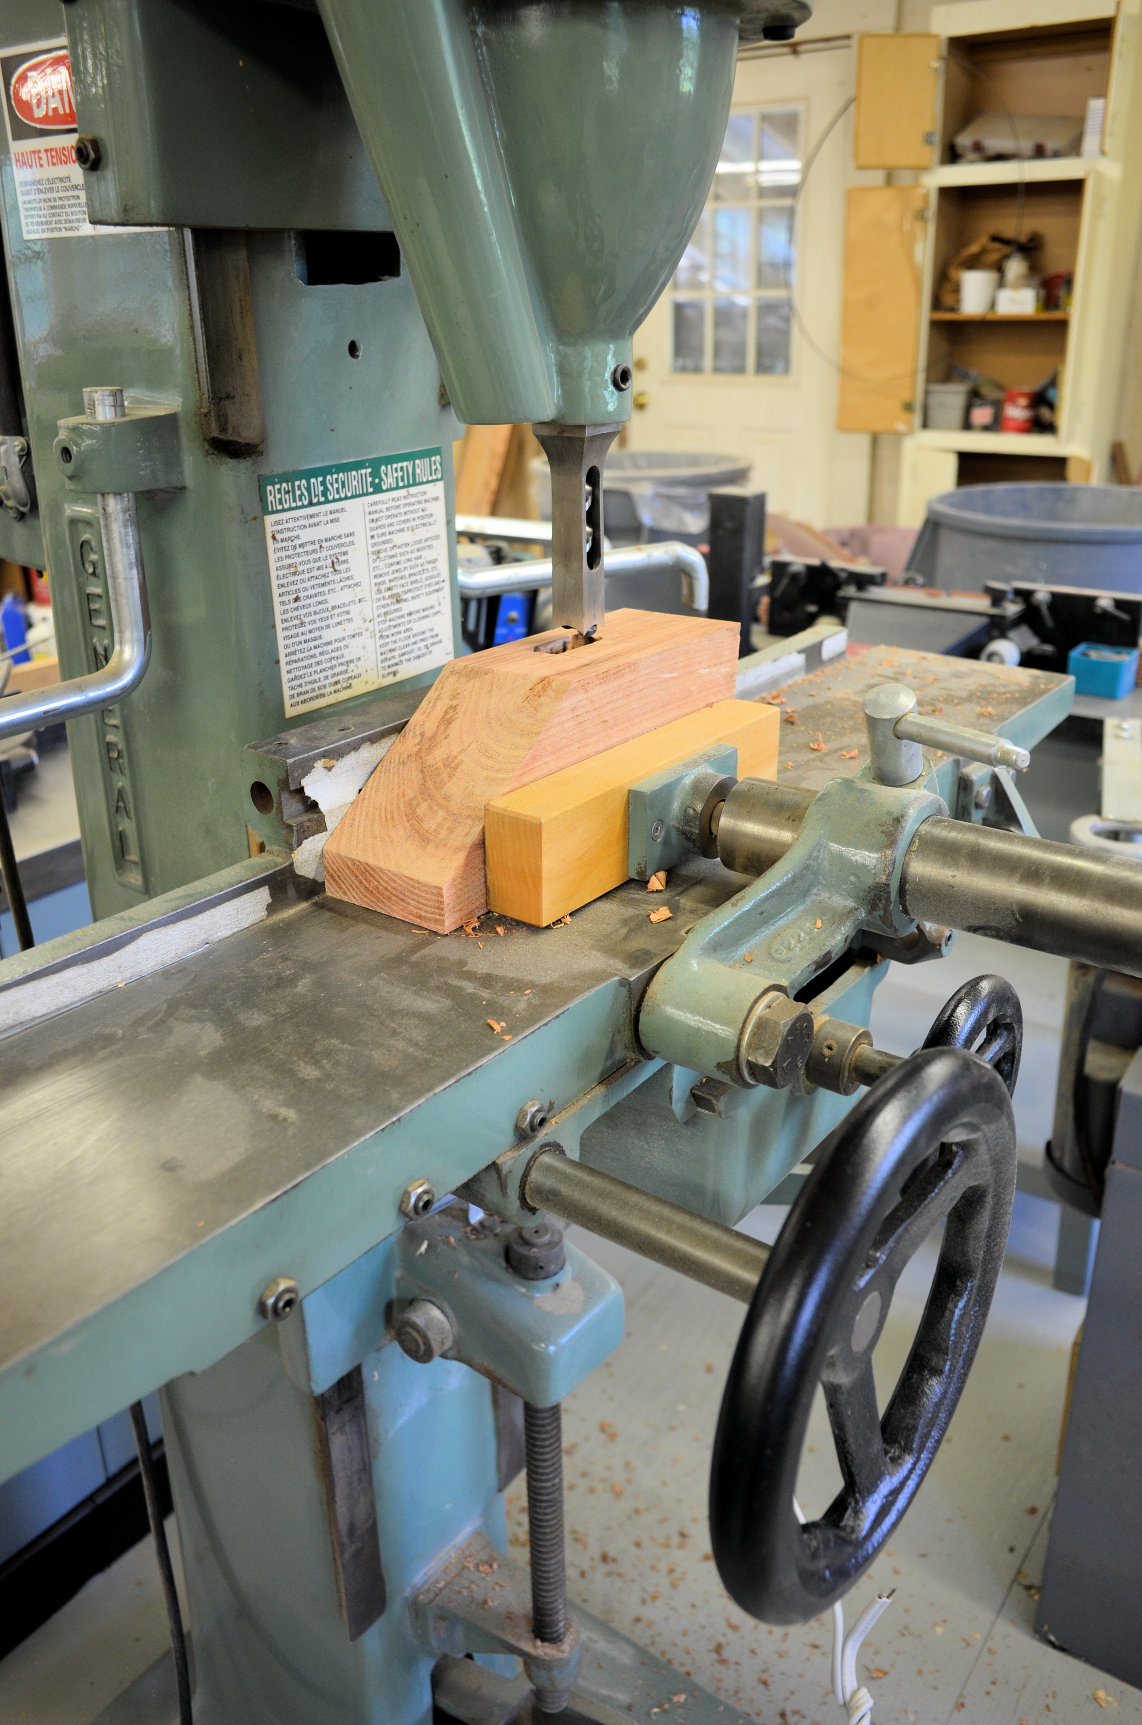
Using a mortiser to cut a square hole to lock the base of the mast into this mast step made out of black locust:
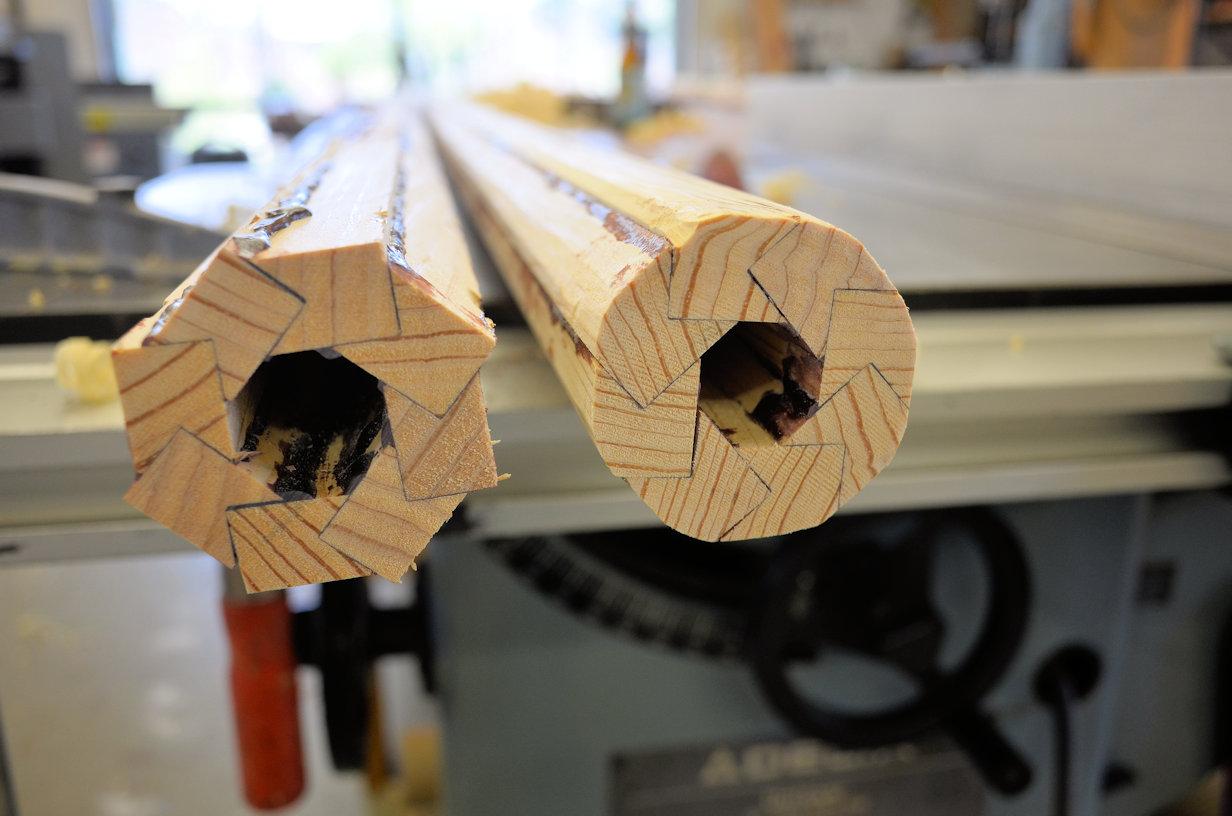
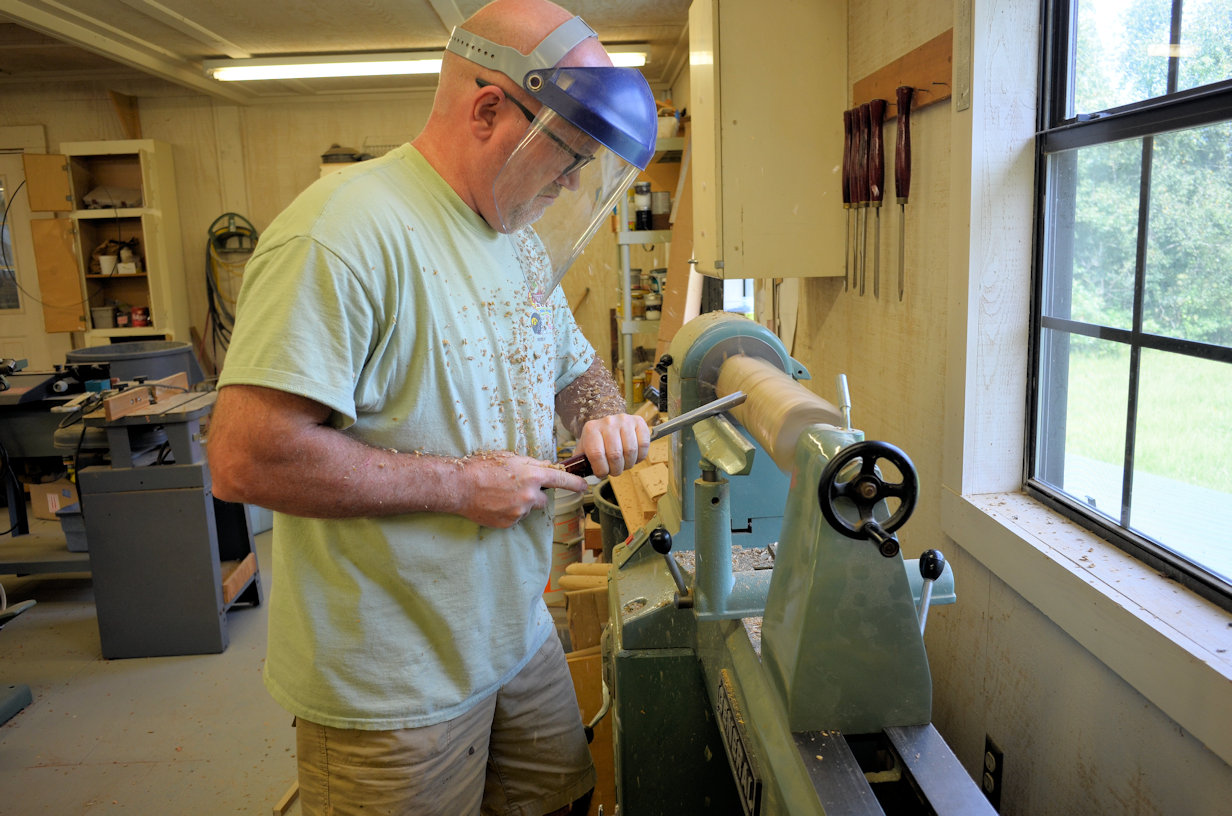
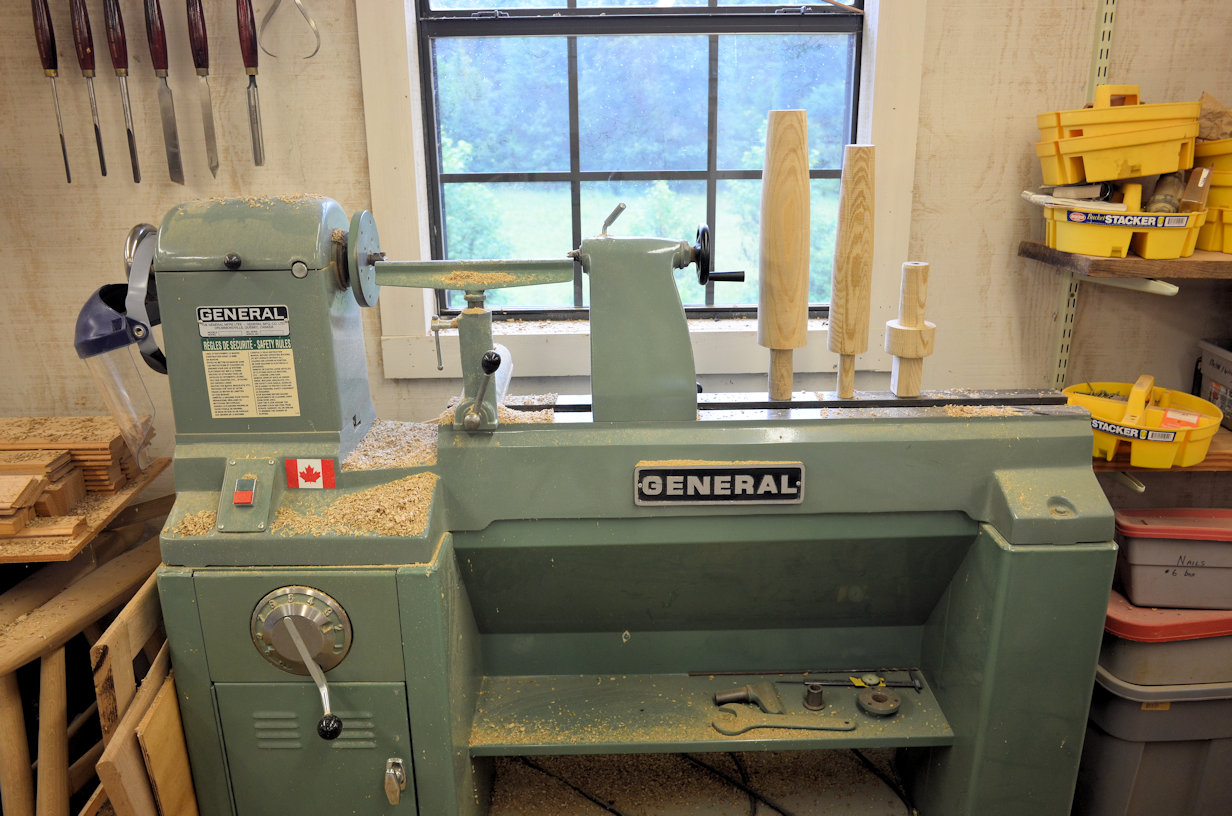
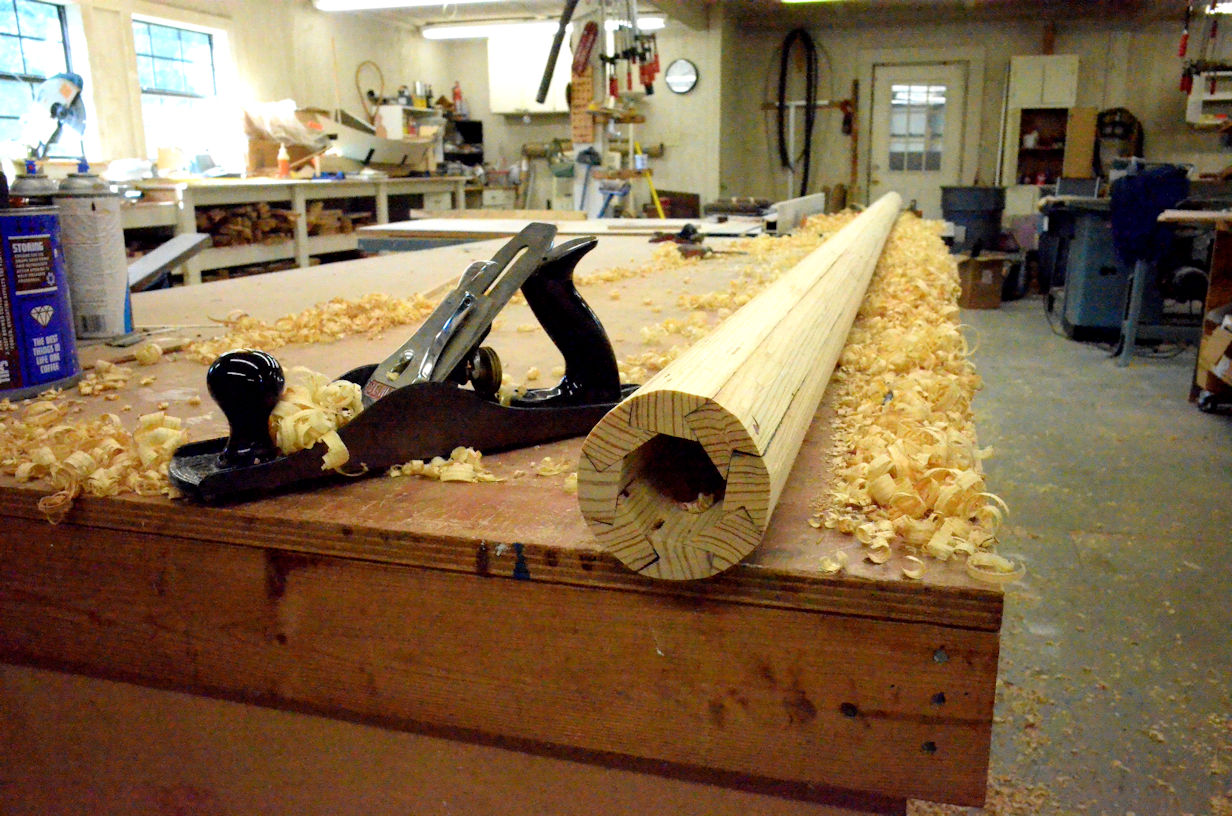
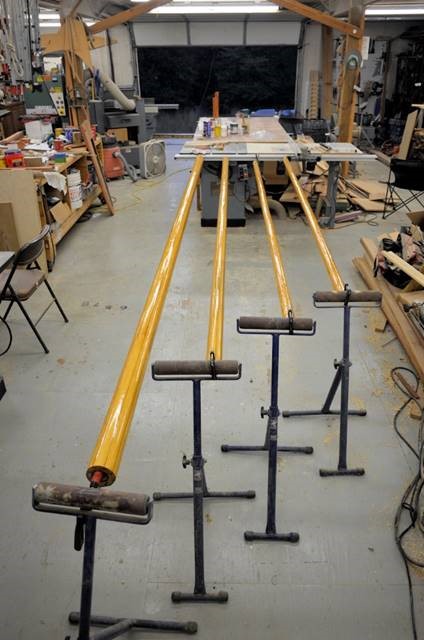
Turning the mast tips and the mast base:
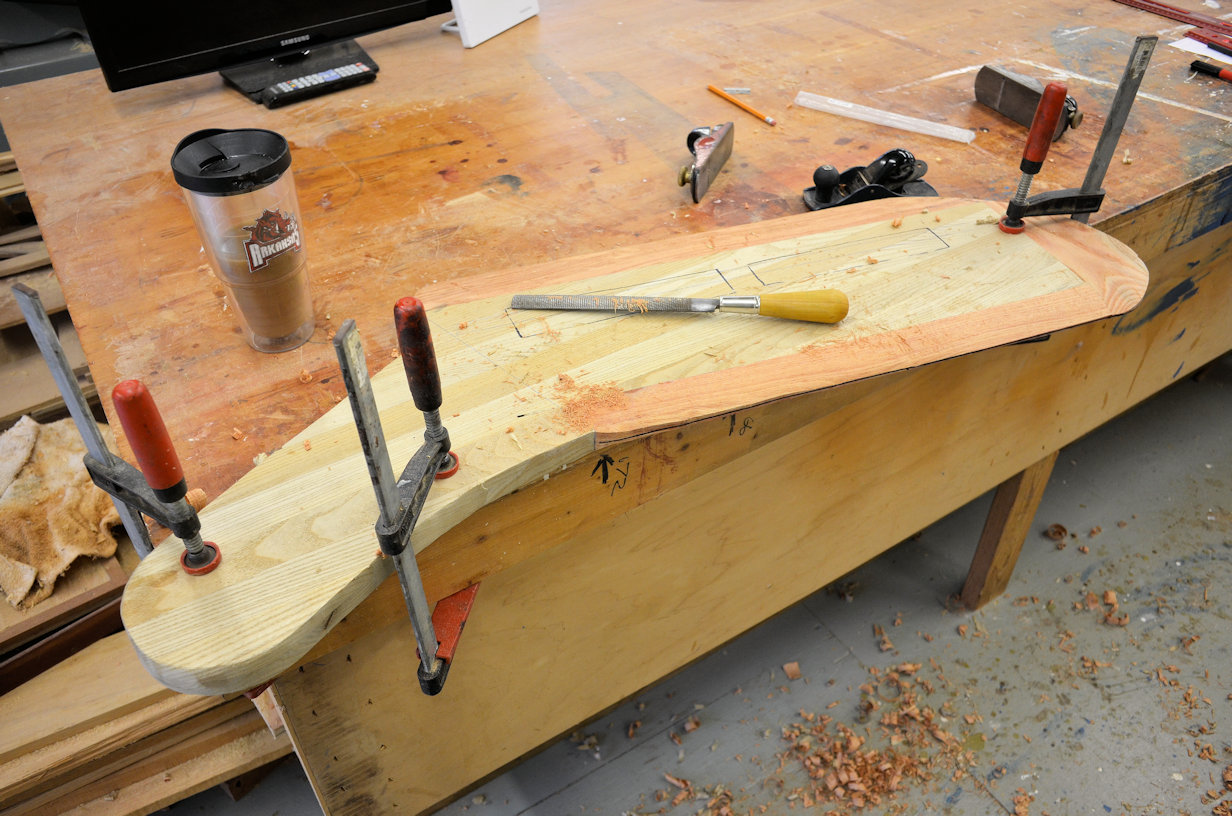
Shaping the kick-up rudder. The rectangles define the location of the embedded lead ingots:
Installing the king plank. The temporary cross members you see will be removed later:
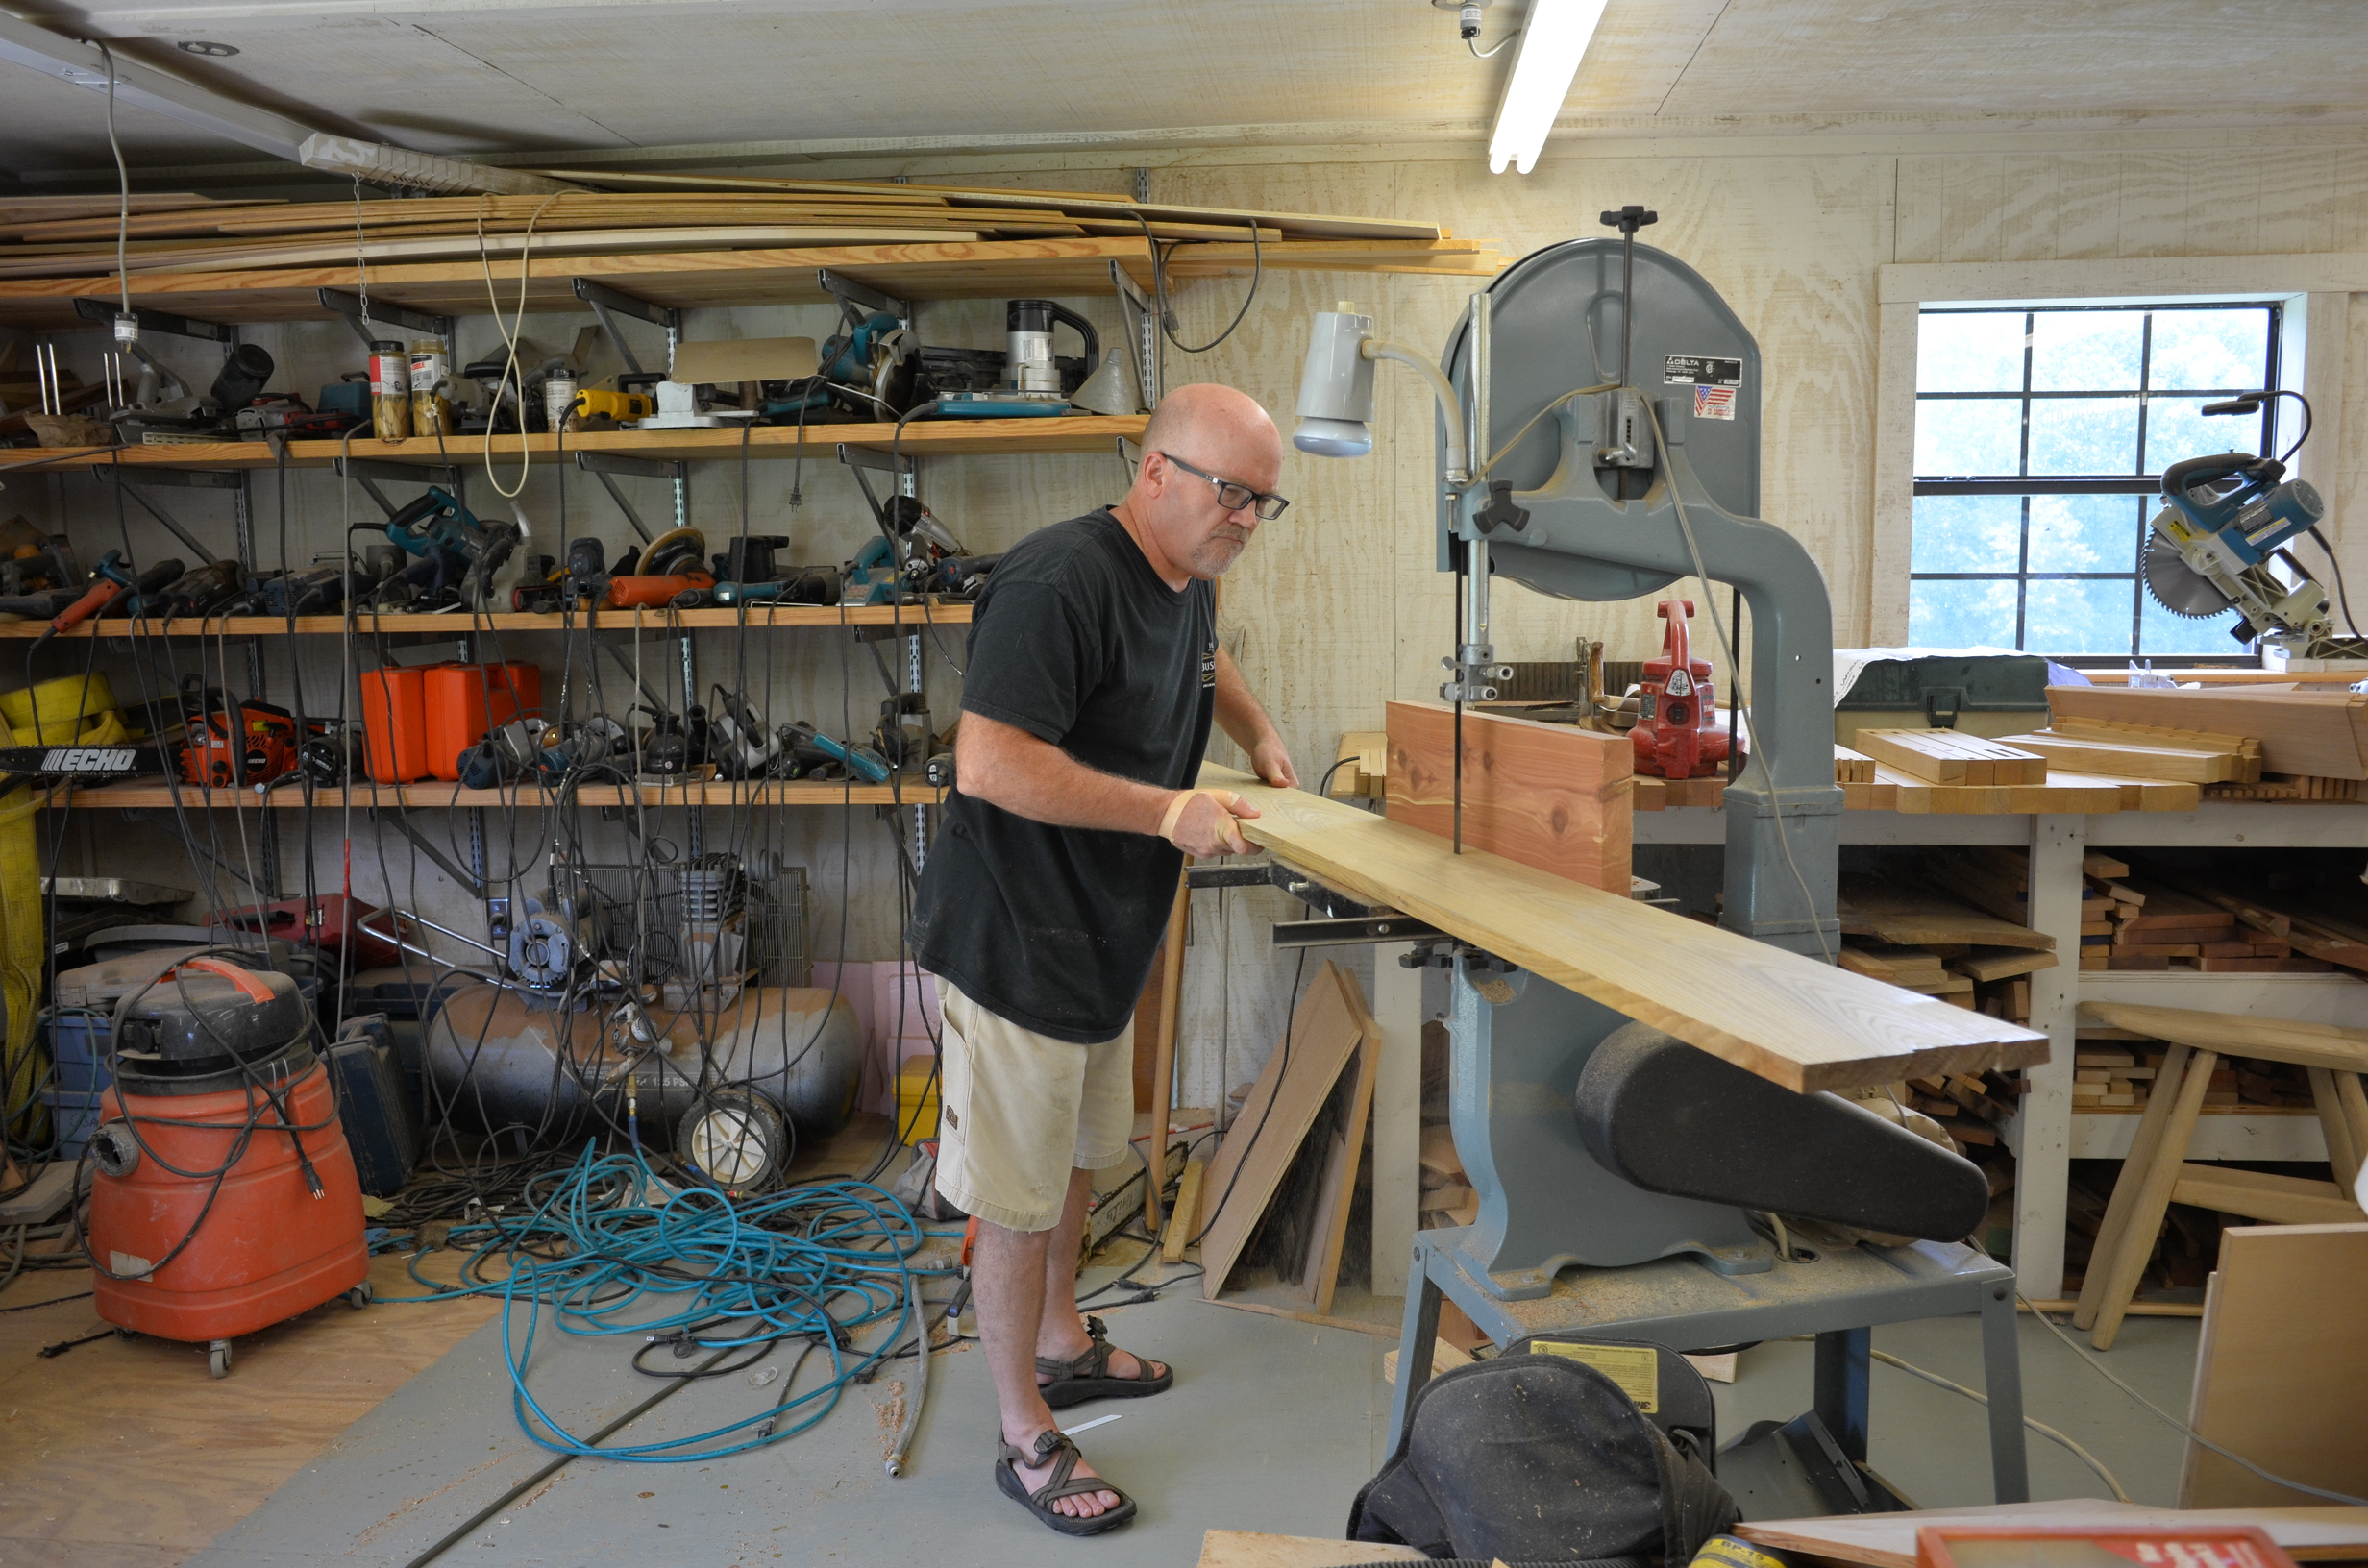
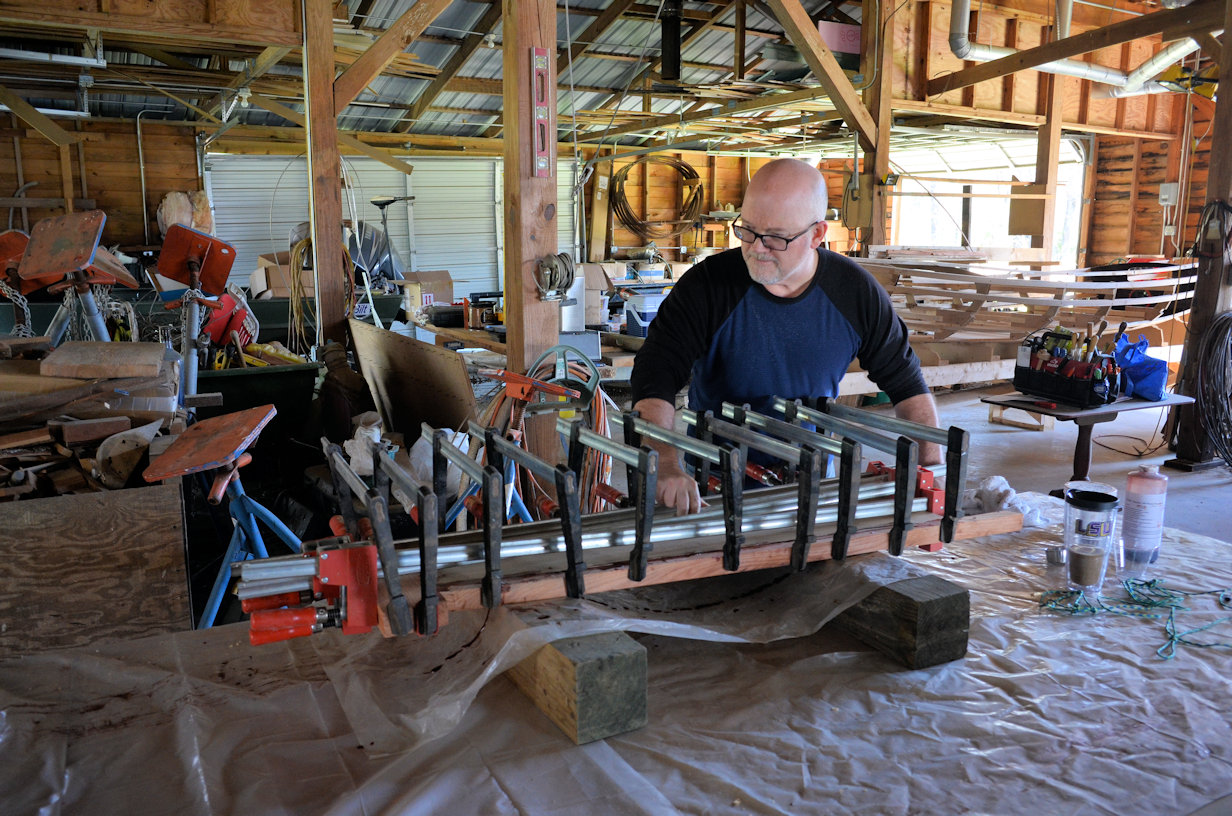
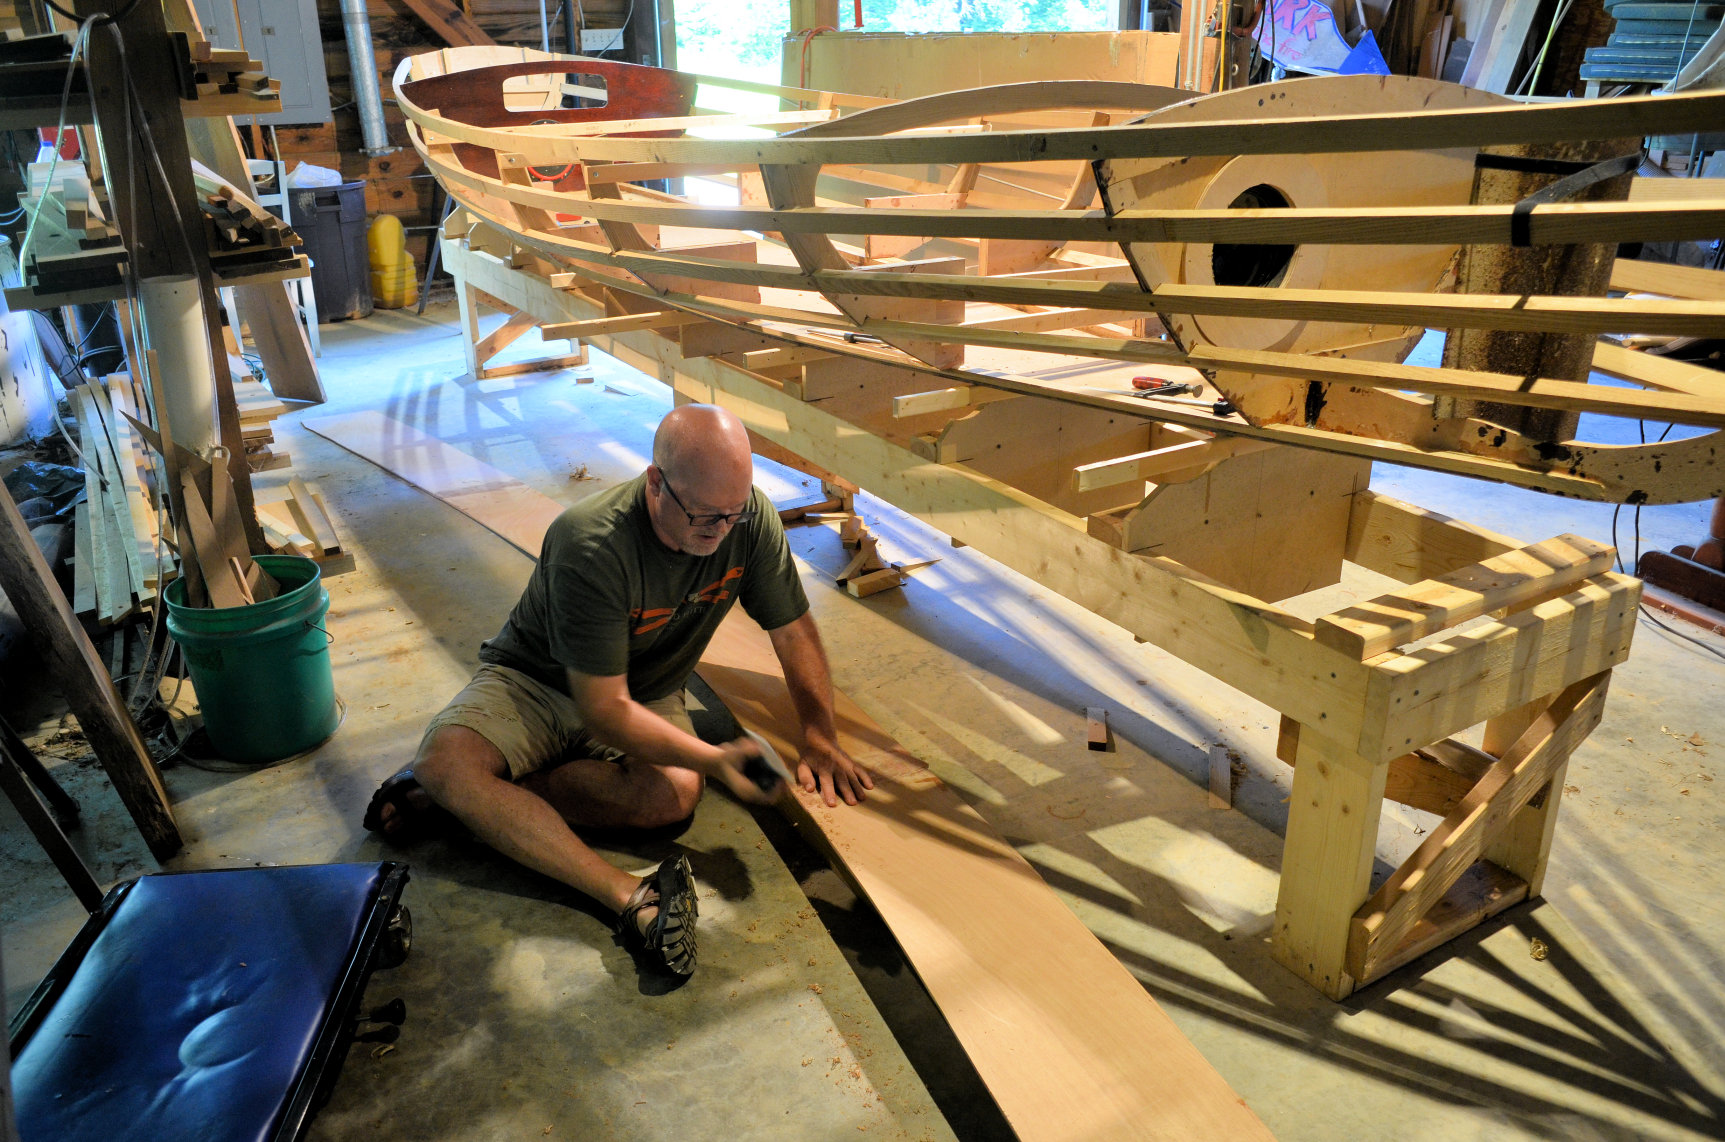
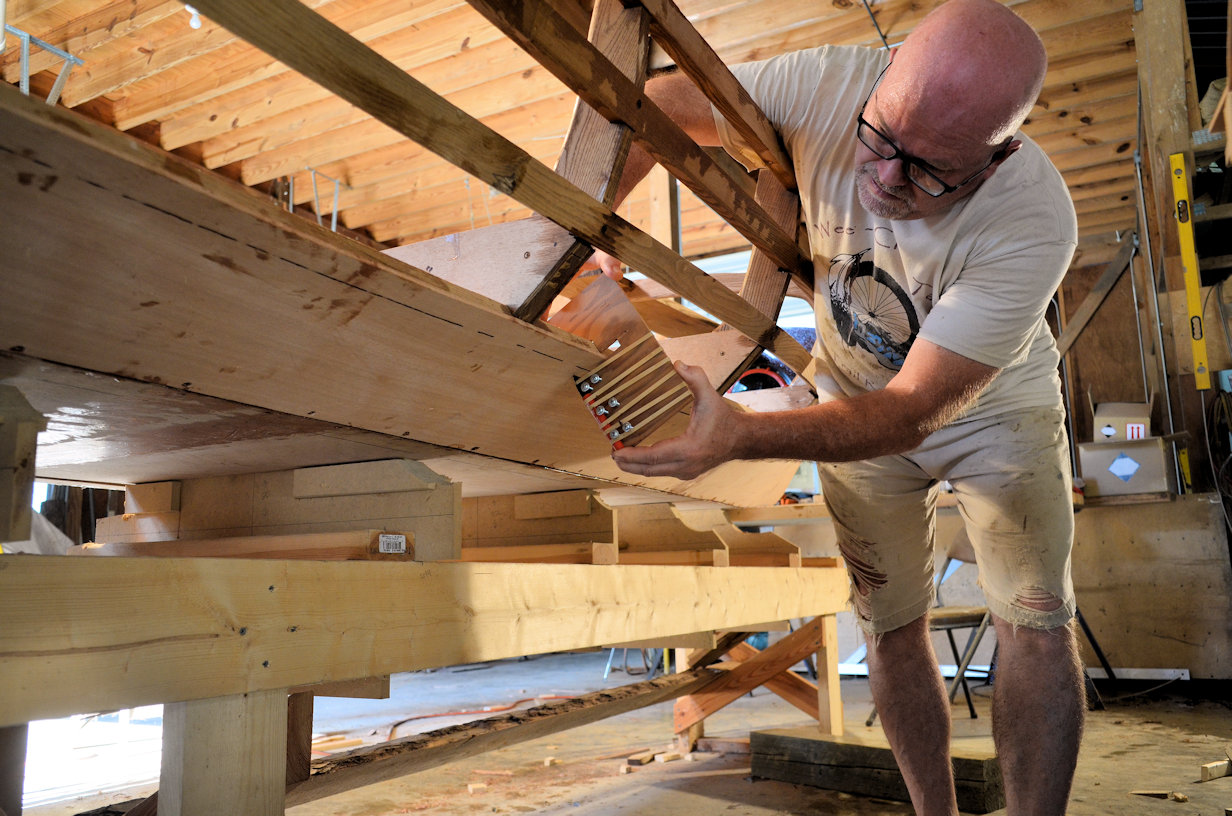
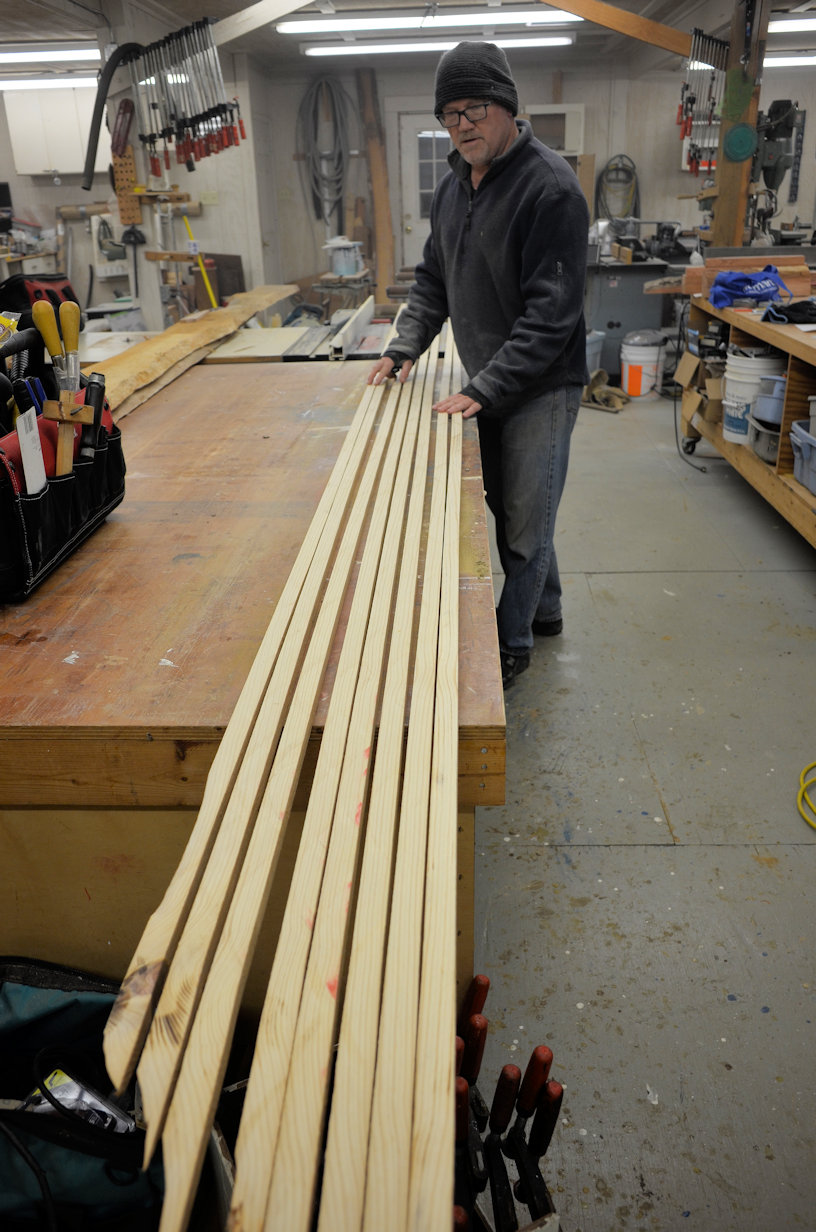
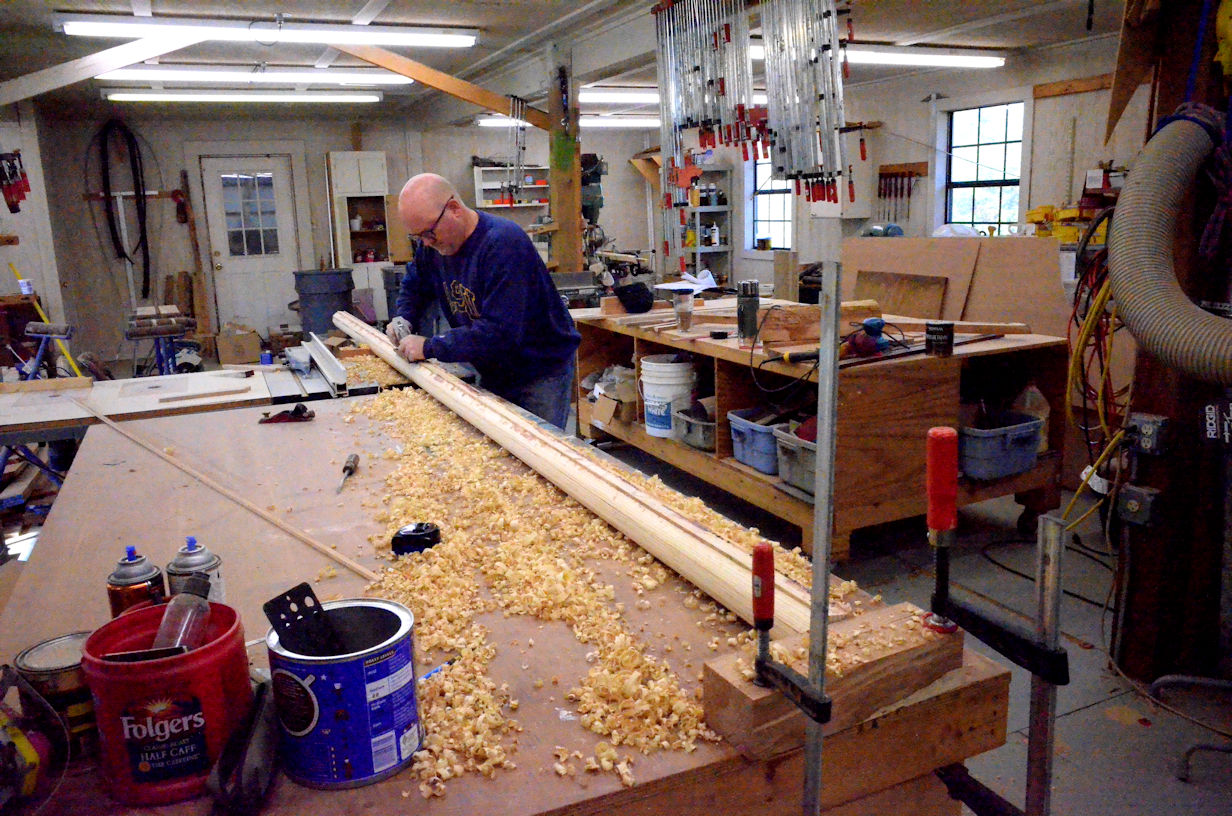
Dry fitting a long plank, examining it, removing it, hand planing & remounting it is a laborious process to do alone. Especially since you get to repeat it often:
Having a couple of velcro straps to act as a pair of second hands helps:
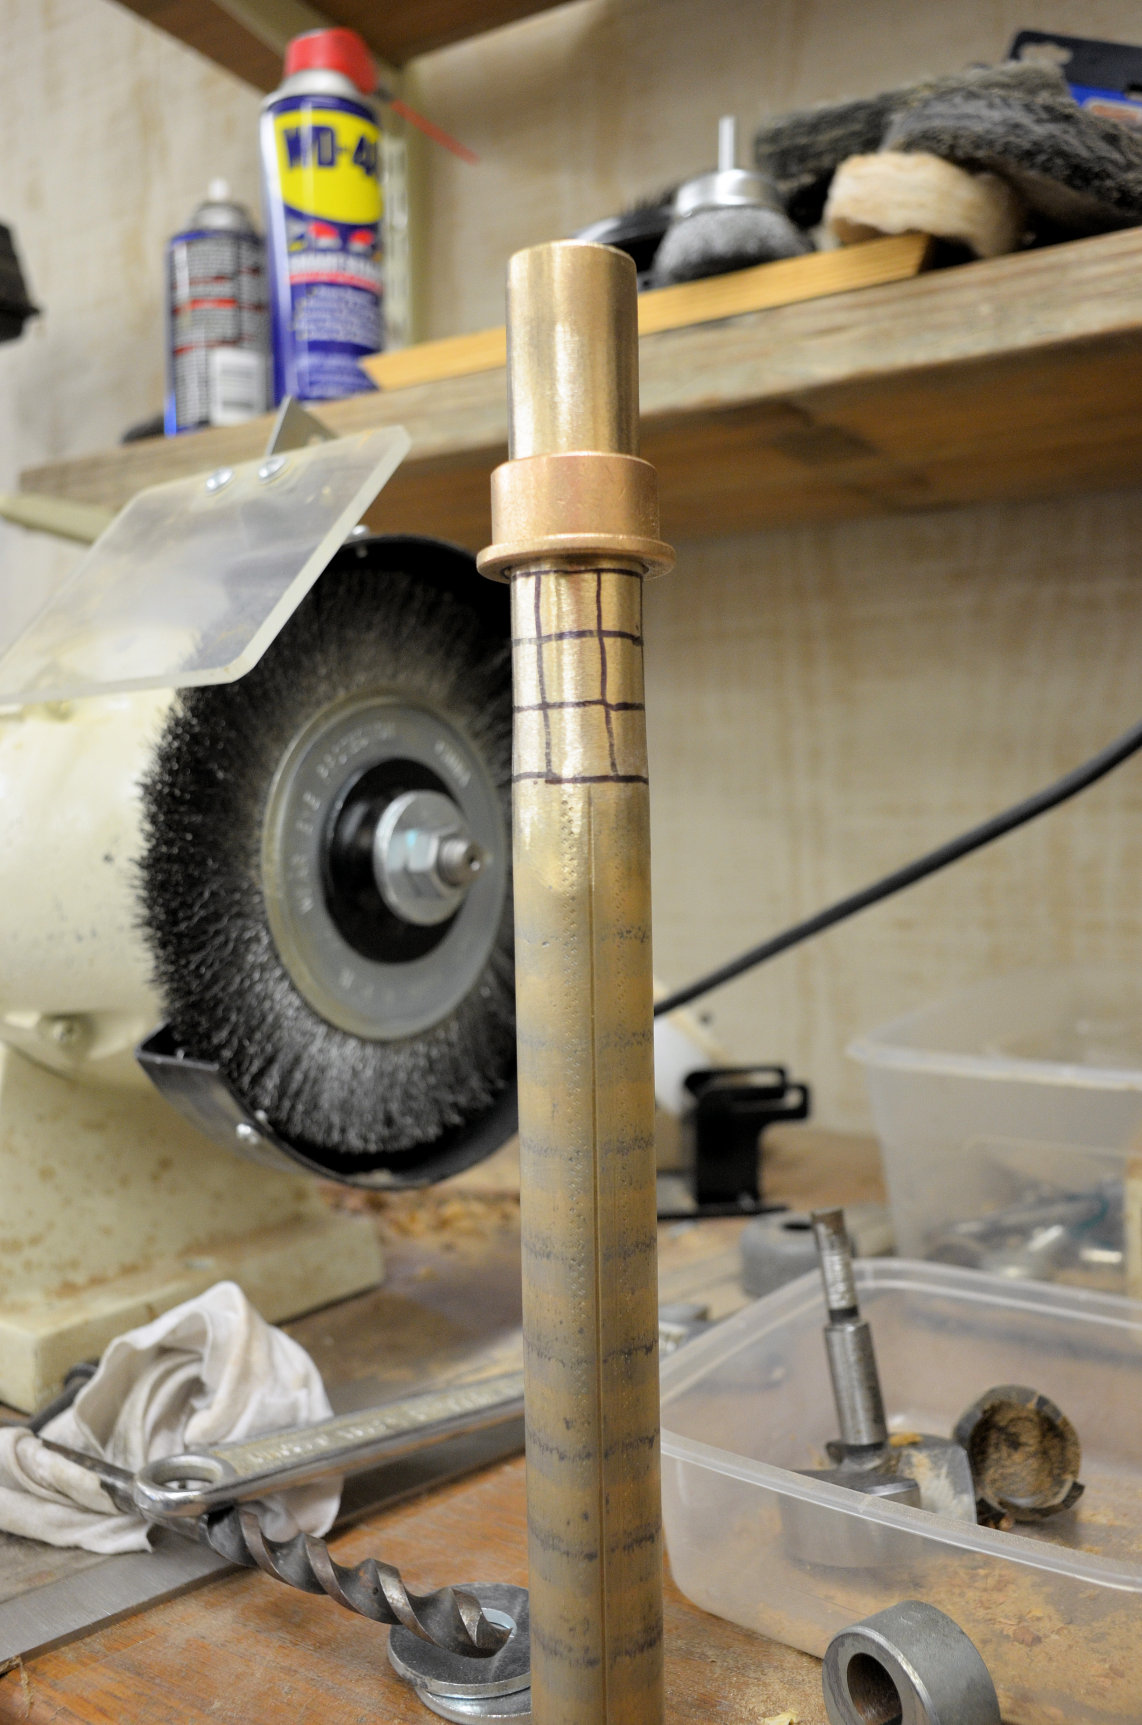
Marking the bronze pivot pin with a black Sharpie. Lightly buffing it to remove a thin layer so the collar will slide over it smoothly. Repeat until you’ve smoothed off the width of the leeboard case:
Dry fitting the leeboard case with the pivot pin and cardboard seat templates:
Using a handmade jig to mark the rib behind the plank for screw placement and planing for the next plank:
Using a tube from a shop vac as a temporary mizzen mast to test the installation of the queen plank & the removable boomkin:
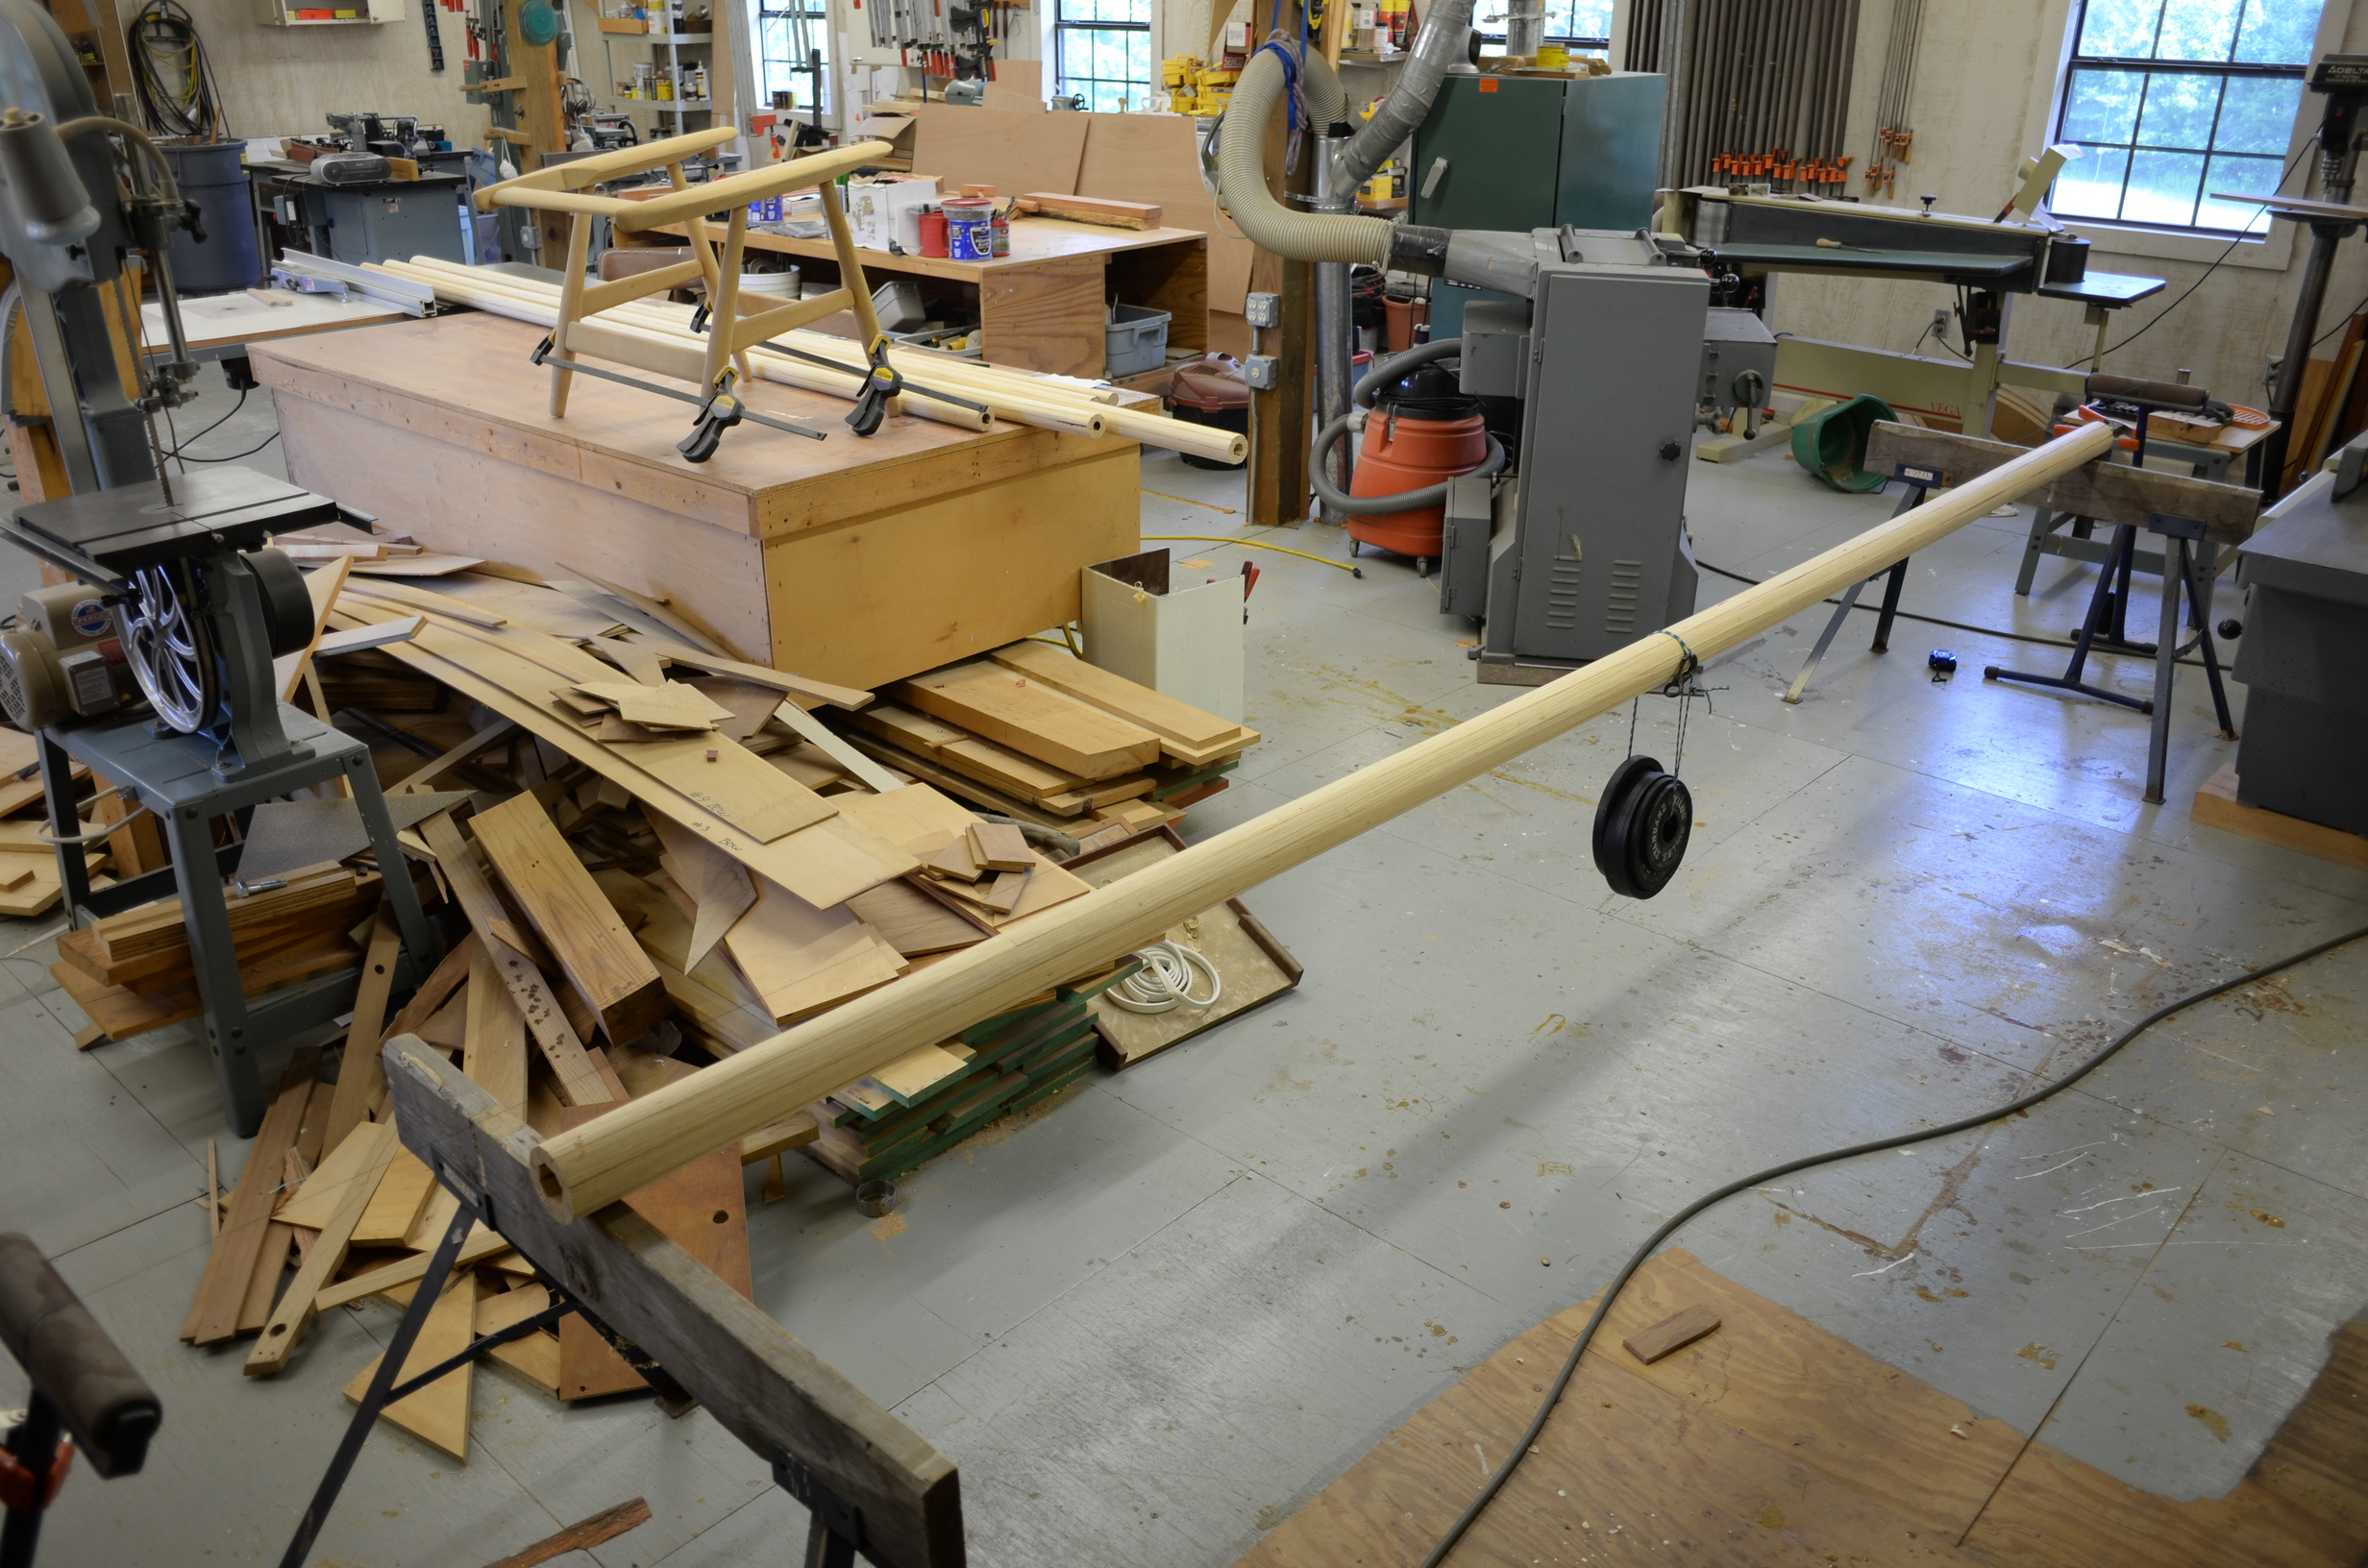
Measuring the deflection of the masts to convey to my sailmaker Stuart Hopkins. A side project where I’m building a replica pair of 1955 Hans Wegner Getama GE-240 chairs (also known as the Cigar Chair) is on the bench in the background:
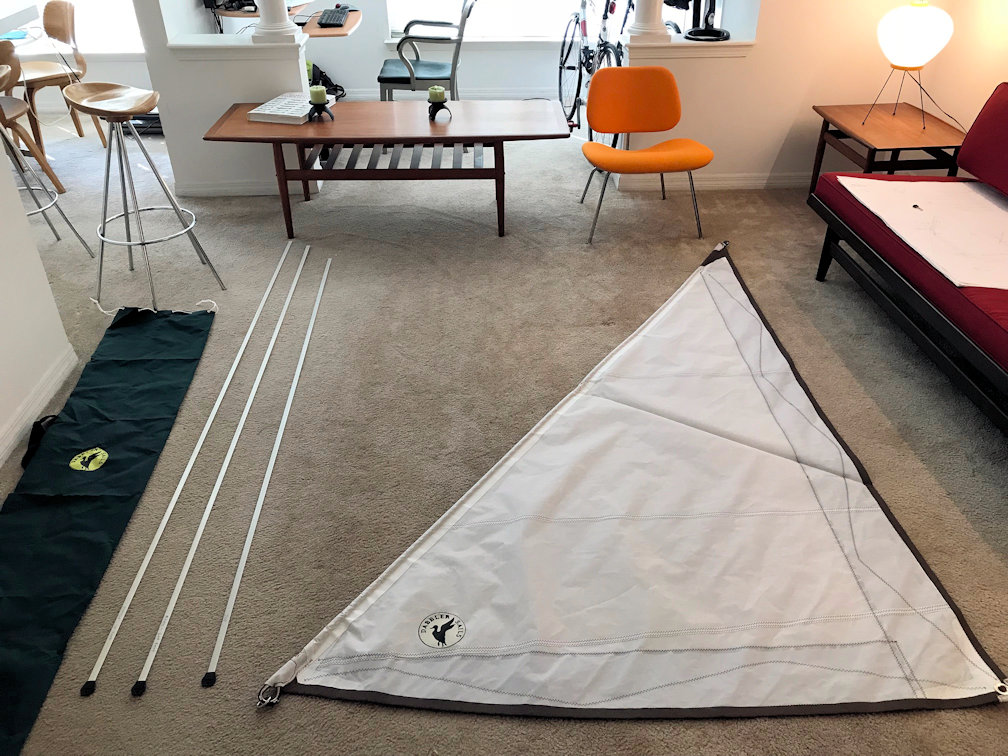
Checking out my new mizzen from Dabbler Sails (the main & the jib are not visible in this photo although some of the battens & the storage case are):


 .
.