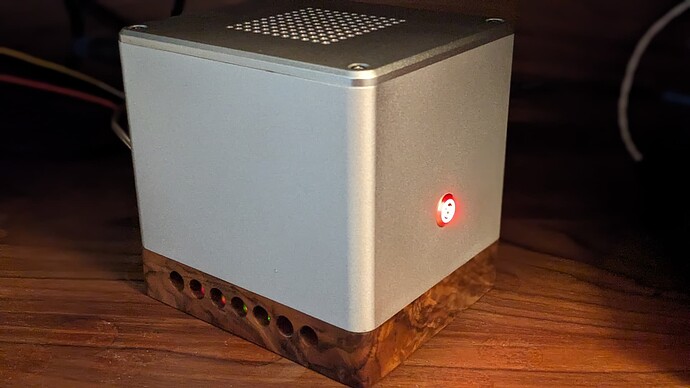
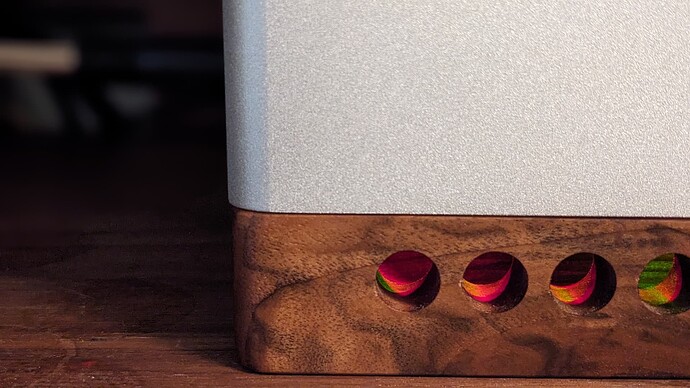
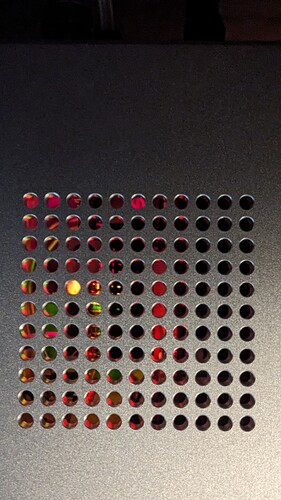
Figured I’d share as it’s finally all put together.
DIY Pi builds with clean power can sound so much better than USB audio from the PC. If you take the next step and use a quality hat as a bridge or endpoint for your DAC, they are a genuine bang for the buck bargain in the hobby.
Below is sheer folly, but I’ve thoroughly enjoyed the design and build process with assistance from a wonderful guy about audio forums that will help machine whatever you are foolish enough to attempt. The amount of money spent here is still well south of $1k especially if you buy used. The “folly” is in the fact that there are some pretty great solutions out there; Holo Red, Pi2 Mercury Streamer, Allo USBridge, and hell if you shop around there are Lumi U1 Mini with upgraded power that can be found for not much north of $1k. All of which will sound in the ballpark to an extreme Pi build like this.
I say all this because, if I were to be rational about it, it’s something that shouldn’t be done. The amount of labor and thought as well as design that went into it makes it folly.
But I still did it, because 1) it sounds f’ing awesome (the ability to scale with improved components and power for these DIY Pi builds never ceases to amaze) and 2) it’s a one of a kind box!
The upstream digital source matters more and more as you continue the upgrade journey and this is just a bridge for me to use when I listen to music while sitting in front of the PC so nothing crazy, but I’ve gone all out on best practice, clean Ethernet and even cleaner power. The recent Ropiee update notice from Spockfish motivated me to share the build here.
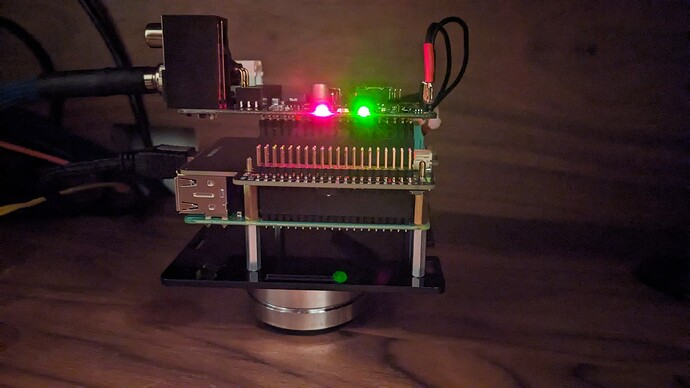
Here during the testing making sure everything worked as expected. Pi 3b+ with an Ian Canada Shield PiPro and a Pi2AES digital output hat.
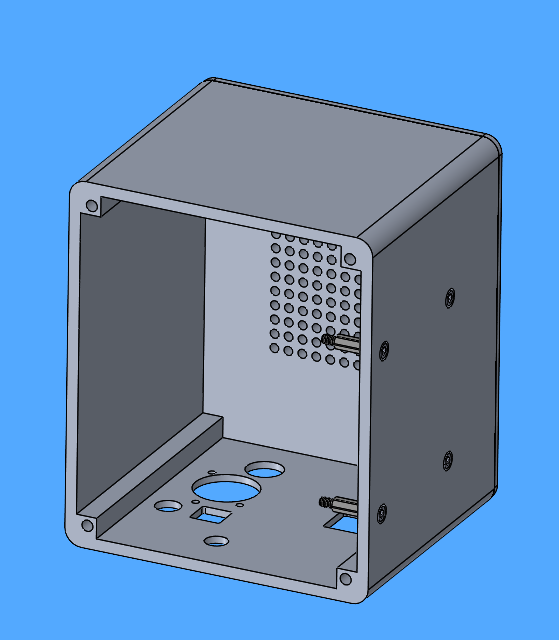
CAD work done by MidWinter Design who helped me not step in doo doo a few times along the way during the design process.
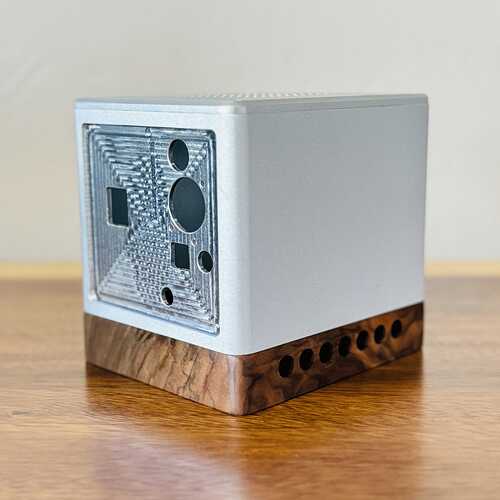
Ready for final assembly.
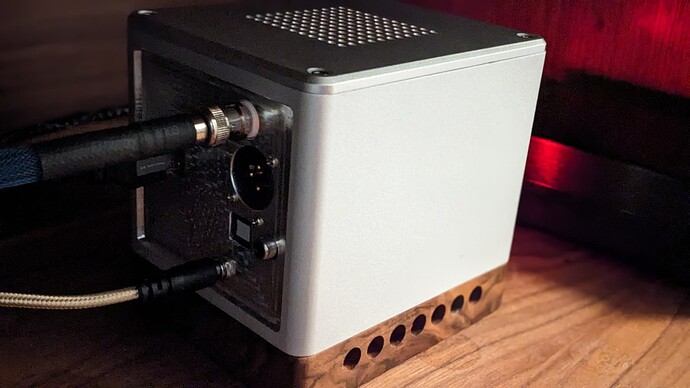
Assembly was relatively straight forward, some issues to overcome as the AES connector on the Pi2AES hat was slightly askew when soldered so I had to shim it for it to bolt flat to the housing. The 5V connector on the Ian Canada Shield PiPro board had to be removed due to clearance issues. Ventilation is great with the bottom holes taking cool air in and venting out of the top, generally 115f to 120F 24/7. Lastly, I added copper shielding to the base and sides to further shield the digital output area. All of which makes just enough of a difference to matter a lot when you put it all together.
Thanks for reading if you made it this far!

