Setting up a Raspberry Pi2 with RoonBridge Step-by-Step (OSX version)

*** Since I wrote the guide below, @RBM did a very nice guide here which is much more complete and covers add-on boards such as hifiberry, as well as cubox, so that’s probably a better place to start. Meanwhile I’ll carry on here with my journey of using the Pi ***

Continuing the discussion from Raspberry pi3,picoreplayer,hifiberry?:

I did one this morning elsewhere, so when I saw your post I thought I’d copy it here. I have some Linux skills and experience, but it’s more been on a ‘need to know’ basis, and I don’t do it for a living. So I’m probably at the more technical end of the spectrum but don’t know much about Raspbian. Hopefully this helps someone getting a RPi setup with RoonBridge from a Mac users perspective.

Installing Debian Jessie Lite and RoonBridge on the Pi. Step-by-Step OSX version, based on a Pi2 wired ethernet, all done headless via a Mac.

This took me 5 mins max, and worked first time. I’ve now got the option of multiple zones, using a setup costing about £40! Follow this guide if you want to do the same!

Download Raspbian Jessie Lite from RaspberryPi.org: https://downloads.raspberrypi.org/raspbian_lite_latest

For writing the SD card, I’d suggest (the free) ApplePiBaker: http://www.tweaking4all.com/hardware/raspberry-pi/macosx-apple-pi-baker/

Put the SD card in your Mac, run PiBaker, check the SD card is listed on the left window. Load the downloaded .img file for Jessie Lite in the ‘Pi-ingredients’ box on the right. Press ‘Restore Backup’.

Once its ‘baked’, eject the SD card and put it in the (powered off) Pi. Connect the Pi to a wired network, and turn it on.

Once booted, find the Pi’s IP address - use any of the free tools on the App store, or look in your DHCP server or routers ‘connected devices’ page, and I’m sure there are command line utilities too.

Once you know it’s IP, open a Terminal (from Utilities) and at the prompt type the code below, replacing the example IP with your Pi’s IP:

ssh pi@192.168.1.100

password: raspberry

(it may ask you to confirm security, type yes, hit enter)

OK, assuming you have a prompt similar to below, you’re in….

pi@raspberrypi:~ $

At this stage you can run the command:

sudo raspi-config

which brings up a text system config GUI. Using the arrow keys, choose Option 1 - expand filesystem - and confirm. Exit the utility.

(You can also run some commands at this point to update the Pi but I didn’t bother, there are guides elsewhere for that. Same for if you need DSD direct, rather than DoP, or any specific driver libraries. See the Roon docs if you want do to this, but you won’t need to for most devices or for the built in audio: https://kb.roonlabs.com/LinuxInstall so can move straight on to the next step.)

Now the Pi’s Raspbian OS is installed, run the following three commands one after another, to download and install the RoonBridge software:

$ curl -O http://download.roonlabs.com/builds/roonbridge-installer-linuxarmv7hf.sh
$ chmod +x roonbridge-installer-linuxarmv7hf.sh
$ sudo ./roonbridge-installer-linuxarmv7hf.sh

[note the curl option ‘-O’ is a capital letter O and not a zero ]

Er, if it worked, that’s it!

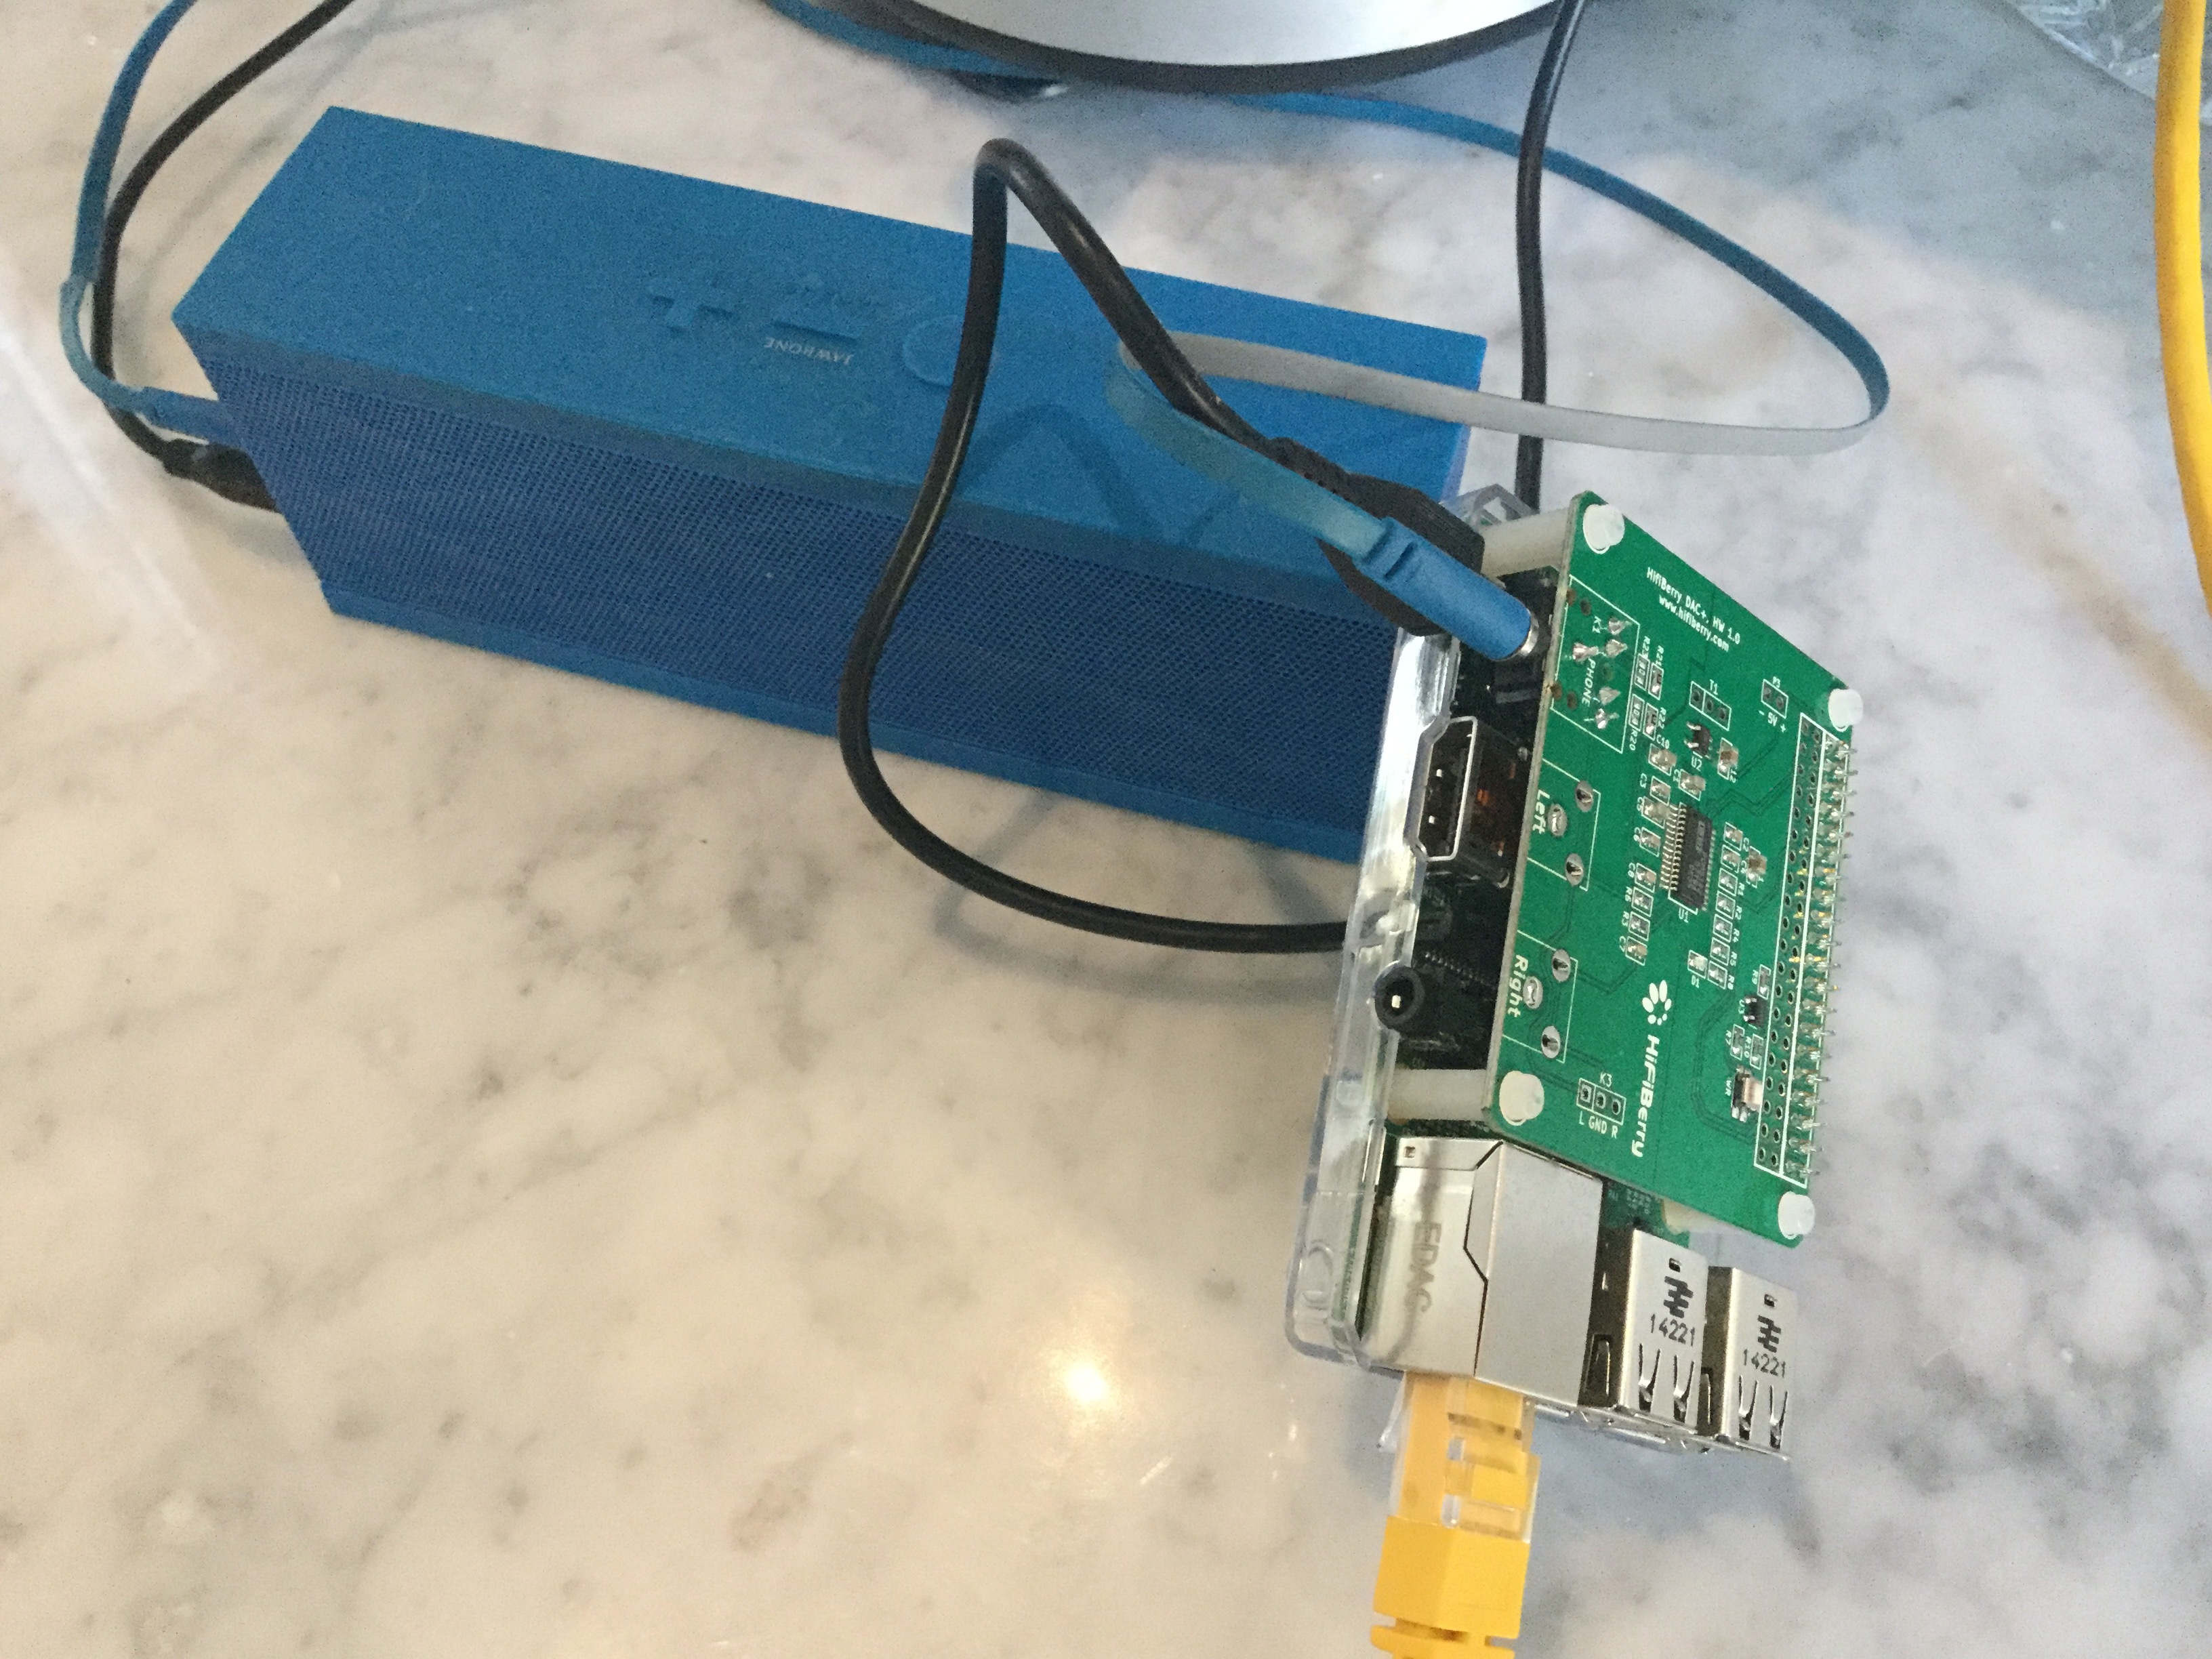
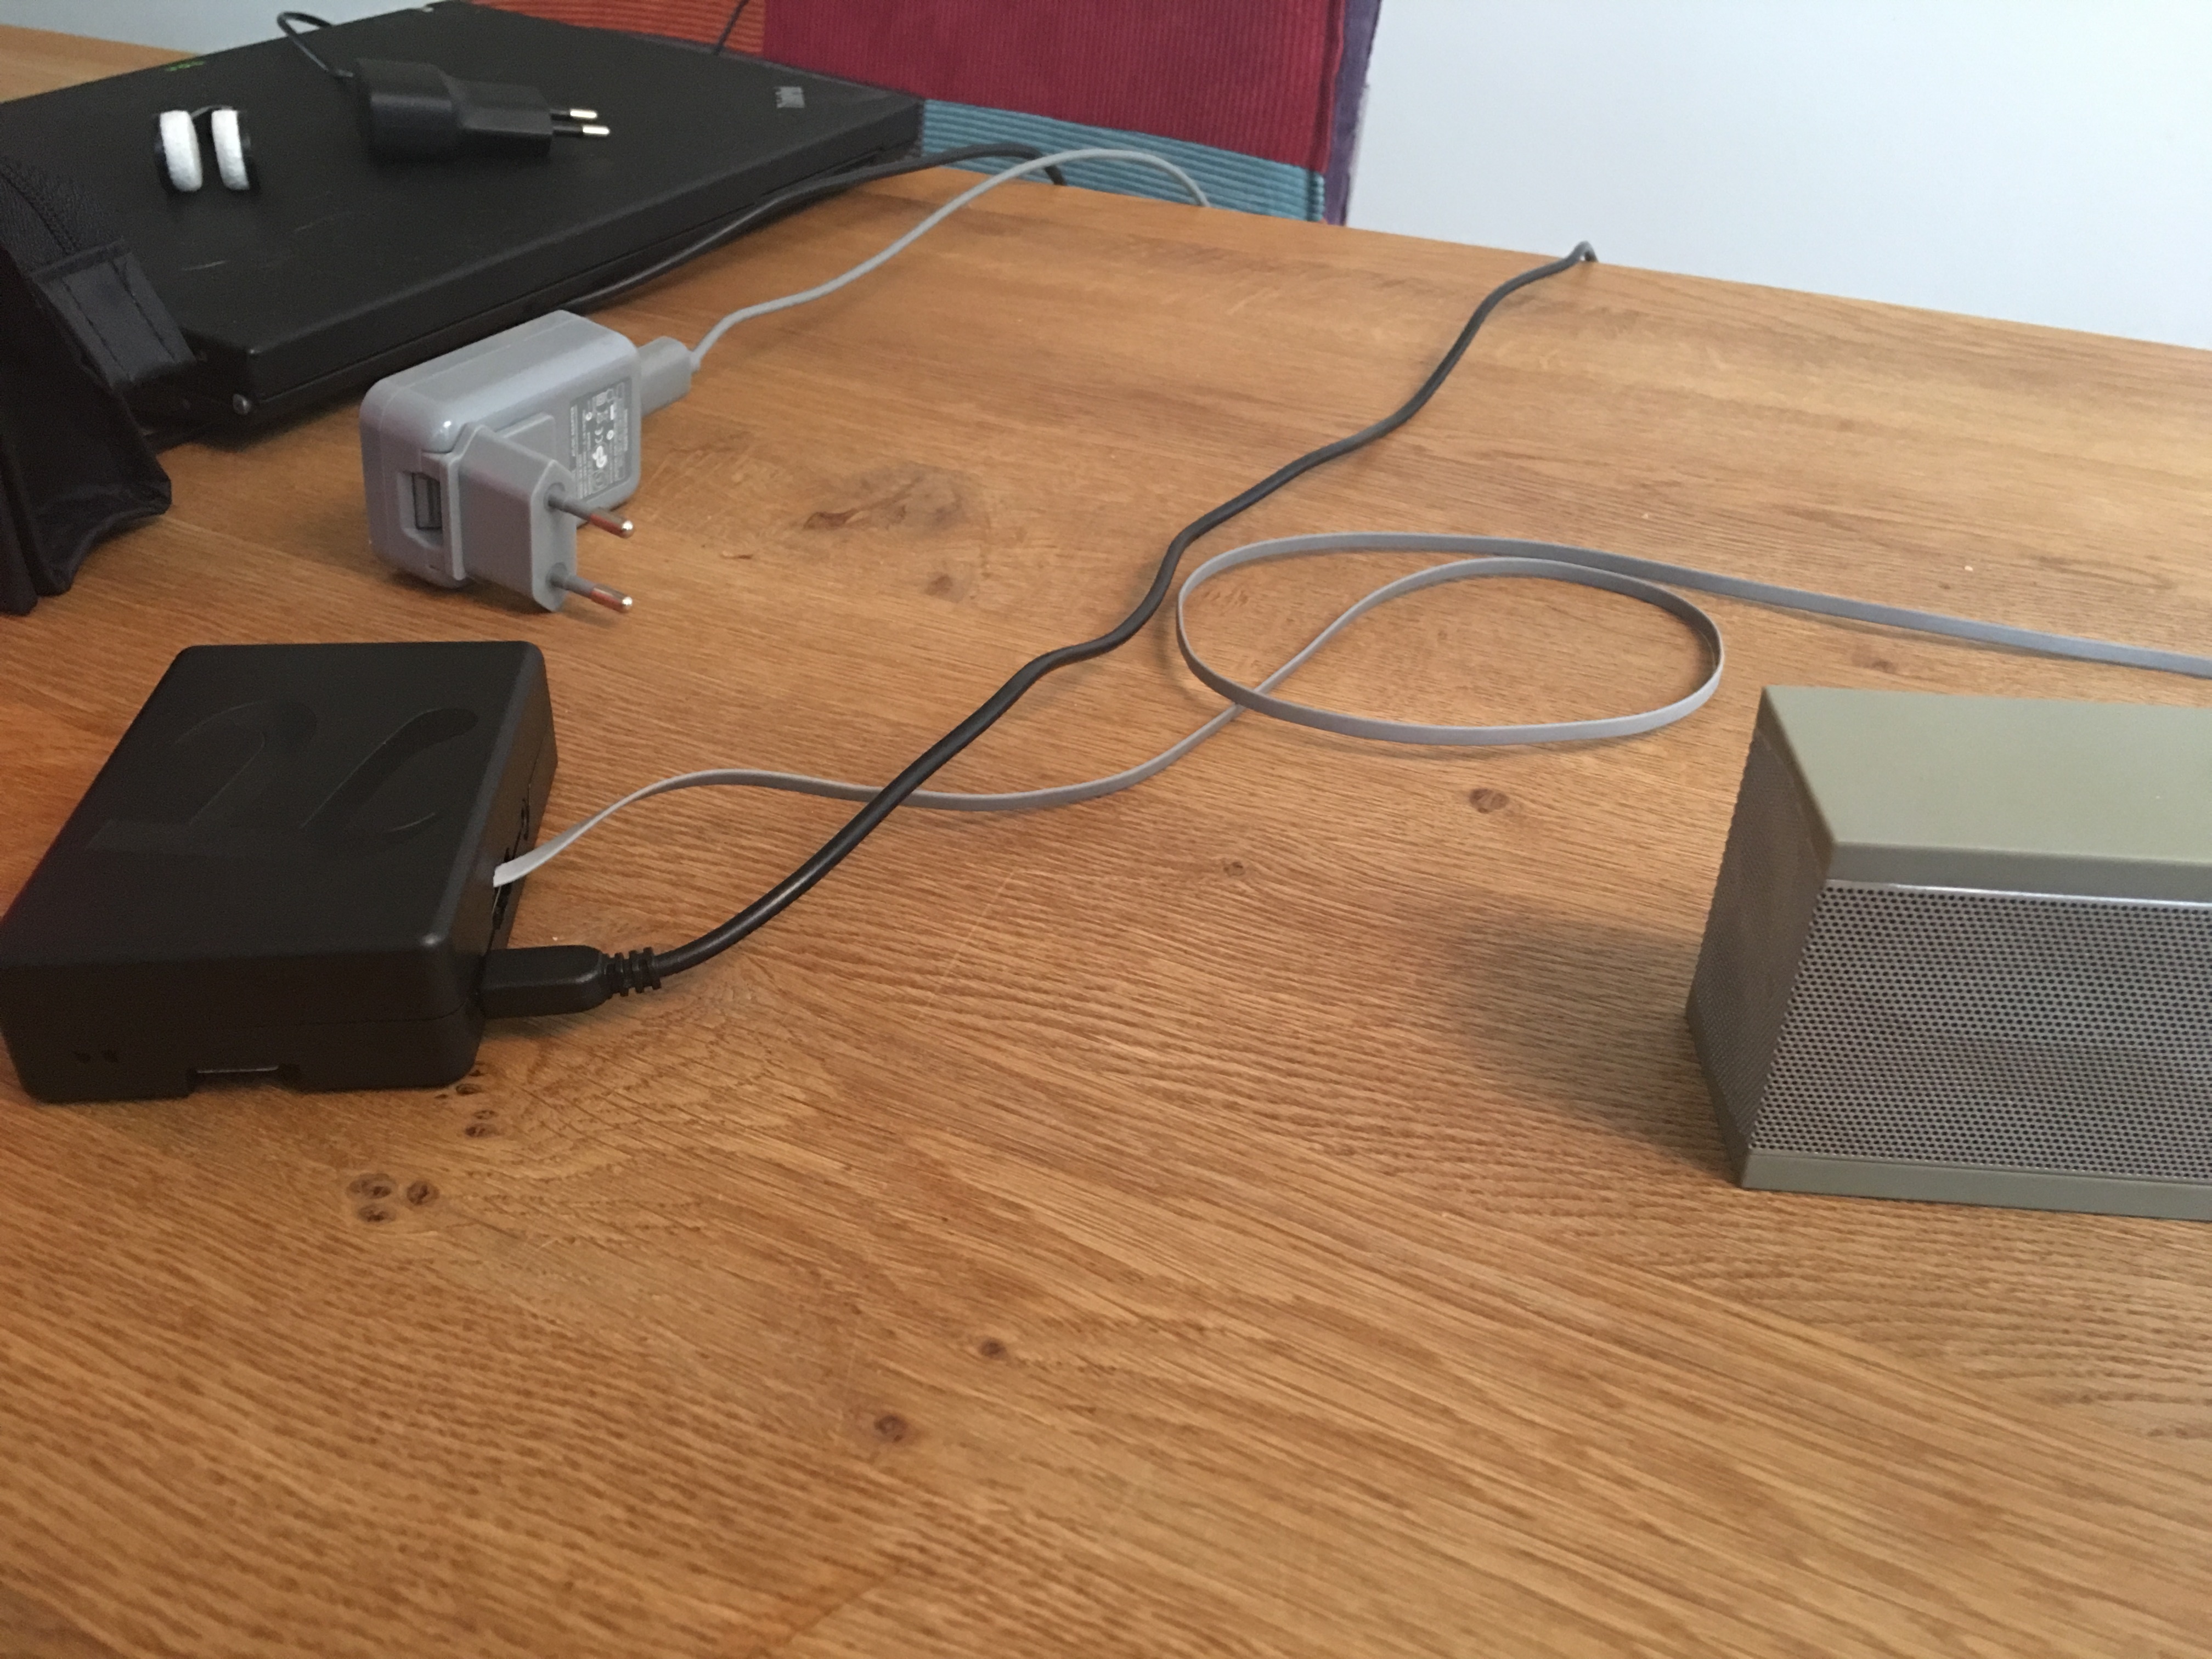
Connect a USB DAC, or something to its headphone socket (not great quality I can confirm, but it works), and you’re done.

Now go to the audio setup in Roon, and you’ll see it as a networked device where you can configure it as normal.

Next time you turn the Pi on, it will just sort itself out and boot up with RoonBridge running.

Wifi

If you’re using a wifi dongle with the Pi 2, you’ll need to do a few other steps to get it working. It involves copying/pasting some lines into a config file, but its all pretty easy. These steps are taken from the Pi site here with a few simplifications/explanations:

Make sure your wifi dongle is plugged in, and the Pi has been rebooted since (so that it detects it). If you’ve had to restart, ssh back into the device as above.

First, scan for access points to test that wifi is working and check you can see your network. This will show all available wifi networks and their names (or SSID’s):

sudo iwlist wlan0 scan | grep ESSID

You should see the name of your access point after an ESSID:.

Open the wpa-supplicant configuration file in the nano text editor:

sudo nano /etc/wpa_supplicant/wpa_supplicant.conf

Go to the bottom of the file and add the following, entering your SSID and password:

network={
    ssid="Your_ESSID_above"
    psk="Your_wifi_password"
}

Now save the file by pressing Ctrl+X then Y, then finally press Enter.

You can test if it’s working using ifconfig wlan0 and checking if the inet addr field has an IP address next to it. If not, you may need to stop/start the network interface (sudo ifdown wlan0 followed by sudo ifup wlan0) or reboot (sudo reboot).

Once it’s working, you can unplug your network cable, and you should be good to go on wifi.

A Cubox install is probably similar (apart from the username and password at the ssh step, and the raspi-config step, obvs, and I’m not sure about the wifi either. So maybe not so similar but you get the idea).

Now, of course you could attach a monitor, mouse, and keyboard to the Pi and set it all up that way, but who has those hanging around, and anyway that’s for wimps.

Have fun!

(If anyone spots any errors or has any suggestions for making this clearer, other steps, incorrect steps - just let me know!)

10 Likes

Worked perfectly for me and supports DSD without any modifications. Thanks for the great time saver!!!

Added steps for wifi. It worked for me and my generic dongle, but there may be cases where it doesn’t.

My wifi signal in the kitchen is a joke, so music definitely didn’t play well compared to my wired connection and I had to go back to wired, but that’s another story……

Thanks! I tried and this works fine with my Raspi3/Hifiberry Dac+ and WIFI.

How greedy is RoonBridge for SoundOutput? I would like to Install and use Shairport besides RoonBridge to alternate betwen the two. So i can use RoonBridge for Roon and Shairport for iPad and iPhone (Podcasts, AppleMusic etc.)

Can they both live in Harmony on one Raspberry pi?

Why not go for the IQAudio Pi-DAC+? Then you have an official RoonReady endpoint: https://kb.roonlabs.com/Partner_Devices_Matrix

Great news. In fact I’ve just ordered a DAC+ (the 3.5mm line out jack option) to see how it compares to the onboard audio (hopefully its significantly better but Id take anything).

Did you use the installer from hifiberry and then run these steps? I understand you can also do it the other way round so once I’ve tried I’ll post some info here. Also, I’m not sure whether I’ll have to make any holes in my Pi case yet….

In my case, because it was sold out! :wink: (and also a few quid more but that mattered a lot less)

You’ll be in for a treat.

Just add ‘dtoverlay=hifiberry-dacplus’ to the end of /boot/config.txt – there’s really not more to it. :slight_smile:

If you have a regular Pi case right now, it won’t fit any way you put it – you will have to leave the top off. You’ll need a DAC+ compatible case (they’re sold everywhere): about twice as high and with cutouts at the right places.

Thanks @RBM. I’d been set a link for manual install by hifiberry (here), seems to point to blacklisting drivers, removing onboard sound driver, and configuring ALSA. Are they redundant steps with RoonBridge?

Shame about the case, I thought mine could take a top board, and Id just have a hole for the 3.55mm jack. Should have ordered one at the same time to save postage…… Oh well, I guess it will be nude. In the kitchen. Maybe not such a good idea for prolonged usage.

These steps have become redundant as of recent Raspbian versions.

And I missed the part about the DAC+ being the mini jack version – you may just be able to squeeze that one in. I did the same with a PHAT DAC. :wink:

Did a rush job installing my hifi berry DAC tonight.

Mmmmm, not everything I’d hoped for.

Firstly, in my case the riser pegs were quite fiddly and seemed slightly too long and also after I’d screwed them in realised the case can only accommodate them one way round (the opposite way I did it). Then I had to snip bits off so they could go far enough into the case. Or maybe they are the right length and the long connector doesn’t go all the way down on the pins?

Foolishly I then did the Jessie update/upgrade, not realising it would take bl**dy ages, and was probably unnecessary.

Ok so finally the edit of the configurator file thanks to RBM, all straightforward.

Then I fired it up, not being that happy that it seems to be a bit slanted (I only used two risers on the far side for now) and I can’t close the case because I haven’t drilled a hole for the jack.

First, it configures OK in Roon and I disable the built-in. But annoyingly the first thing I notice is whereas the built in audio jack is fine, the hifi berry jack makes the jambox go buzzy when I touch it. Like there’s some sort of ground loop or something which I’ve never actually had in any of my hifi gear but have read about - it’s like the buzz you get when you’re plugging in but only when I touch the speaker or the cable.

Then I get shouted at because it’s late and on the lowest notch of the jambox volume sound bellows out full tilt and catches me by surprise - wow that tiny thing can really put out some volume. Roon volume doesn’t seem to do anything so I have to pull the plug. I check settings and it seems the same whether I set force maximum or use device volume.

All in all it was quite a frustrating experience. I like the idea of a plugin board, but this has made me wonder if it’s too much hassle. Equally, although it might be simpler, using a USB DAC like a dragonfly would even more clutter (and I left it at work so can’t test).

All in all I go to bed a bit disappointed. Will have another play over the weekend and post some pics.

Rush jobs and installing a HAT don’t mix well, it seems. :wink:

Don’t give up though, I’m sure you’ll be just fine. I’ve found mini jacks and the Jambox are particularly sensitive with touching (I’ve got a similar setup), but things will be good with spacers installed and once the case is closed.

Hifiberry hardware volume control is slightly idiosyncratic and Roon Bridge does not yet seem to be able to handle it. You may be able to lower the output volume using alsamixer/amixer on the Pi, but for now you may want to revert to using the DSP volume setting in Roon to make things manageable until you’re all sorted out.

OK so since RBM has done such a nice Pi install guide I thought I’d continue on here as a kind of ‘my first Pi journey’.

So… Mmmmmm, spent a bit more time today and did things properly. No change.

I love the concept of using the Pi for audio and especially grouped zones, but I’m a bit put off now to be honest.

If this was for an important zone and needed a USB DAC output, this would probably be the right way to go. But having taken things this far it’s become clear to me, that for my purpose of a kitchen zone, this is a bit too much hassle. That’s fine as it’s all an experiment for me, but the thing is I’m sort of into computers and tech so get something out of the experience. If I wasn’t, I think I’d just find it a bit frustrating now. Assembling it, the buzzing, the volume issue, making a hole in the case, all the clutter…

For something like a kitchen zone for casual listening, I really think a Chromecast Audio or a ‘proper’ portable radio type thing would be better. Ok I’d need to sort my wifi out but I’m just not sure I want the hassle and ‘chutney’ of the Pi plus sundries and have to deal with all the setup and troubleshooting.
The problem is, I need to be able to sync for it to be useable in my semi-open plan kitchen-lounge setup, which means I’m restricted to an RAAT capable device, which pretty much means I’m out of luck as of today.

I guess a pre-made solution on the Pi side would be better like IQaudio, but still the wires and power supplies probably aren’t right for this scenario. So I’ll continue to tinker but I’m definitely wondering how this is going to pan out. If there were at least a handful of RoonReady speakers to chose from things would be easier, but at this juncture I’m just not sure if it’s a viable setup for multi-room in my household as things stand - at least not for rooms that need sync… Upstairs I can still think along the lines of AirPlay I suppose.

To be continued…

1 Like

Here’s mine (with a PHAT DAC shoved inside):

Clear signal (no buzzing). DSP volume through Roon (the PHAT DAC has no hardware volume control, and the Jambox is not resolving enough to make an audible difference).

I use mine as a portable Roon zone (rooftop terrace, home office, etc.).

Is that a standard HiFi Berry DAC as it looks like half the connections are missing? I have now set up 4 HiFi Berry Digi+ for various people and never had anything but fantastic sound from them. If you need an amplified set up without DAC I might advise you to get and IQ Audio board instead. Also if you want to use a USB DAC why are you using a HiFi Berry board and not just a Pi straight to your DAC via its USB.

Hi Nick, no, it’s a DAC+ ‘standard phone’ version, with just a 3.5mm jack. Not sure if it’s new, I don’t remember seeing it when I looked a while back.

Ultimately I’m not sure the exact setup that’s best to use, I just already had a Jambox and a Pi2 so thought I’d use it to experiment. The USB DAC was really me throwing in a red herring, and just thinking aloud that since I have an Audioquest dragonfly i could try in light of the buzzing on the hifiberry.

Having experimented I’m now pretty sure what I want for the kitchen doesn’t exist - a nice little RoonReady all-in-one that can take wifi and Ethernet inputs, looks ok, and sounds half-decent for reasonable money. :slight_smile:

Ignoring RAAT since they don’t exist, I popped to John Lewis Oxford Street and had a look at AirPlay type speakers in general just so I got a range of makes/models out there at the moment. I wasn’t impressed I have to say…it’s a confused market I think, with Sonos and AirPlay already making incompatible systems, and a lot of models leaning towards Bluetooth input. So many of them sounded bl***y awful too. And I don’t mean awful compared to a decent hifi, I just mean plain awful even for small speakers.

I just don’t have much more time to devote to it now, so am sure it will just get left for another time and I’ll go back to turning the lounge system up loud!

This may seem like a weird question. Is it possible to output (via RoonBridge) from an RP3 via USB to my DAC (which I am doing and its awesome) but also send the same output via the analog 3.5mm simultaneously ? Yes, I know the quality will be awful but i’m just looking to run a separate feed into my kids playroom so they can hear what I am playing (in my own hi-res heaven !). I see outputs for analog and HDMI listed under my endpoint in Roon but have not enabled them. Any technical issue with doing this before I start playing around with it ? Bit off topic I know, but the Pi Rooners live here !

Unless you have explicitly disabled the onboard sound, the Pi’s mini jack and HDMI should be visible in Roon (Settings > Audio) and can be enabled / disabled individually: Roon shows all available audio endpoints.

I wouldn’t know whether you will be able to group zones on the same Roon Bridge device – trial and error, I guess.

Thanks Rene - just wanted to check I wasnt talking complete nonsense before trying…

Not at all. :slight_smile:

My guess is that it will work (can’t try since I’m holidaying in a cabin in the woods), but it sure will not hurt to try.