Once in a while, we have a multi-album set in our music collection that is imported as a single collection (most commonly, a “2 in 1” disc set), but we might want to separate the albums so that Roon can show us the editorial content for each album, and so we have the (proper) 2 separate albums and covers in our collection.
One approach to accomplishing this, of course, is to copy the original “2 in 1” set to a work computer, separate the albums into their respective folders, update metadata, etc., then remove the original 2 in 1 album from your Roon library, rescan your library, clean up your library, then re-import the new, separated albums as if nothing ever happened. The downside of this is that the play history for these albums is now lost, because they are considered brand-new.
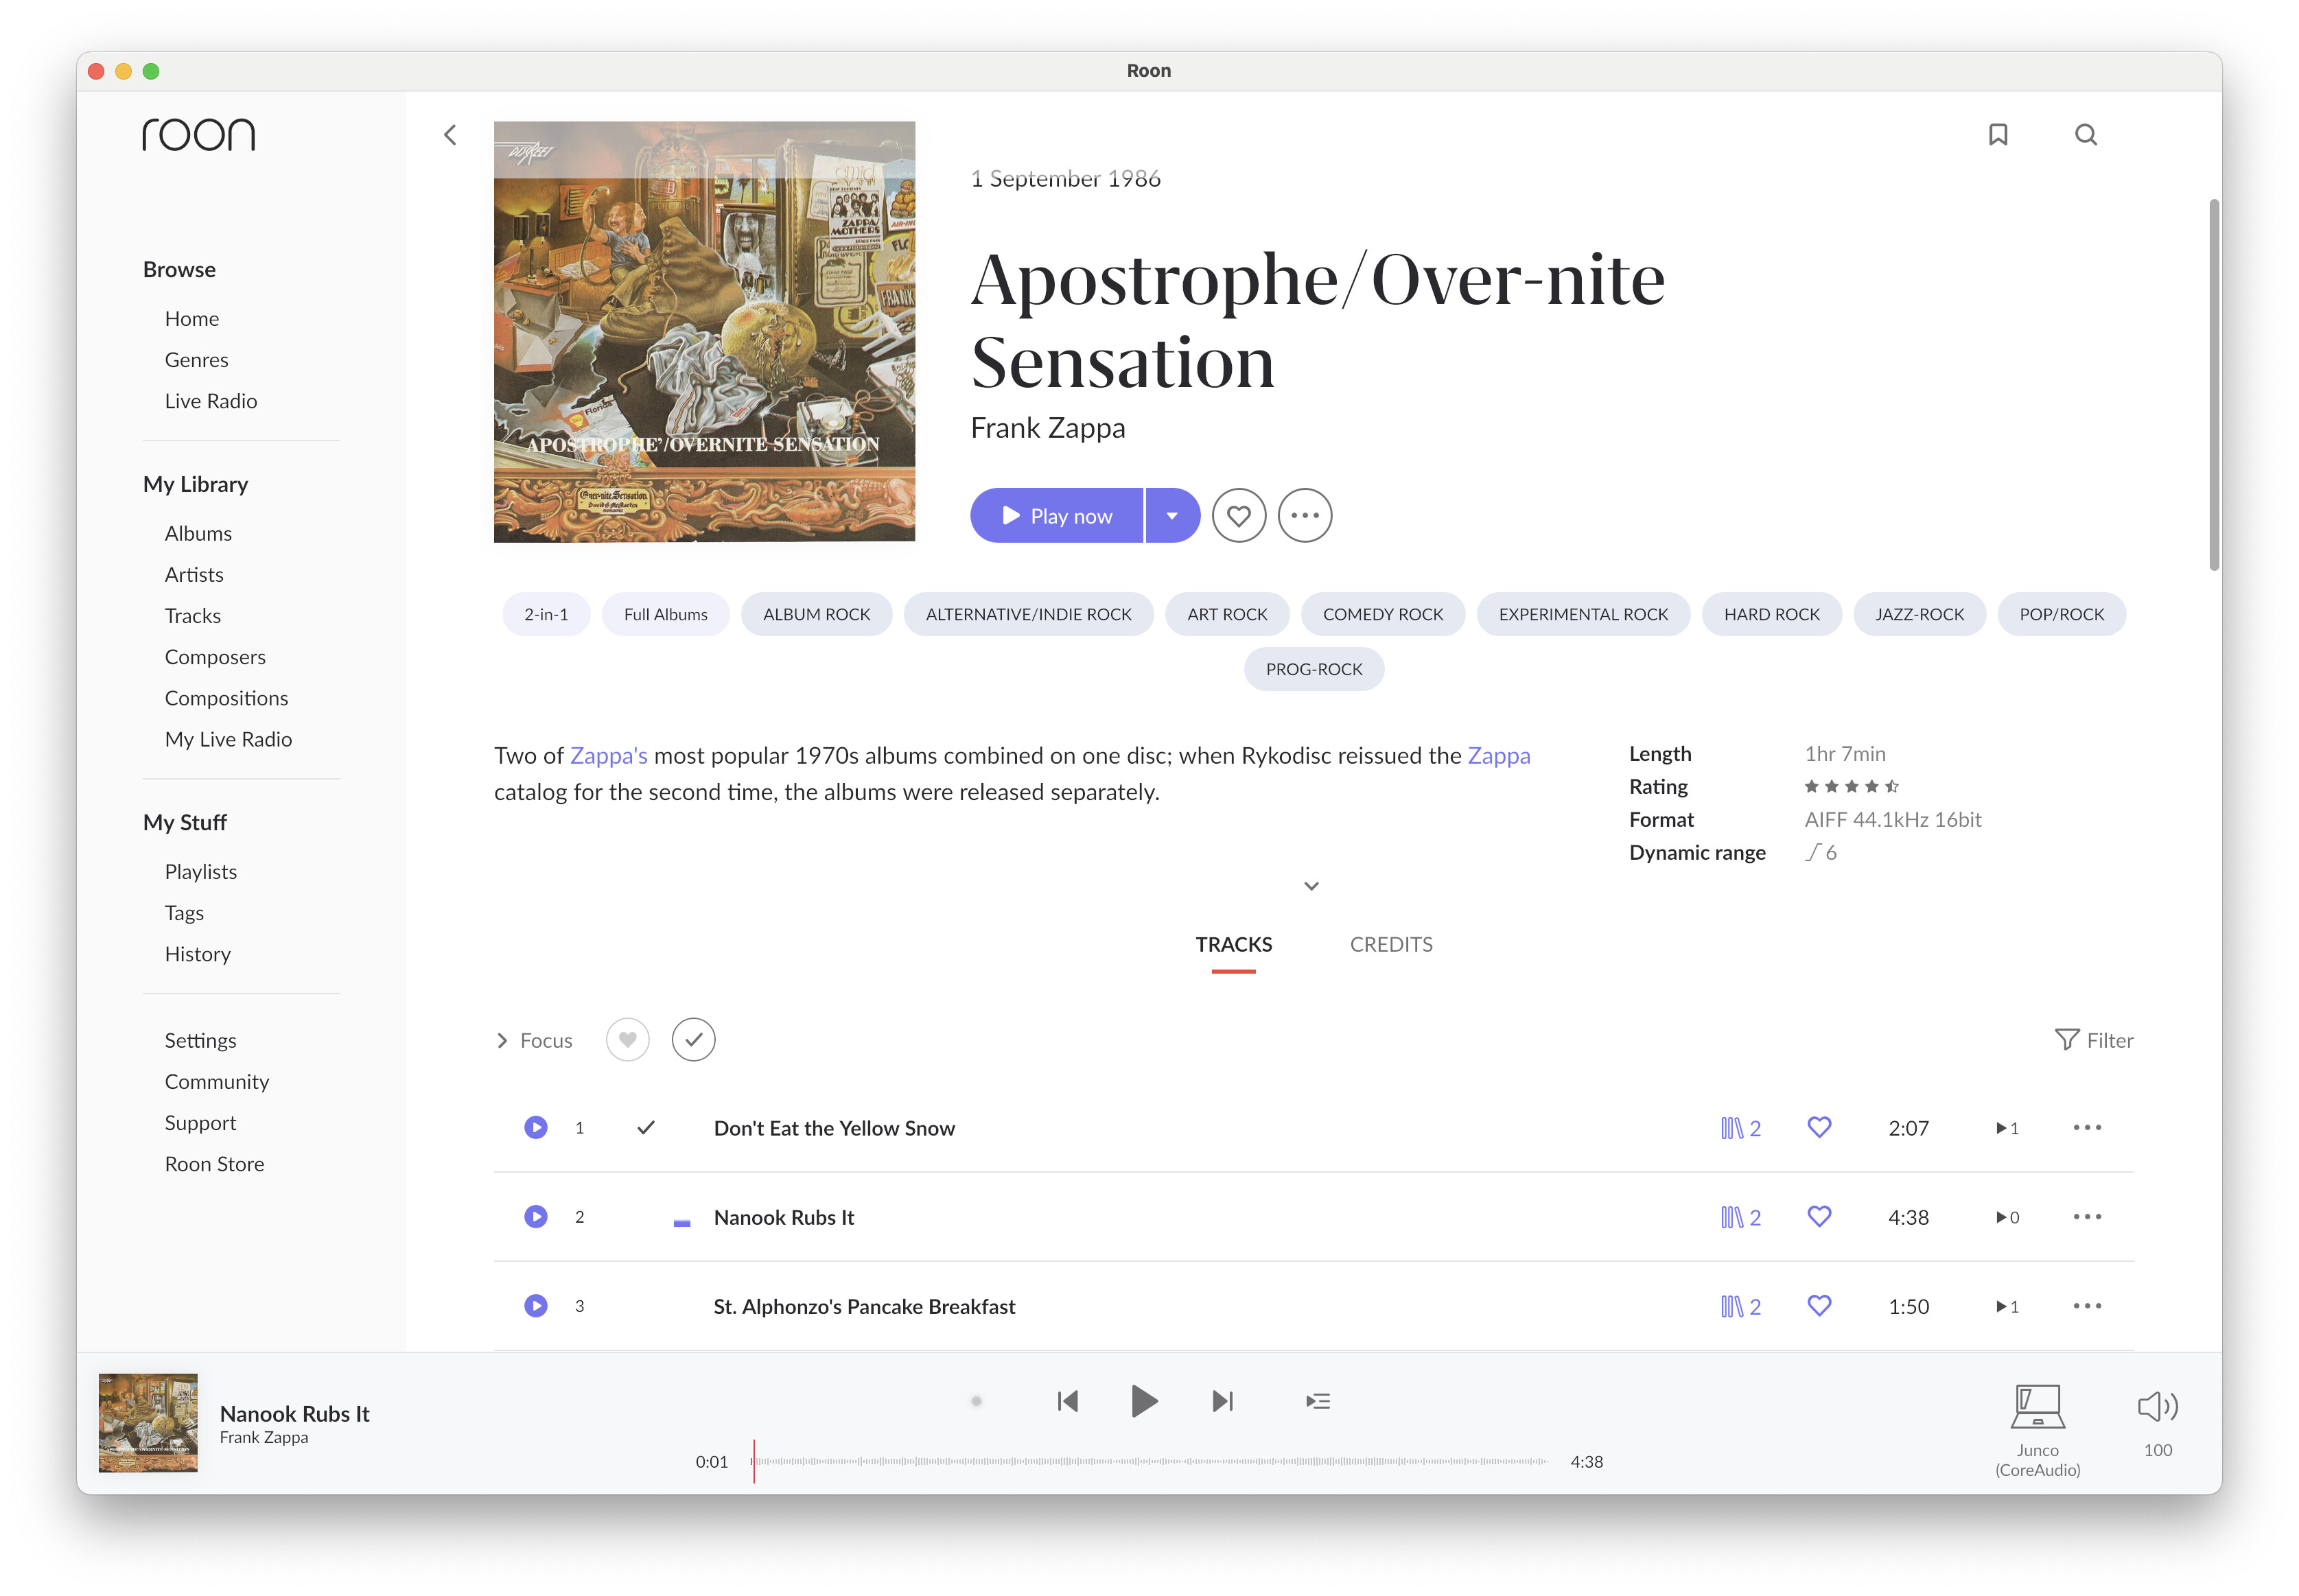
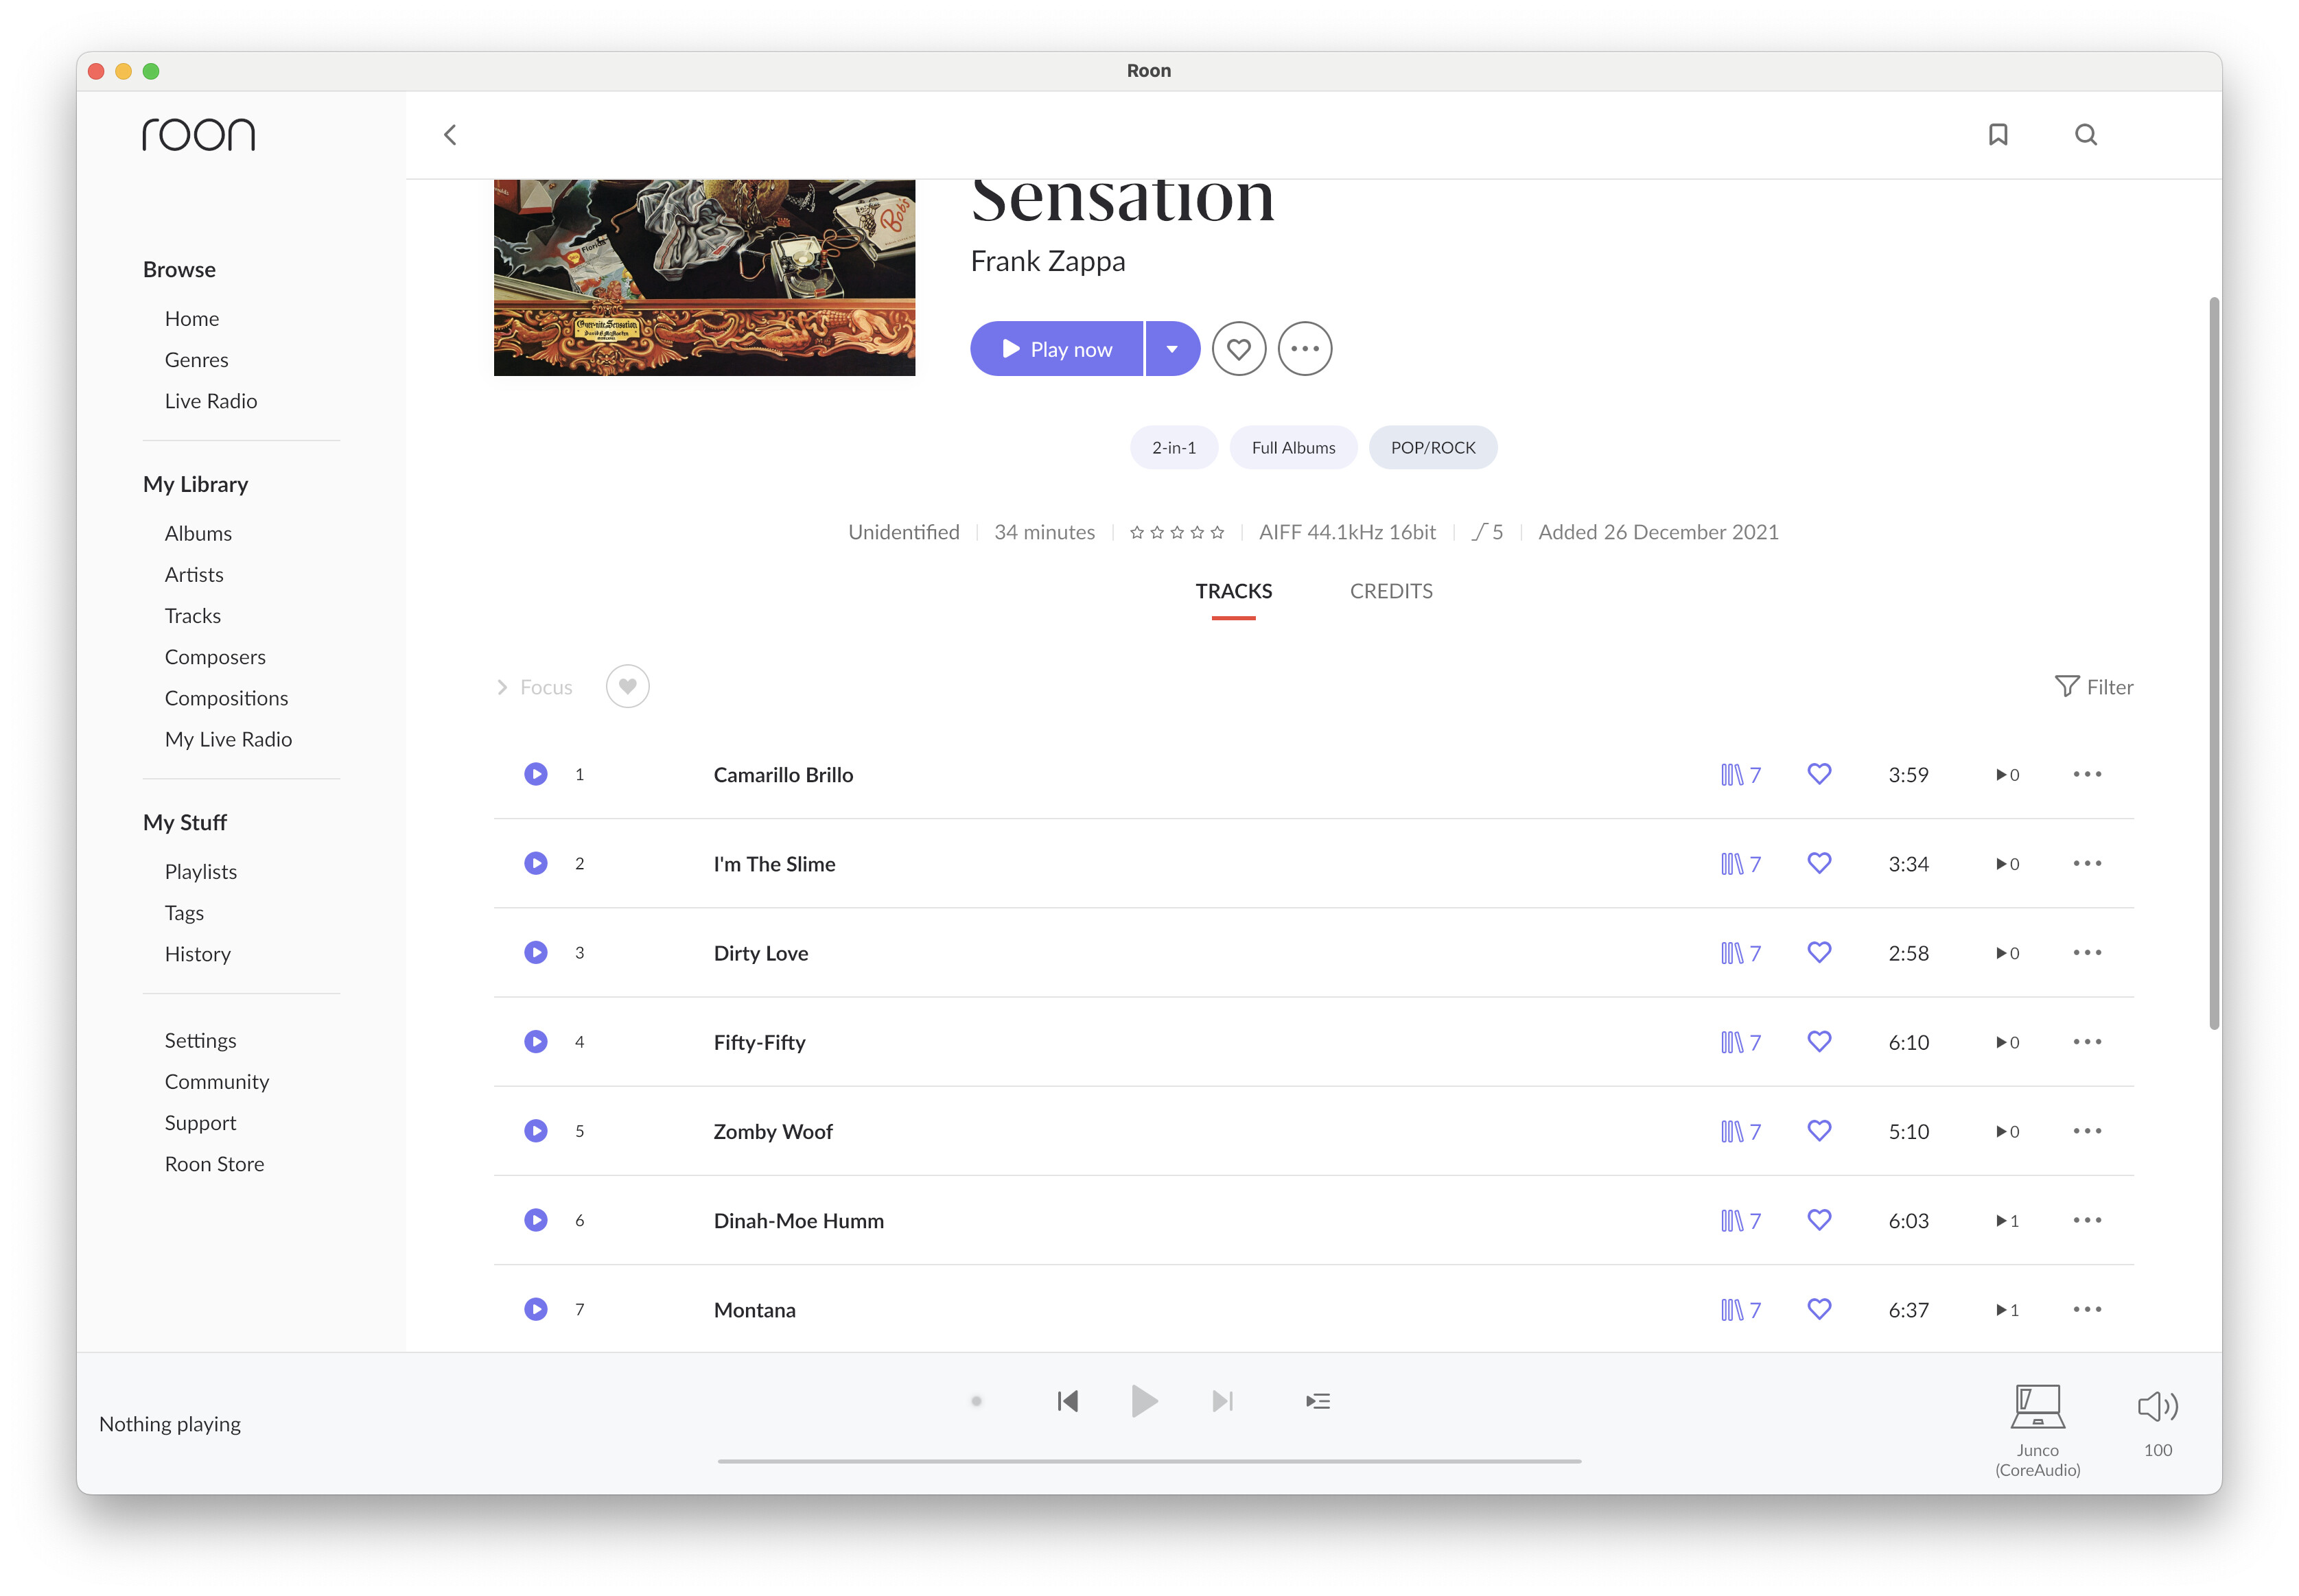
If you want to keep the play counts and history, there is another, albeit more complicated, approach. In a separate thread recently, I covered a tip for doing this (Batch CD ripping on macOS - #71 by DDPS) but it was slightly vague and didn’t have screenshots. Here is a step-by-step set of instructions for accomplishing this, using a classic 2-in-1 album from 1986, the Ryko re-issue of Frank Zappa’s “Apostrophe’/Over-Nite Sensation”:
- Look at original 2-in-1 album and note the playcounts, etc.
- Copy Roon music source to work folder
- On work folder, create separate albums and make necessary edits
- Remove original Roon music source
- Rescan library but do NOT clean up library (this latter part is critically important - if we clean up the library at this point, we lose all of the history for the items that we have temporarily removed!)
- Now, upload your newly-separated albums to your Roon library
- Rescan your library
- Your albums will be in there combined as one — using one of the two new album names — with multiple track 1s, track 2s, etc., with the right playcounts.
- Go into (…) and hit Edit…
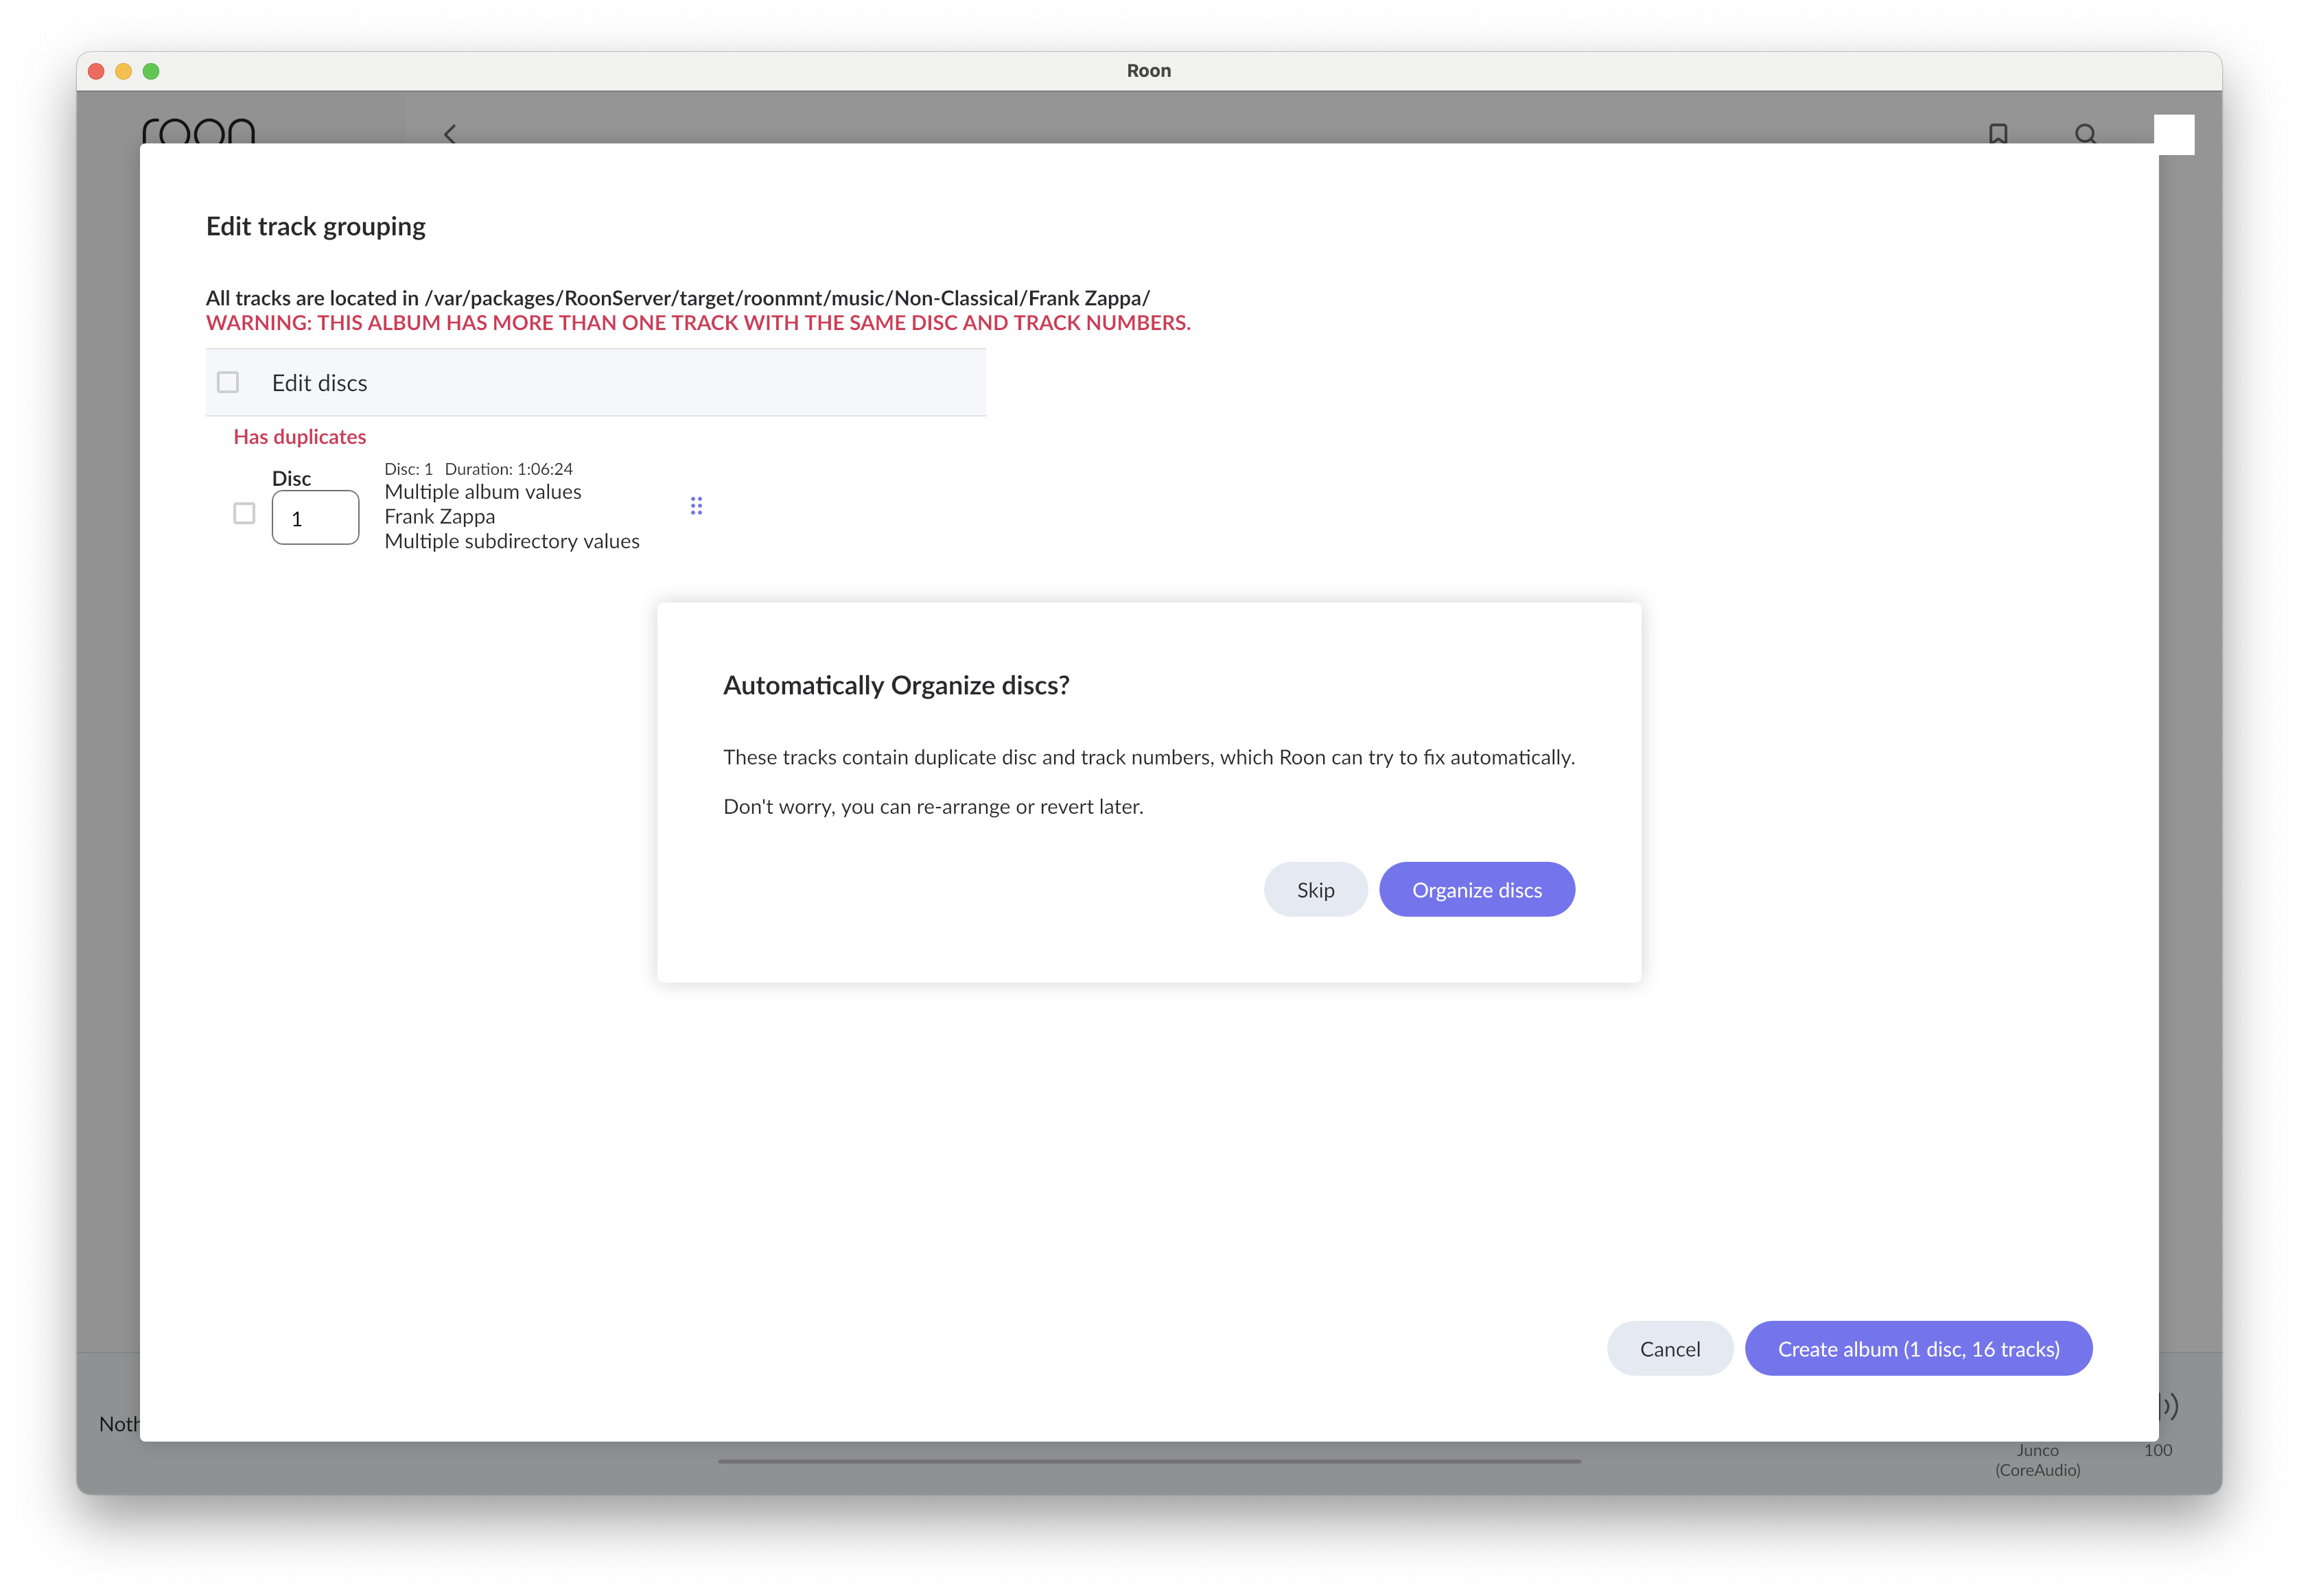
- Under “Missing or extra tracks” select “Fix track grouping”
- You will get a prompt - “Automatically Organize discs?” - select “Organize discs”
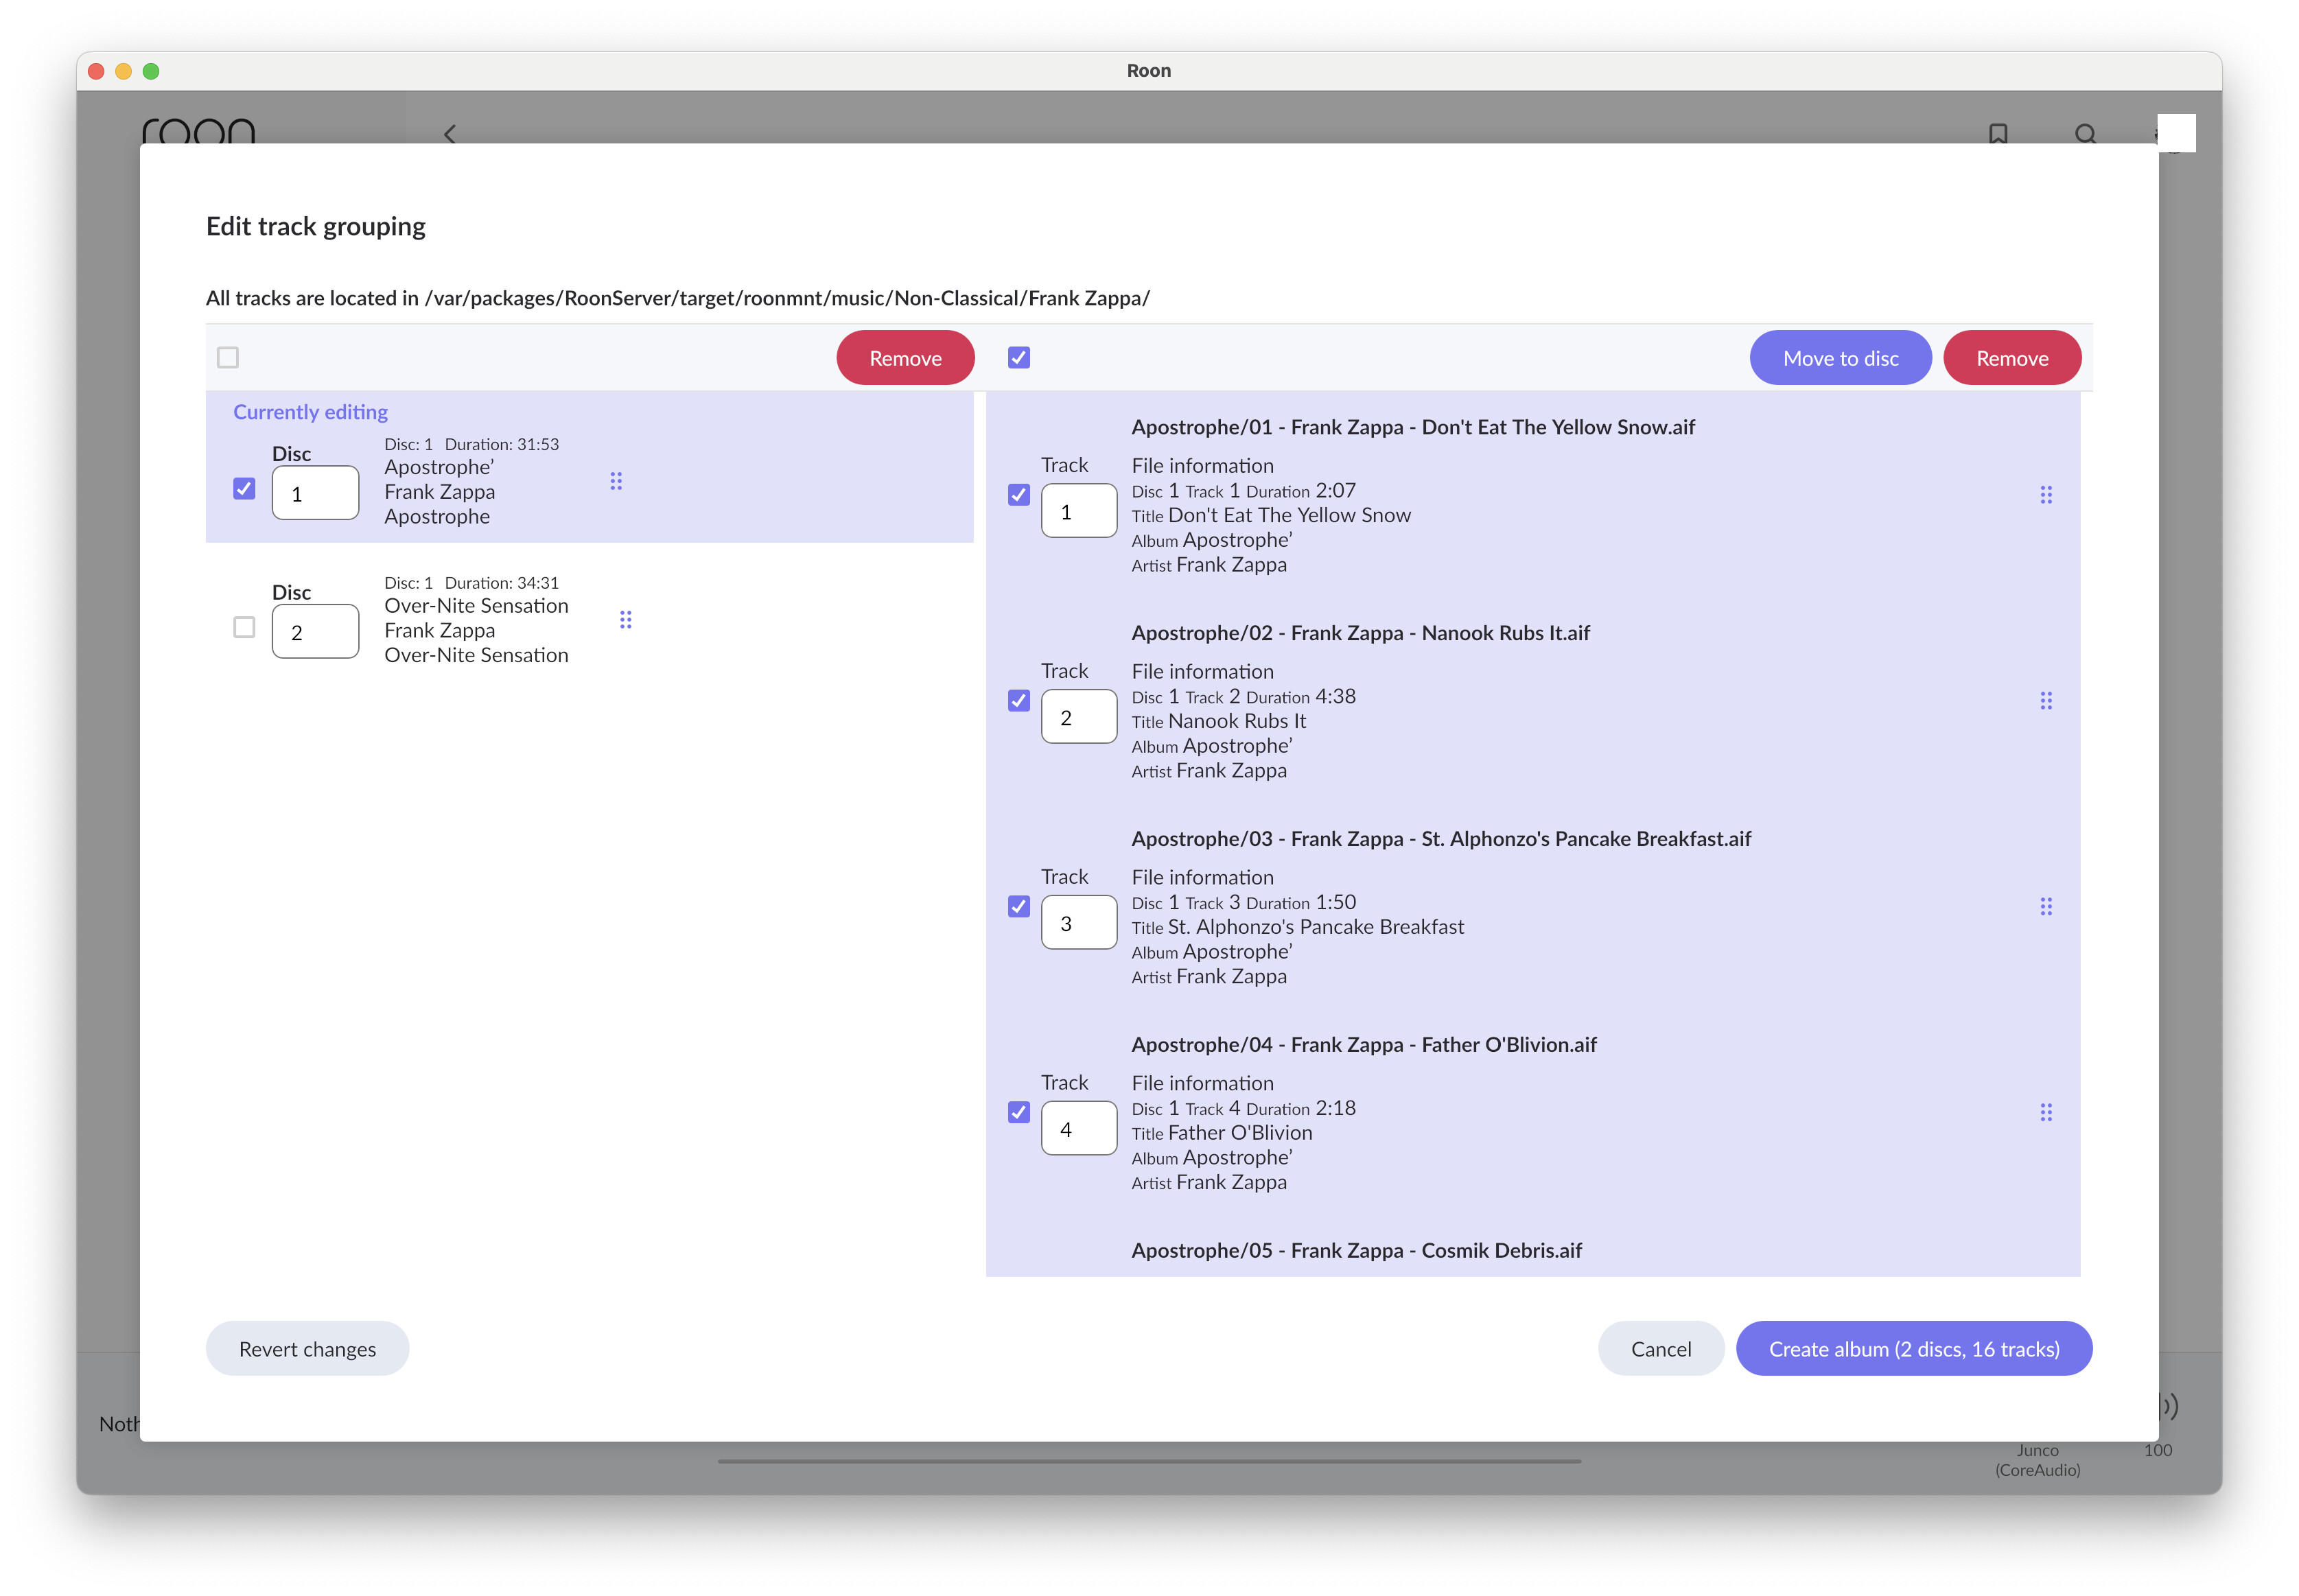
- At the top of the left column, select “Edit Discs”
- Deselect all but disc 1
- Make sure that you only have tracks for disc 1 selected in the right column (click on the “Edit tracks - Disc 1” header to do this)
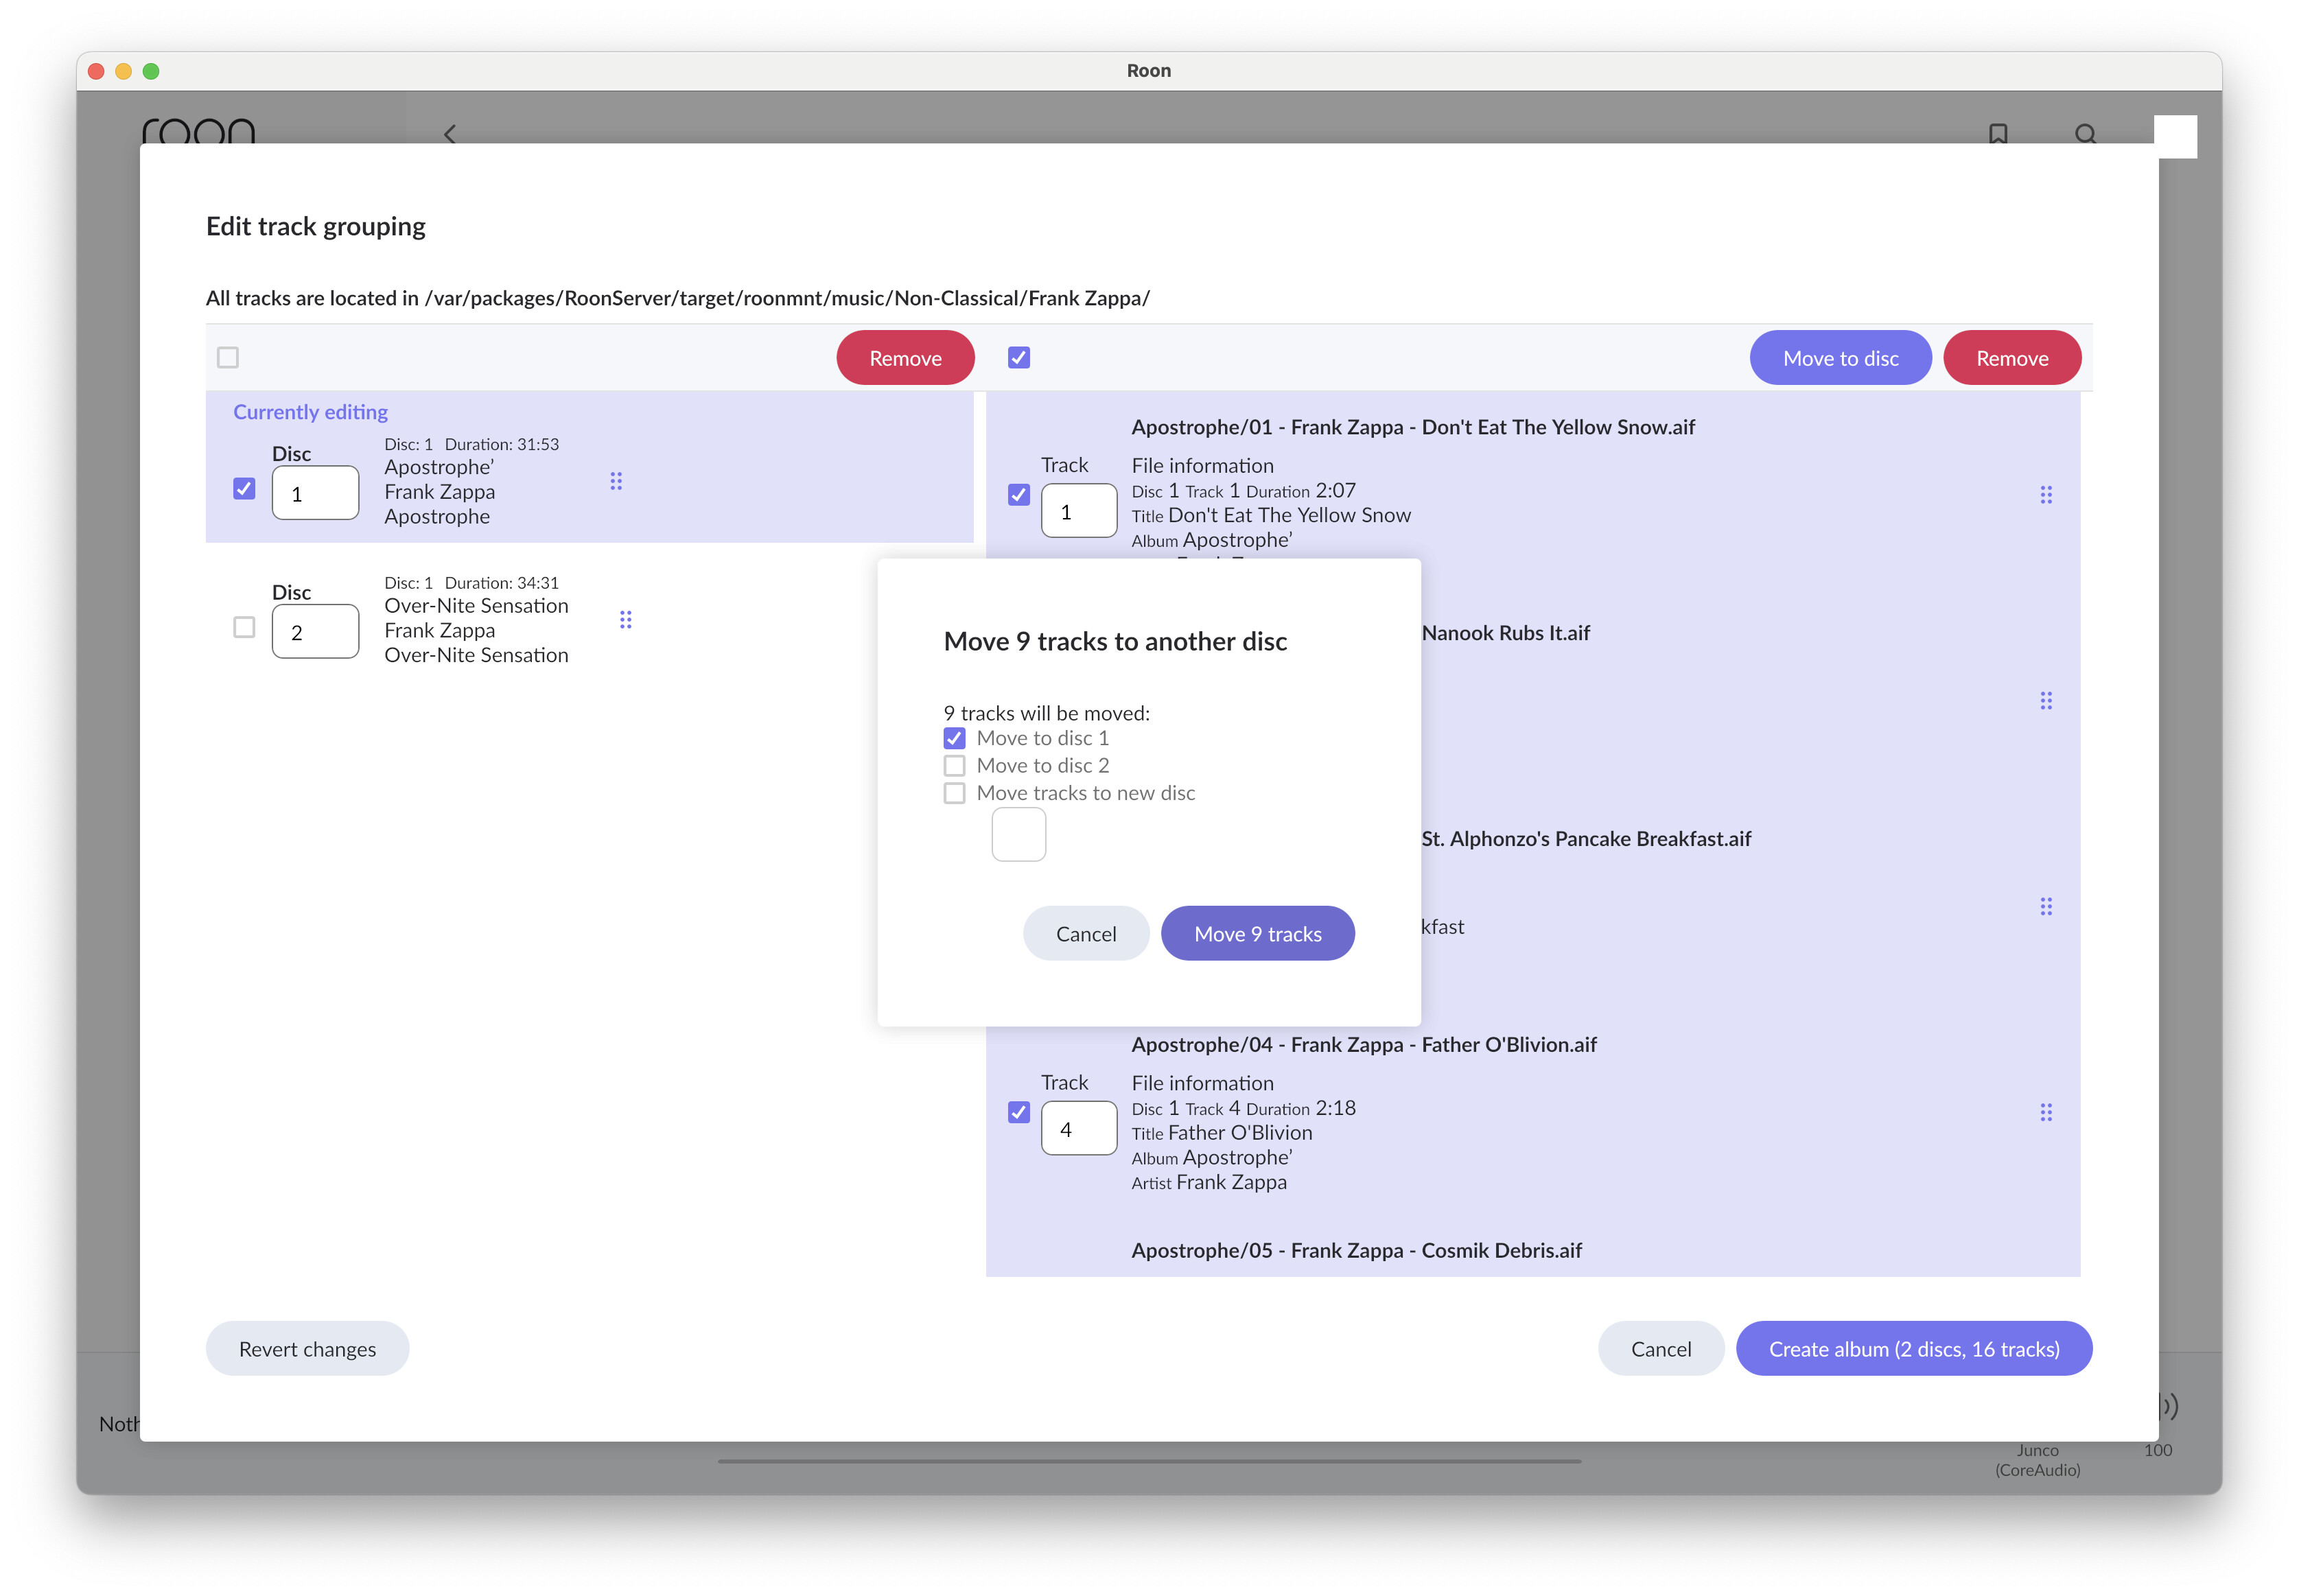
- Select “Move to disc” and then in the dialog box that appears, select “Move to disc 1” - then hit the “Move x tracks” button.
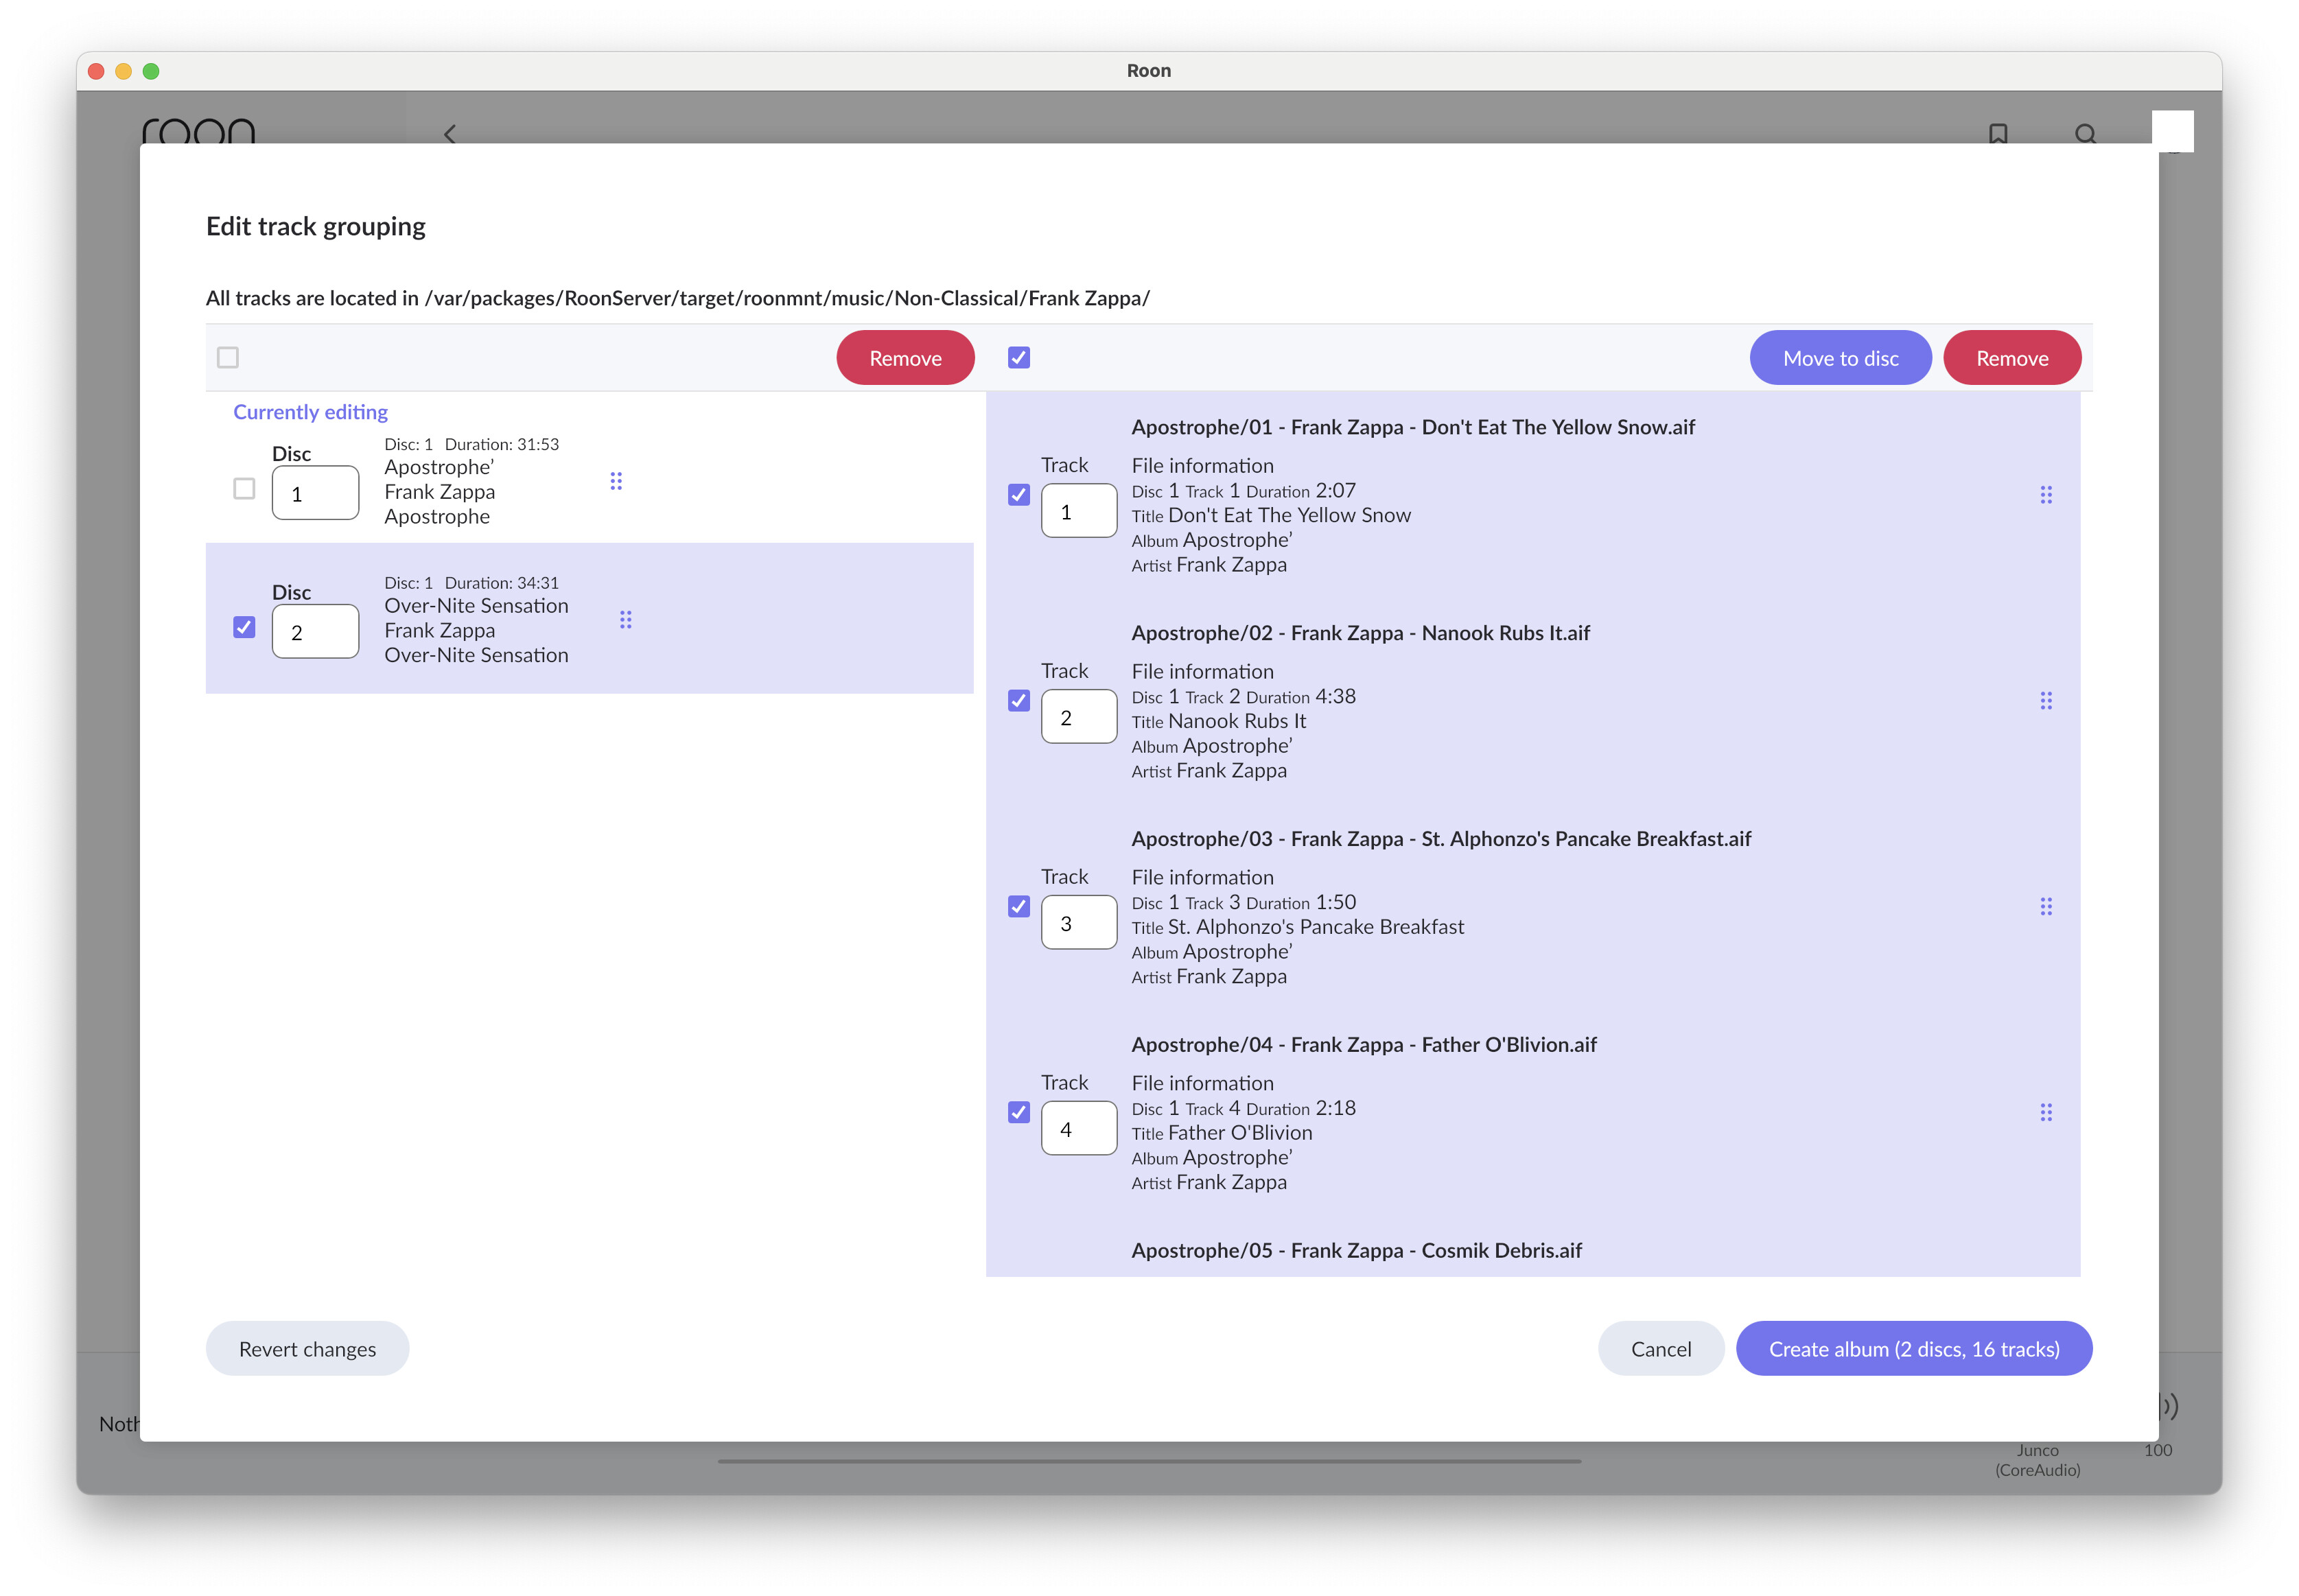
- De-select Disc 1 and select Disc 2 on the right
- Click “Remove” above the left-hand (disc) column.
- You will get a prompt - “Remove disc?” hit “Yes”.
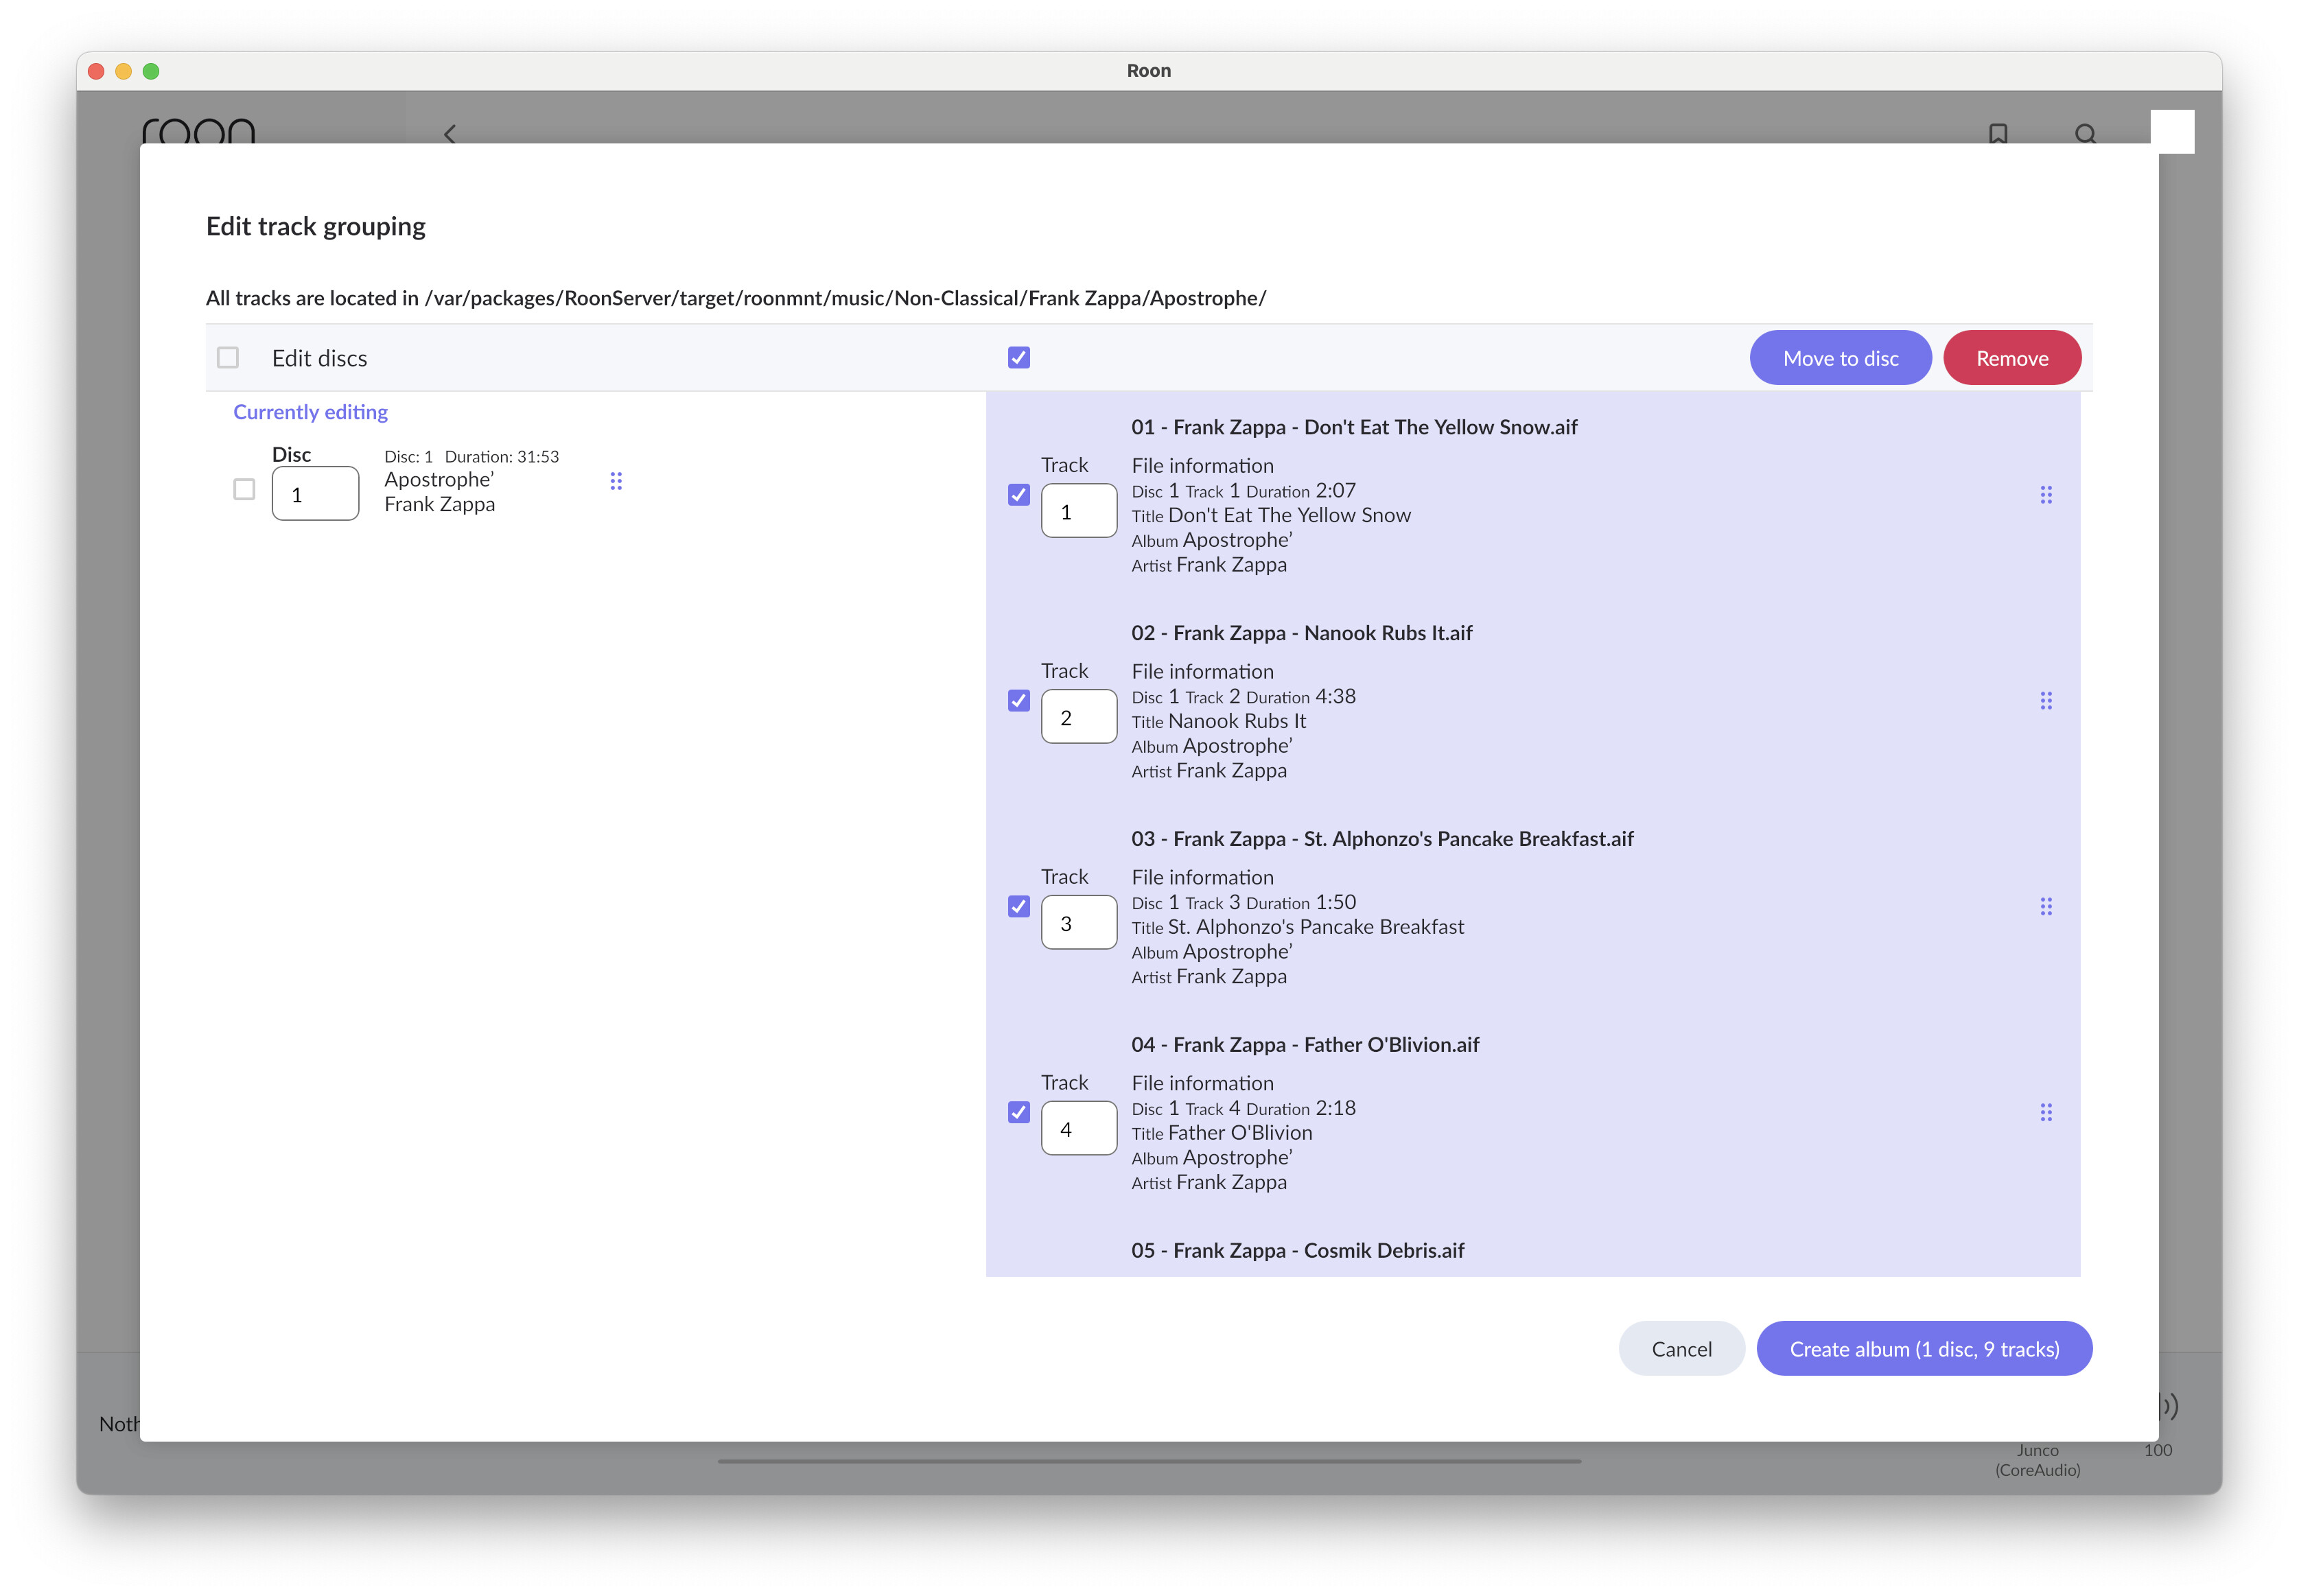
- In the bottom right, there will be a button to “Create album (1 disc, X tracks)” - click it.
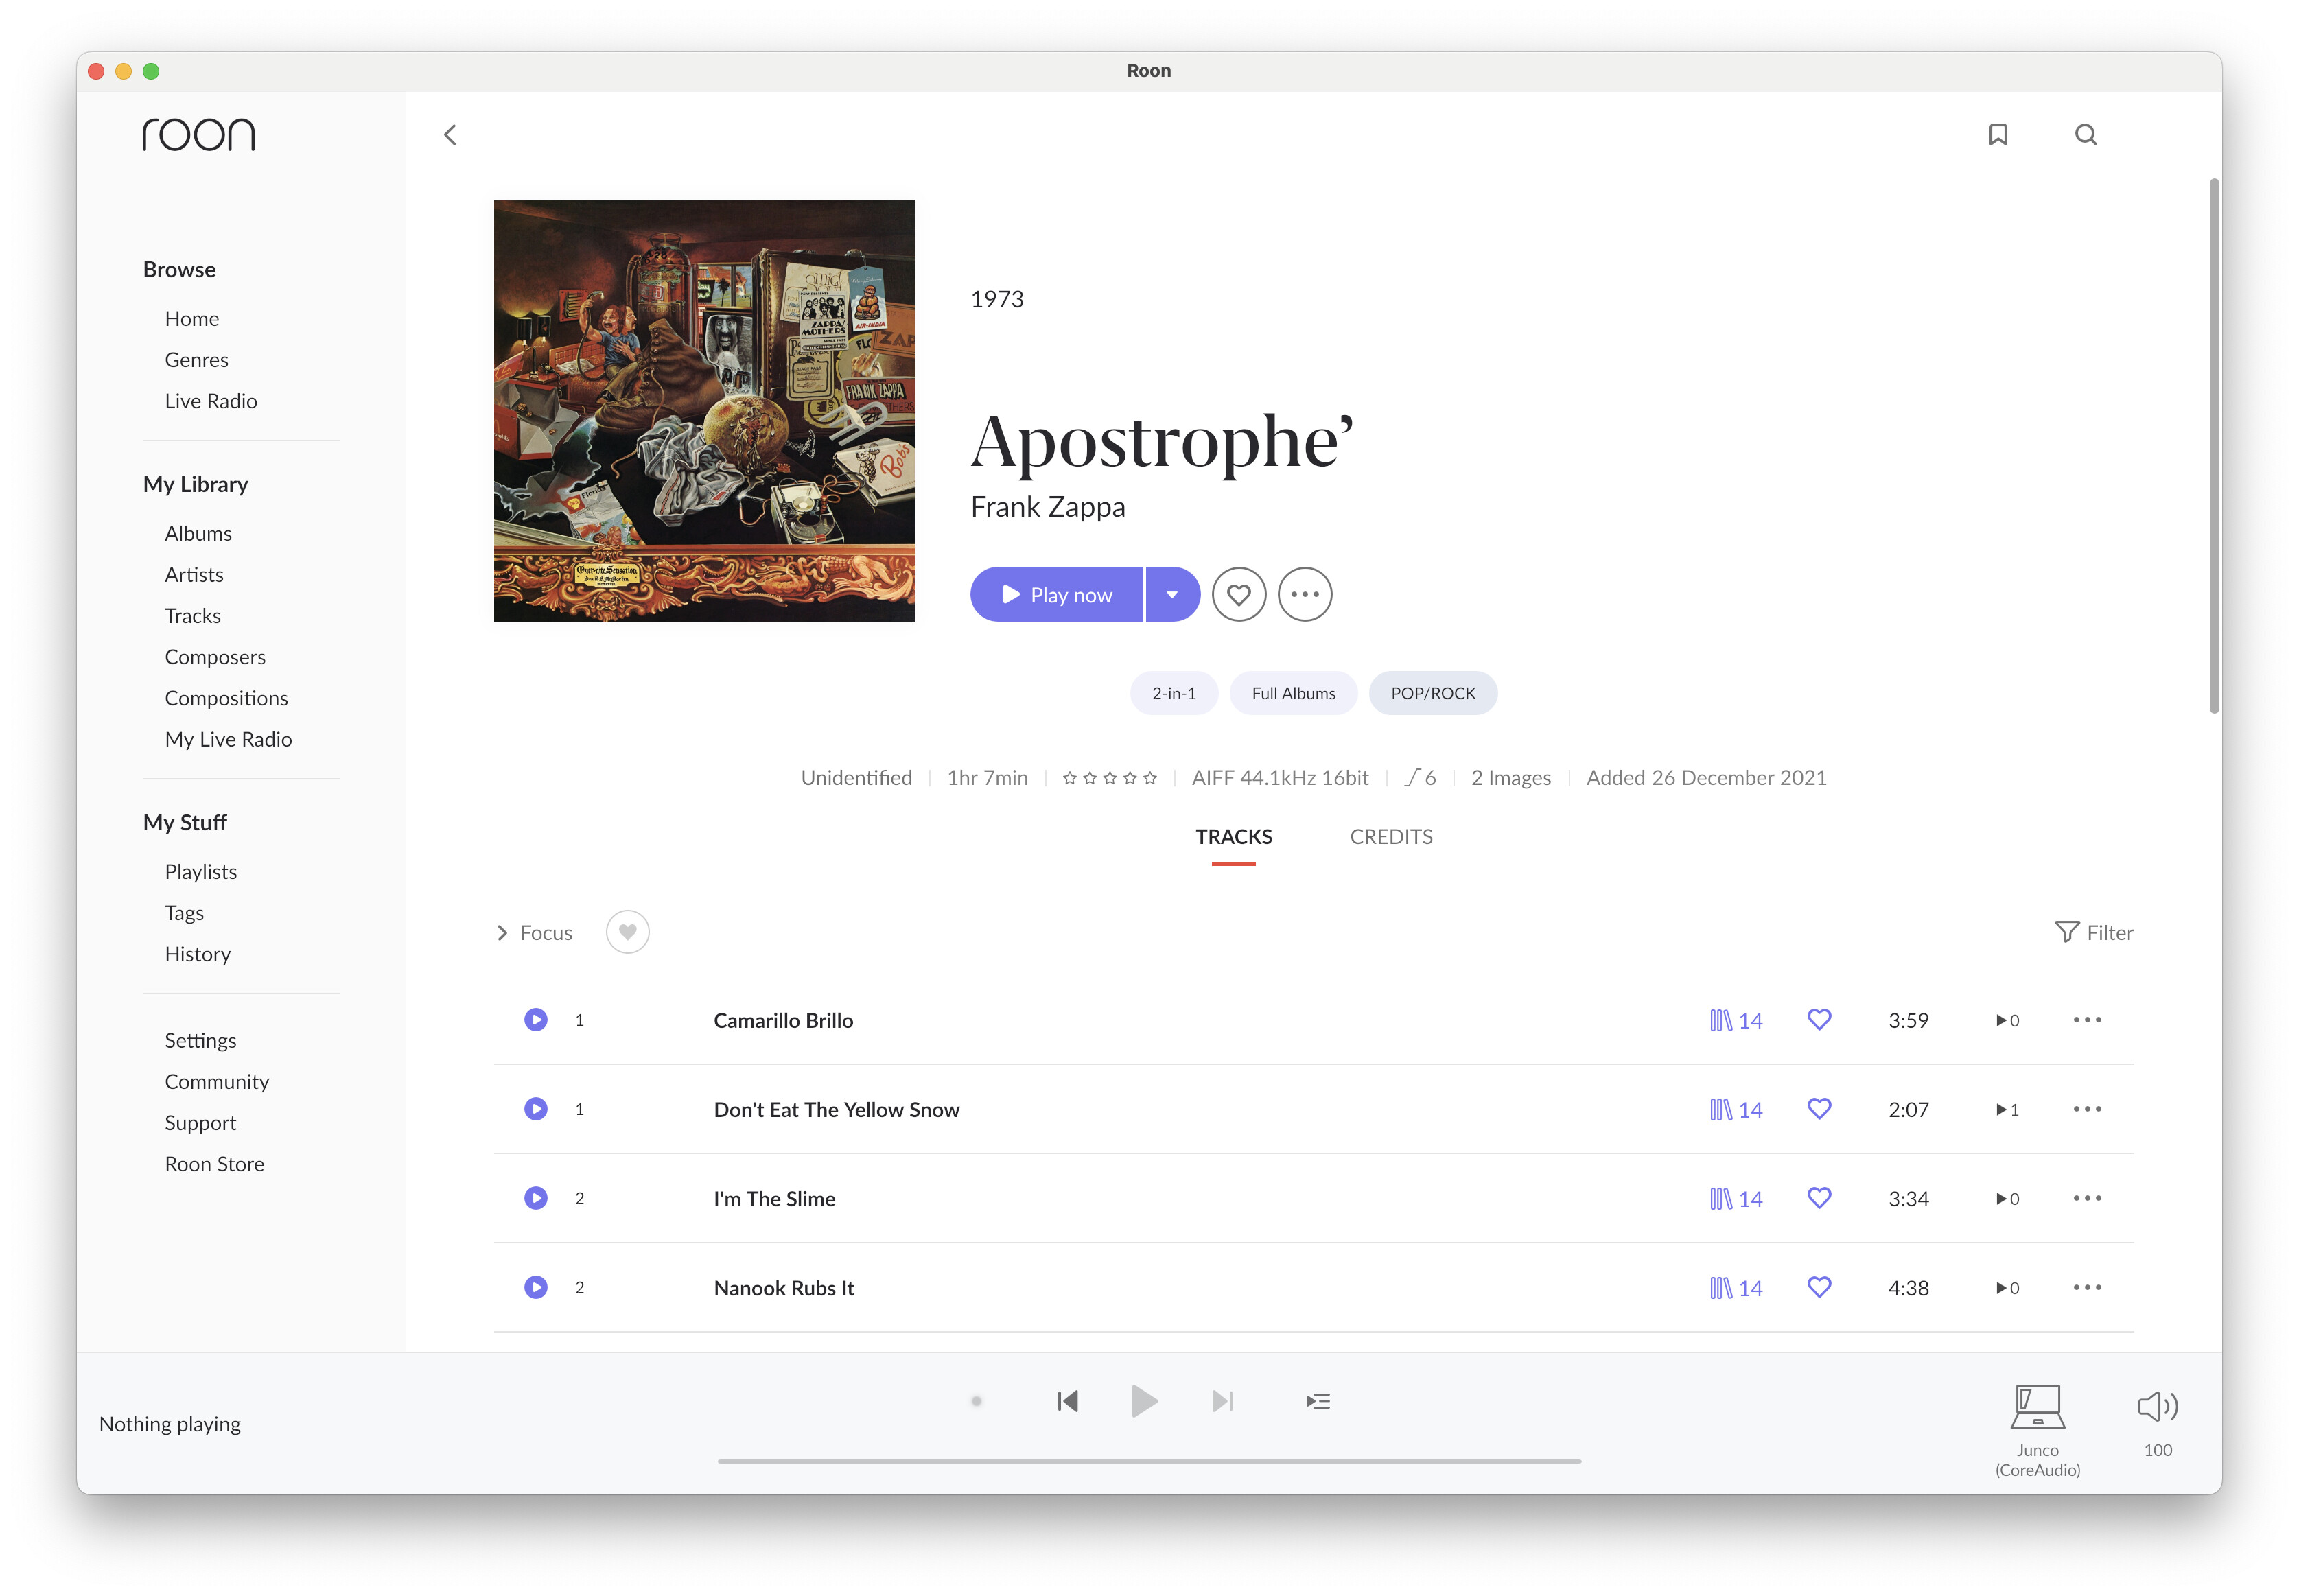
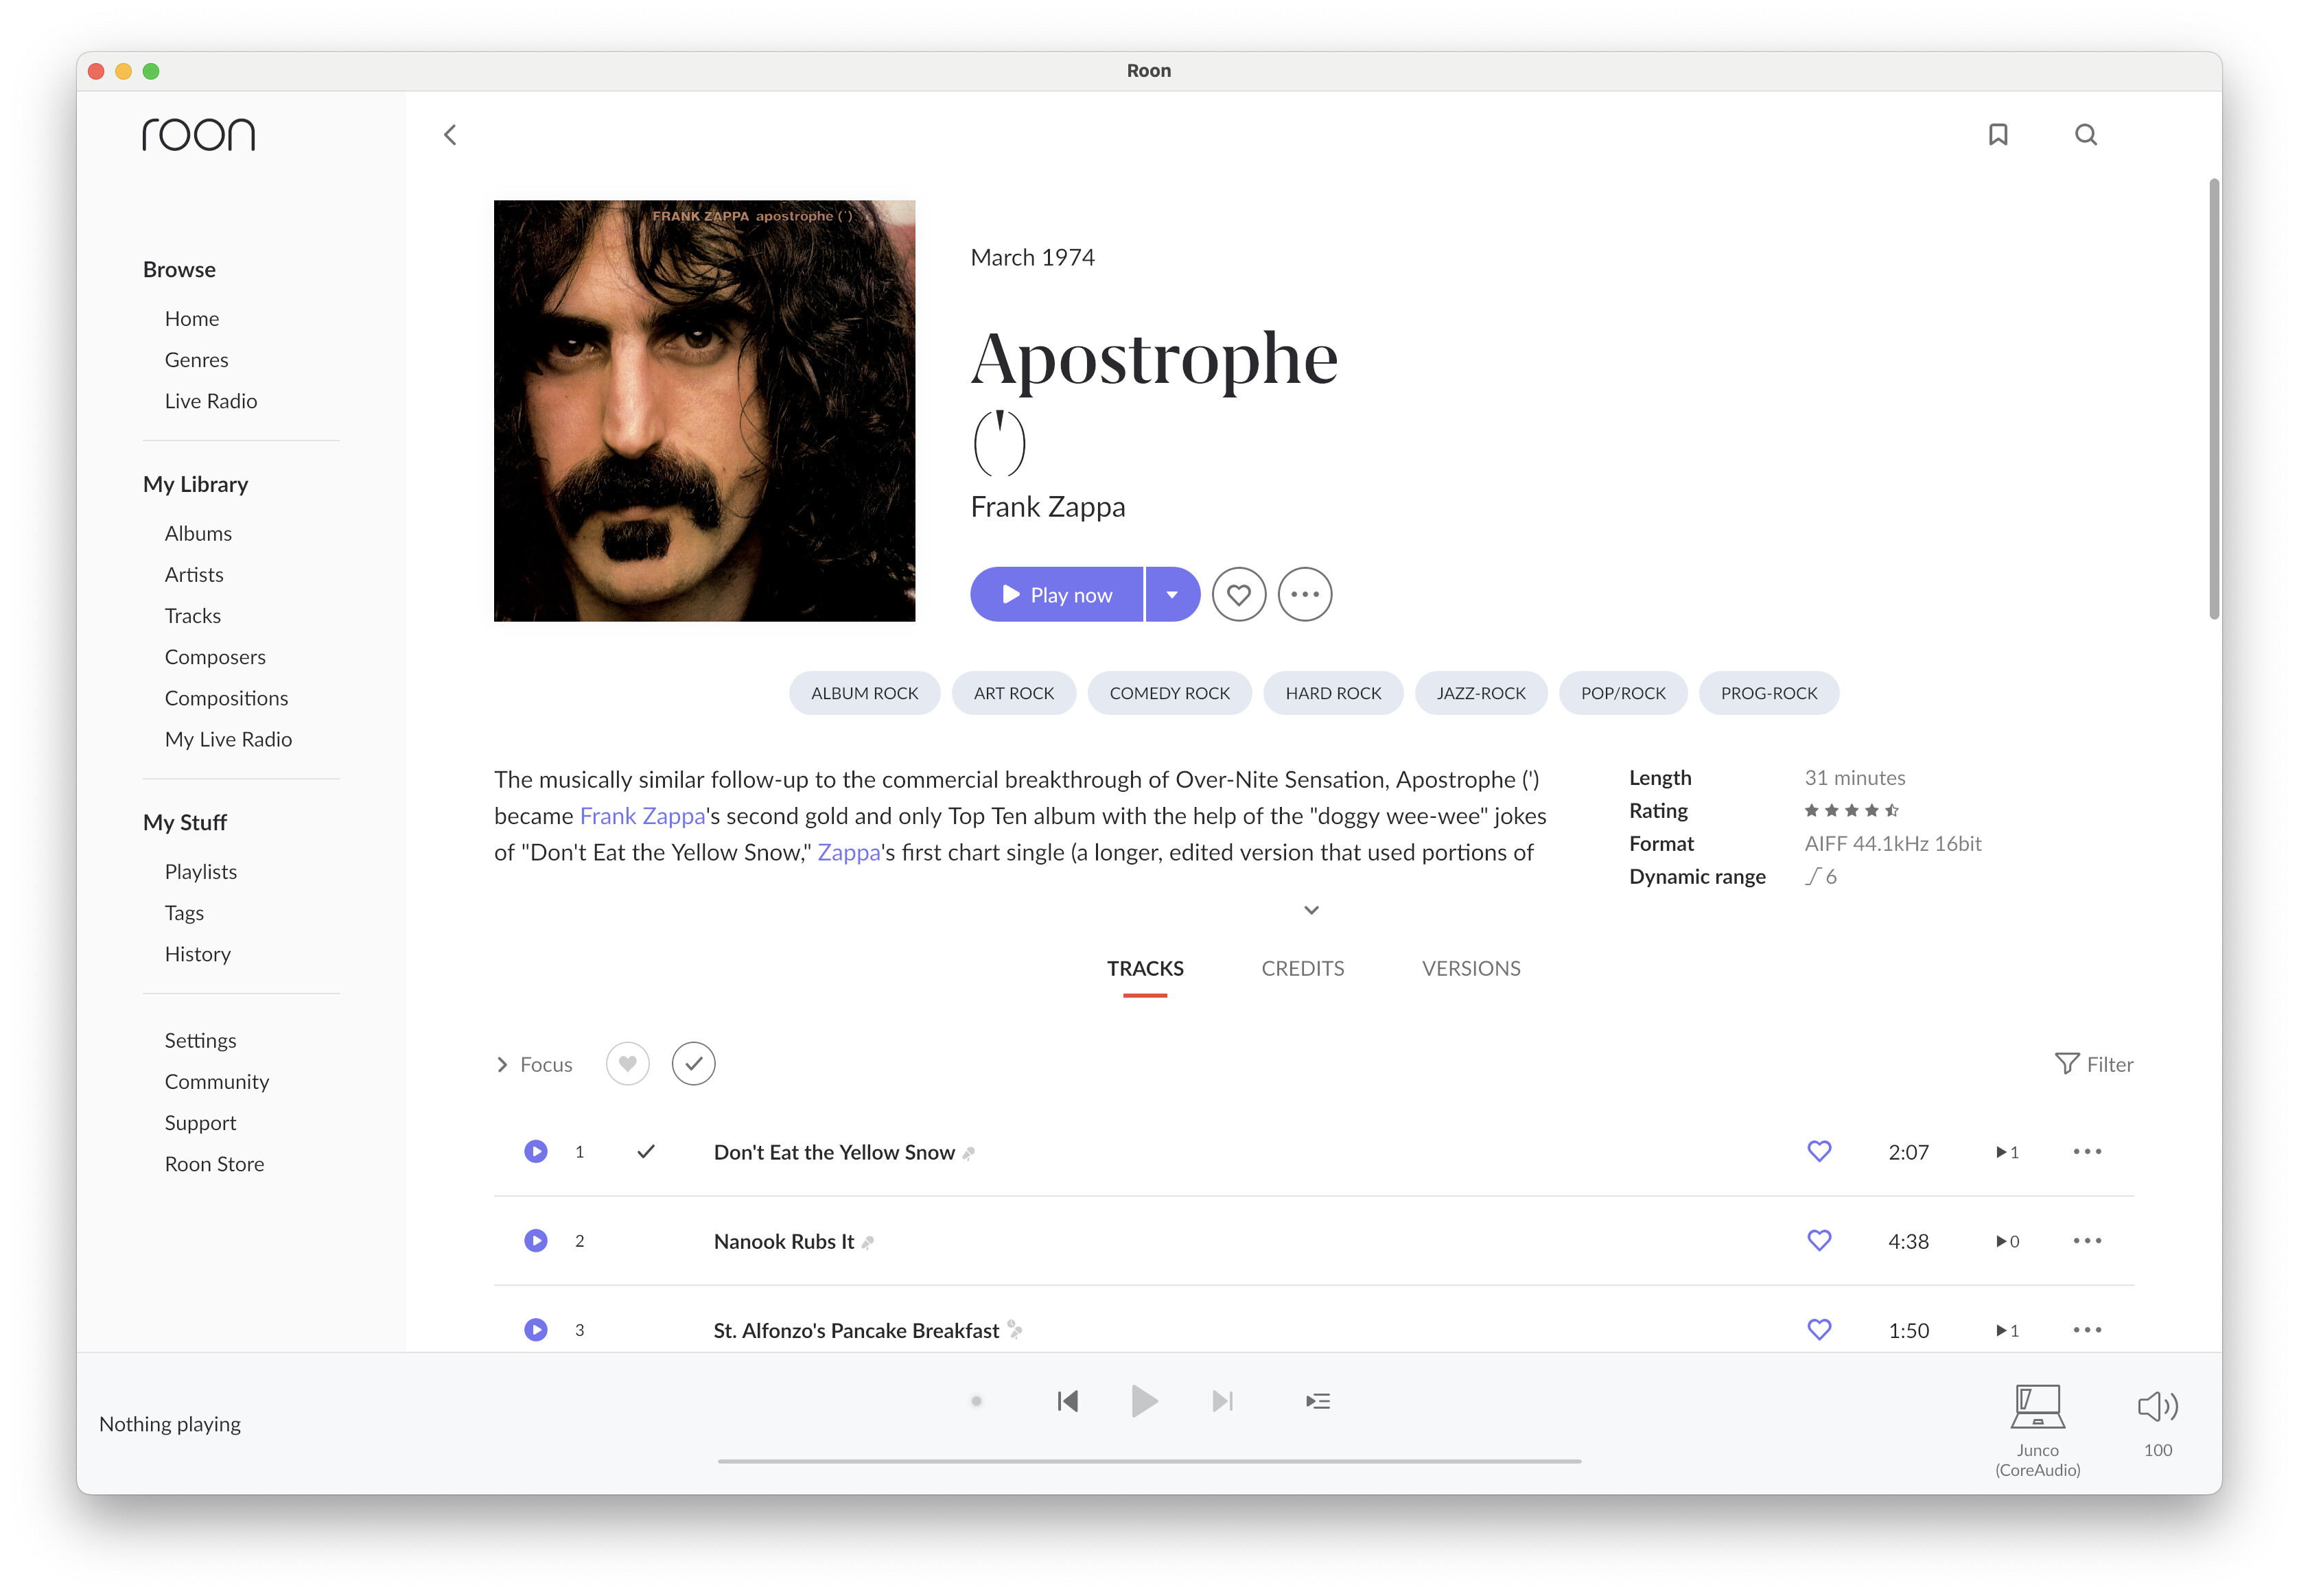
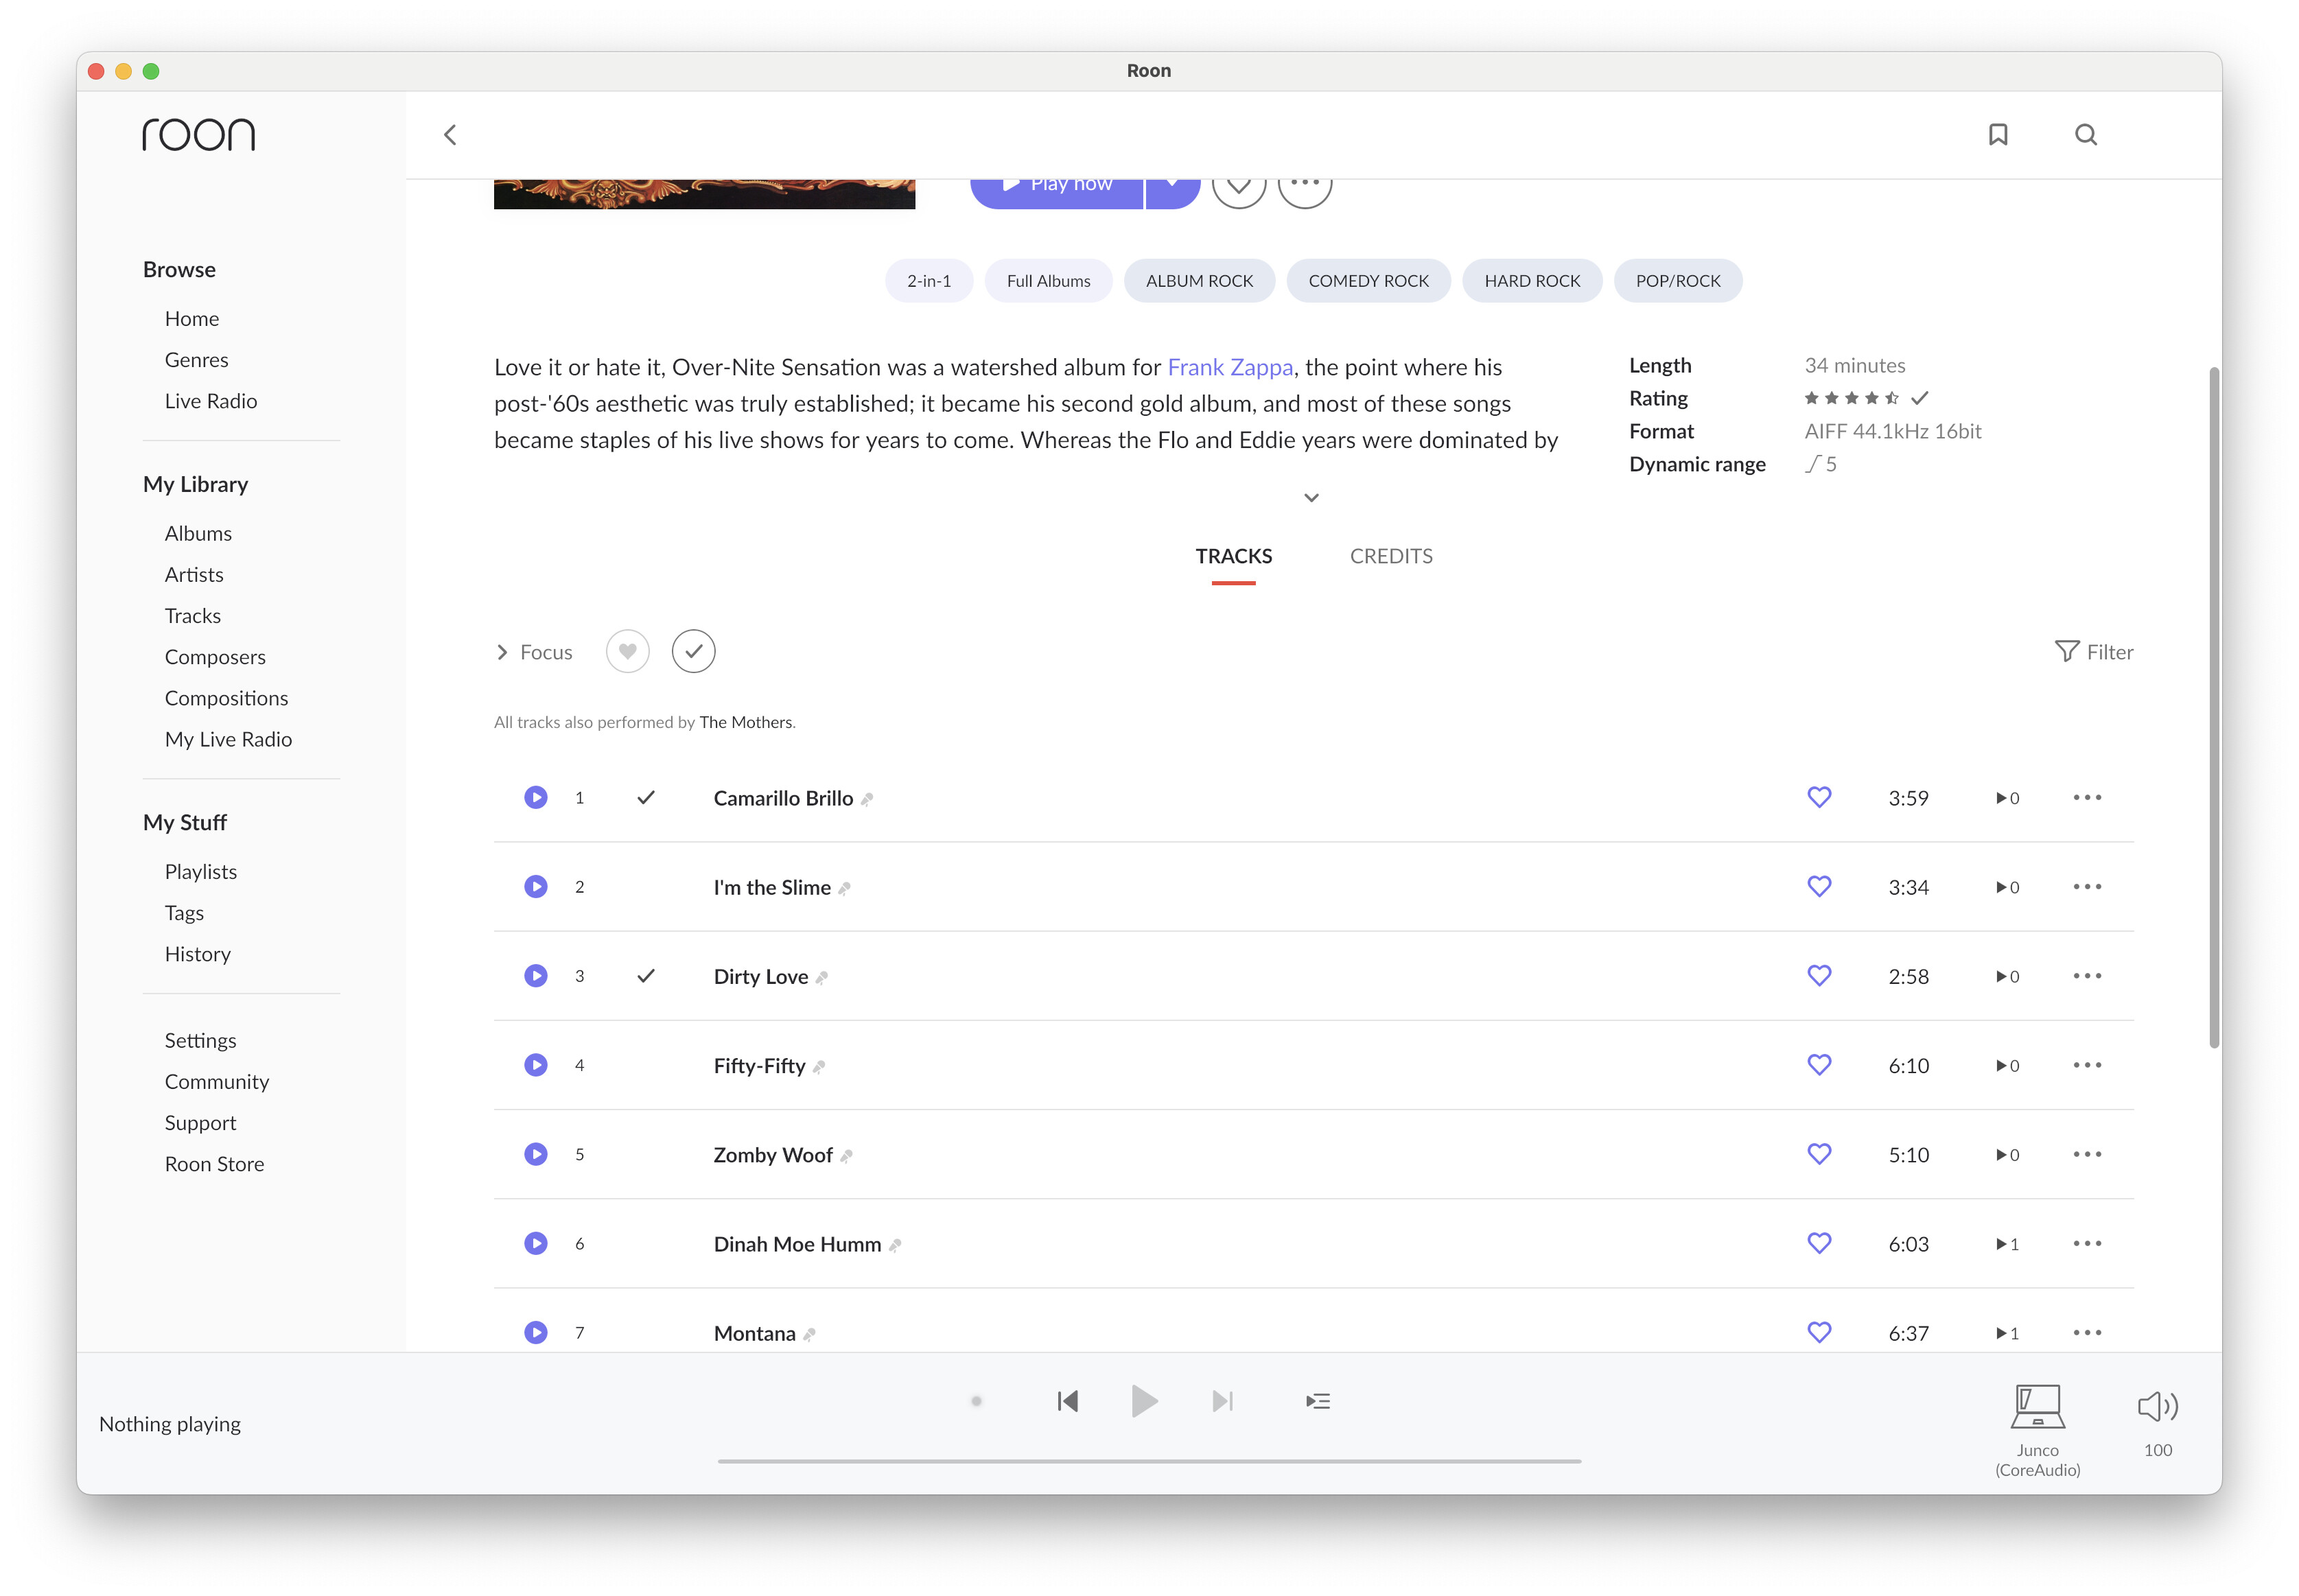
- In the next screen, you will see your liberated album, with the right track play counts.
- If you navigate your library, the other album will have been liberated, too, with the right track play counts, but it will be unidentified. Go ahead and identify it manually.

Before:
After:
22) Some of your original tags for the original combined album might only be with one of the two albums. Fix those, and you will be all set!
The same logic could be applied for any “X-in-1” album sets, of course. I hope this helps!