Some more 4S11 star quad on the way and a big bunch of Neutrik Speakon connectors.
Leaves me the future option of going fully active…
Some more 4S11 star quad on the way and a big bunch of Neutrik Speakon connectors.
Leaves me the future option of going fully active…
If you wish to have someone check your work, call Benchmark. I did this when building speak-on cables for my previous setup and very quickly was connected to someone who was able to answer all of my questions.
Thanks Kelly.
I’ve decided to cable them “properly”, with a separate 4-core Starquad cable with a 2-pole Speakon on both ends connecting each driver from an external xover box. The cabinets will also have 3 Speakon sockets - one for each driver. If I ever decide to go down the rabbit-hole of fully active later on, everything is in place.
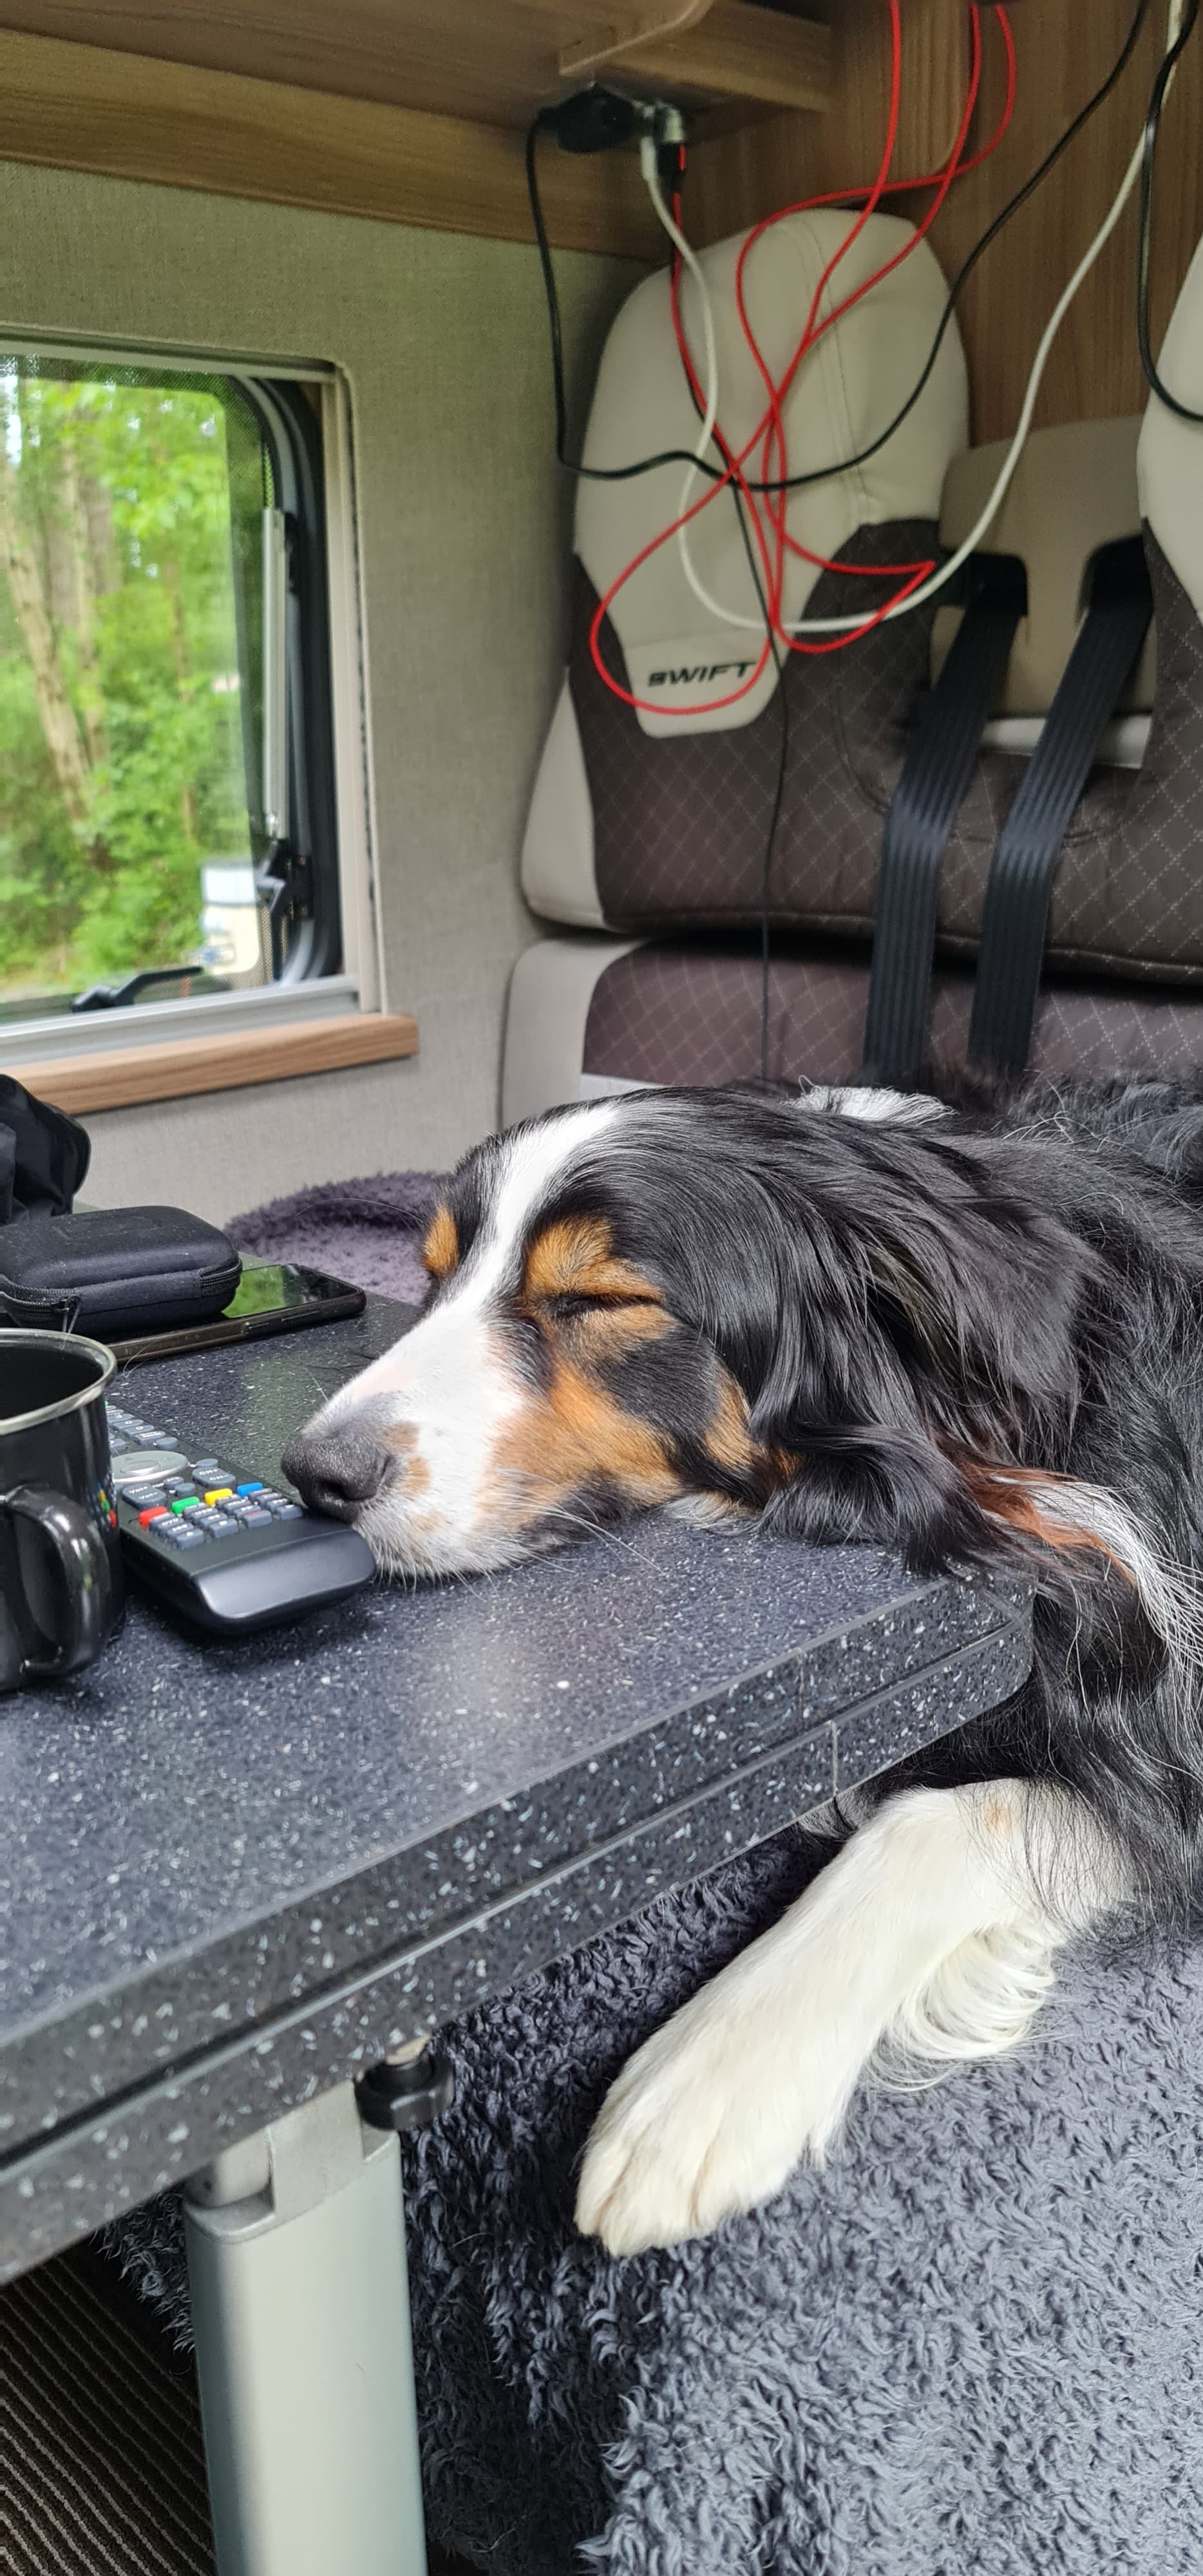
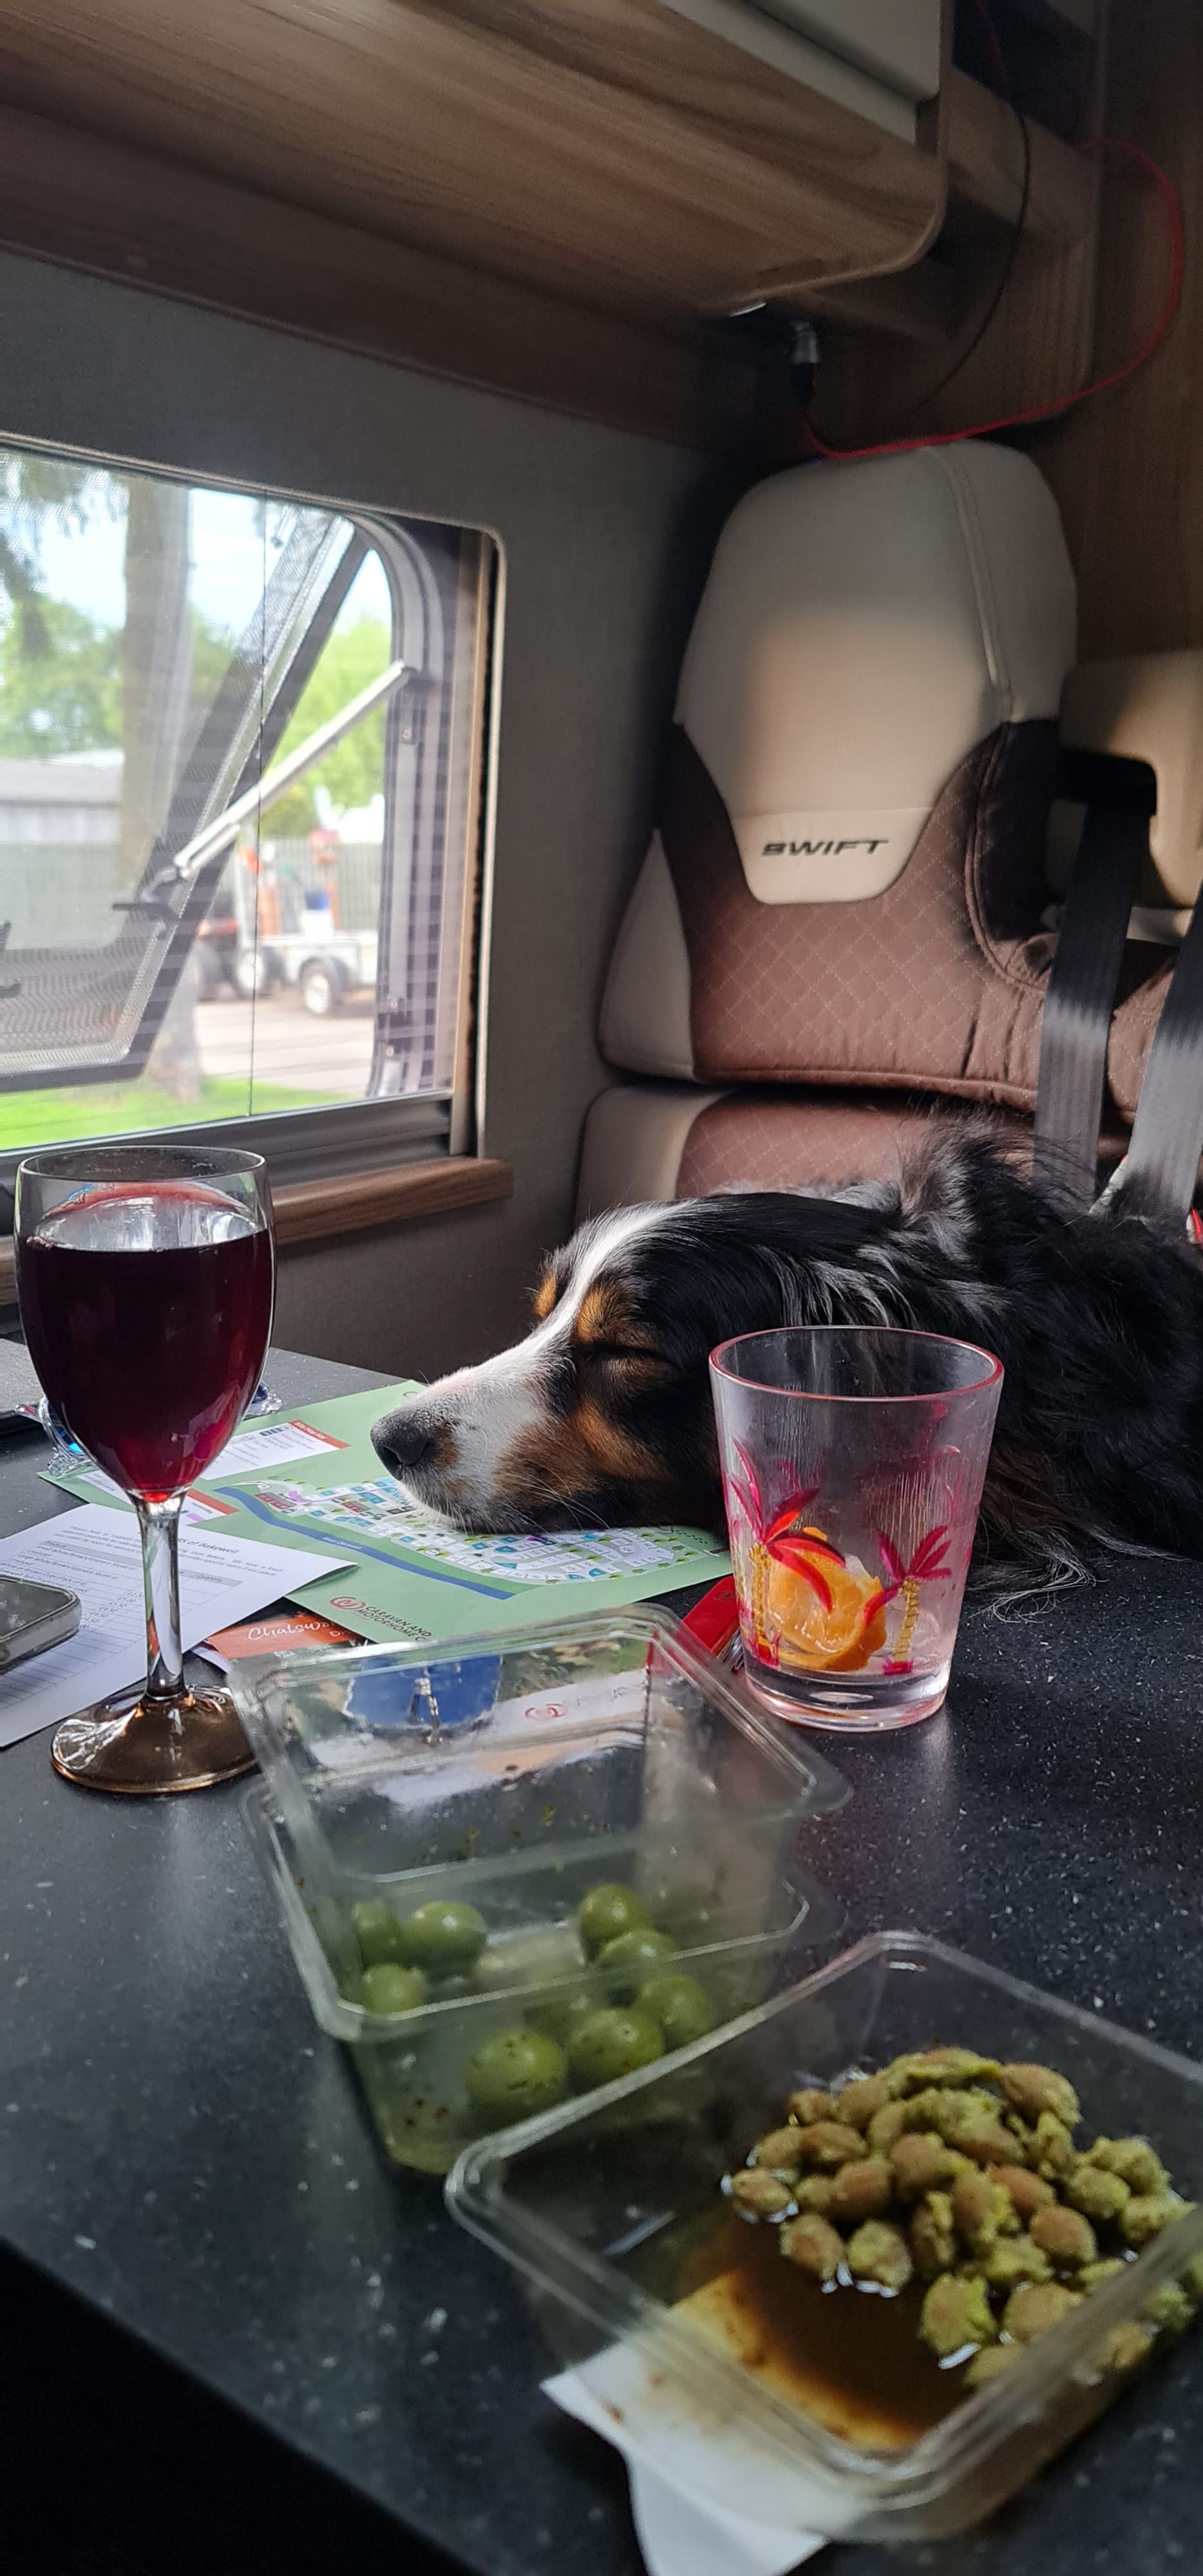
Things have been somewhat slow of late, mainly due to work pressures plus a holiday (vacation). We spent 6 nights in the Peak District in a campervan. 3 of them next to Carsington Water and the other 3 on the Chatsworth Estate. Lots of walking, pub lunches, chilling out, drinking wine and deciding that we definitely want to buy a motorhome of our own. Stan loved it. 24/7 with both of us in a confined area kept his herding instincts completely satisfied. Also, being around us all of the time tires him out. We’ve never seen him so tired or sleep so much.
Back to the build - the extra speaker cable arrived from Blue Jeans Cable. Not quite sure what I got wrong in the order process, but the second order arrived as grey cable rather than black.
Anyhoo, the left speaker cabling will be grey and the right, black.
3 runs of Canare 4S11 Starquad from the xover, 1 to each driver (I appreciate this is overkill, but it keeps self-inductance to the absolute minimum) Xovers will be housed in Baltic birch plywood boxes skinned in carbon fibre with 304 stainless fasteners.
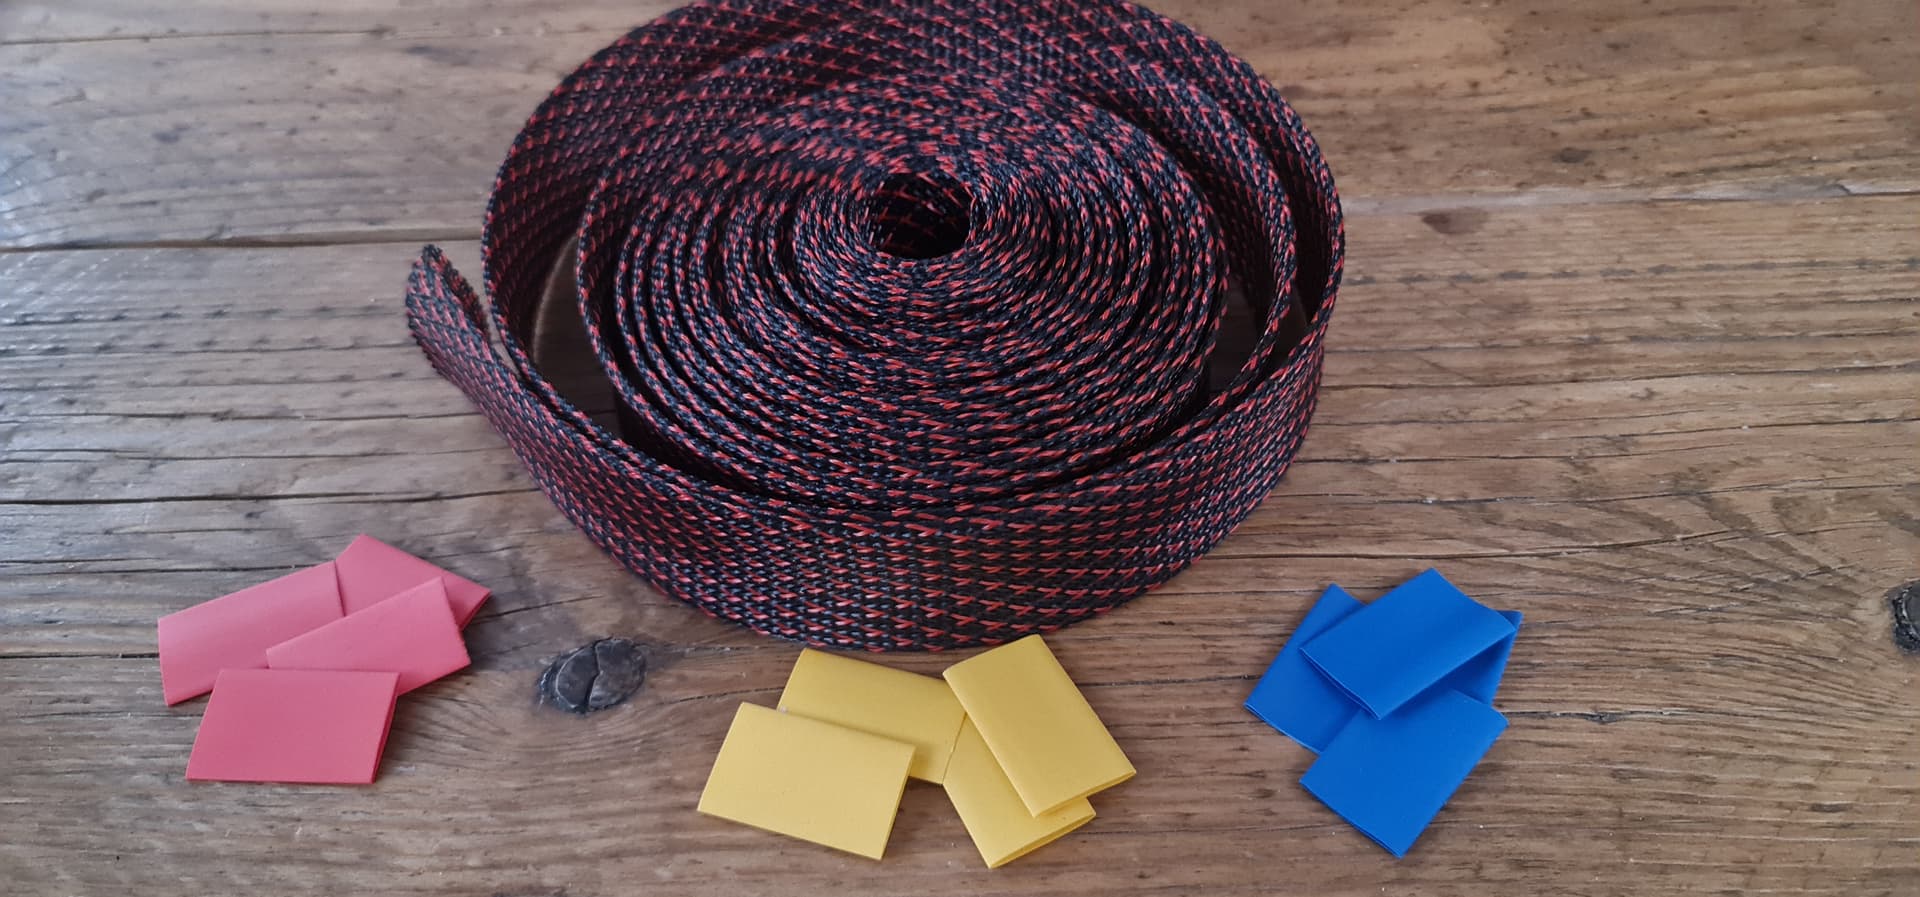
Red and black adhesive-lined heatshrink on the way. Braided sleeving already arrived and I’ve prepped the indentification heatshrink for the individual driver cables. No prizes for guessing which is which (if you understand light colours in relation to frequency/wavelength)
Great pics, while I cannot approve of you vacationing and depriving us of updates, I recognize that Stan most likely cannot legally drive. So you’re off the hook.
I’m a big fan of BJC. Quality products and great service.
I really like Stan, looks abs. cool and in control!
He wasn’t yesterday at home! Katy’s Mum visited in the morning for coffee, then came over yesterday evening for pizza. Stan didn’t sleep all day. When he’s overtired, he’s loopier than a hula-hoop. “Chases” aeroplanes coming to and from Heathrow, still at about 20,000 feet ![]() He’s only 3 1/2, so still a bit of maturing to do…
He’s only 3 1/2, so still a bit of maturing to do…
A little more progress.
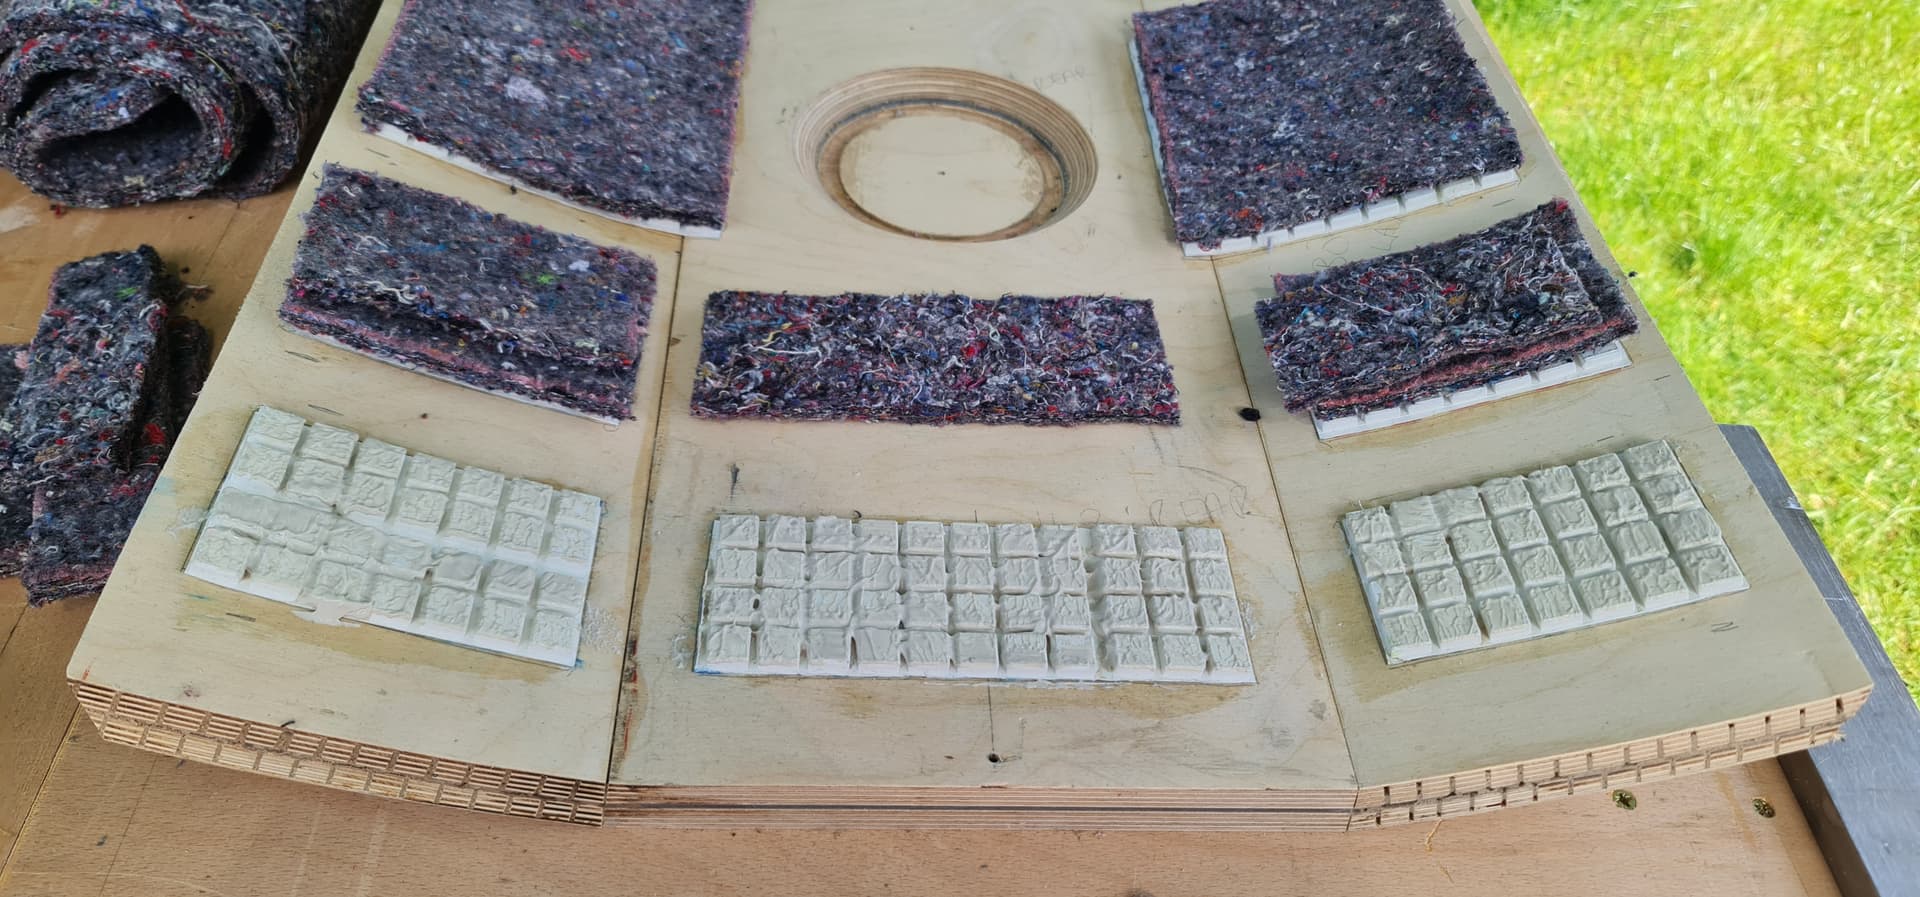
Front baffles are all made up. Done in 3 sections with a 16° mitre between the centre section and curved panels to make the right transition. Glued up using mitre fix glue and accelerator and lots of vinyl adhesive. A little tricky - glued in the first piece, loaded up the surface with vinyl adhesive, added the Dodo MLV, loaded up the second piece and the mat with more vinyl adhesive, then mitre bonded the second layer of ply. Judicious use of masking tape to keep the vinyl adhesive and the cyanoacrylate apart and to line up the mitre joints. Forgot to take any photos of this stage.
(Edit: though working with gloves on, 3 different adhesive components, lining everything up and strapping down made pausing for photos a little tricky)
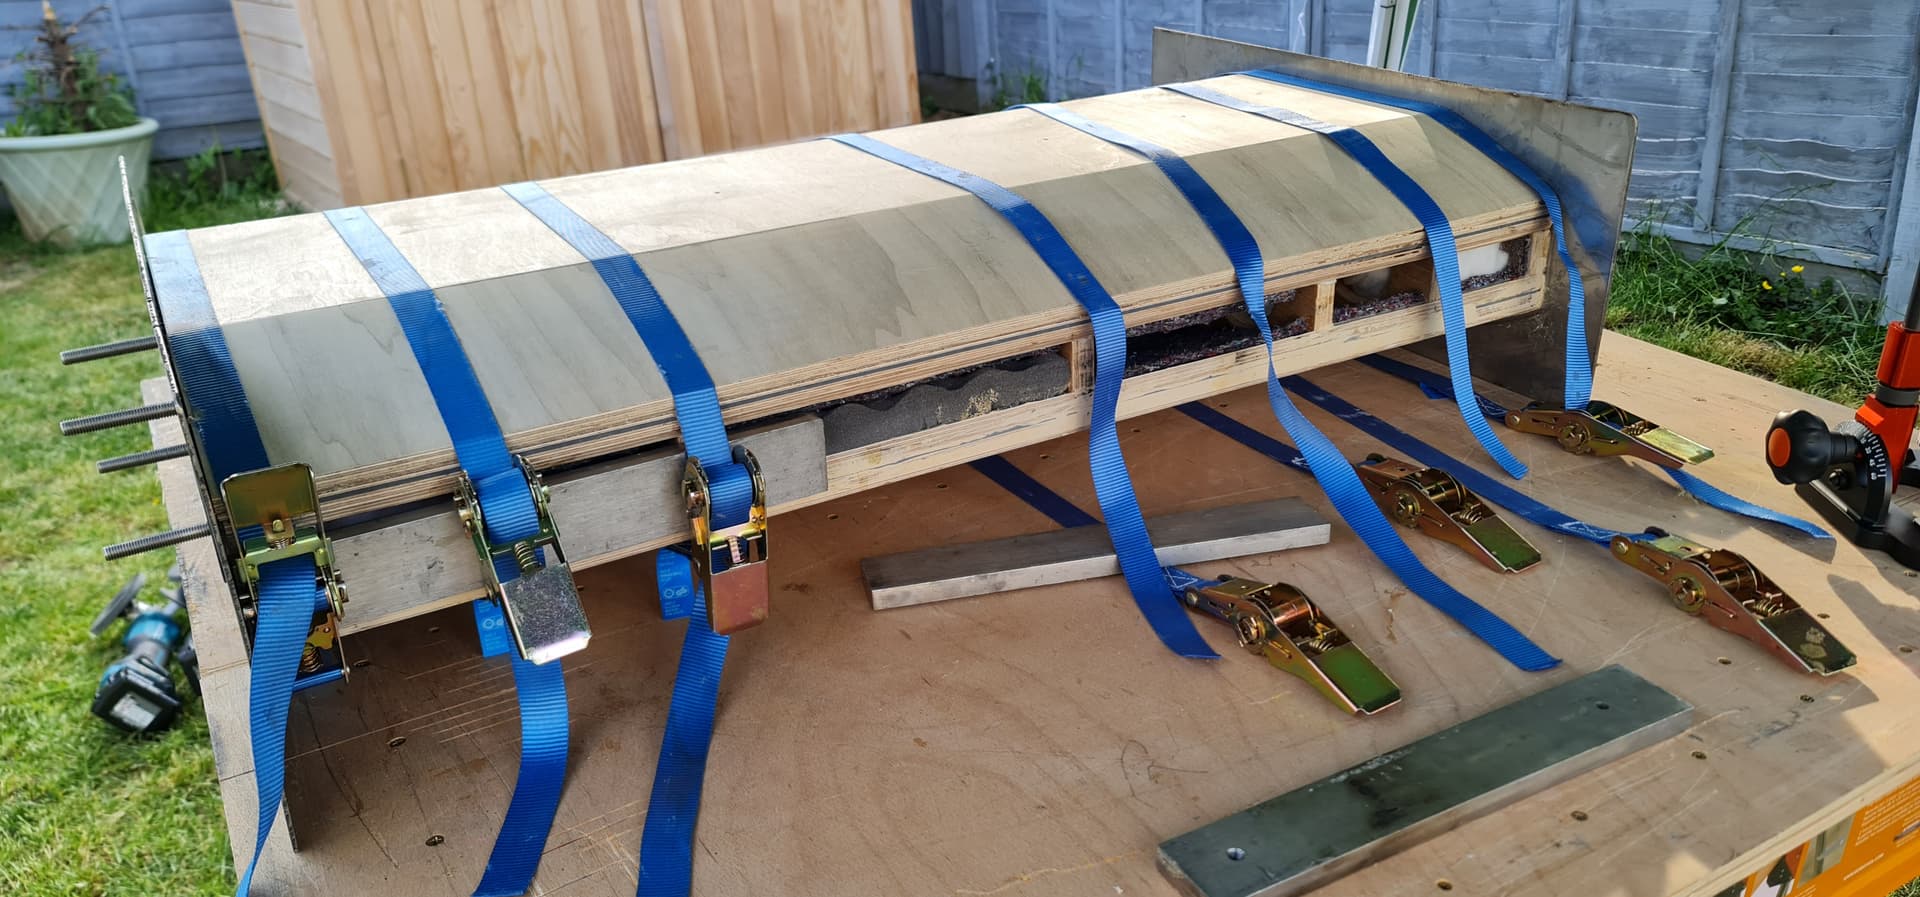
Strapped it all together with ratchet straps and left it for a couple of days to set.
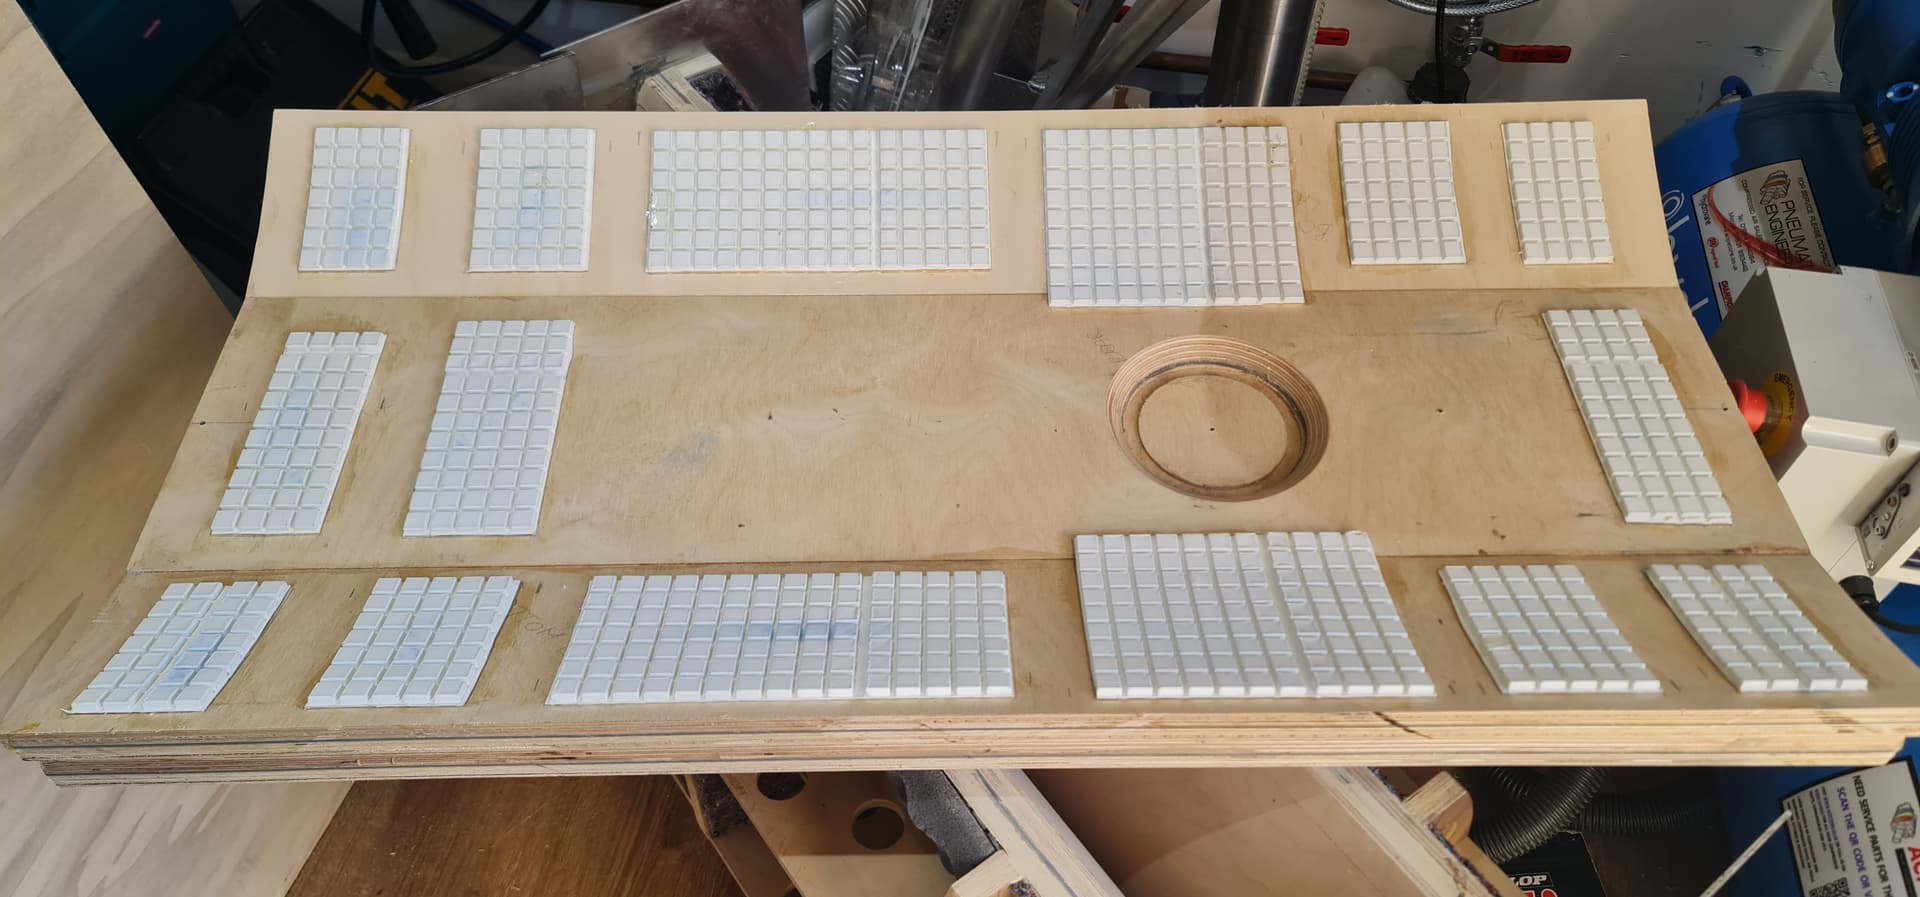
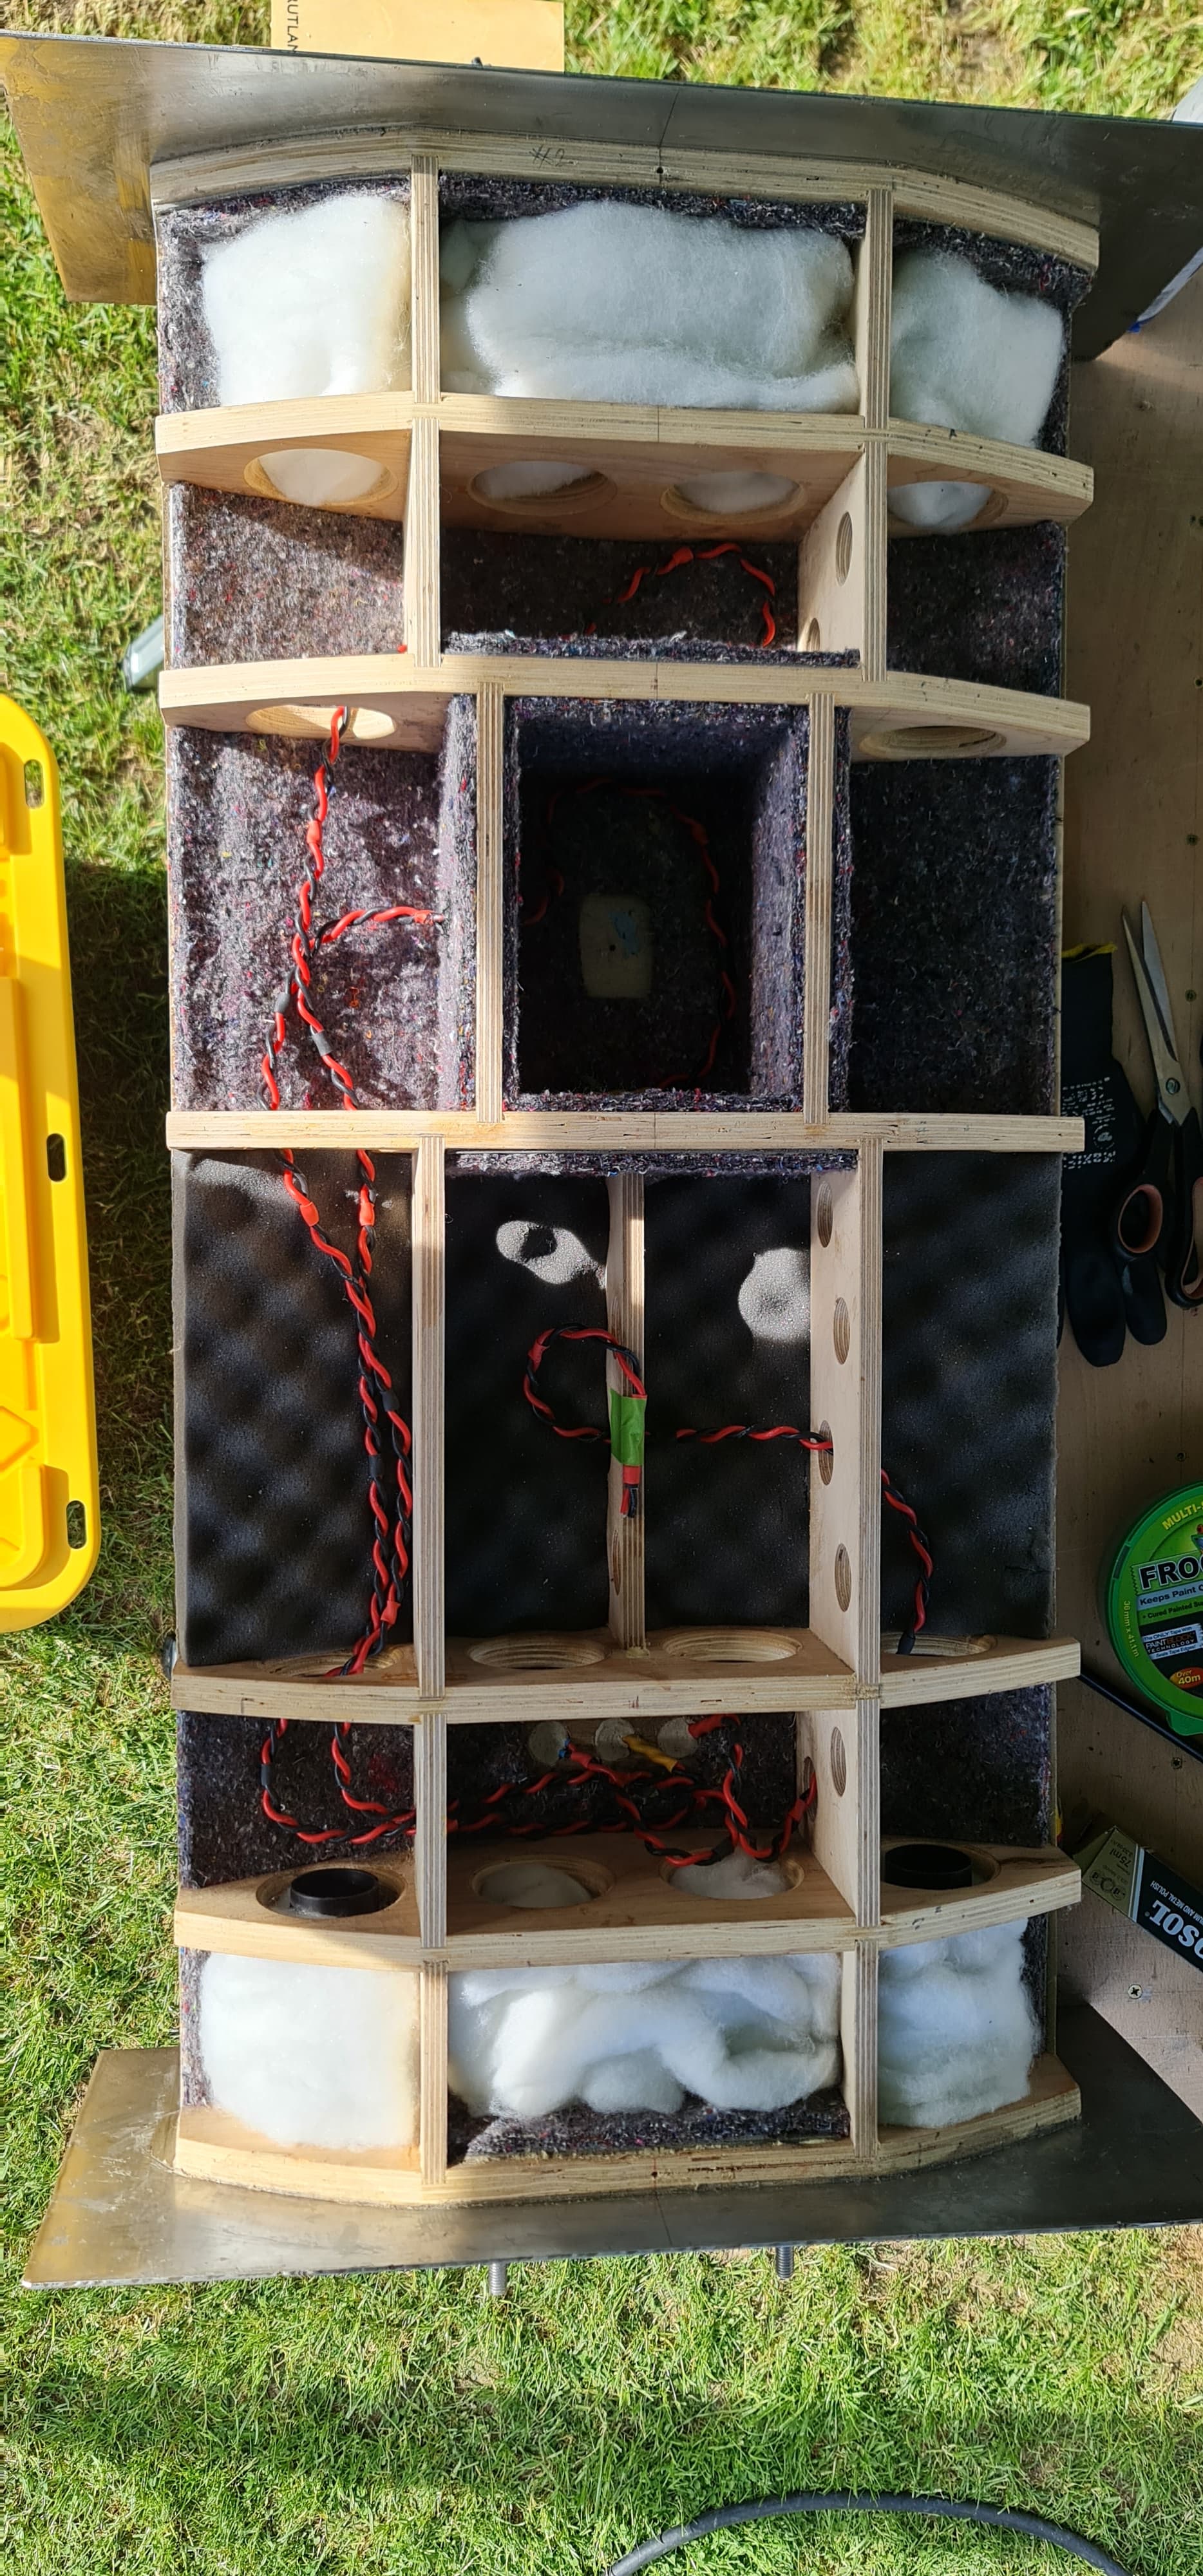
Hawaphon segments added in the gaps:
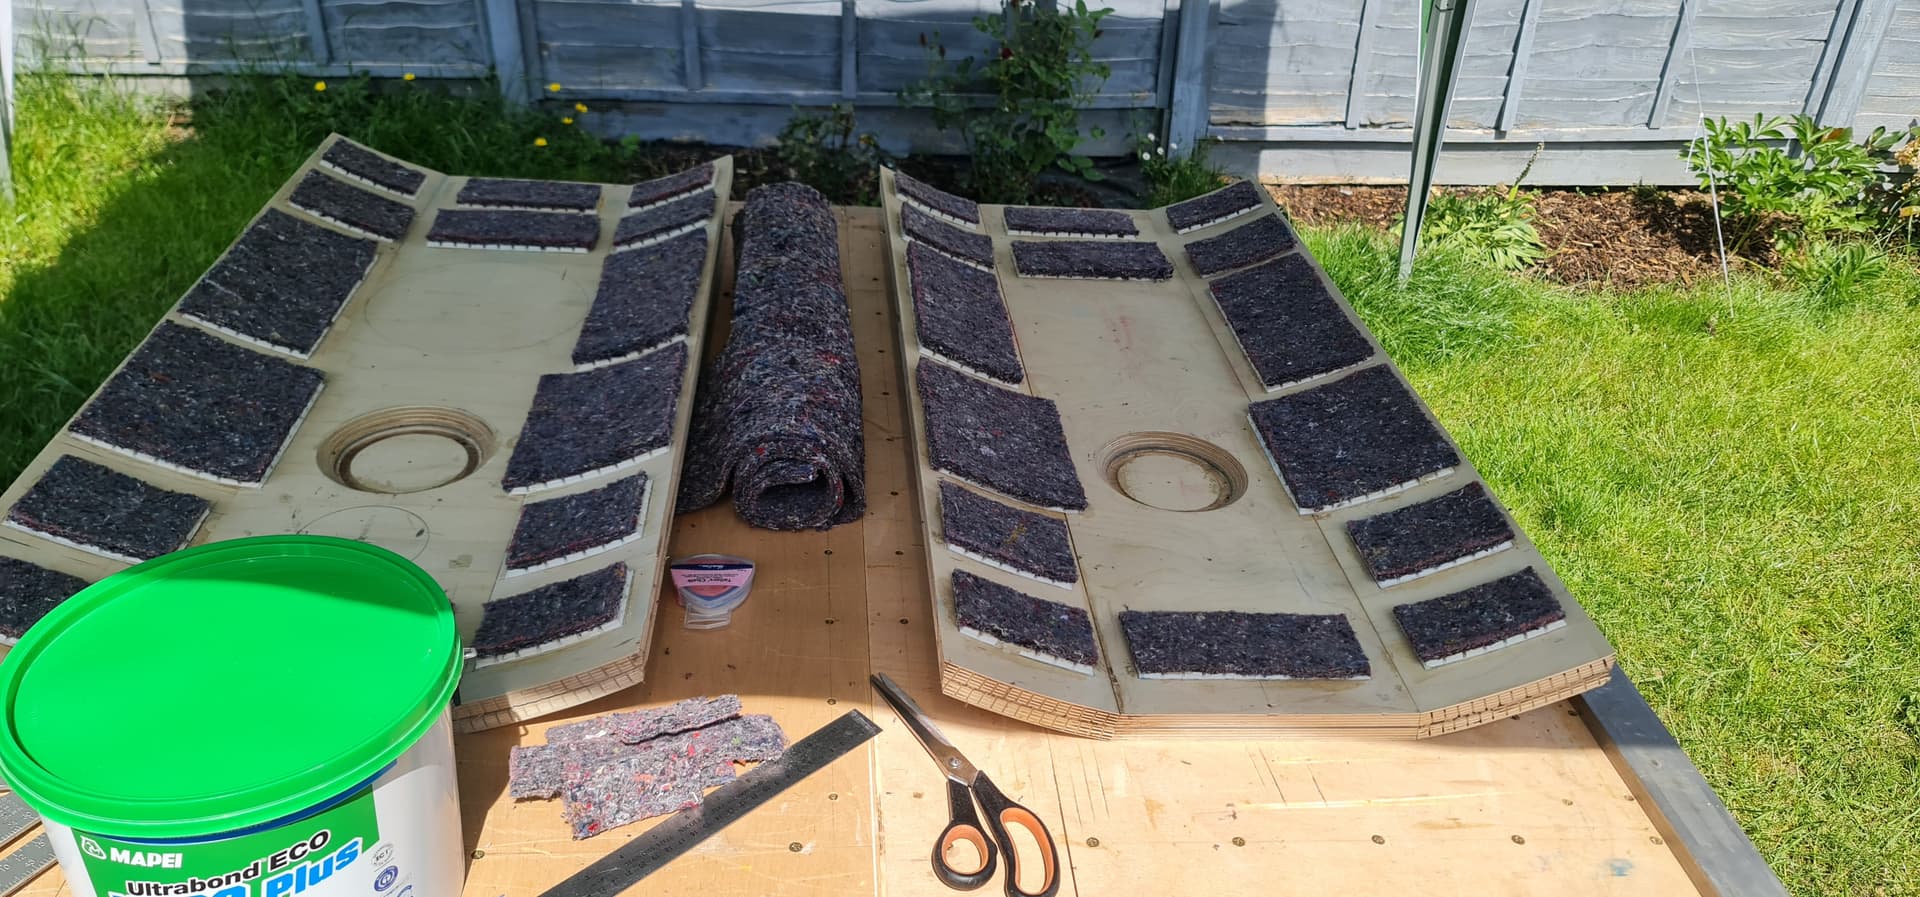
Then 8mm felt stuck to the Hawaphon:
I’ve drilled the pilot holes in the rear panel for the Neutrik sockets, ordered a 24 mm holesaw to drill them in
and then realised that the pilot bit I have is too short, so have to wait until Screwfix opens again tomorrow to pick up a longer one.
Internal cabling is in place - silicone rubber insulated 14 AWG (2.5 mm²) tinned OFC and the cable hole into the midrange enclosure is sealed up.
I’ll post up a few more pics tomorrow.
![]()
I ran out of hearts…
This is great! Can’t wait to see how they turn out and I hope they meet your expectations, although I’m sure they will. More photo’s please, Graeme!
A slightly more productive day today. Holes for Neutrik Speakon connectors drilled in. Got the right length of pilot bit for my holesaw from Screwfix today.
Before doing any drilling, I coated around where the holes would be with mitre adhesive (cyanoacrylate) and sprayed it with activator to bond the wood fibres on the top layer of ply and prevent tear-out.
When I finally found my set of brad point wood bits (the man-cave is exceptionally untidy), I drilled out the initial pilot holes to 7mm to more or less fit the 7.15 mm pilot bit of the hole saw.
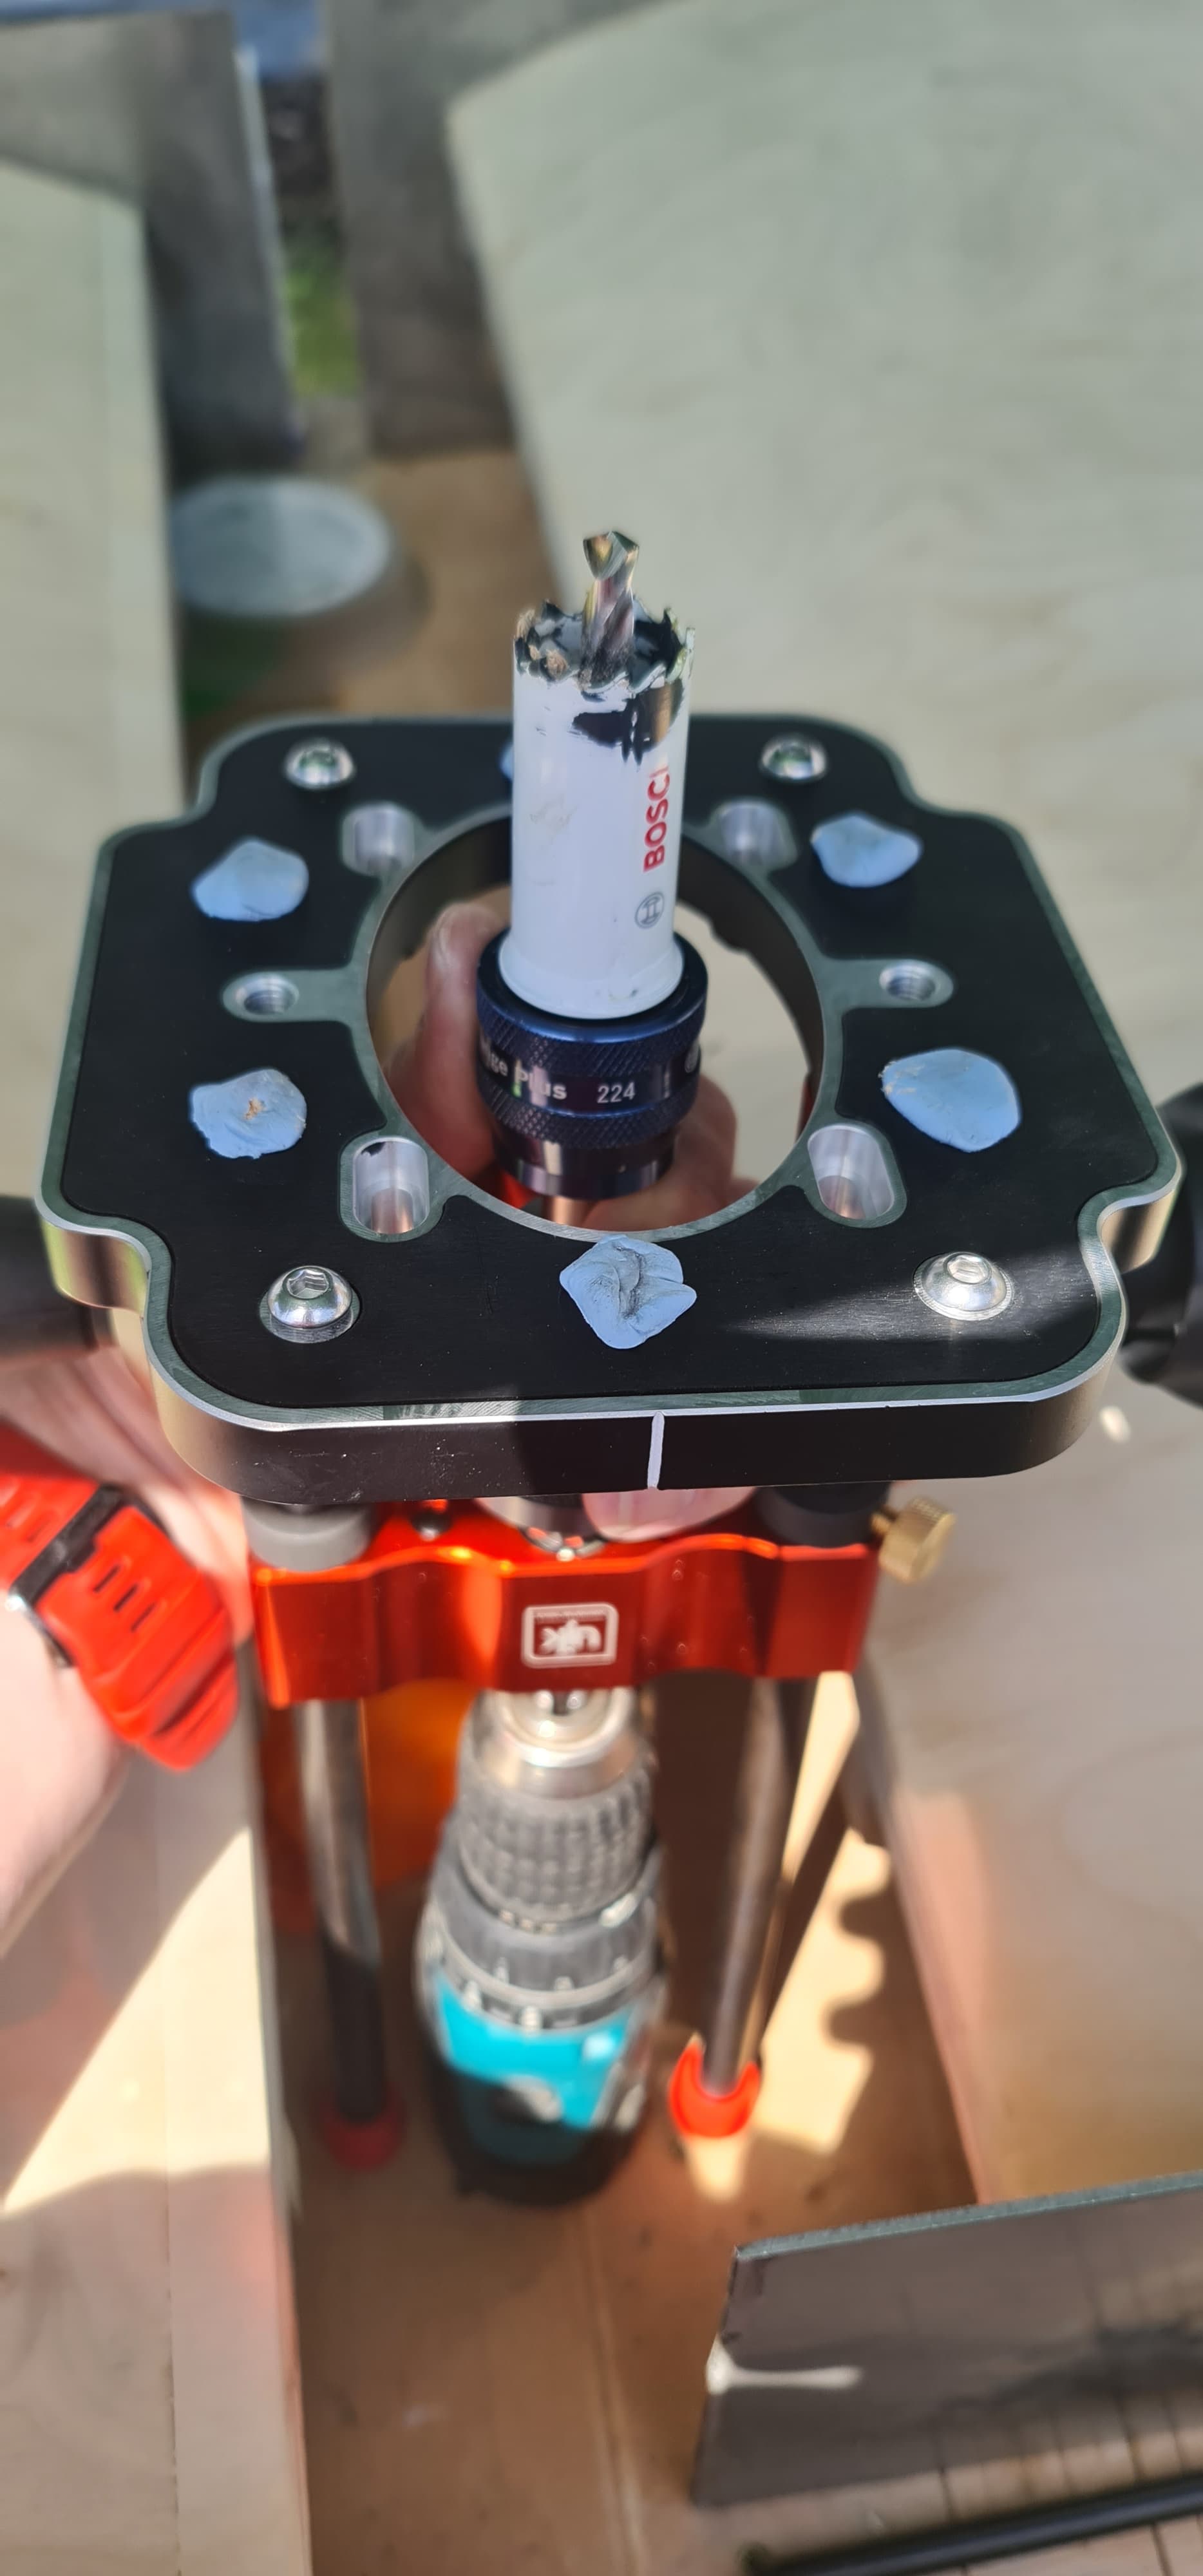
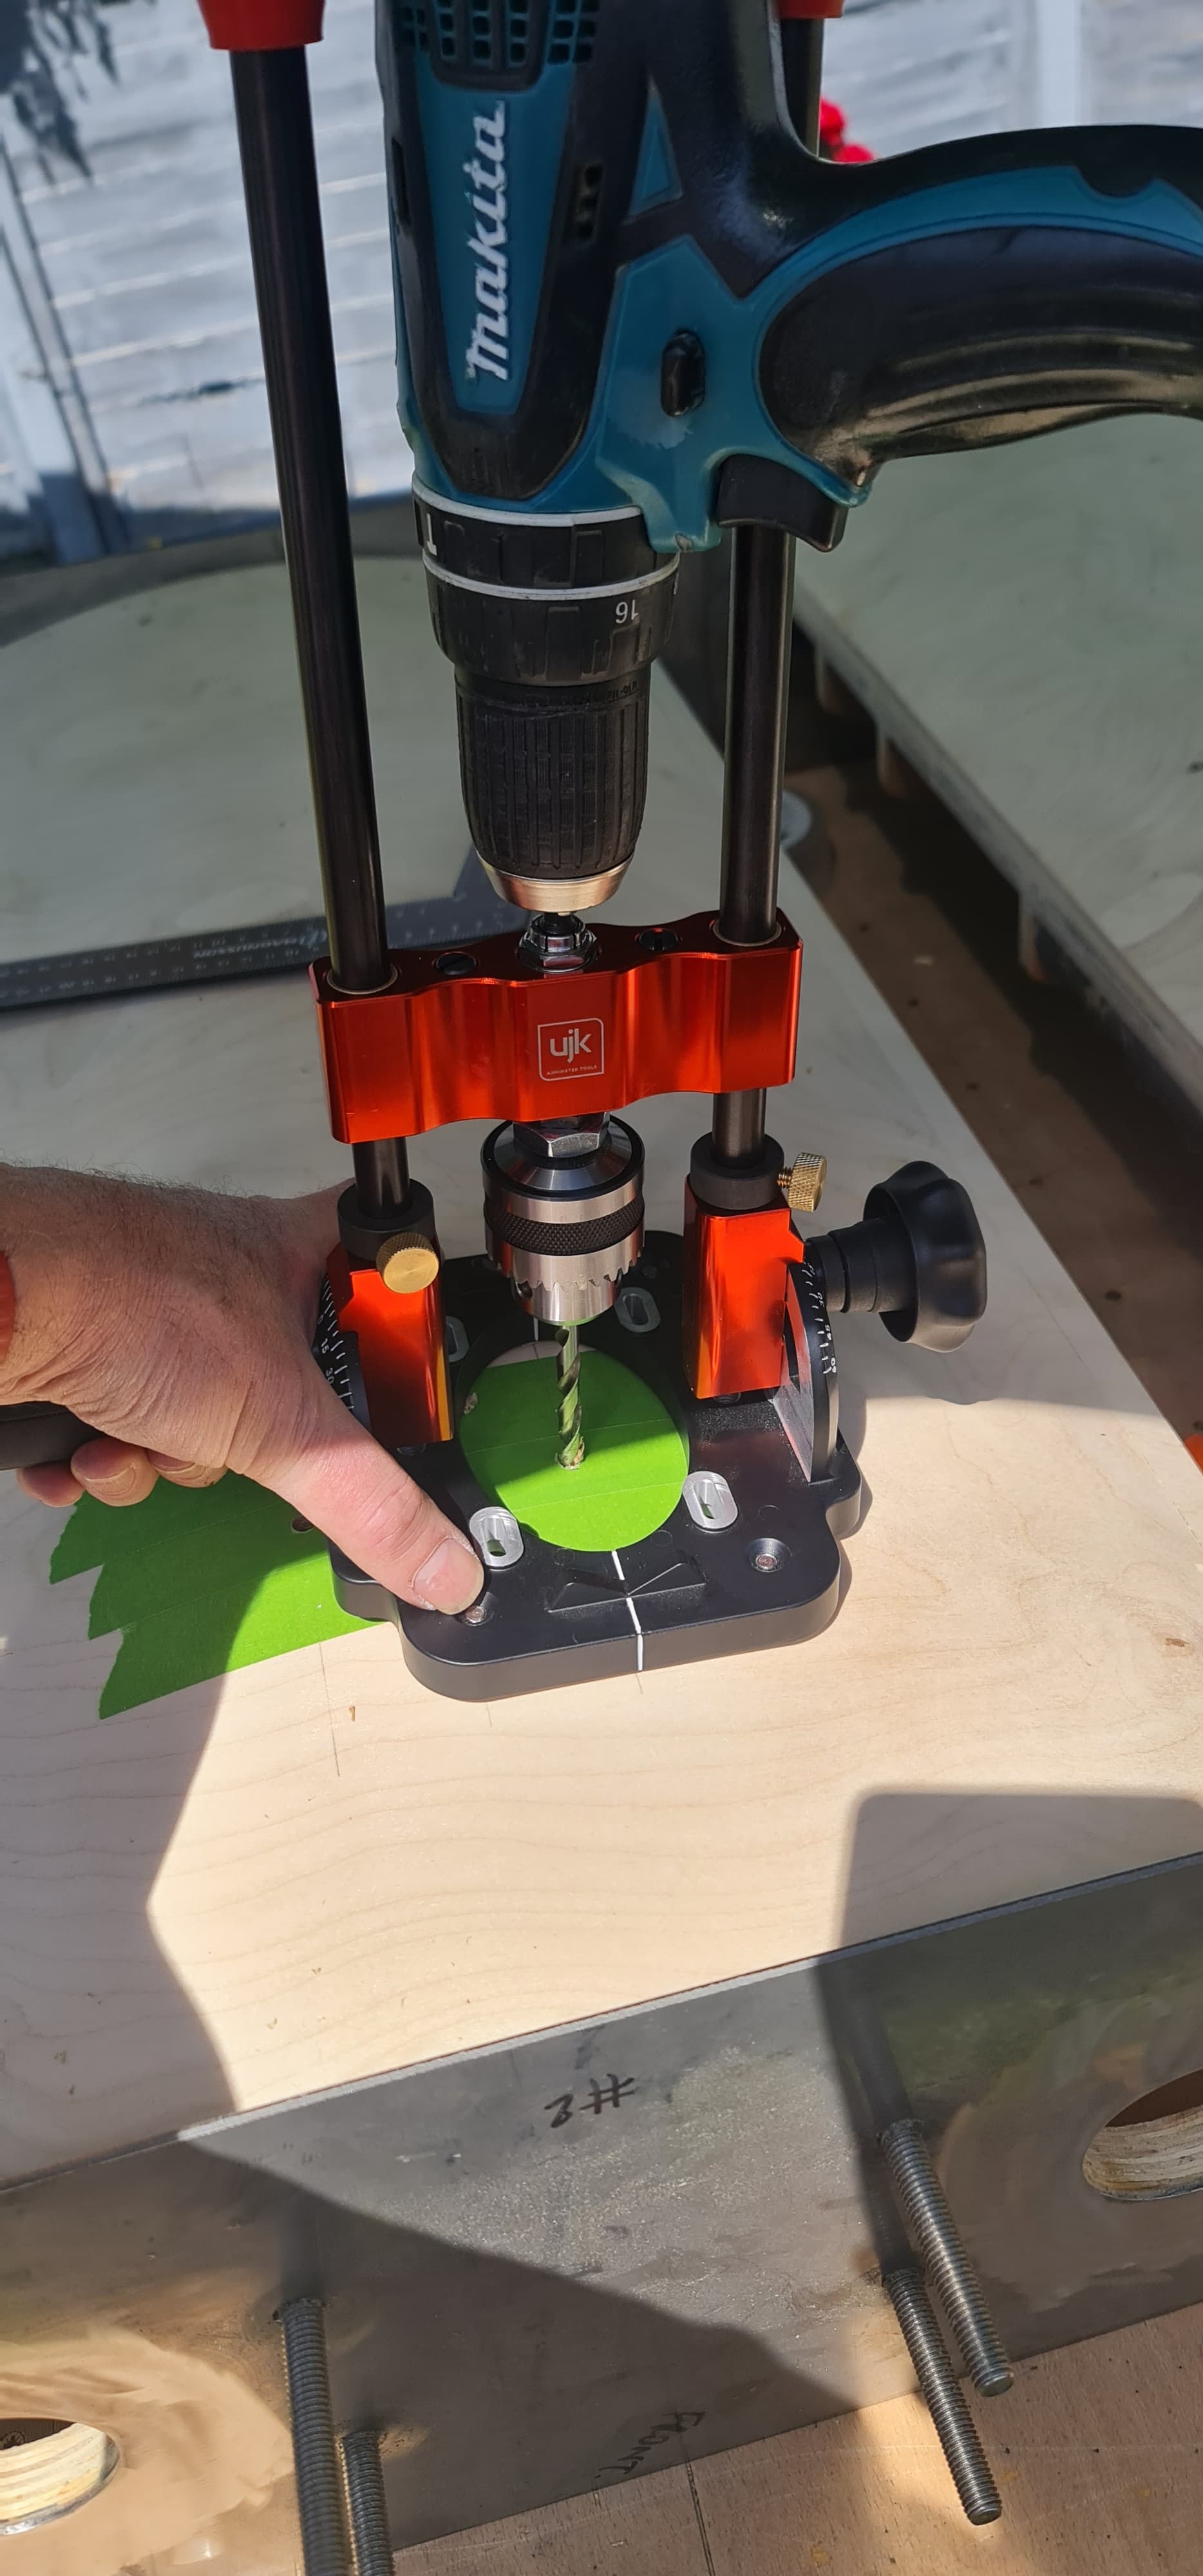
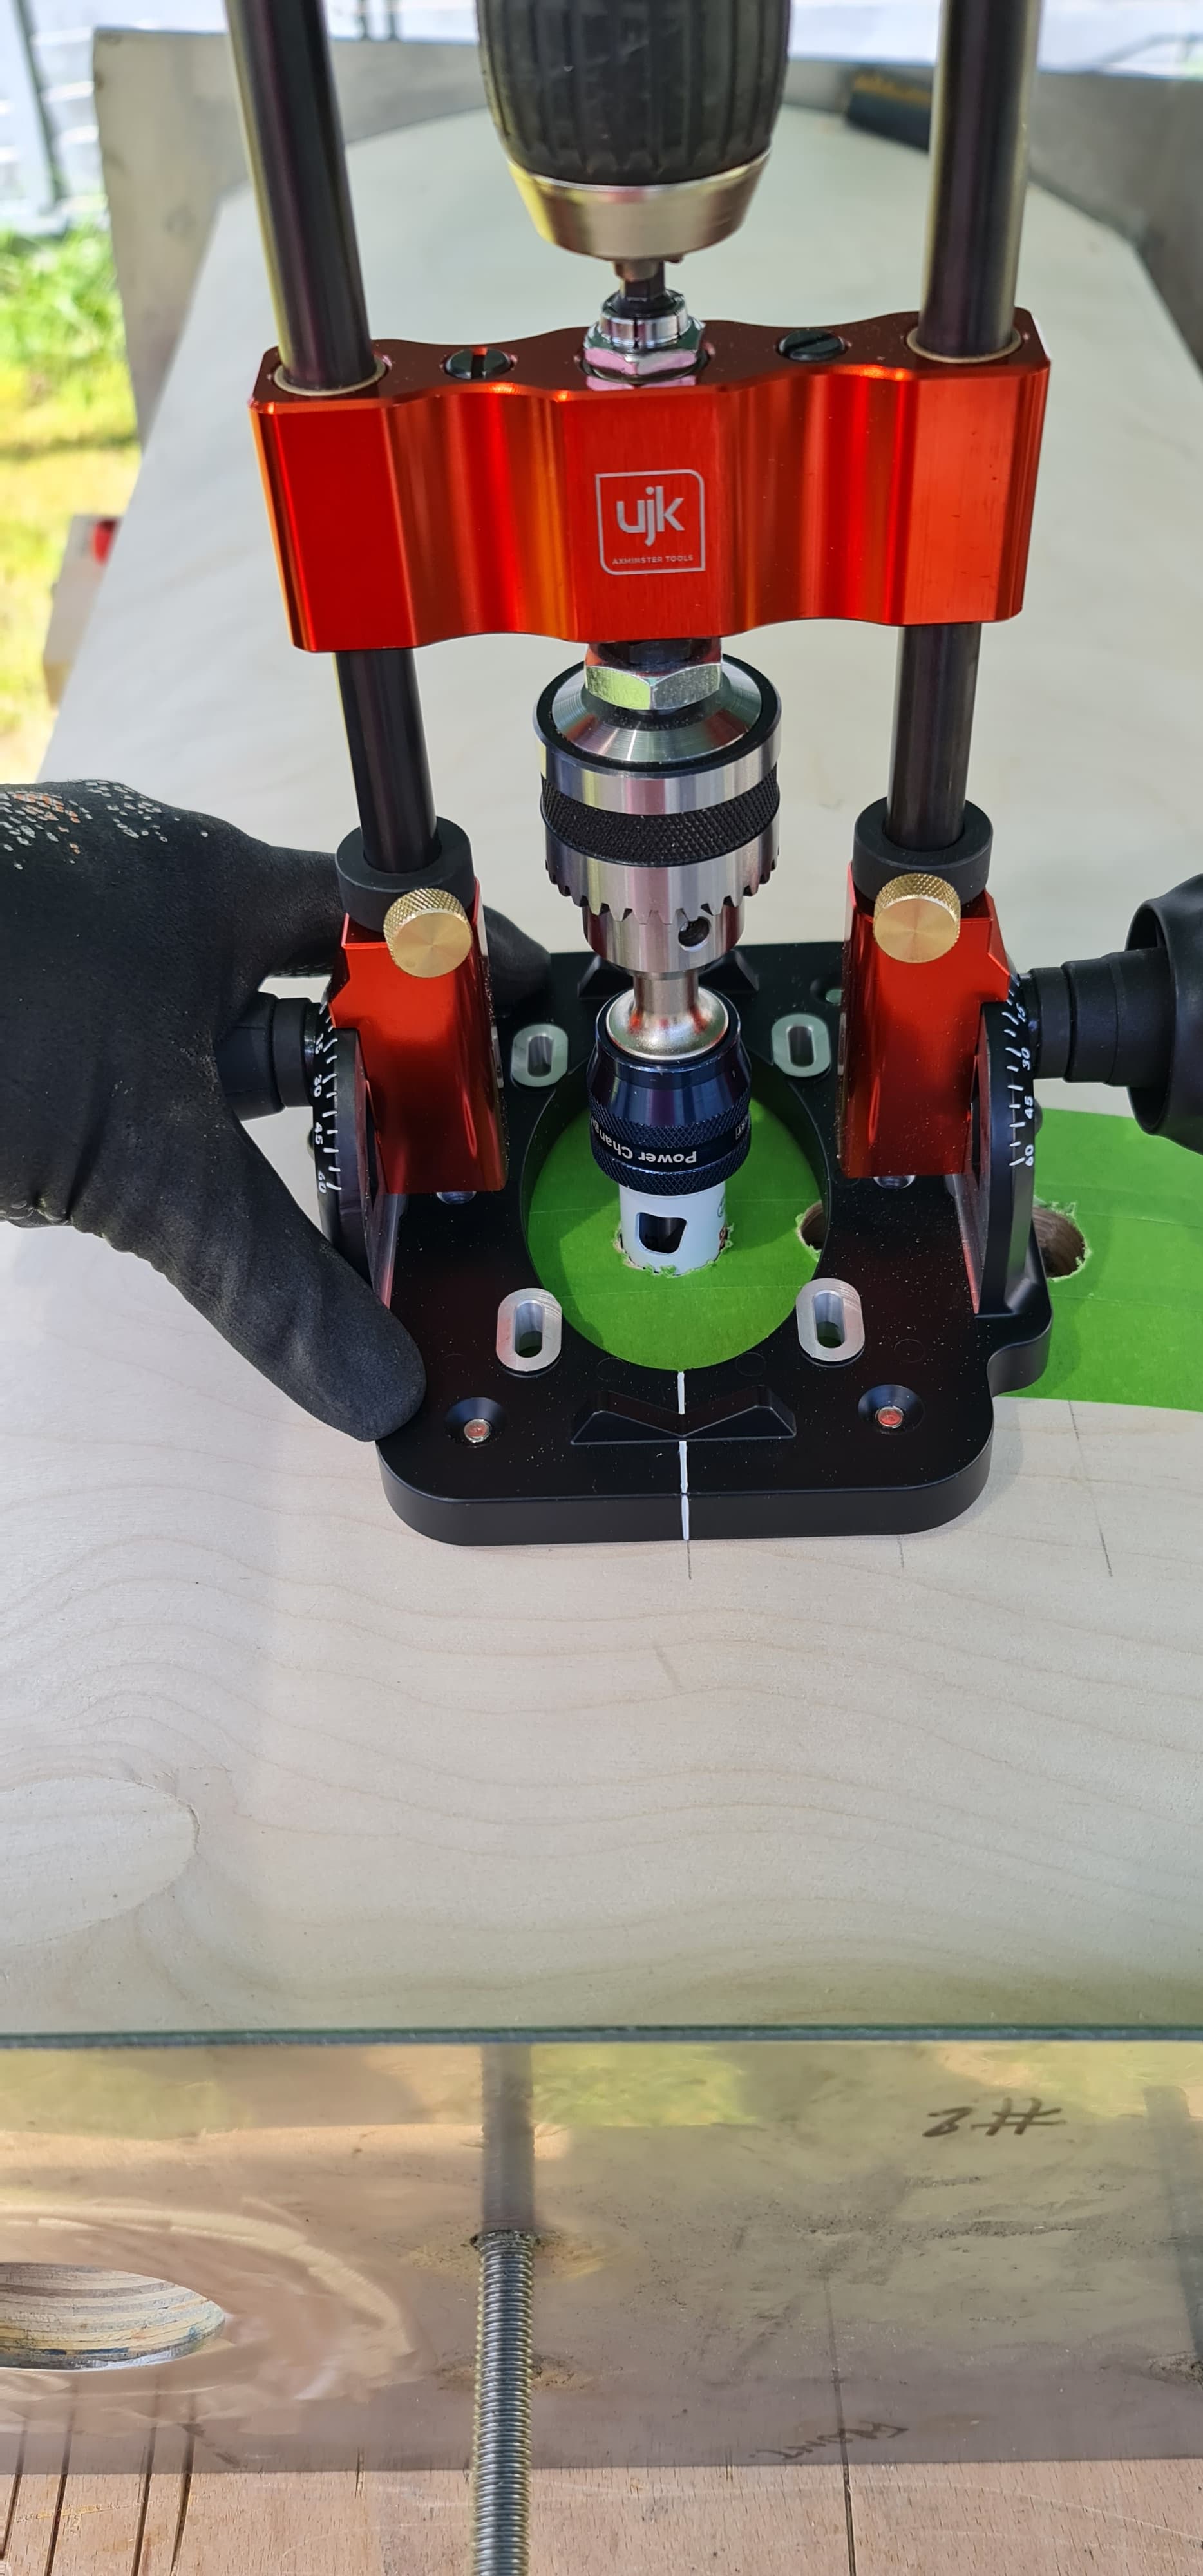
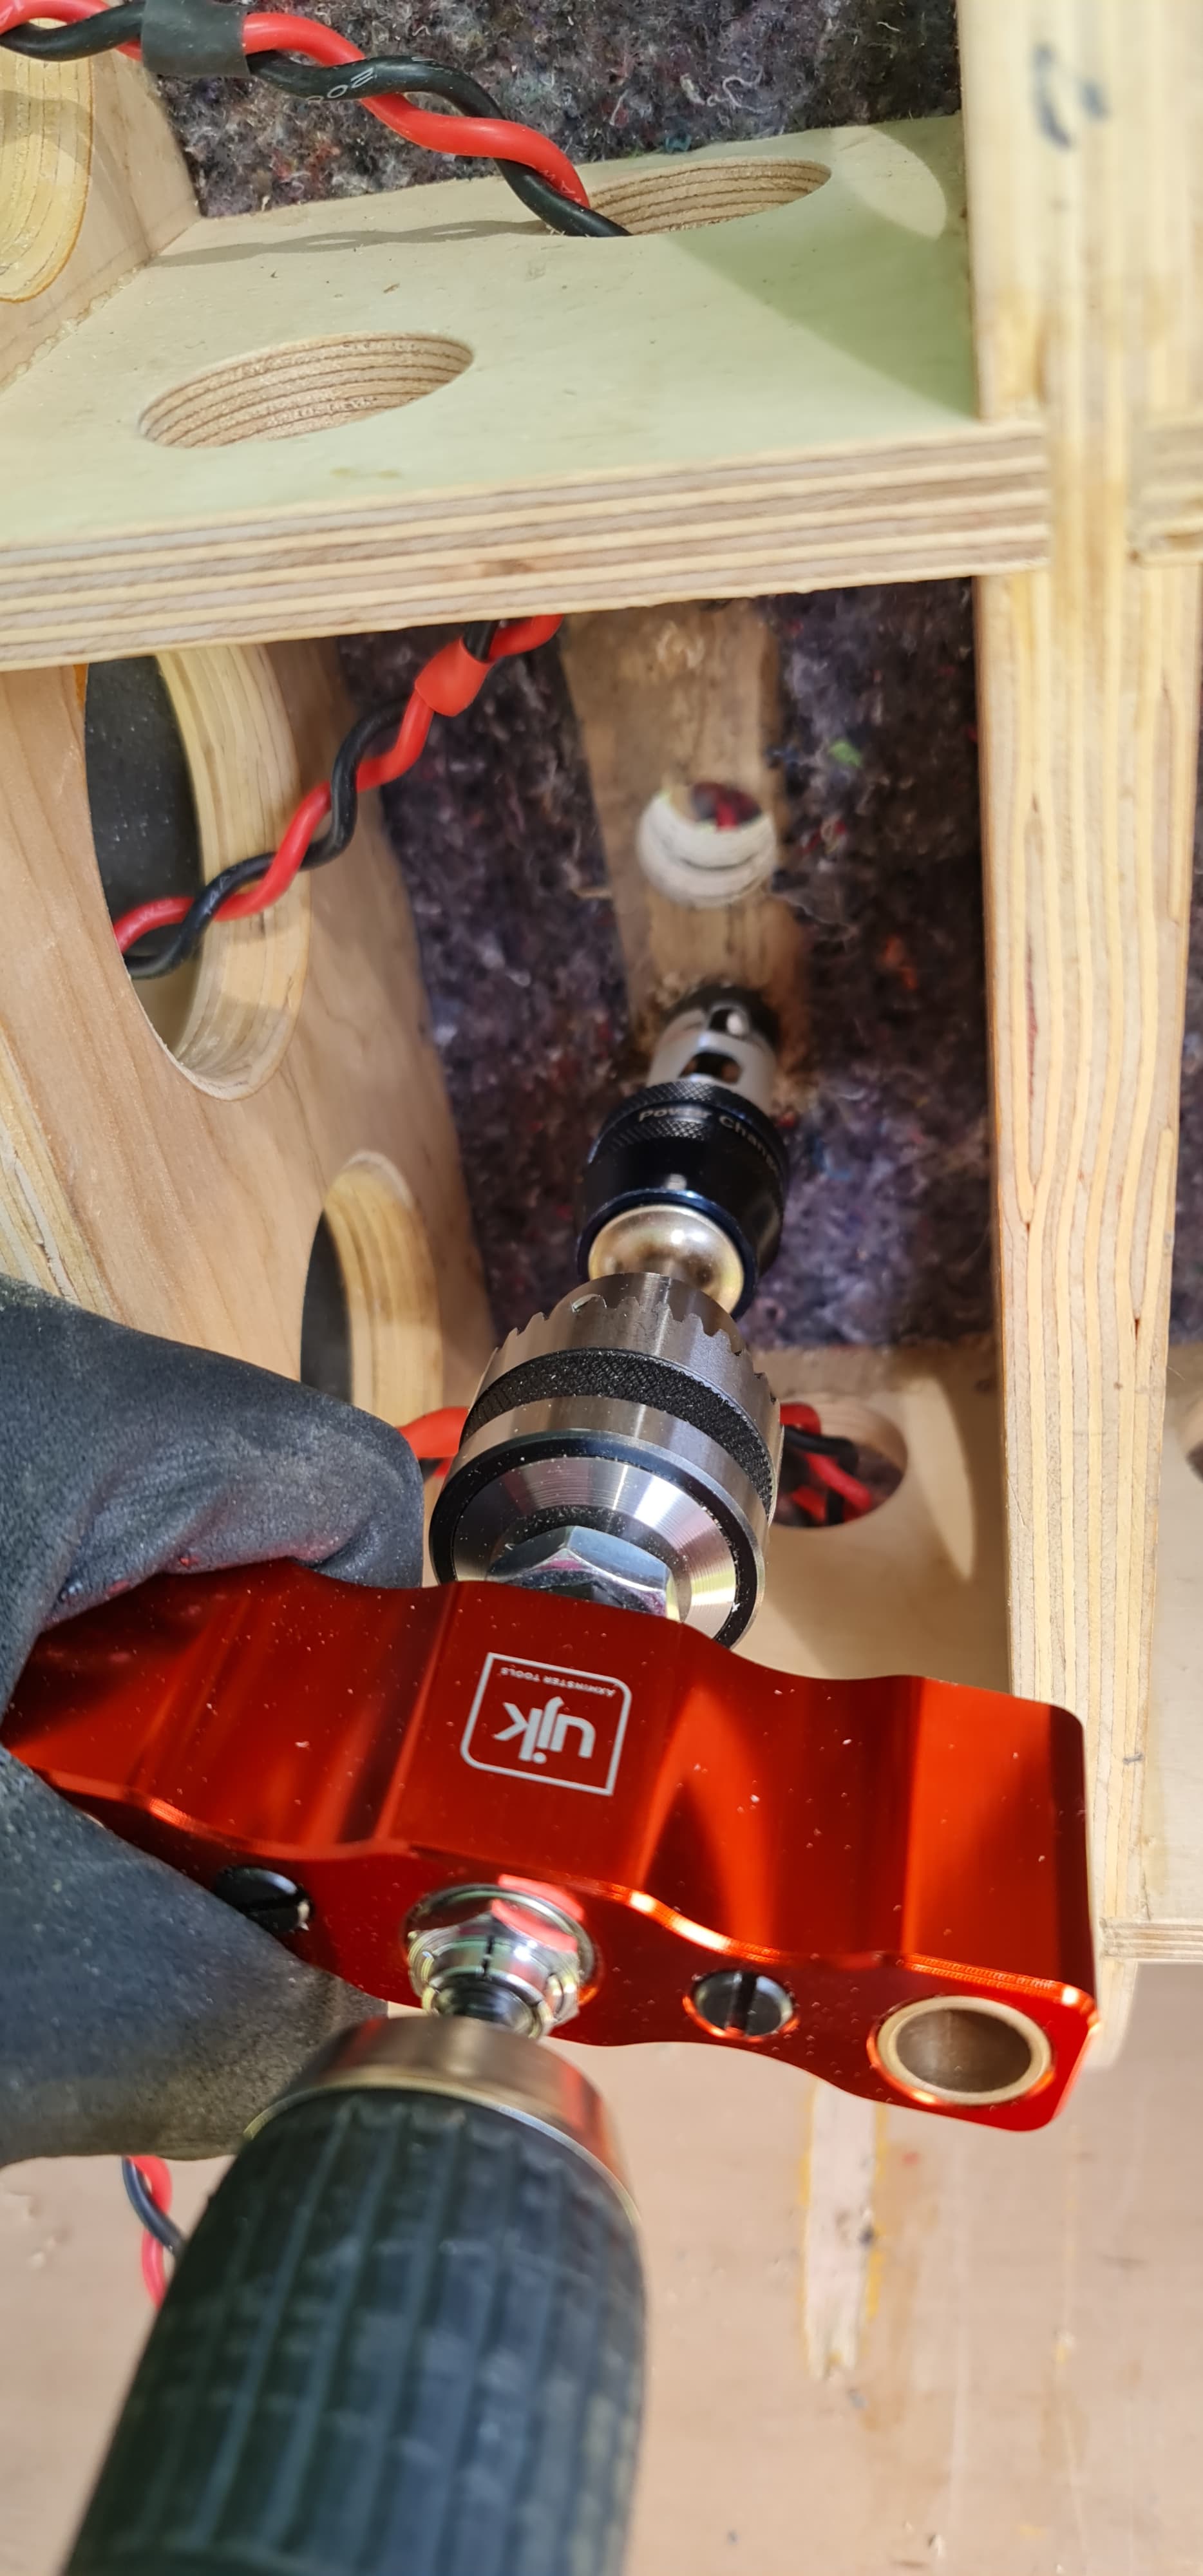
The challenging part was making sure the holes were in line with the radius of the curved back. I bought a bloody brilliant UJK drill guide from Axminster Tools a couple of months ago. Great for drilling pricisely square or angled holes in stuff that won’t fit under the drill press.
When trying to use it on a curved surface, it wobbles more than a drunk pirate in a force 12 swell, so I needed a means of stabilising it on a curved surface. A few button head screws in the base to clear the curve (the holes are meant for fitting self-centering pins for finding the centres of e.g. doors when drilling locks and latches etc.) and some blobs of blu-tack got it nice and secure:
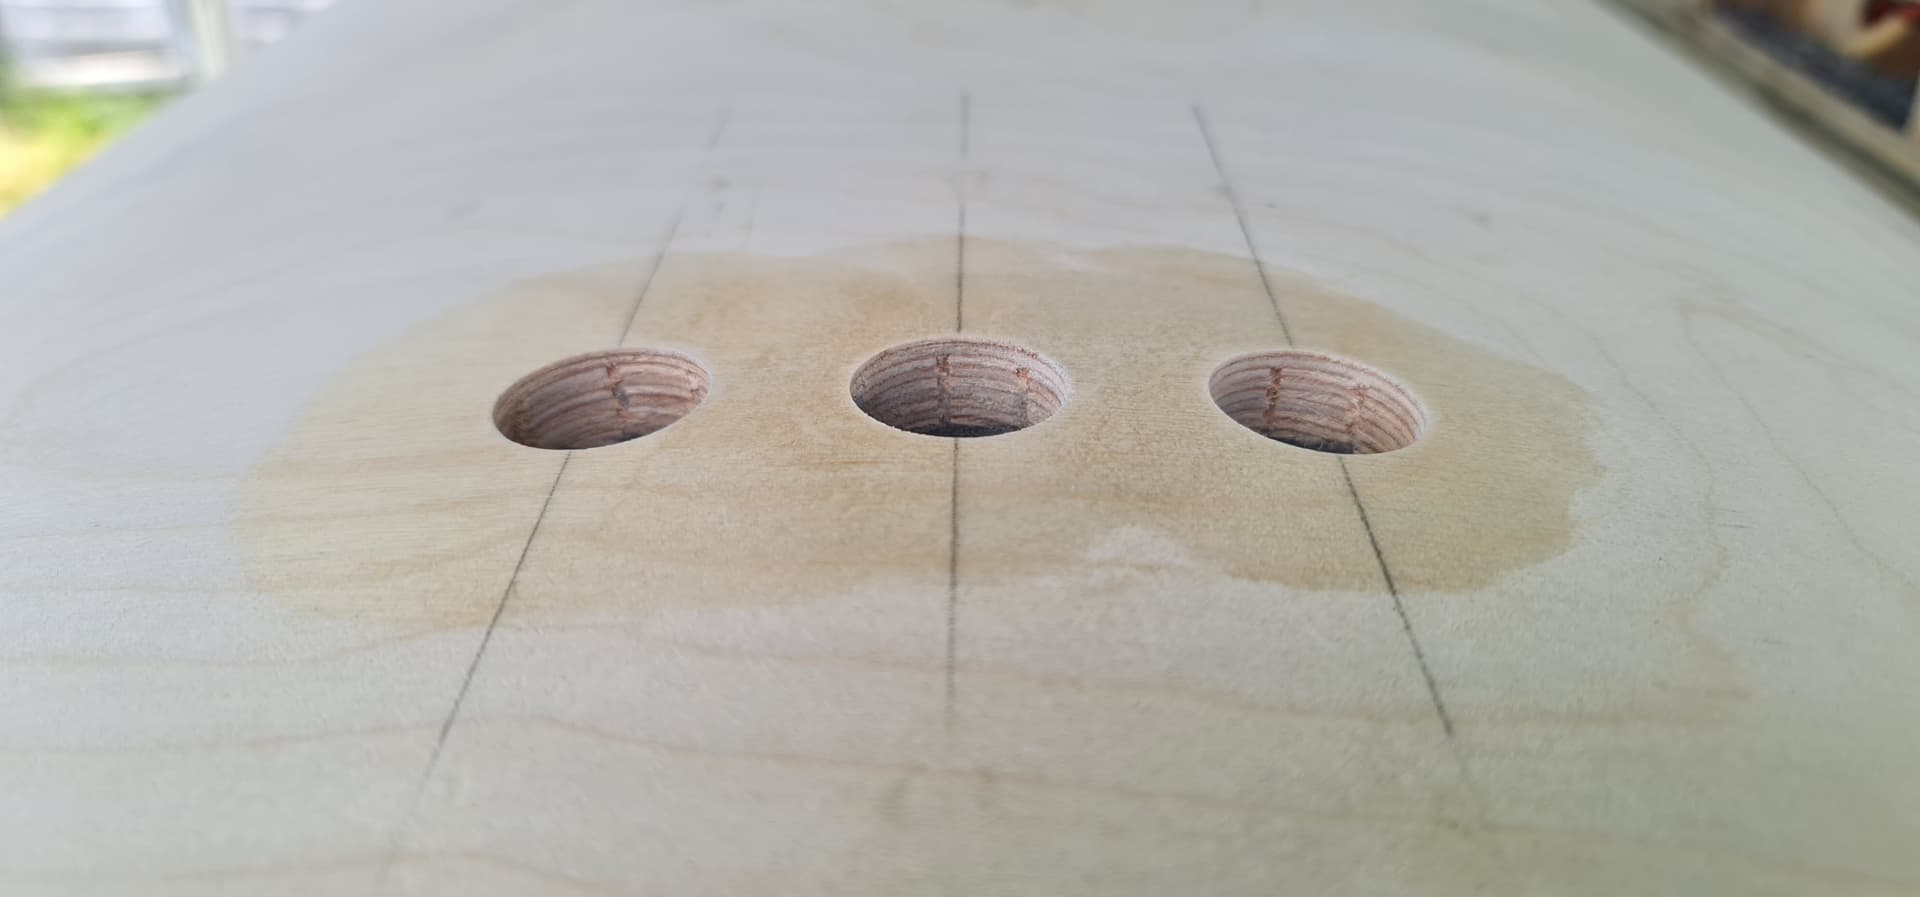
First was drilling the pilot holes:
Then the holes for the Neutrik Speakons with the 24 mm holesaw:
When drilling with a hole saw, to get a clean finish I normally clamp a sacrificial piece of timber on the back side. That wasn’t possible here, so I went about 90% of the way in from the outside, then finished off from the inside:
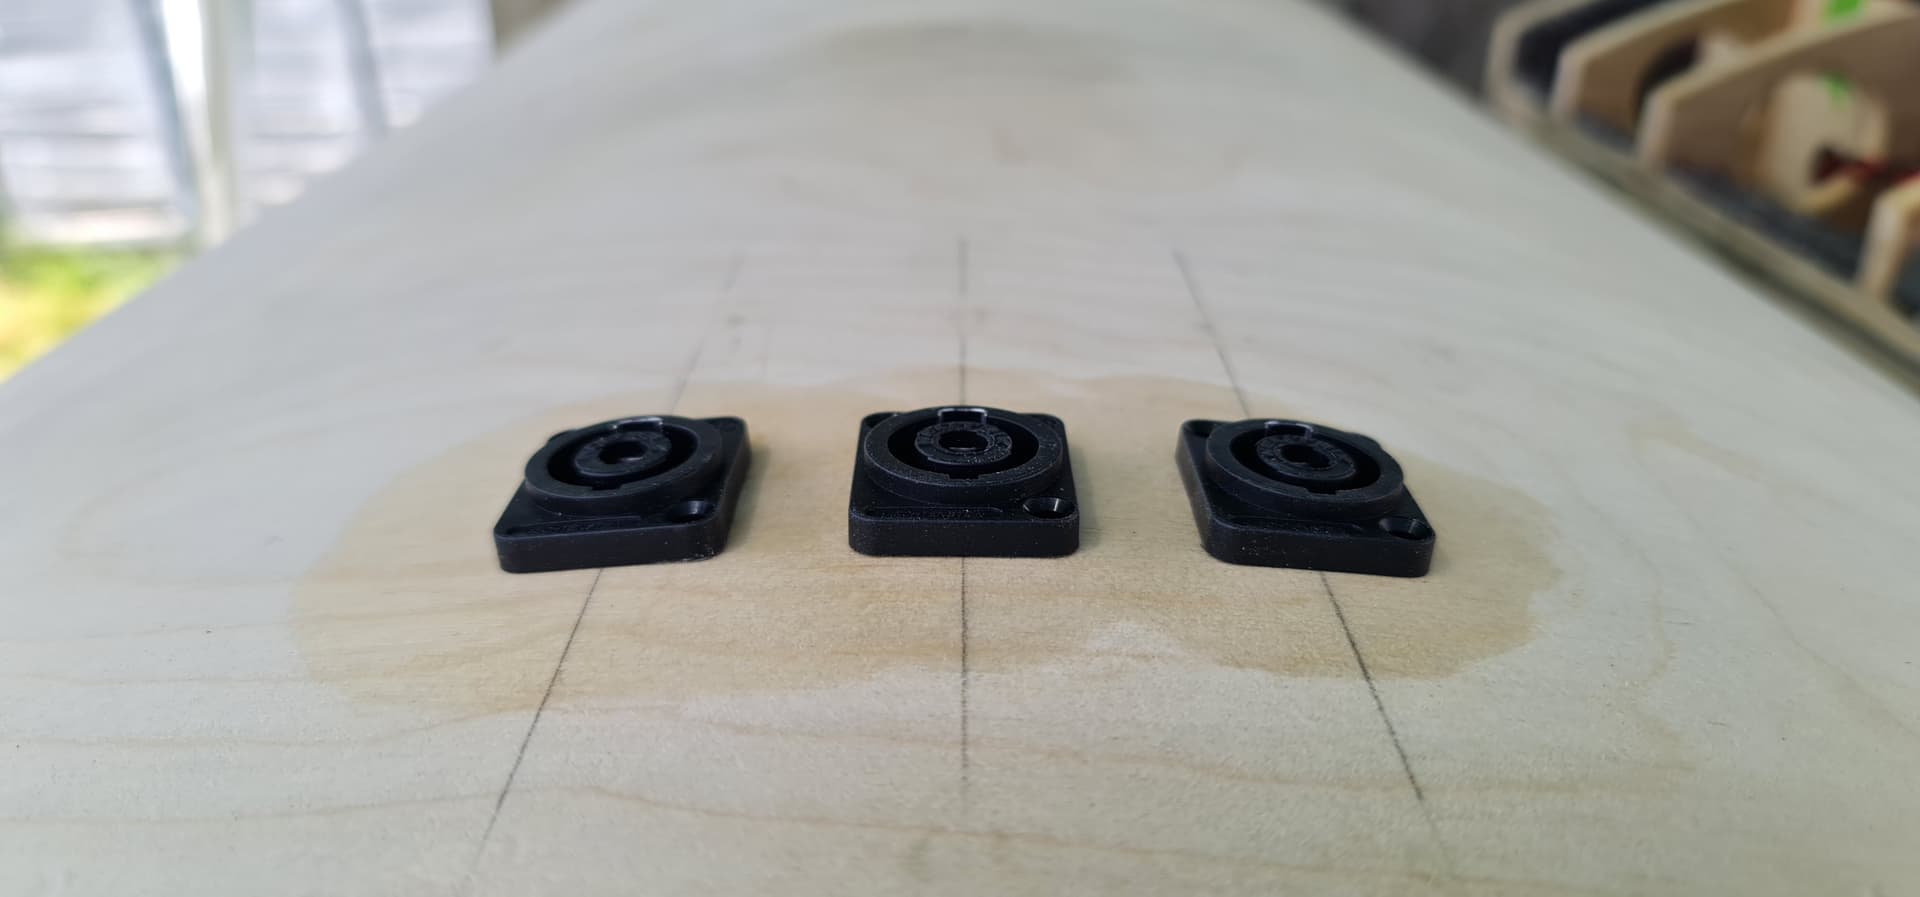
A little bit of sanding after peeling off the (probably superfluous) masking tape:
and the Neutrik connectors fit really snugly, and nicely radially aligned to the curved surface, thus satisfying my perfectionistly Aspergic tendencies:
To prevent the holes from allowing resin into the cabinet when doing the carbon wrap, they need to be plugged with plasticine (modelling clay):
The smell instantly took me back to my days at primary school, nearly 50 years ago…
Next, some securing of the internal wiring:
Followed by the acoustic wadding:
To enable the fitting of the wadding around where the ports would be, I polished around the area where the ports would fit and installed them with black epoxy:
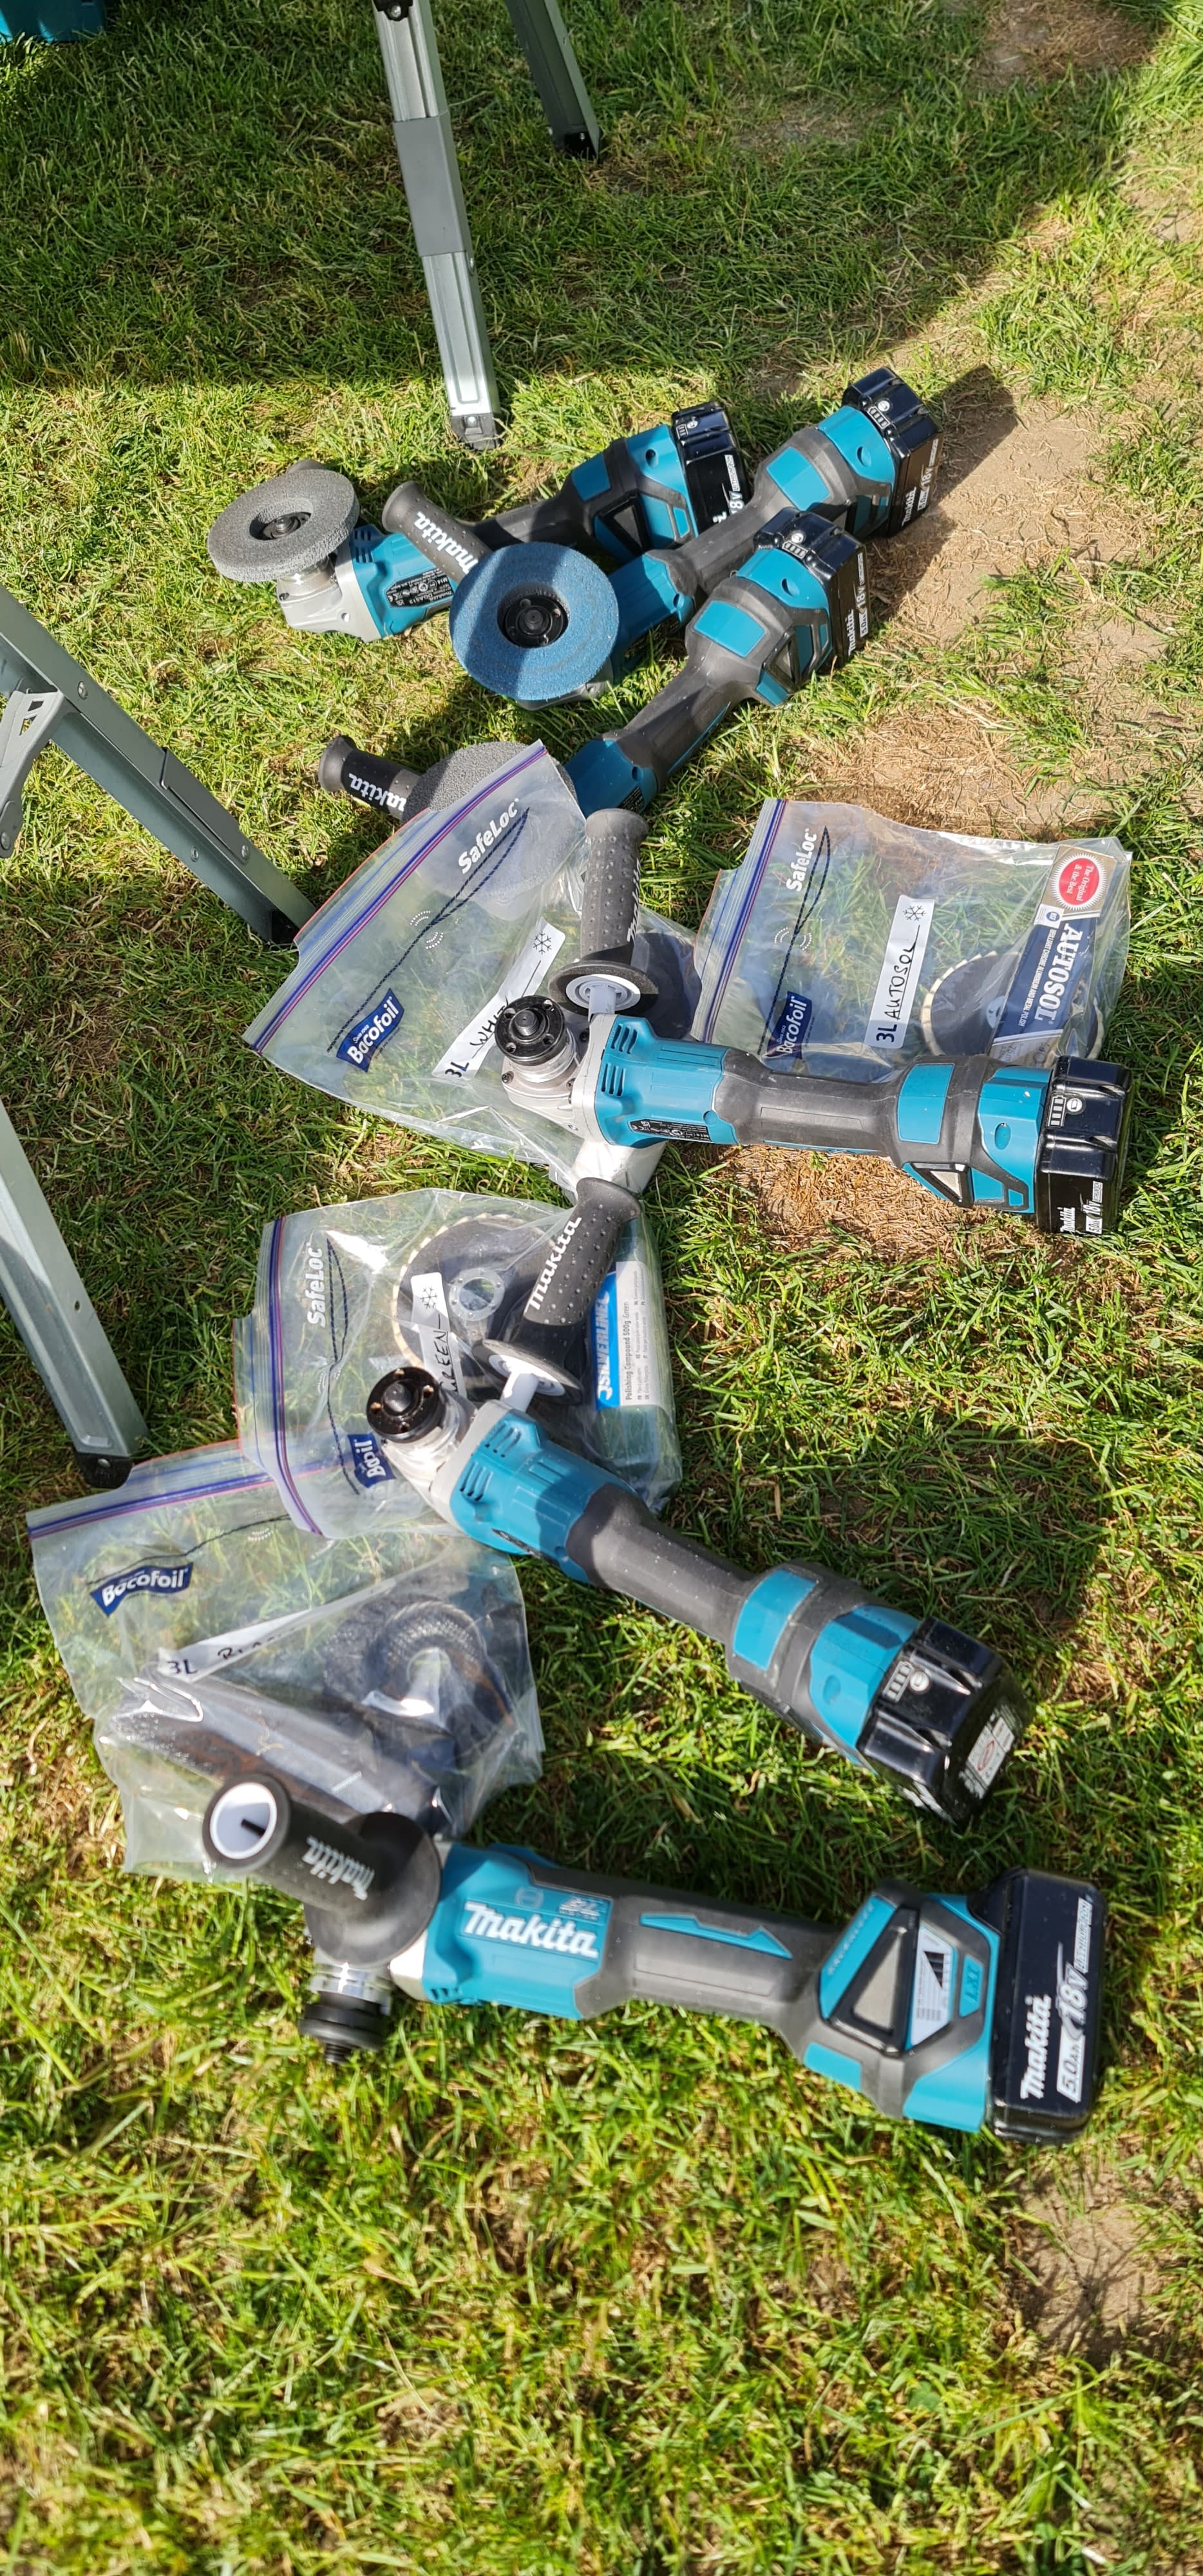
I’ll polish the rest of the baseplates later on. Mirror polishing on stainless is a multi-step process. 120 grit sanding followed by a Norton Rapid blend disc, followed by a vortex 2SF or 3SF, then followed by black, green, and white polishing compounds using felt wheels with a final low speed spin with Autosol metal polish:
“I have too many grinders” said no welder ever… ![]()
All prepped, ready for the front baffle:
And finally, the first front baffle, glued and being strapped up.
With a cabinet design like this, I’m beginning to realise why the original Sonus Faber Stradivari sold for £40k a pair. The level of effort that goes into a multi-layer, curved cabinet construction is obscene!
With the front baffle glued in place and with the end panels still to go, the cabinets now weigh in at 43 kg each. No need to go to the gym whilst these are being constructed…
Holy mackerel! They look stunning already. I had to study the last photograph hard to see that you hadn’t descended into Scaphism. ![]()
https://6moons.com/audioreviews/audiosolutions/2.html
Here the manufacturer of a large reference speaker explains why that particular Seas mid driver is so good. And a dedicated driver for the mids is essential for a high-end studio sound.
Yes, the MCA115RCY is quite an exceptional driver. It’s rare to find a midrange driver with such a smooth, extended frequency response.
I’m looking forward to hearing what it can do in the PMS.
And at a cost of ~£90/€100 each, an absolute bargain!
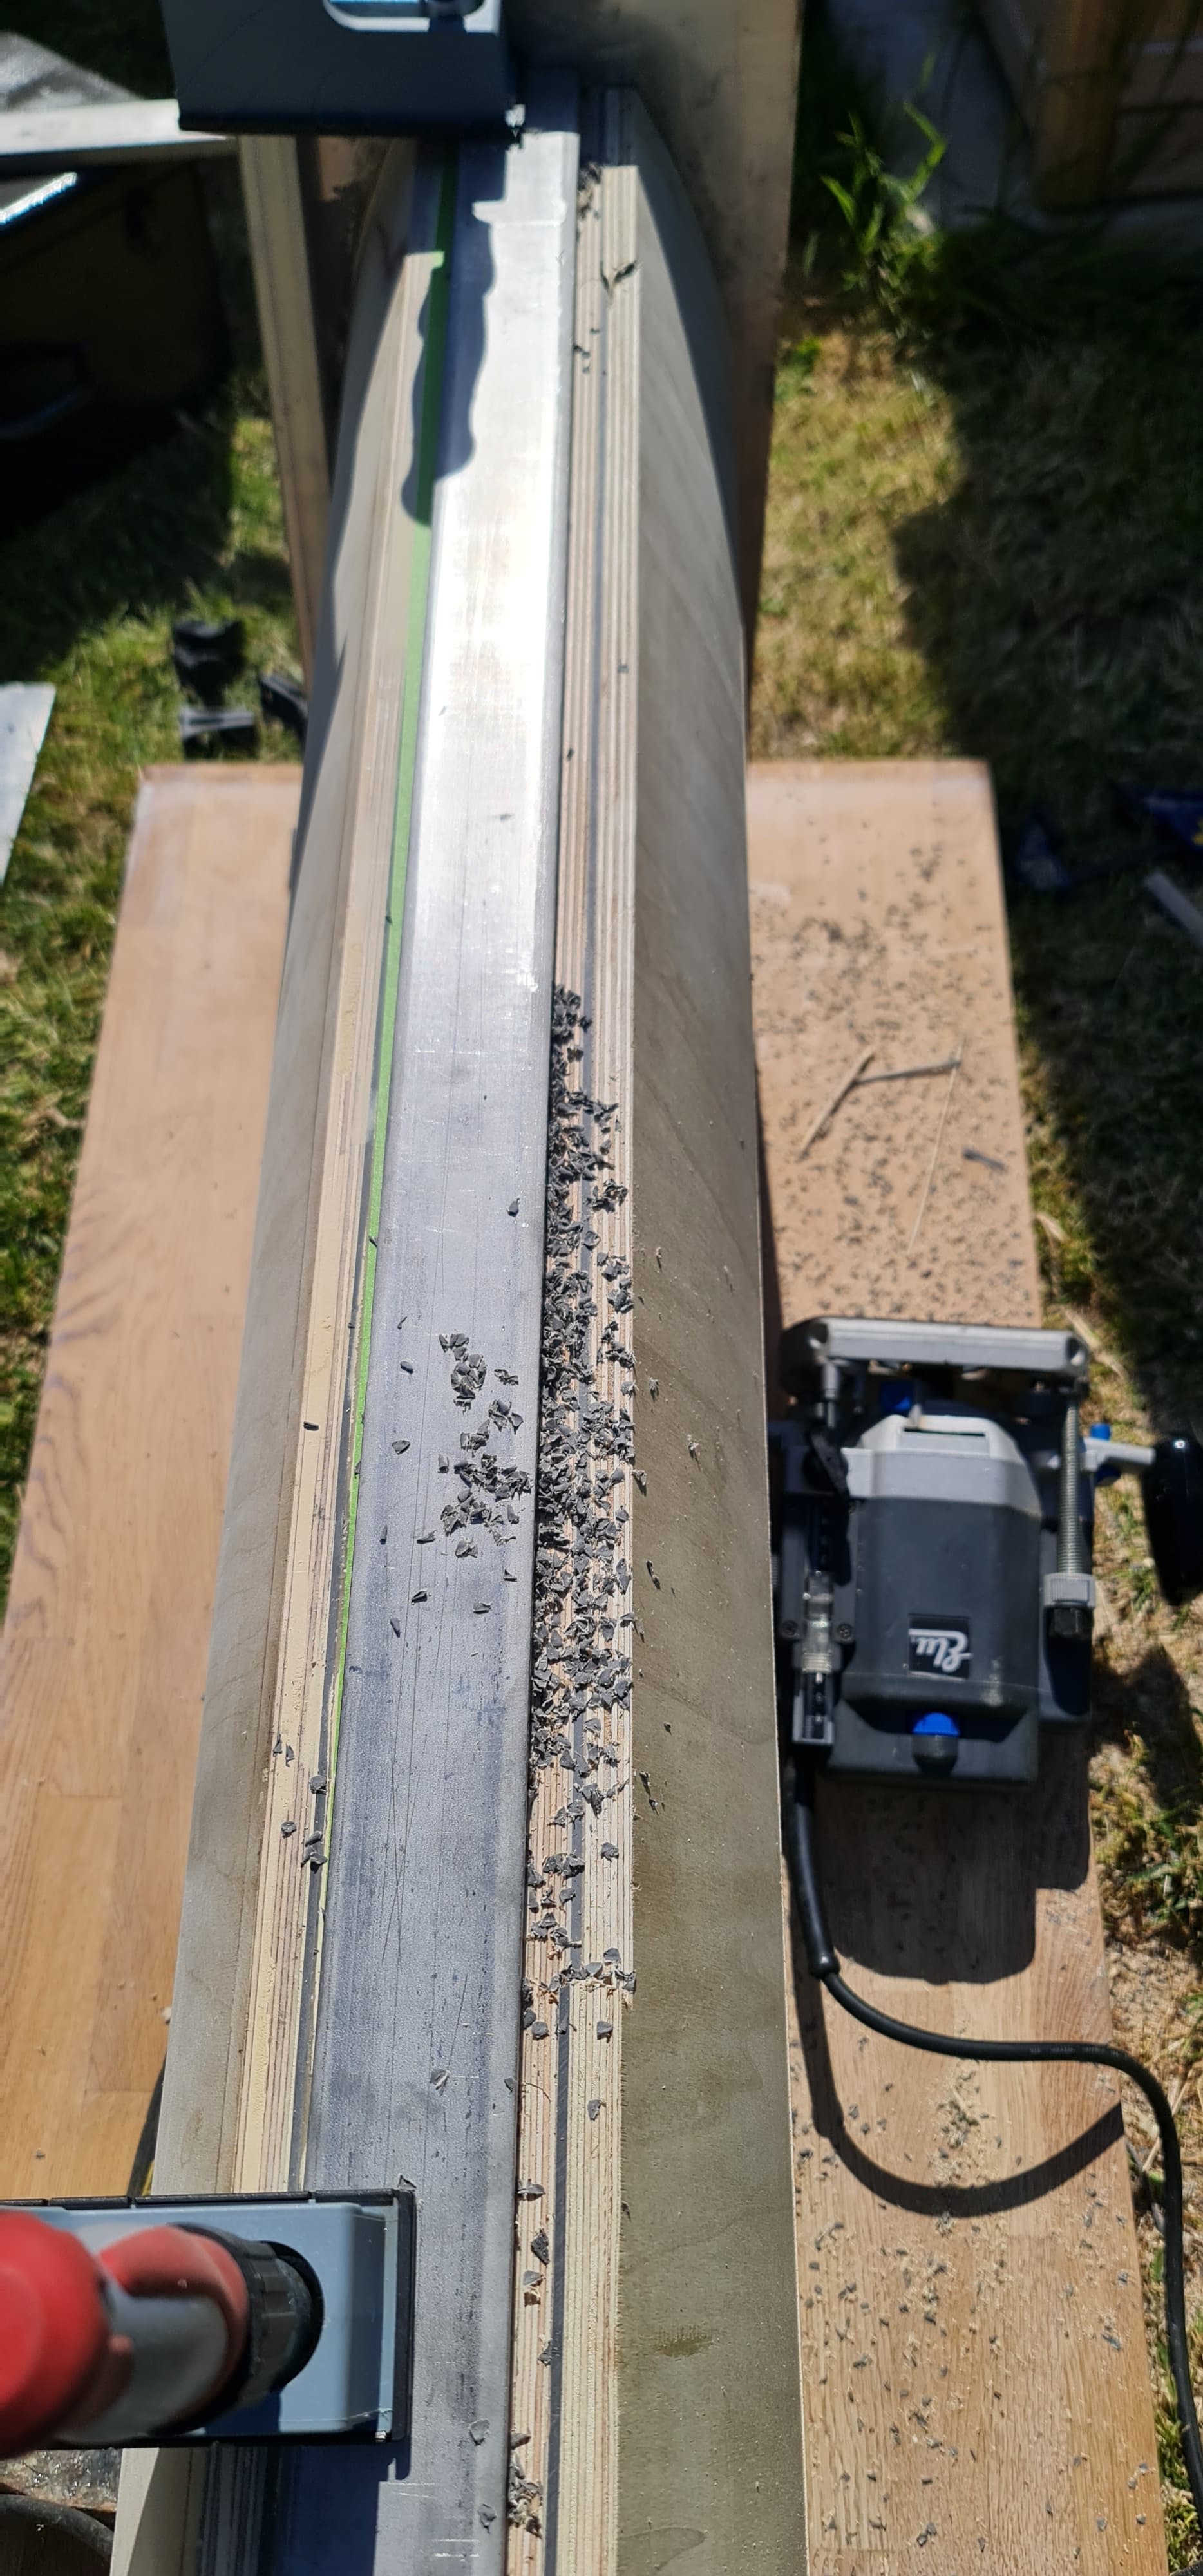
A tiny bit more progress. Flush trimming the edges of the front baffles:
Stainless bar provides a guide to ensure the correct depth and to steady the router. I use a guide bush just a little bigger than the router cutter. A bearing guided template bit was “nibbling” the stainless.
Just figuring out how to approach the next steps of closing the ends and doing the carbon fibre wrap.
A little more progress today. After running the gauntlet at Costco at opening time for a much-overdue shop, I needed to do something creative to unwind.
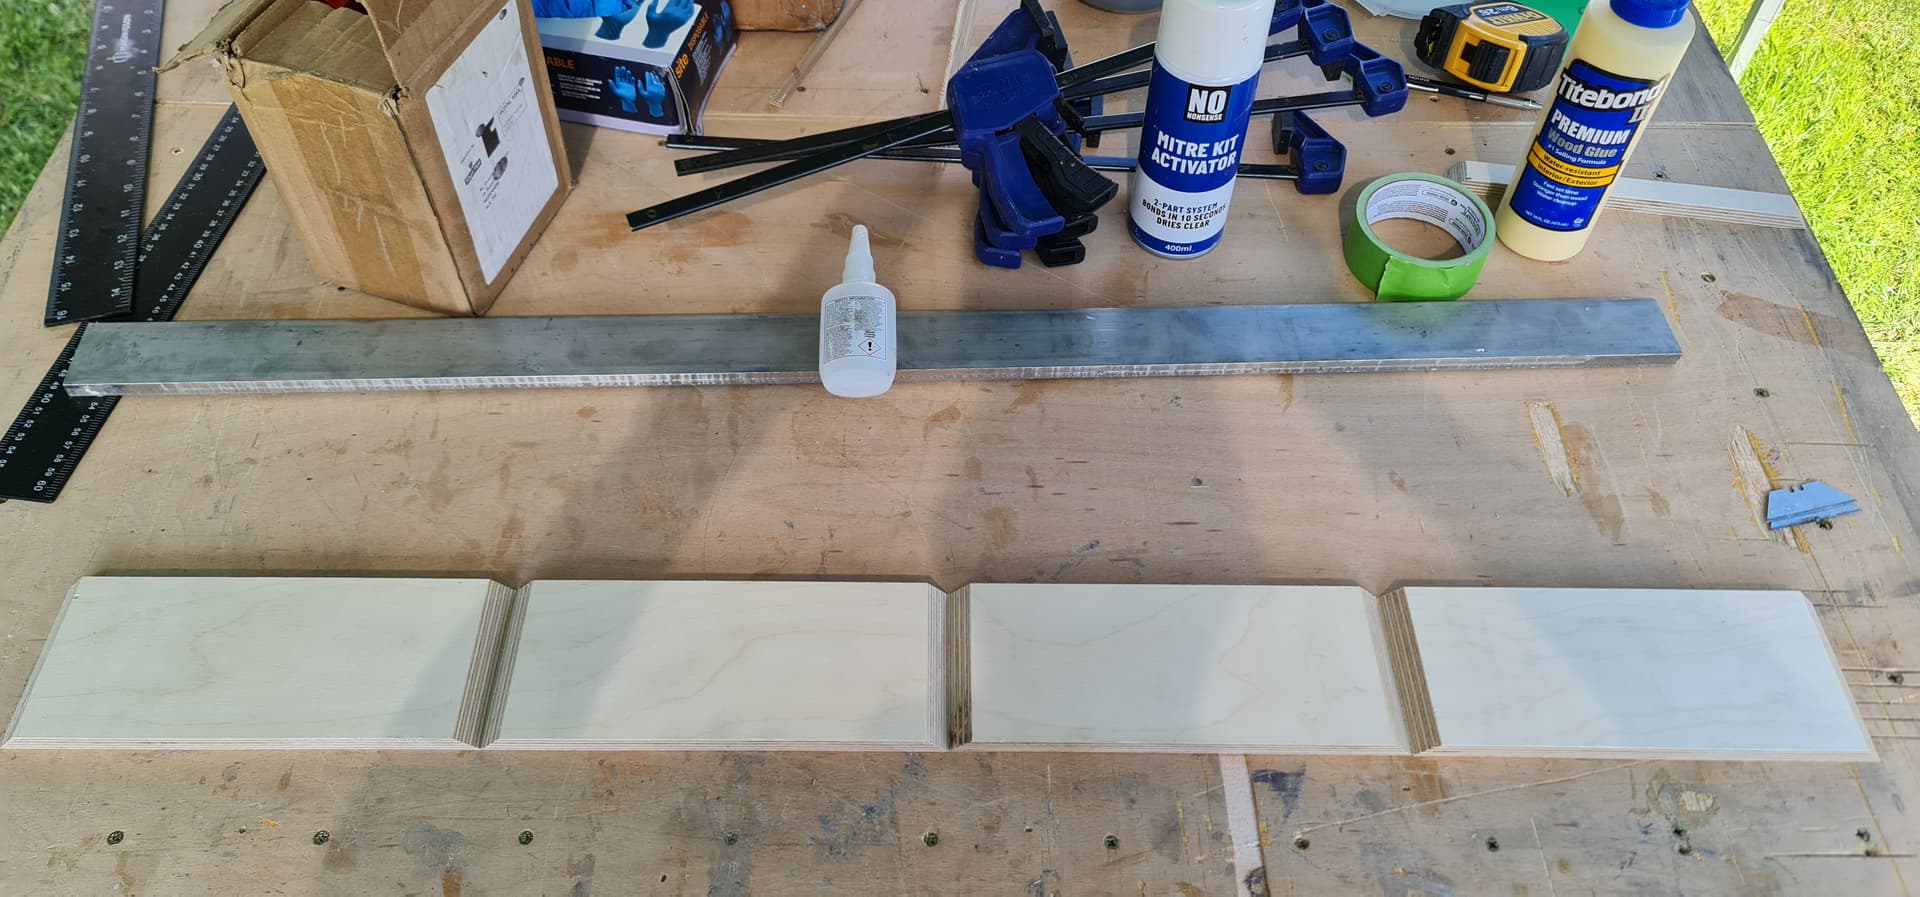
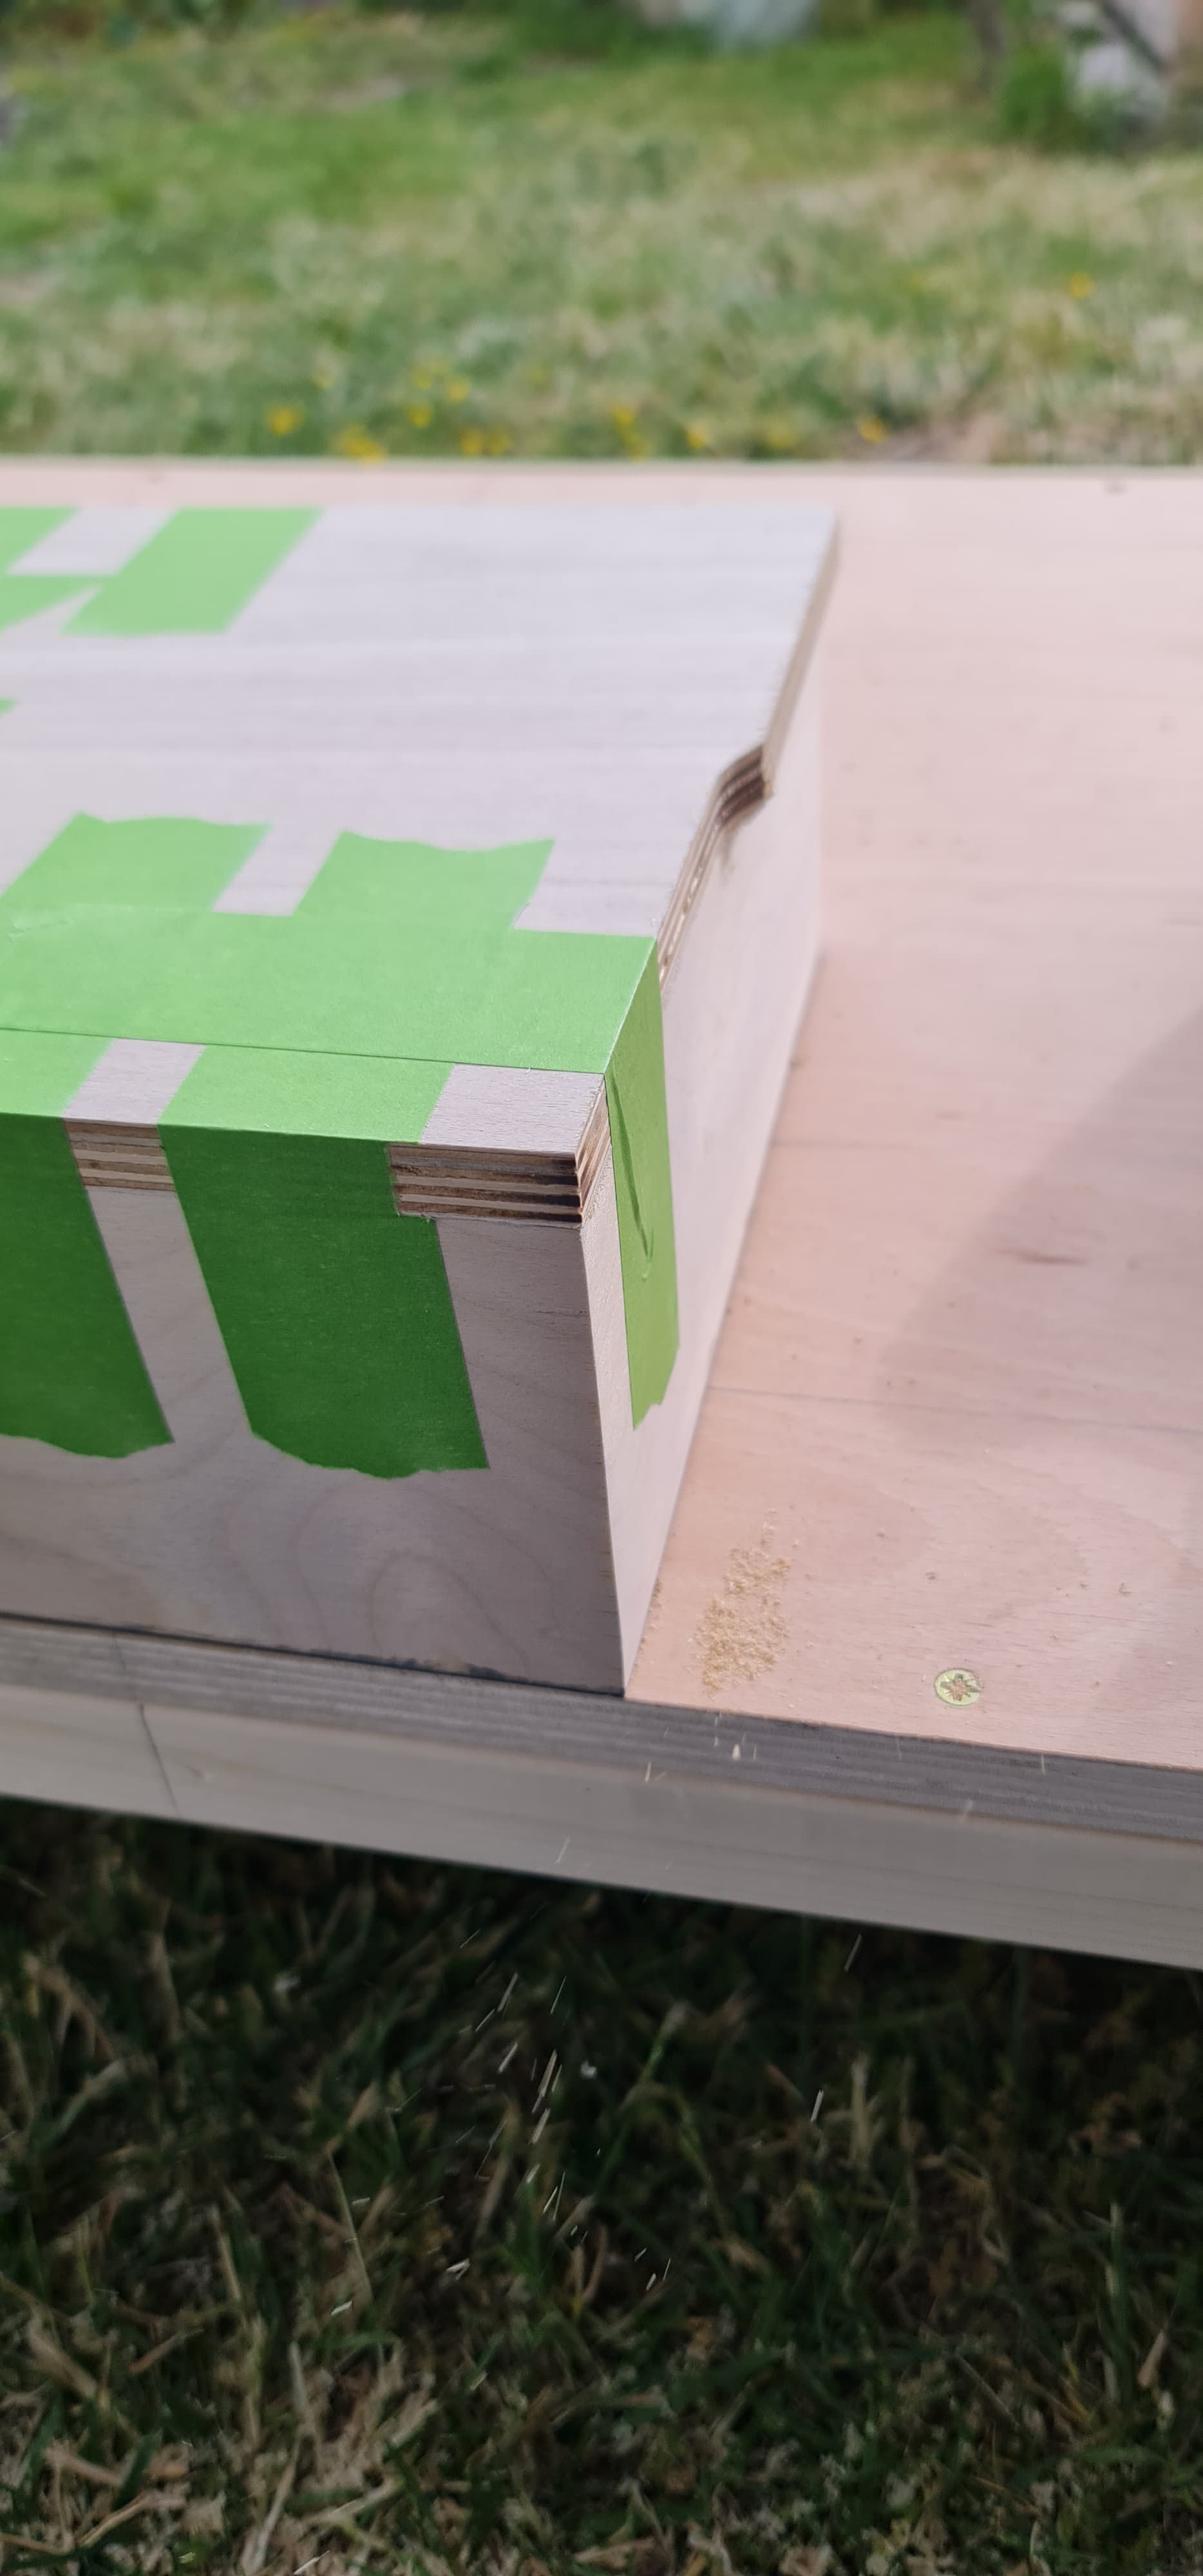
I got the basic boxes for external crossovers underway.
Mitred panels aligned and taped up:
Flipped over ready to be glued:
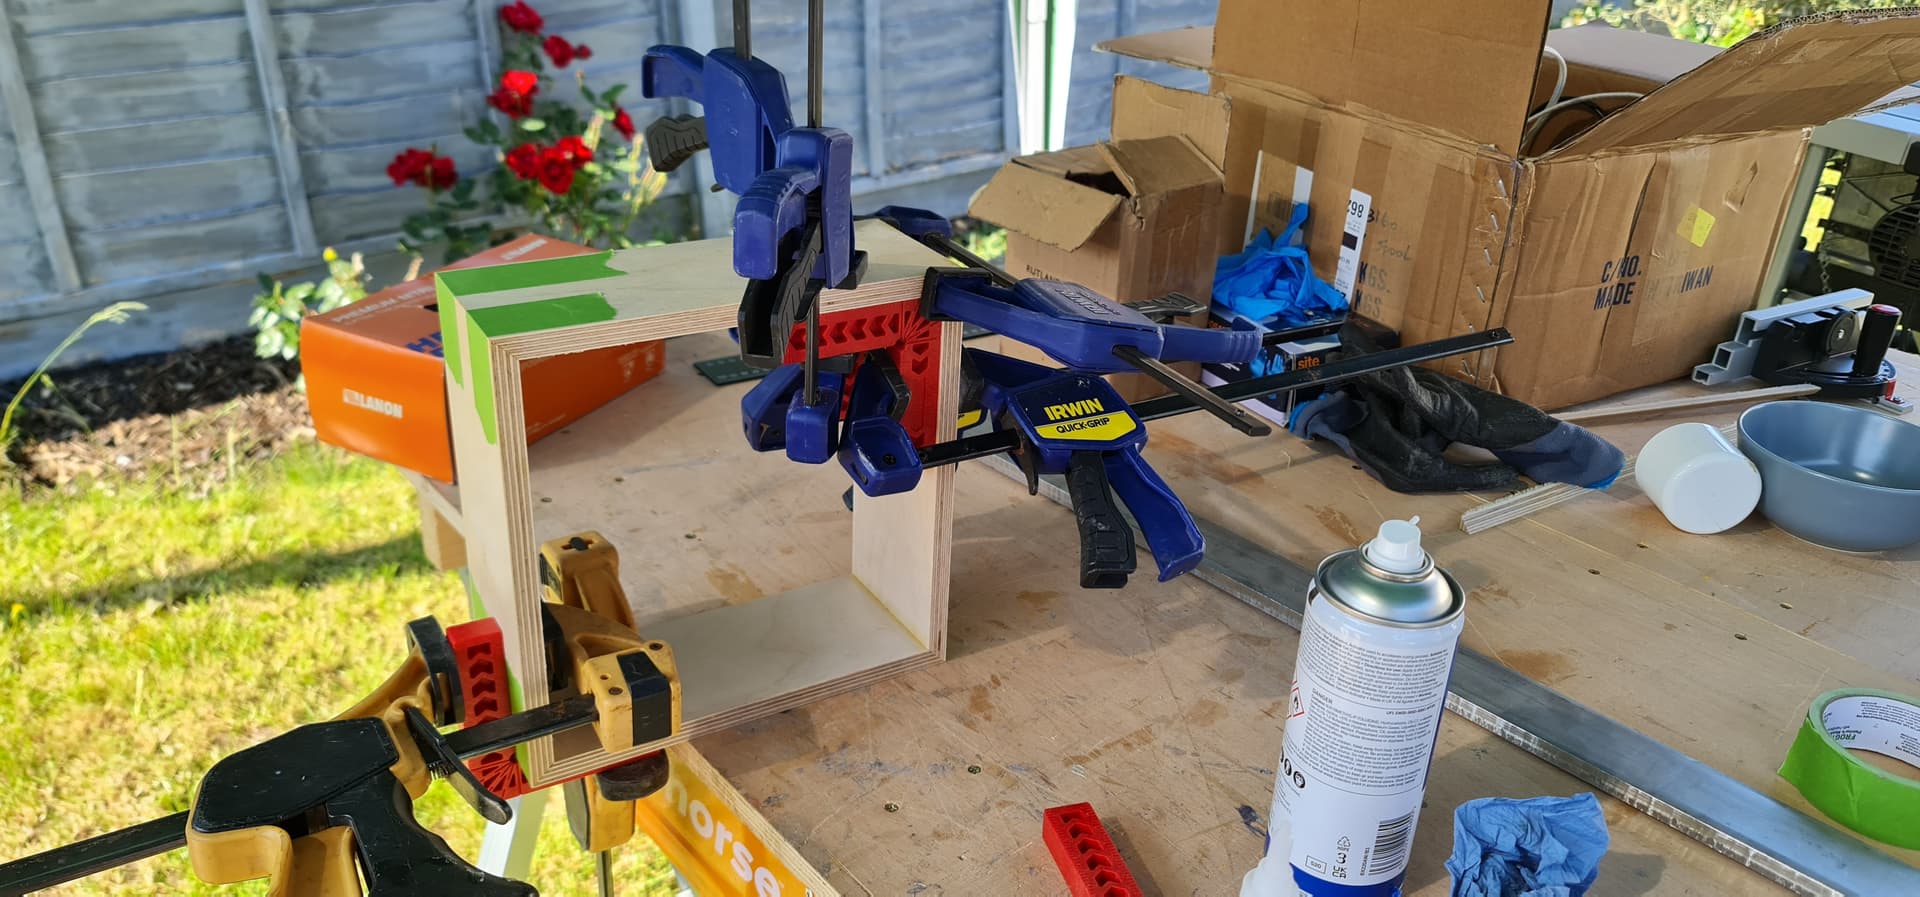
The tape makes it really easy to line things up. Glue, fold up and only the last corner really needs clamping. The second corner was clamped temporarily just to check for squareness:
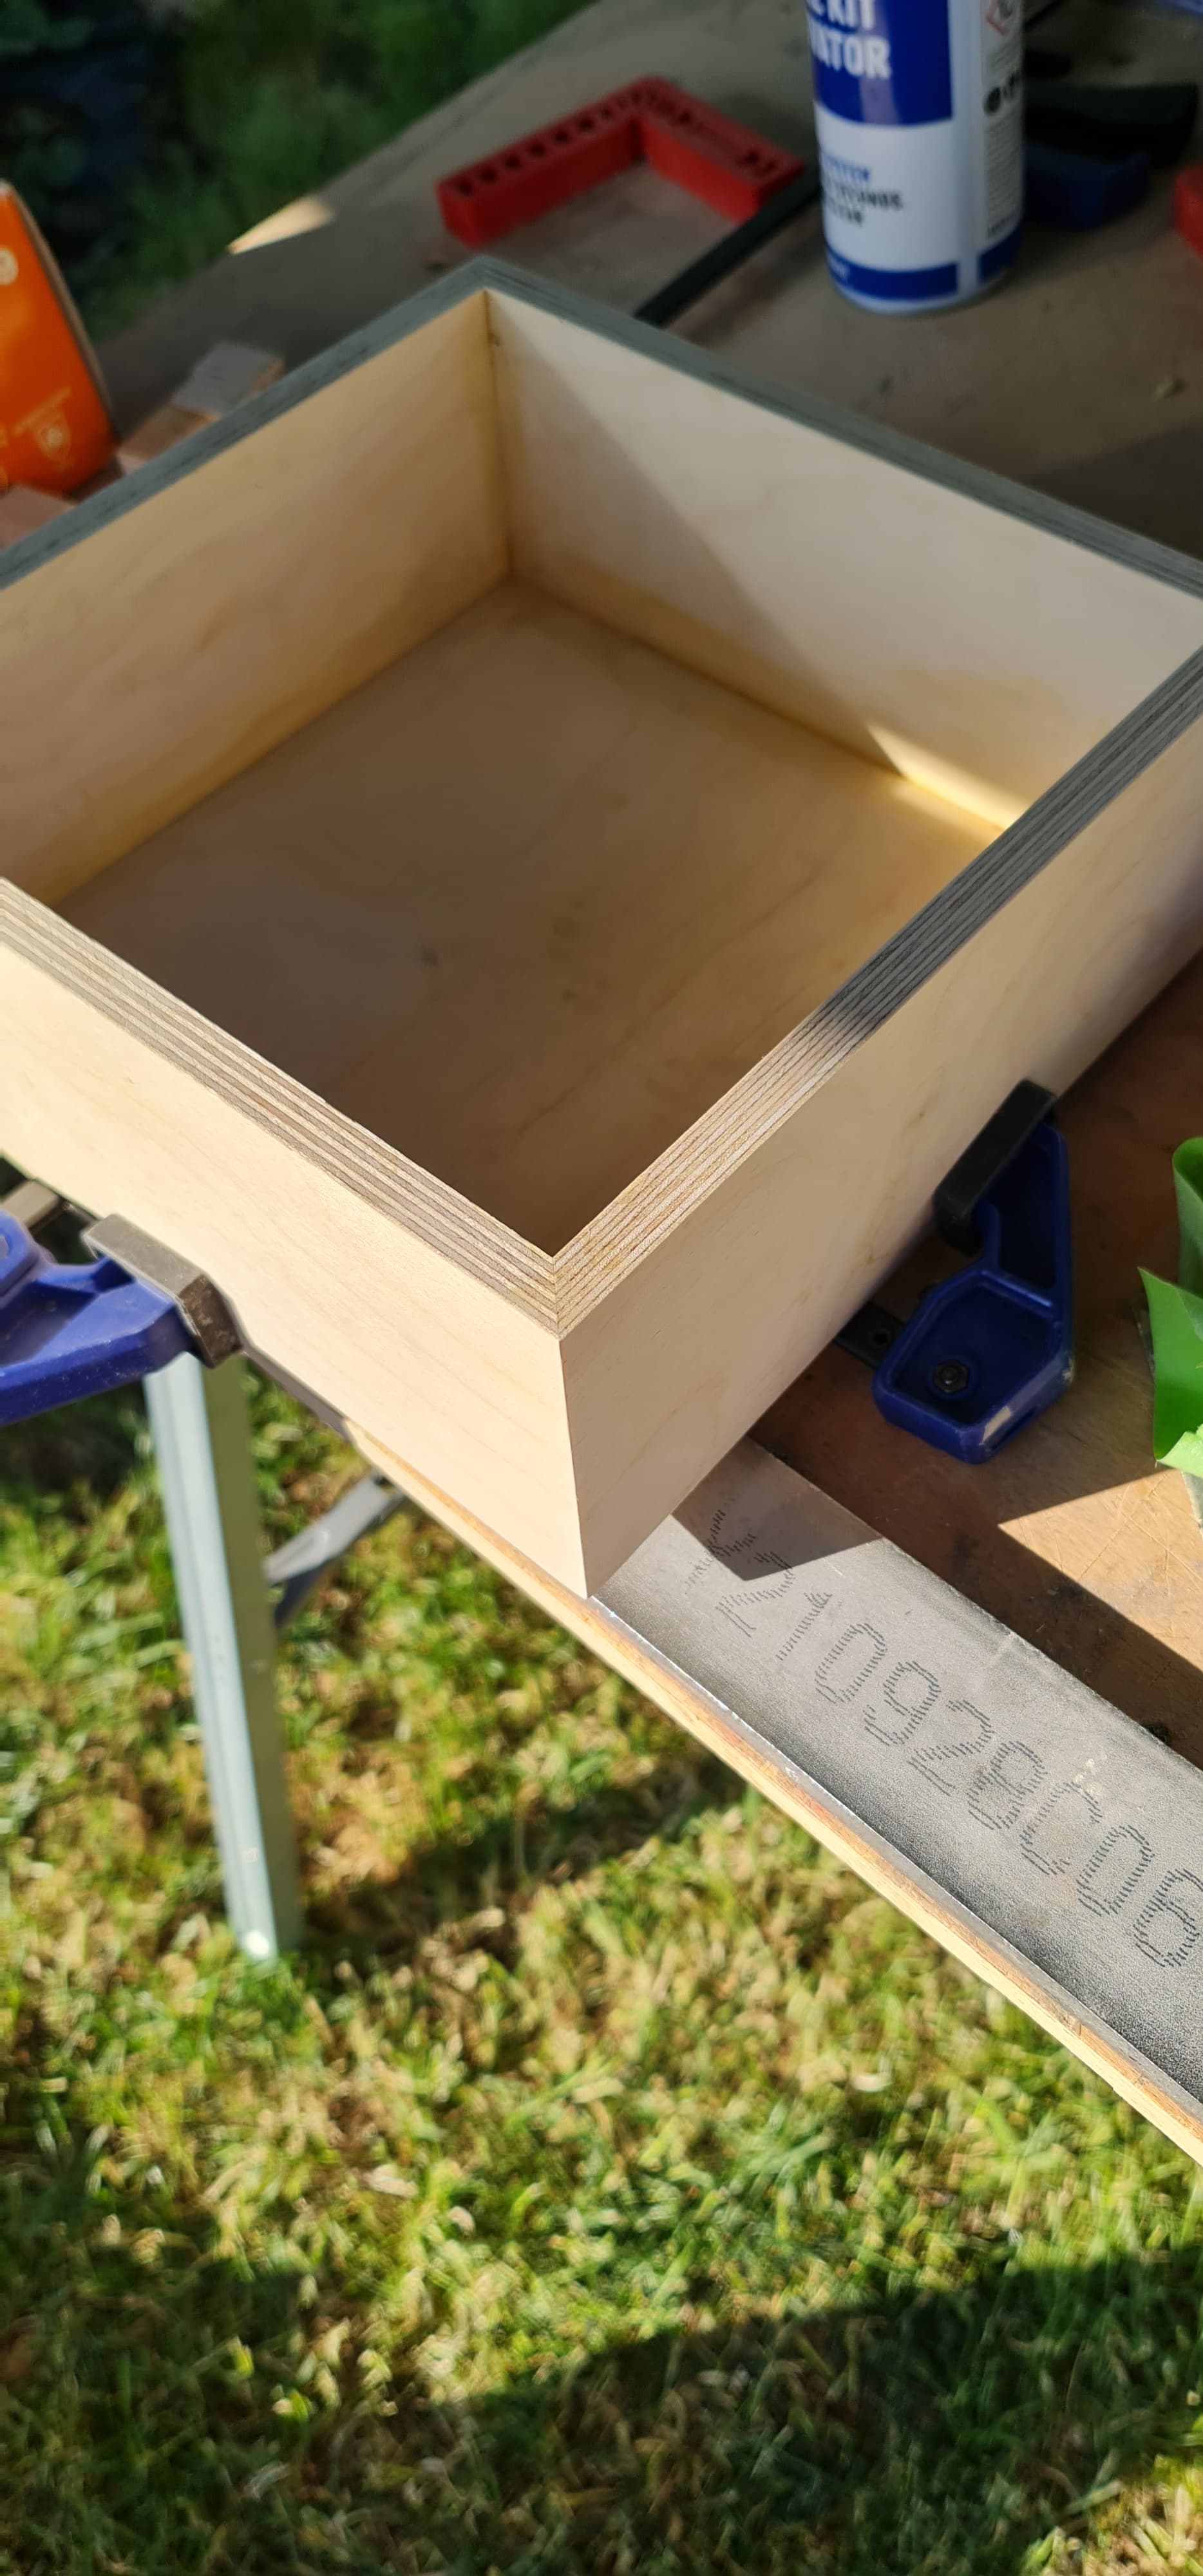
I always overcut mitres by about 0.5°. It makes sure the outer corners are fully closed:
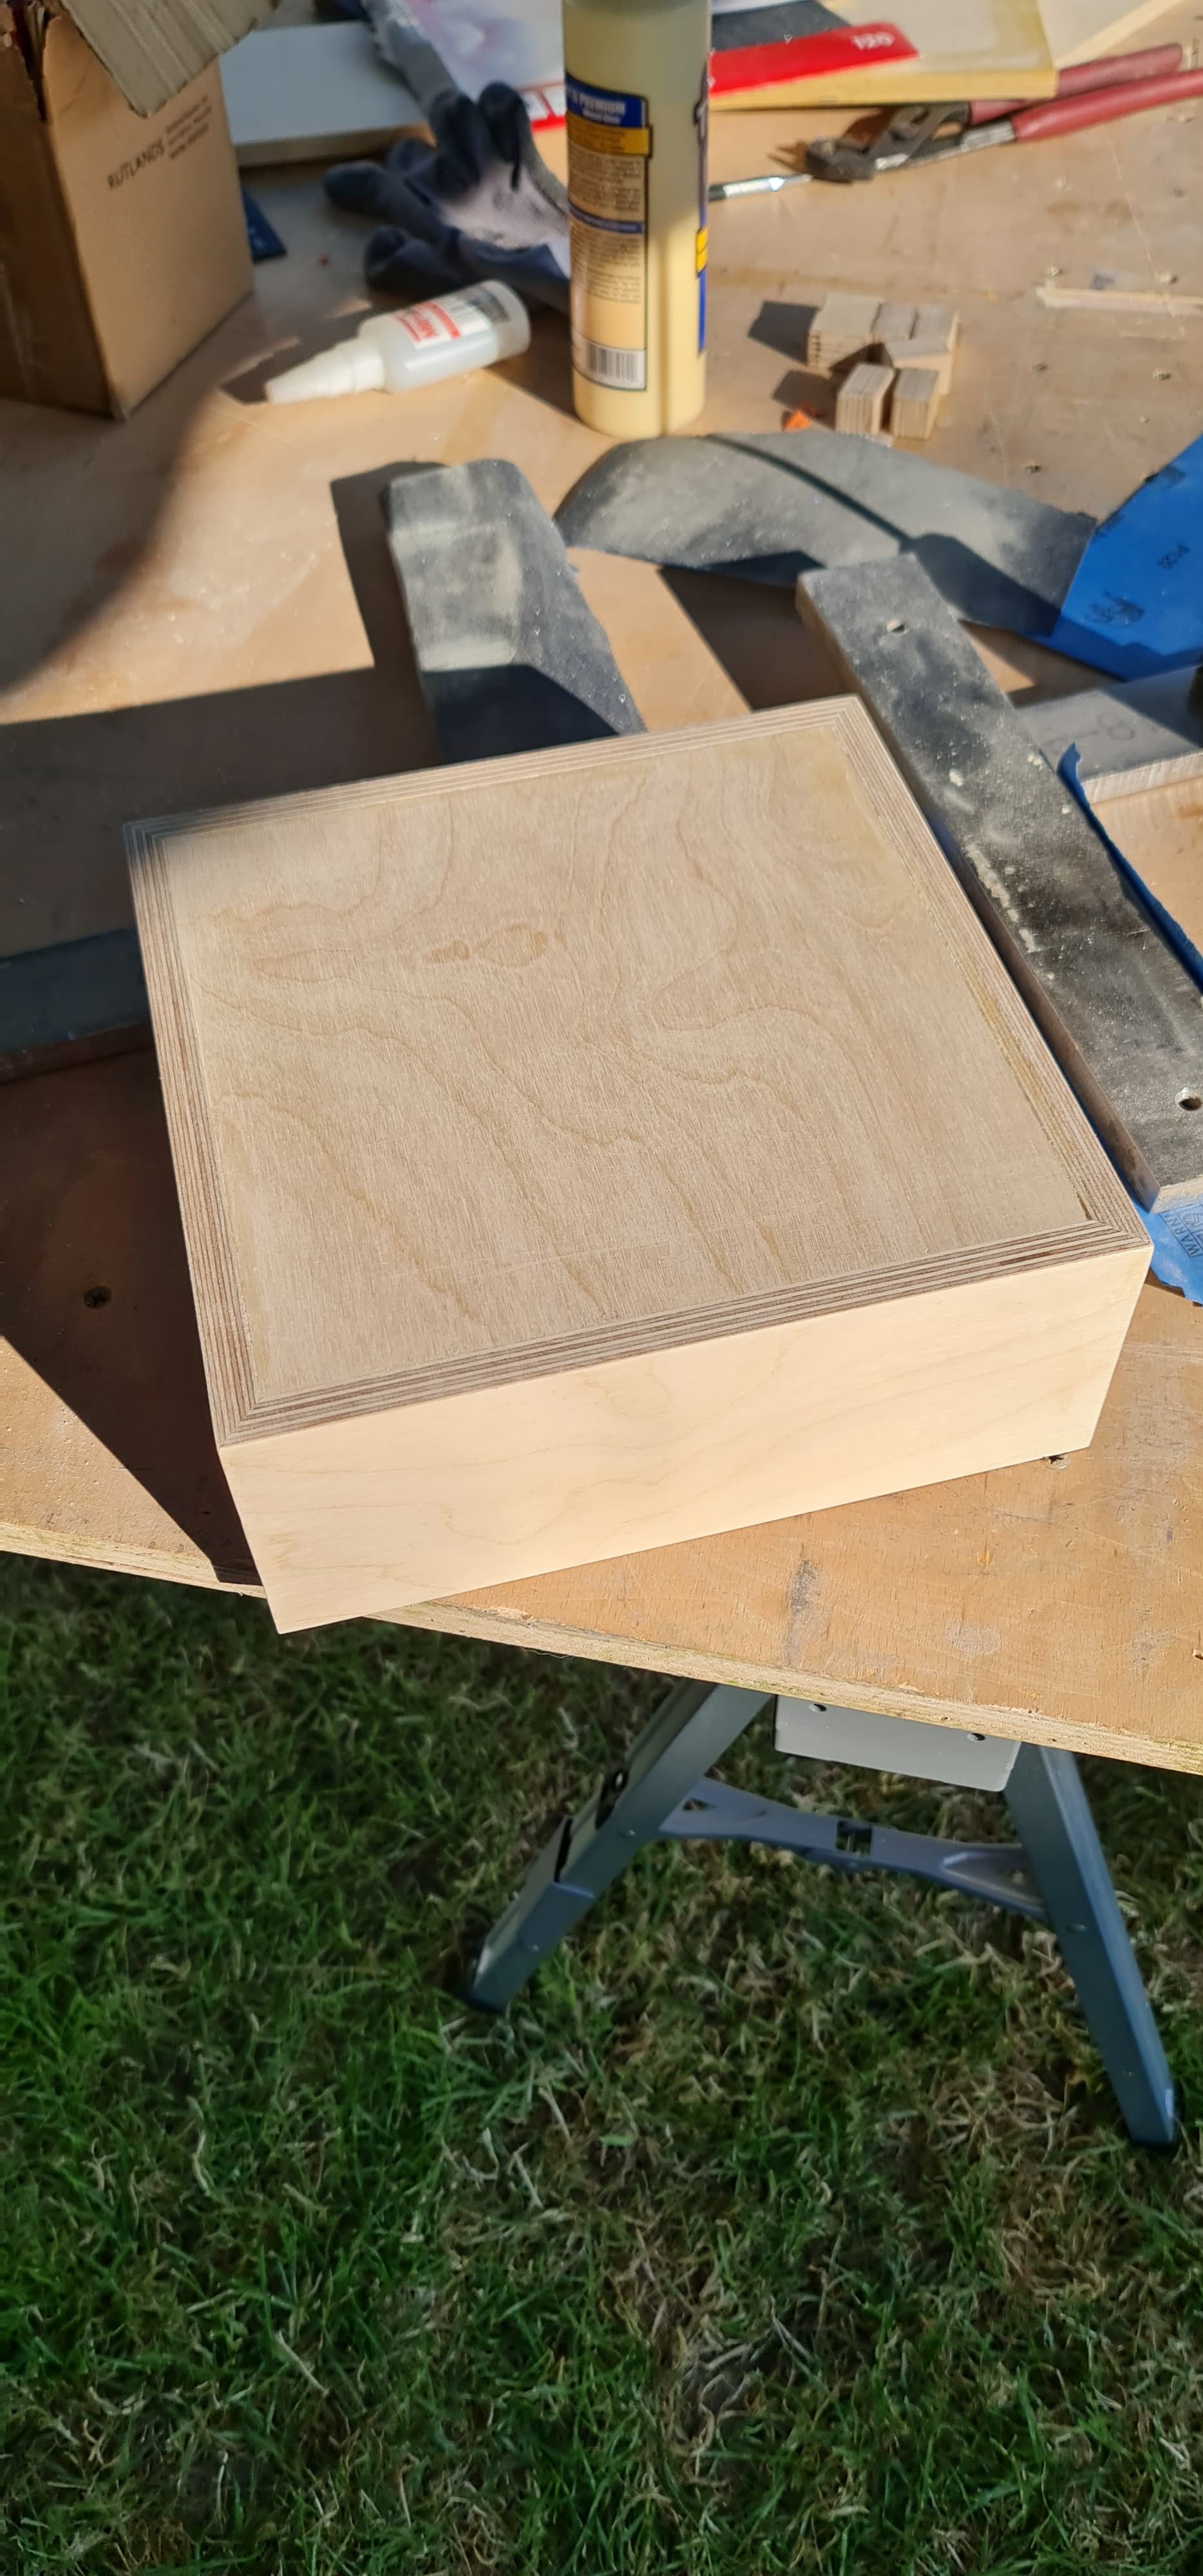
Fit up could have been a little tighter, but as I’m carbon wrapping these, I’m not too worried:
All in all, a satisfying afternoon’s work!
OK, now I’m starting to get excited!
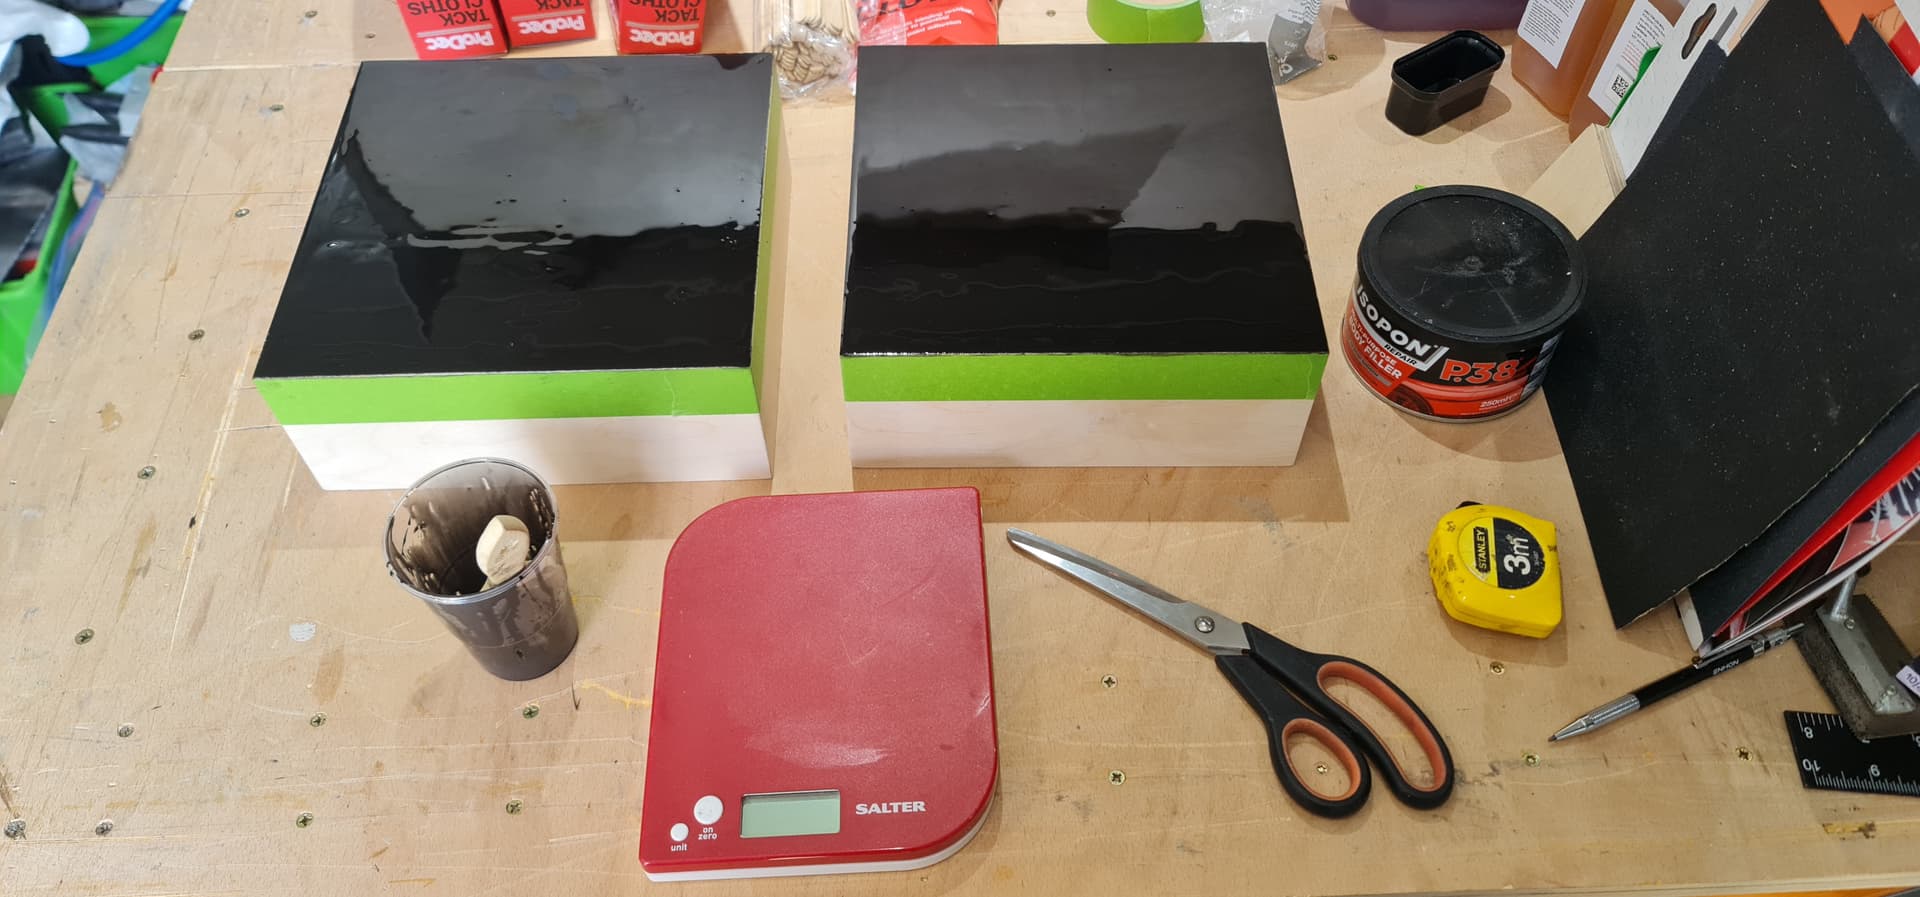
Base epoxy mixed and applied. This is left until it reaches the “tack” stage before sticking down the carbon fibre:
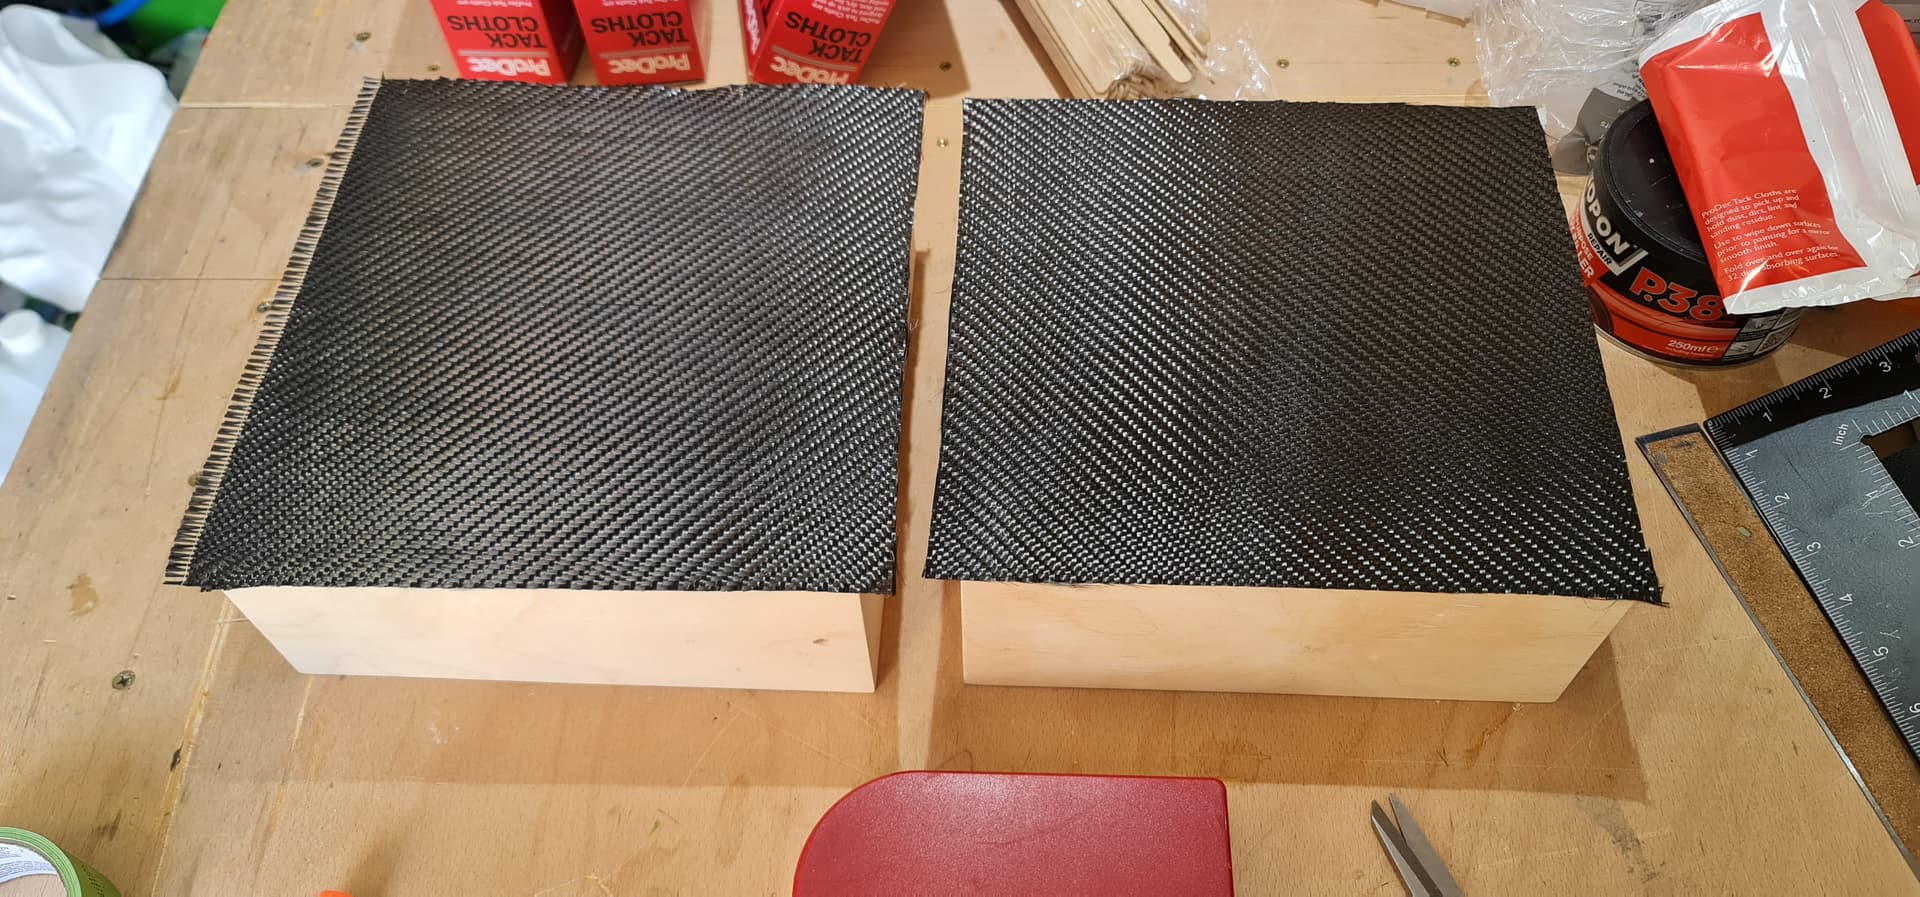
Carbon fibre laid over the base epoxy:
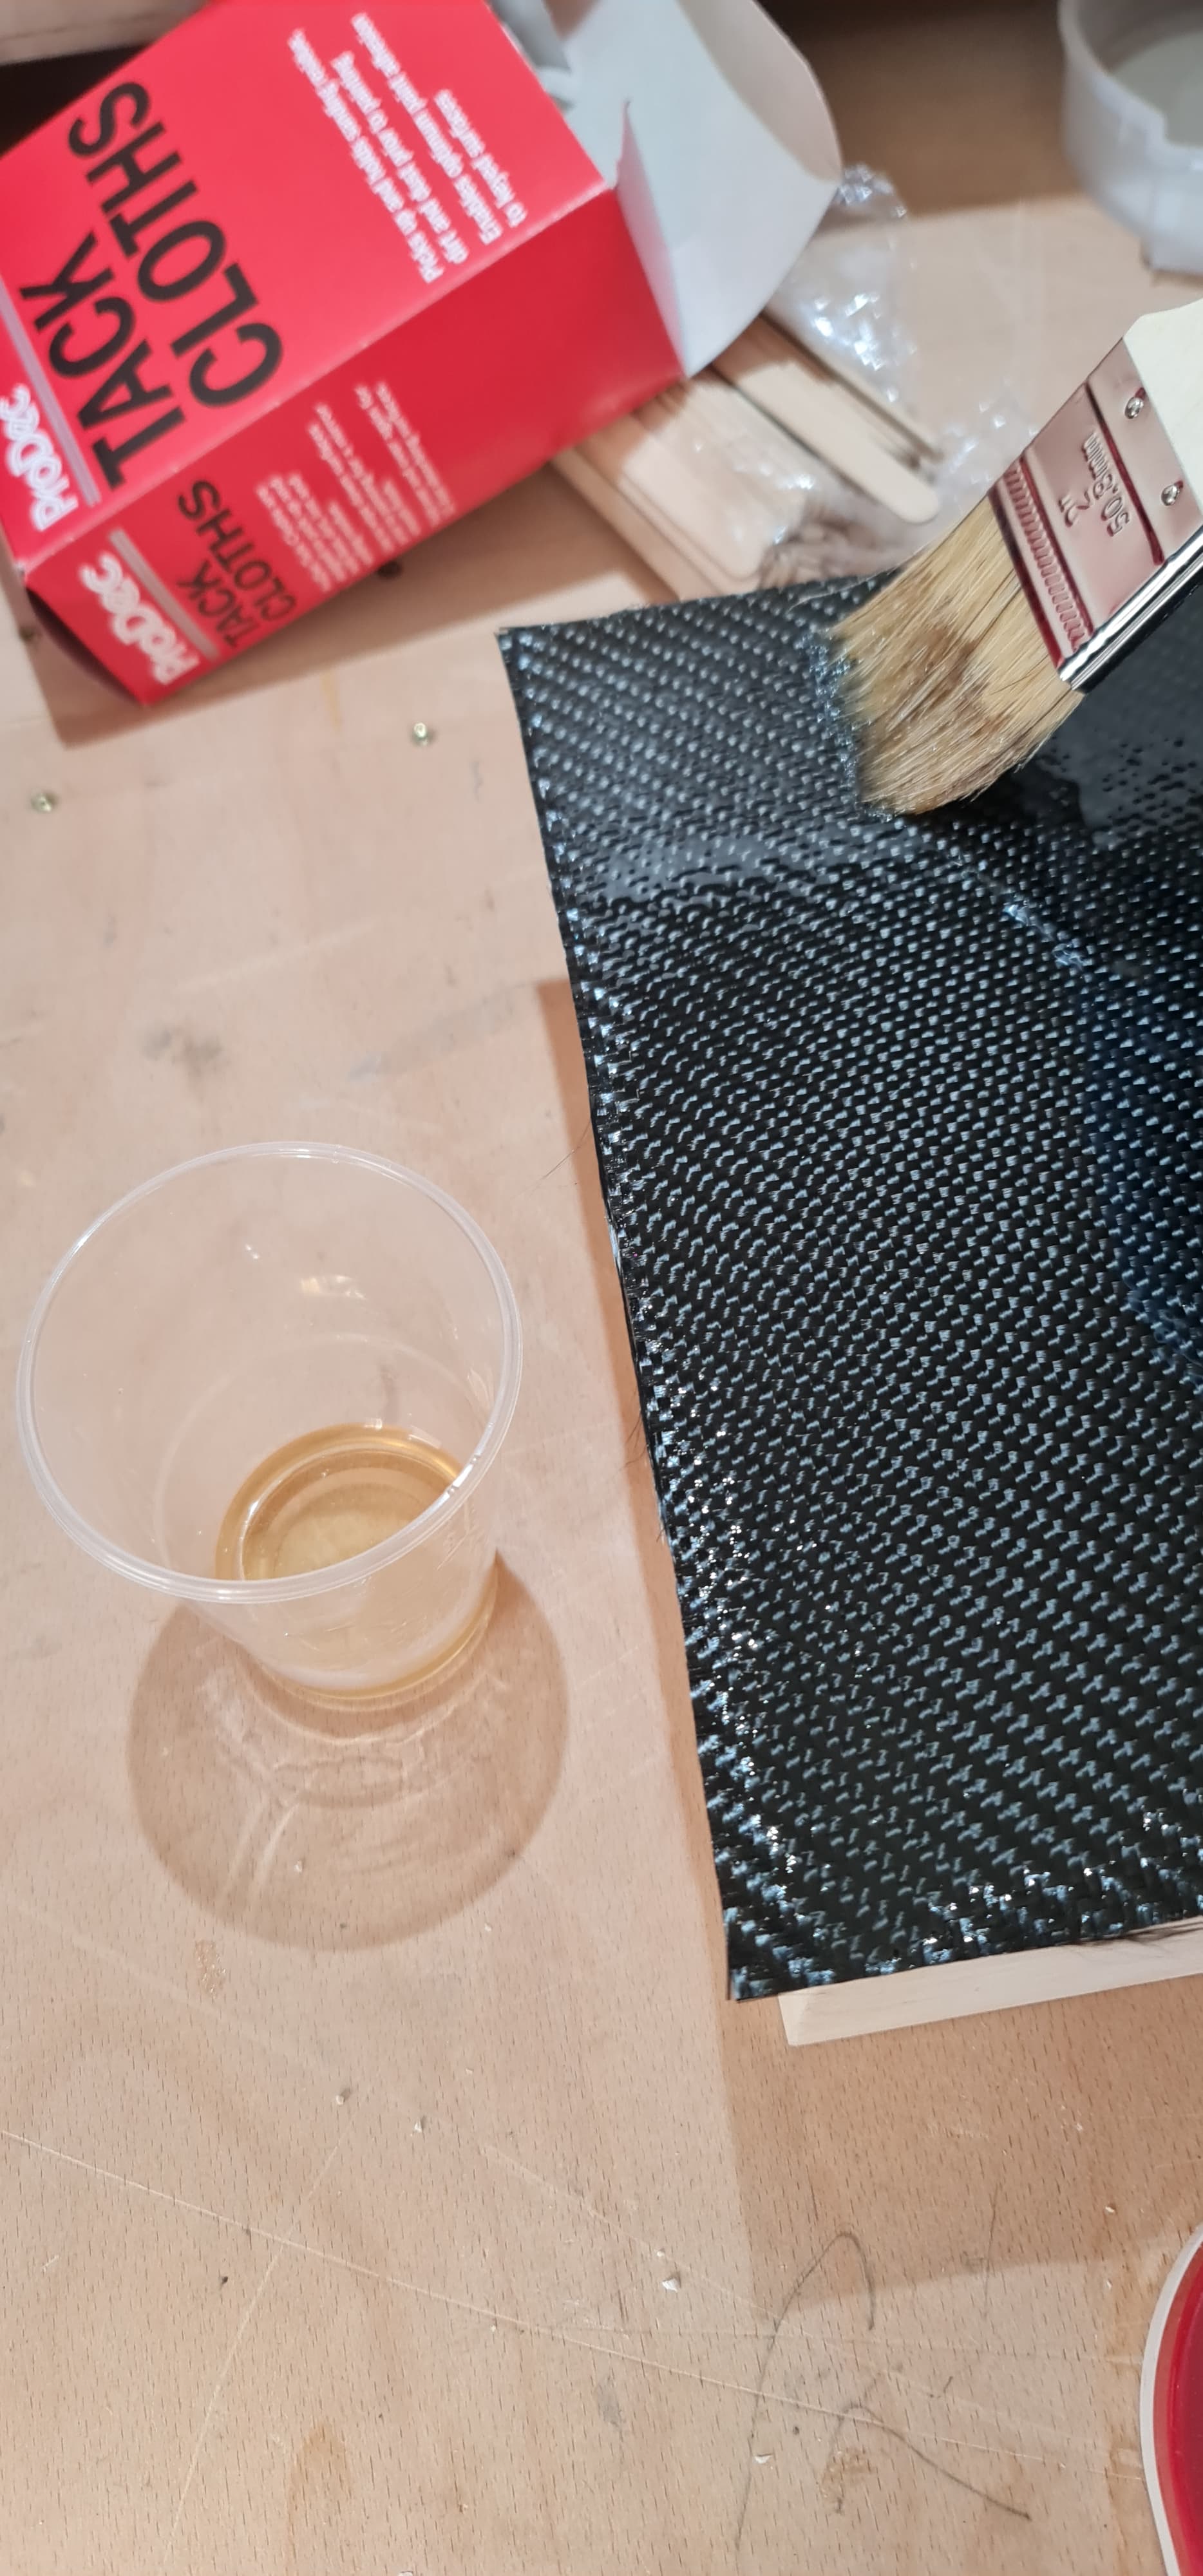
After a couple of hours, wetting out with the first layer of clear epoxy:
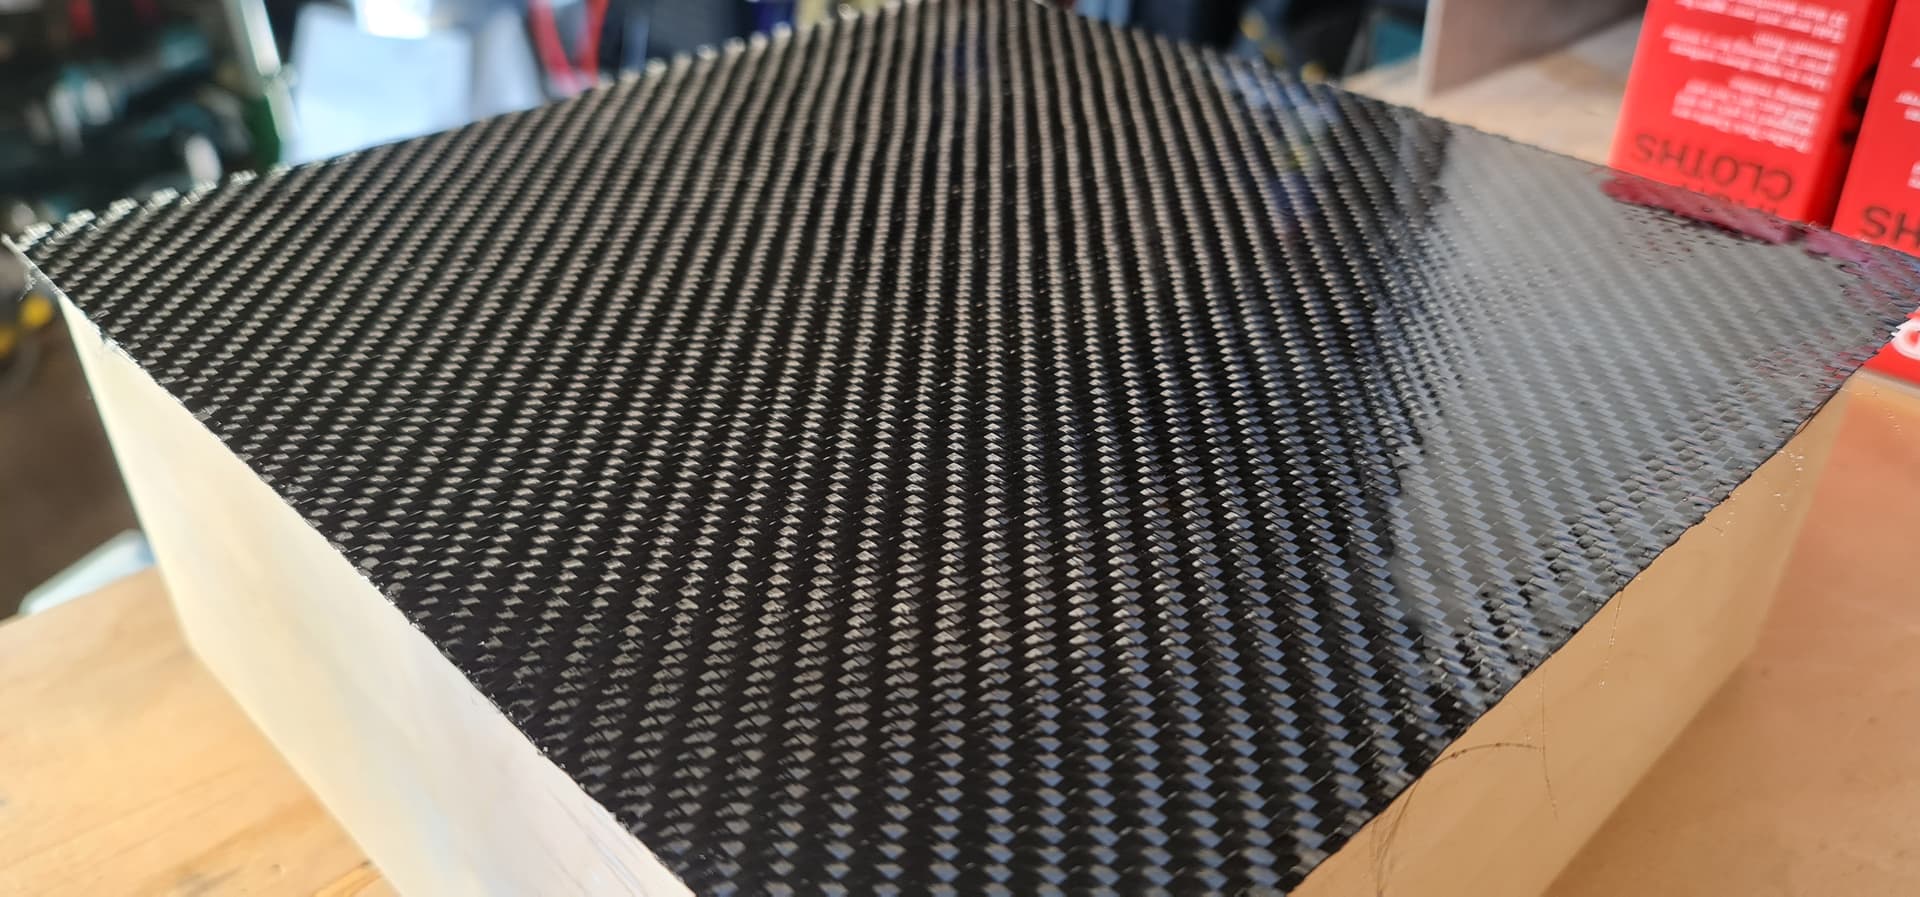
Despite only being ~ 0.2 mm thick, the carbon really starts to take on a 3-D appearance from this stage:
Once this is cured, I can trim up and repeat with the sides.
Graeme this is like a throwback to old TV where we are always waiting for the next installment, at least it is not a 7 day wait like it used to be back in the day.
Great work, so looking forward to seeing the finished article after all your hard work. I bet you can’t wait to play the first music through them
I’m really looking forward to playing music through them, bit it’s gonna be a while yet…
A bit more progress.
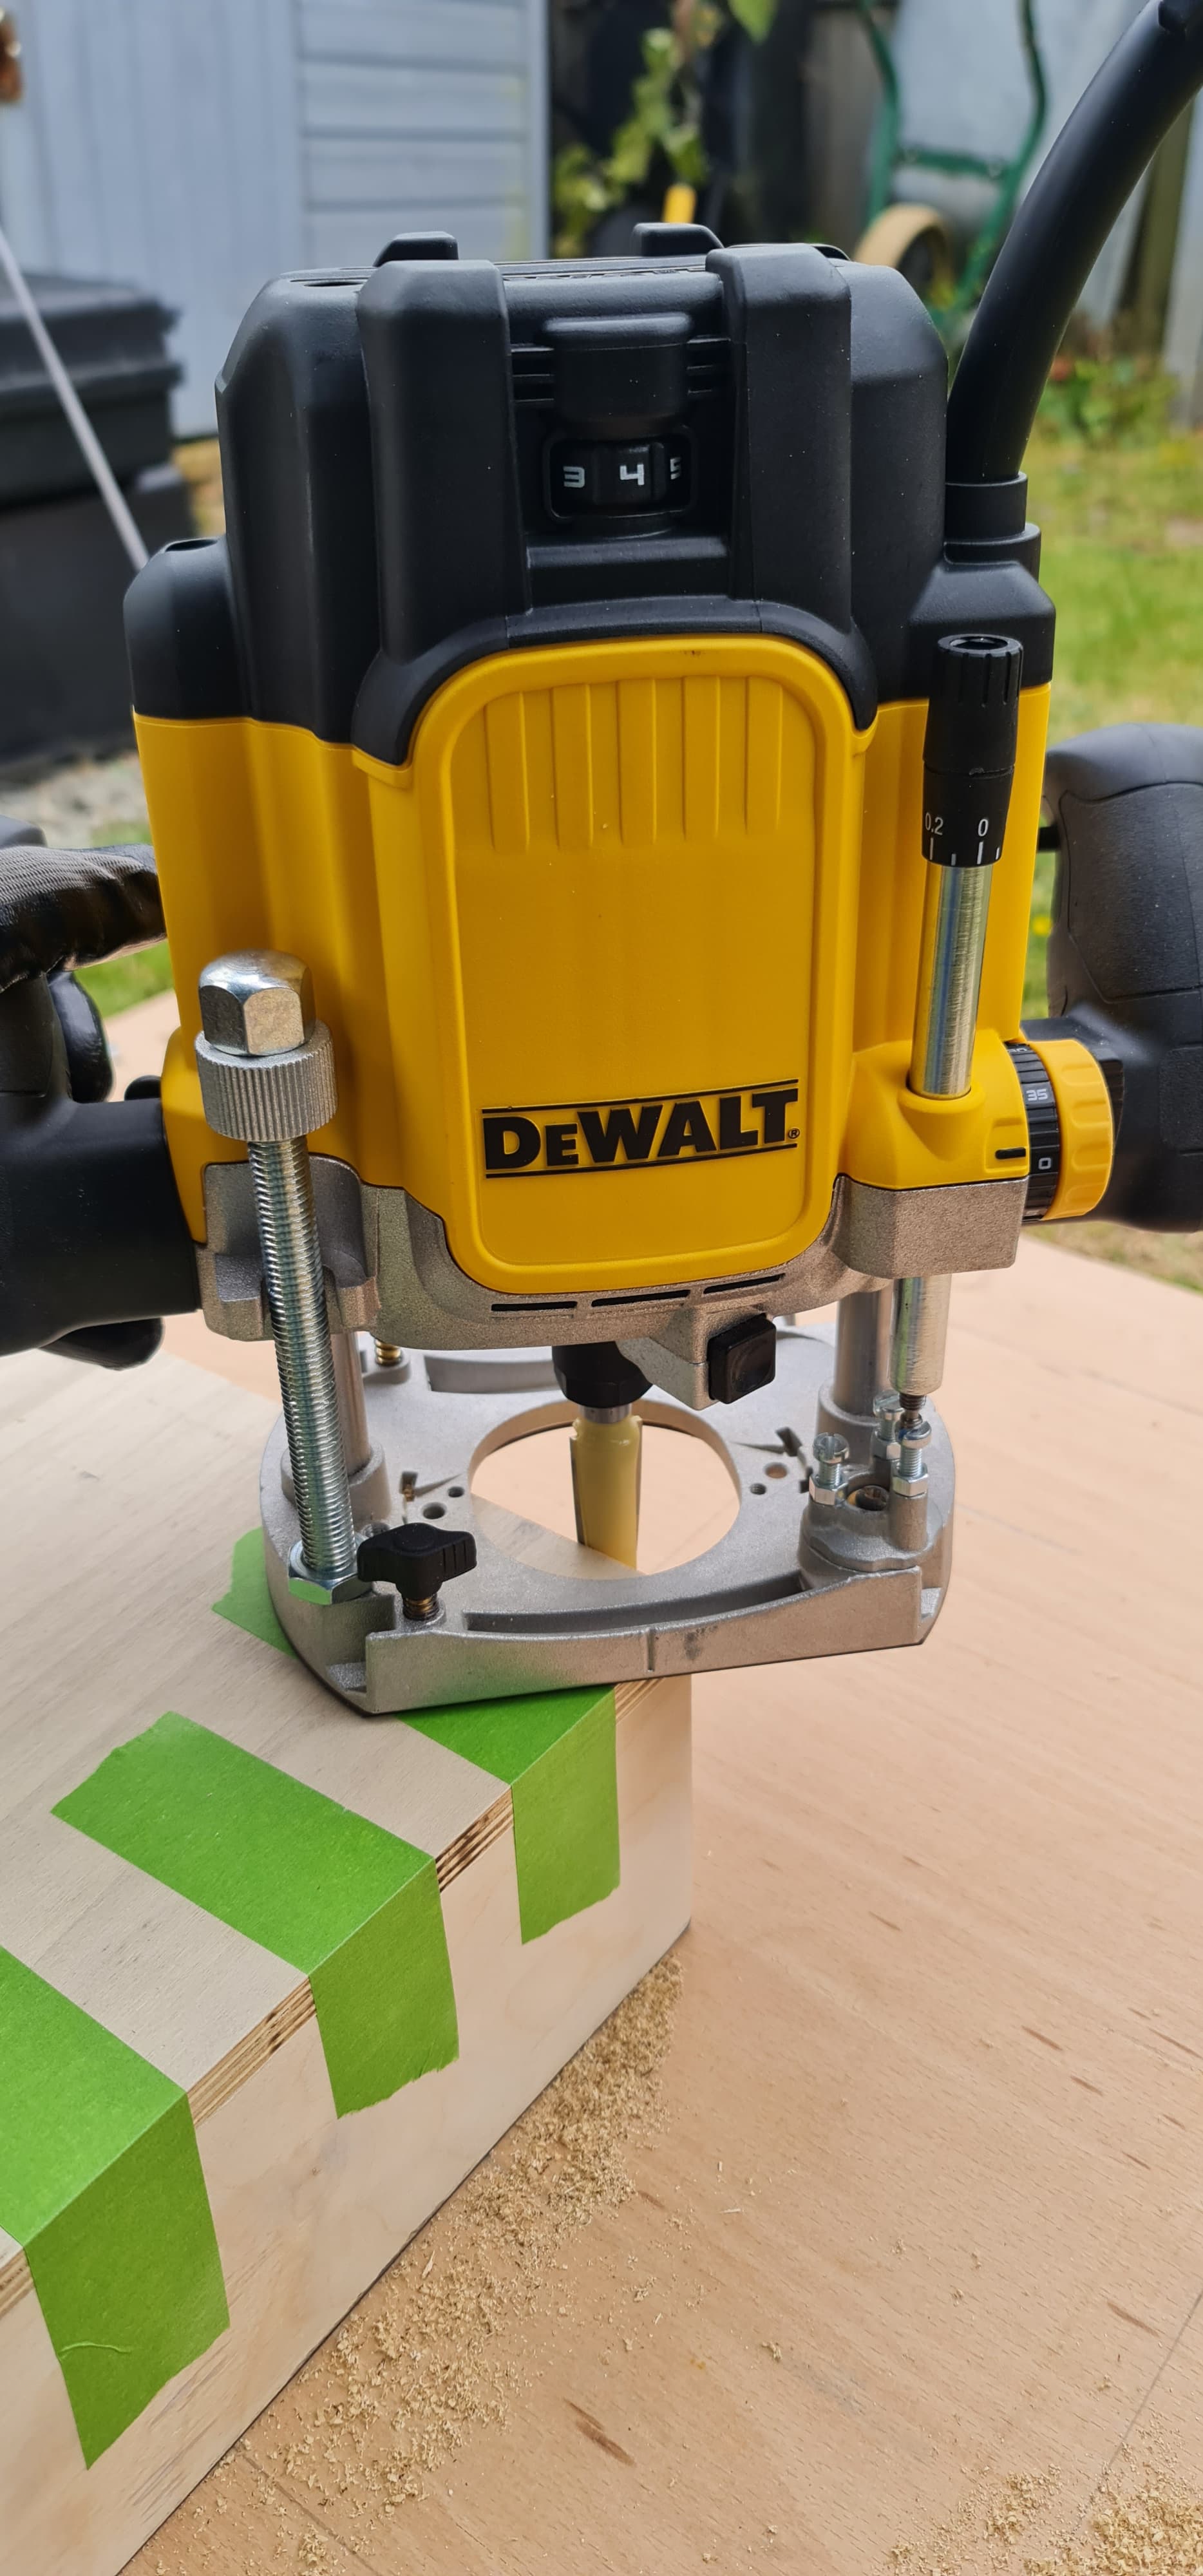
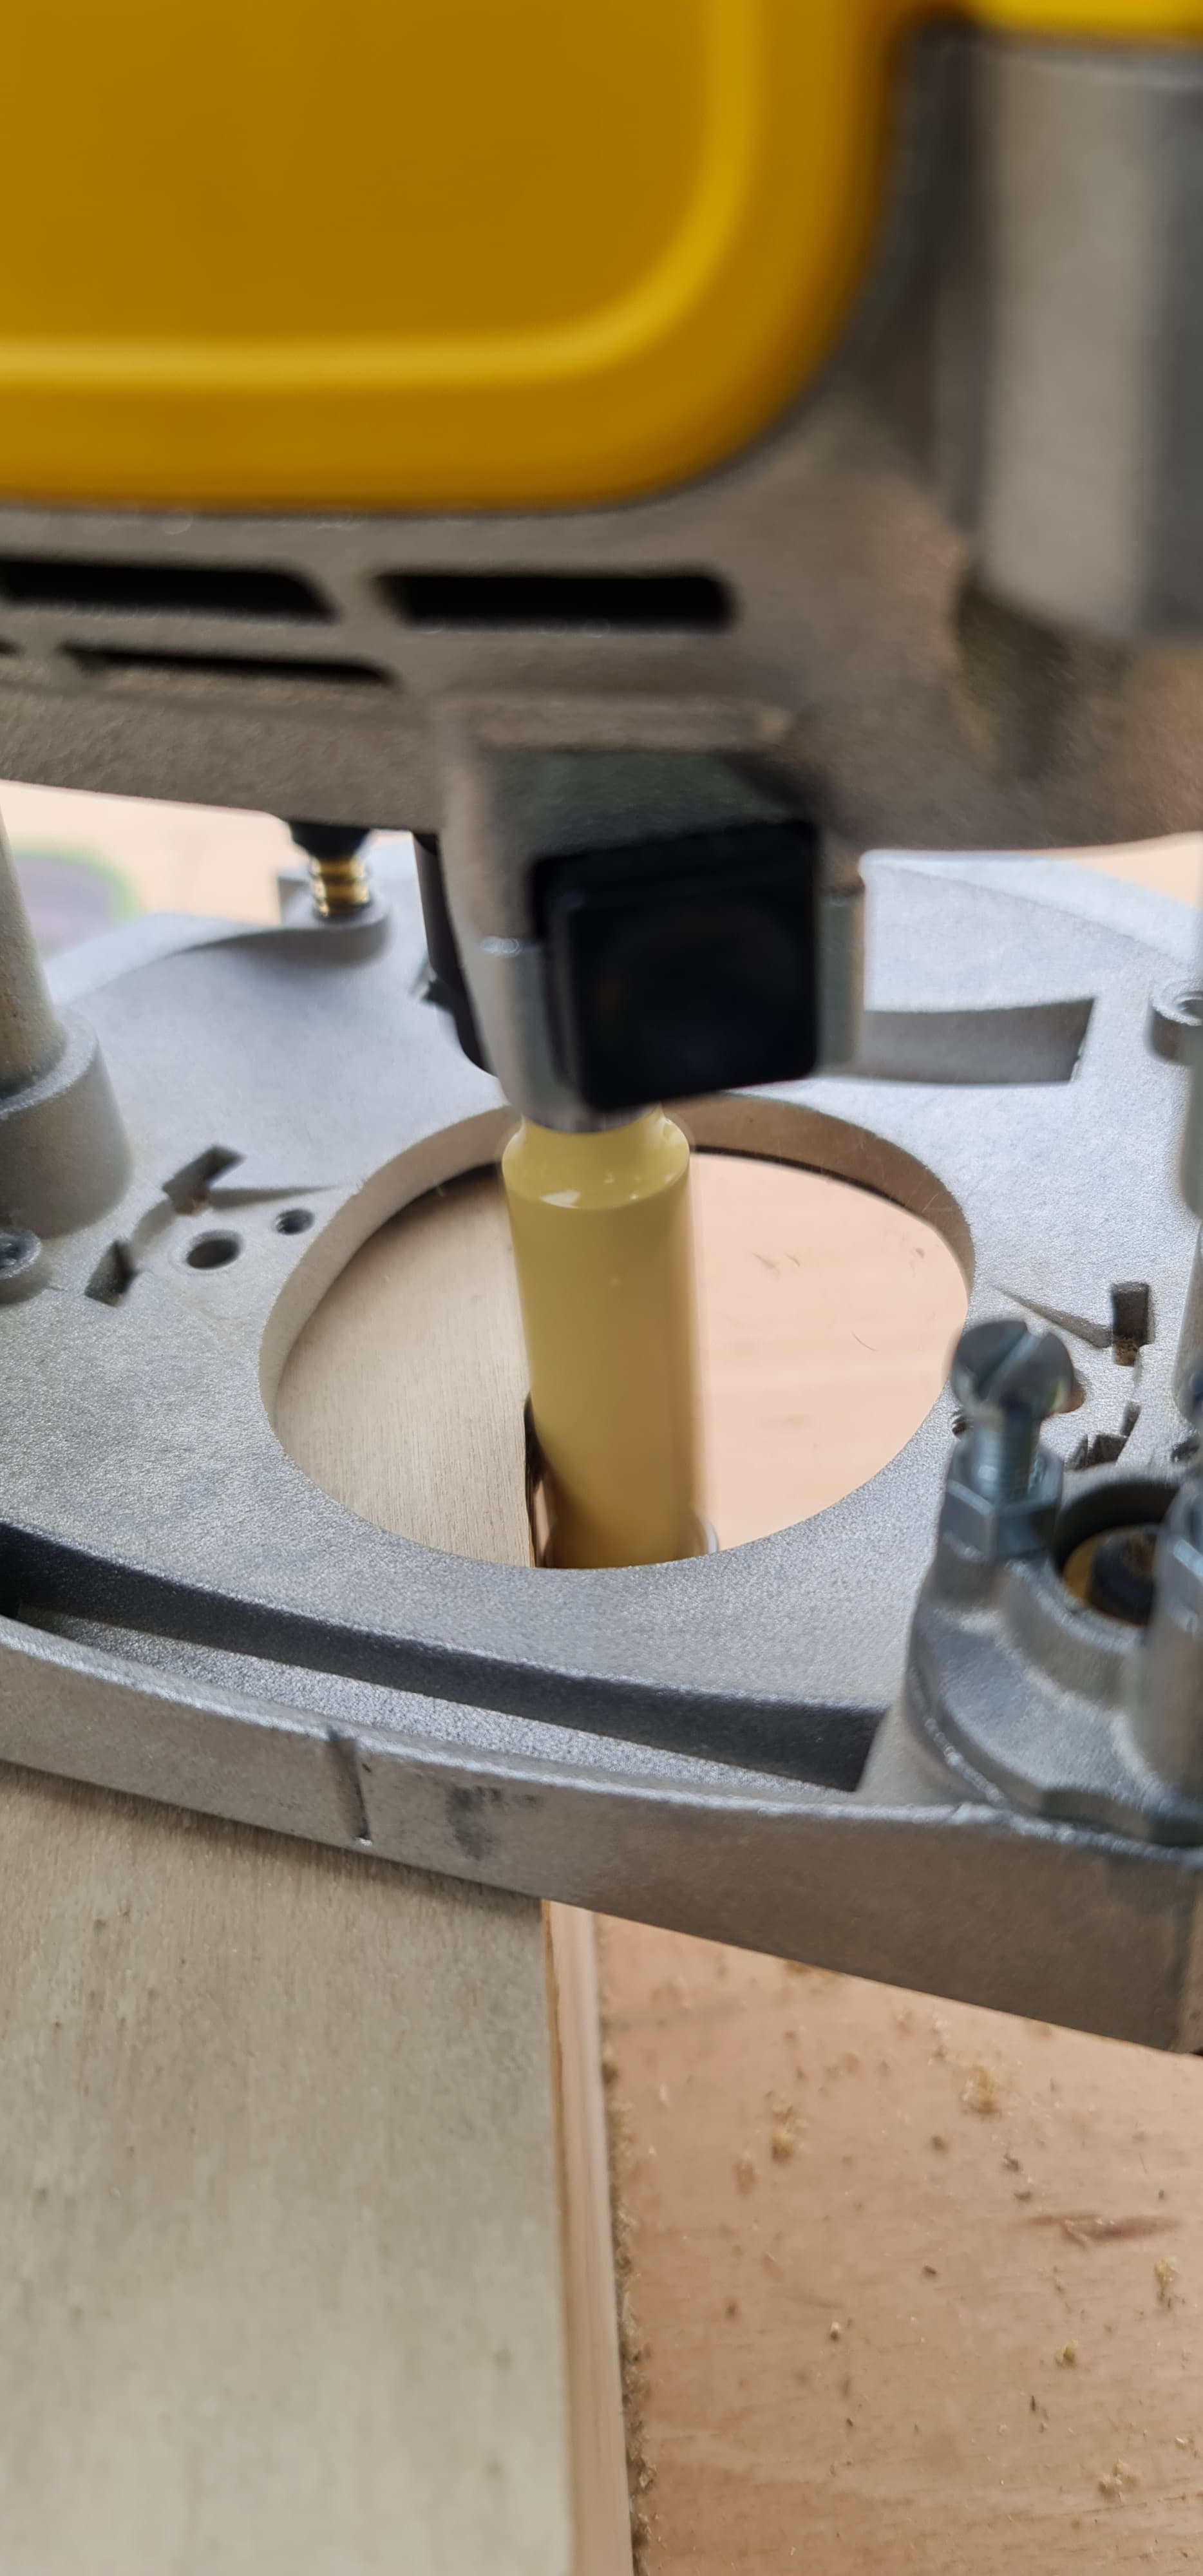
Lids for xover boxes roughed out on the table saw and then routed with a flush trim bit. New router’s first time out of the box. Didn’t want to do any critical stuff with it until I have a proper feel for it
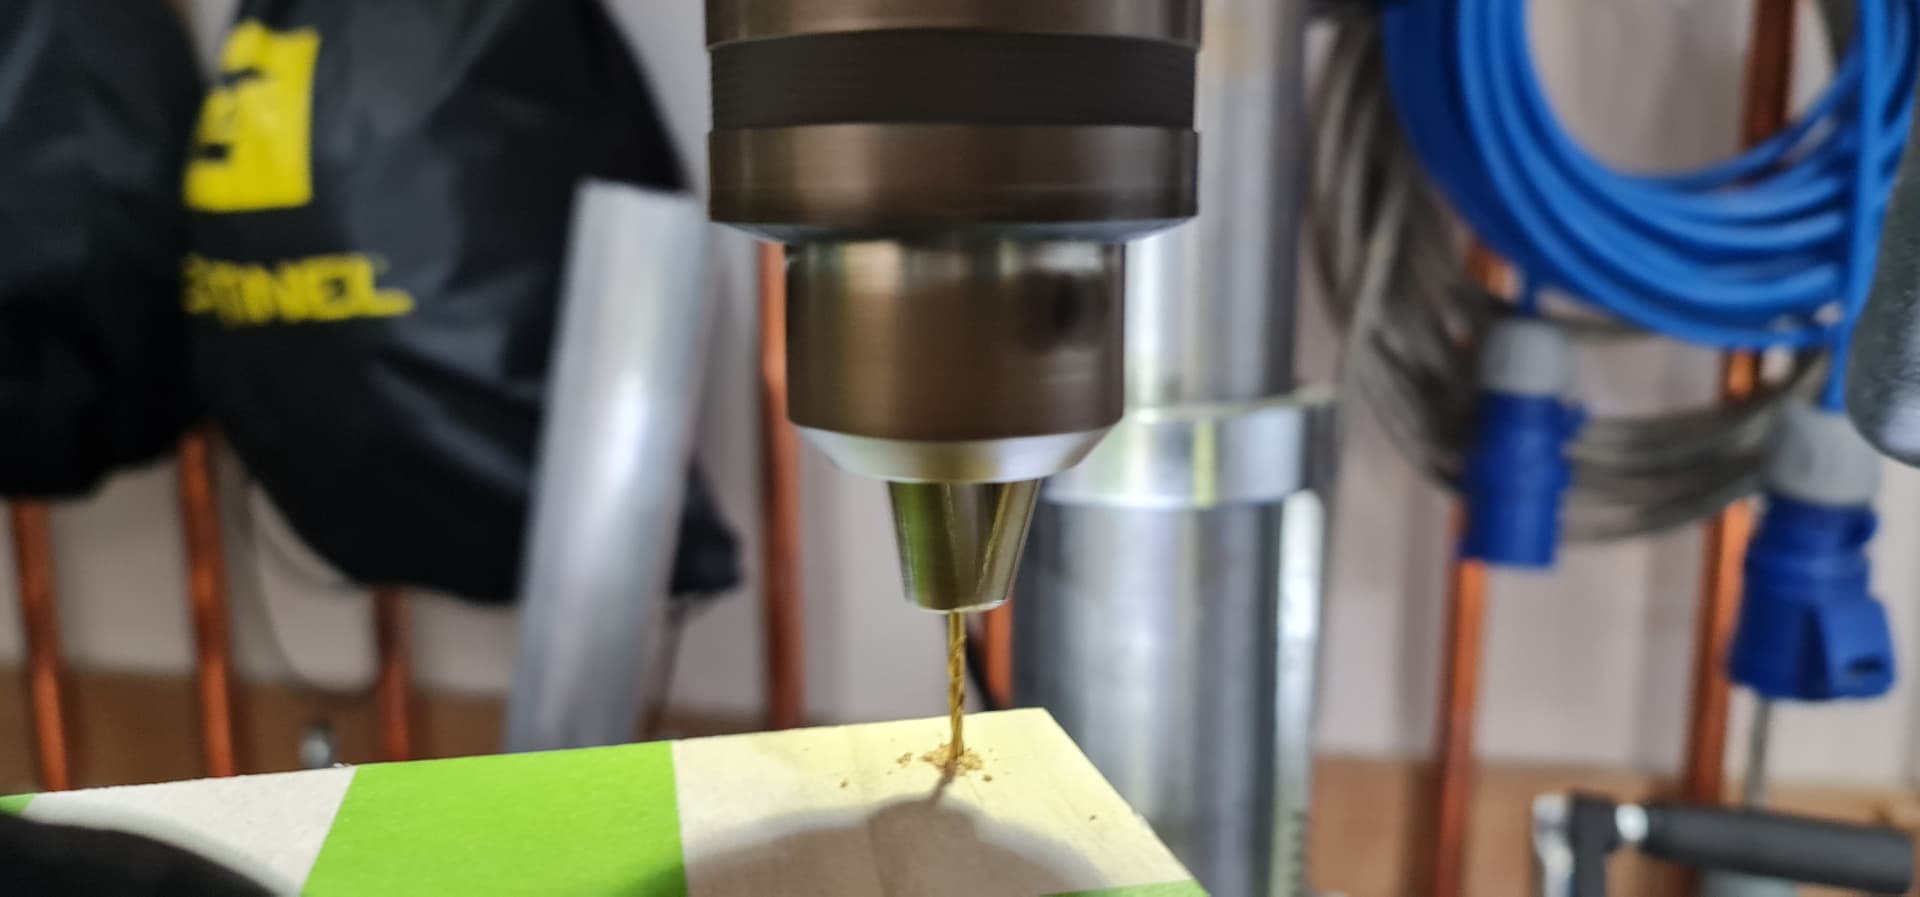
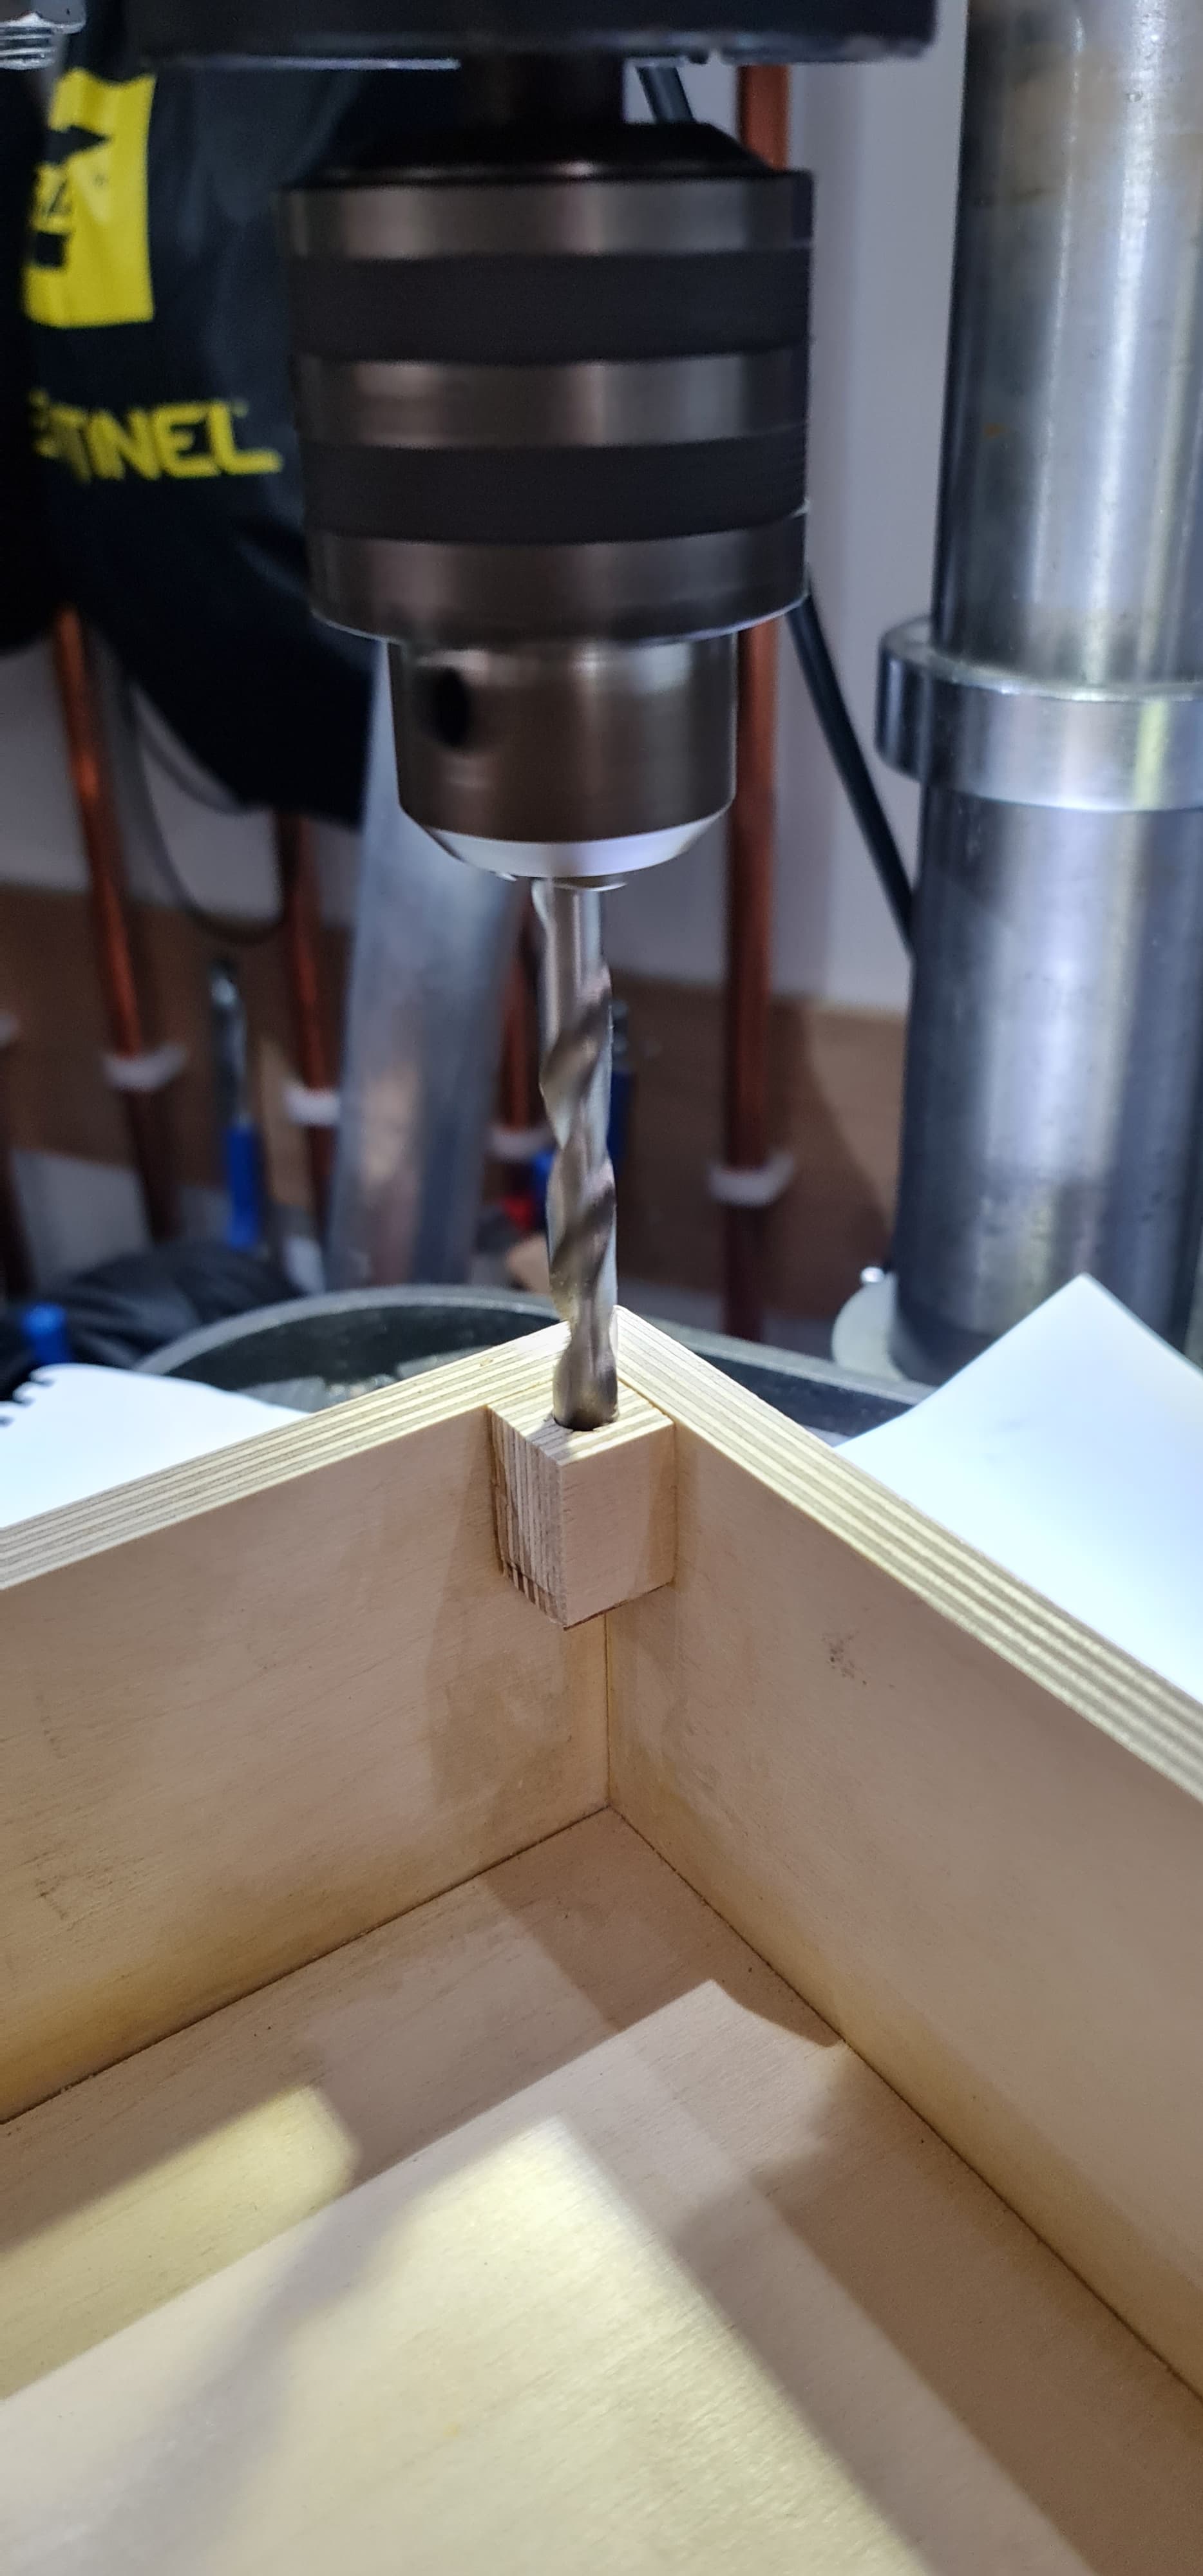
Pilot drilling for the threaded inserts:
Drilling out the holes for the threaded inserts:
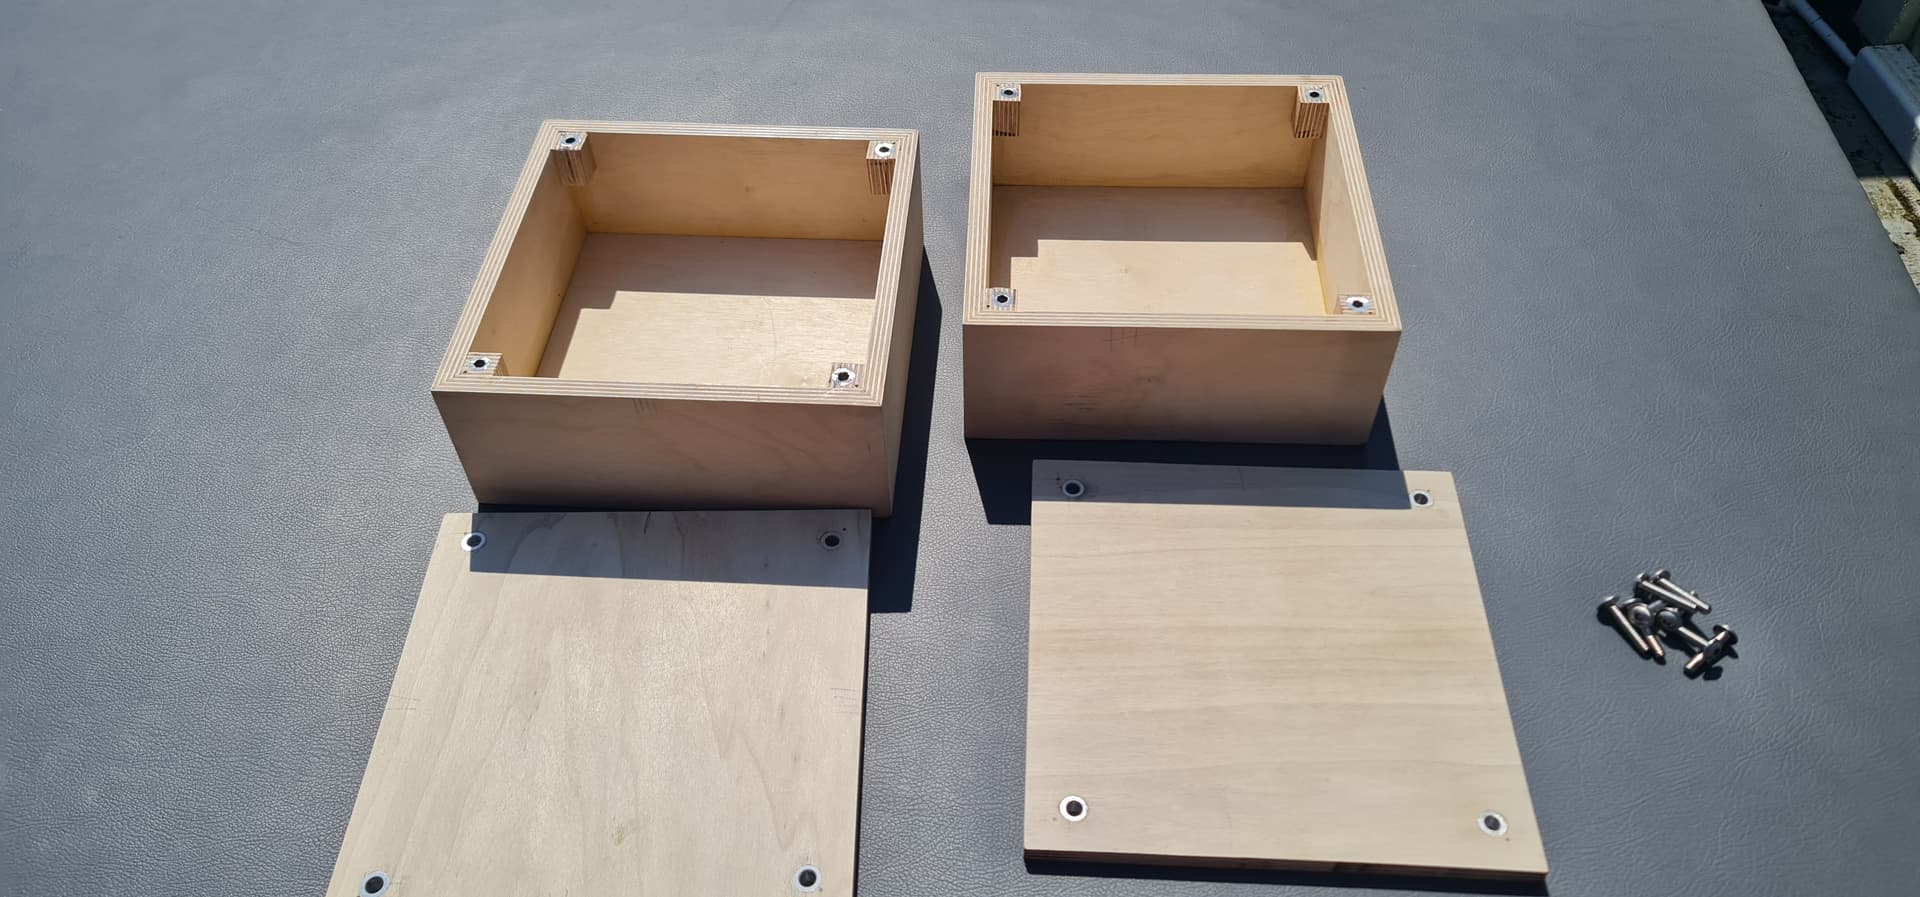
Threaded inserts in and ground flush and aluminium inserts in the screw holes on the lid
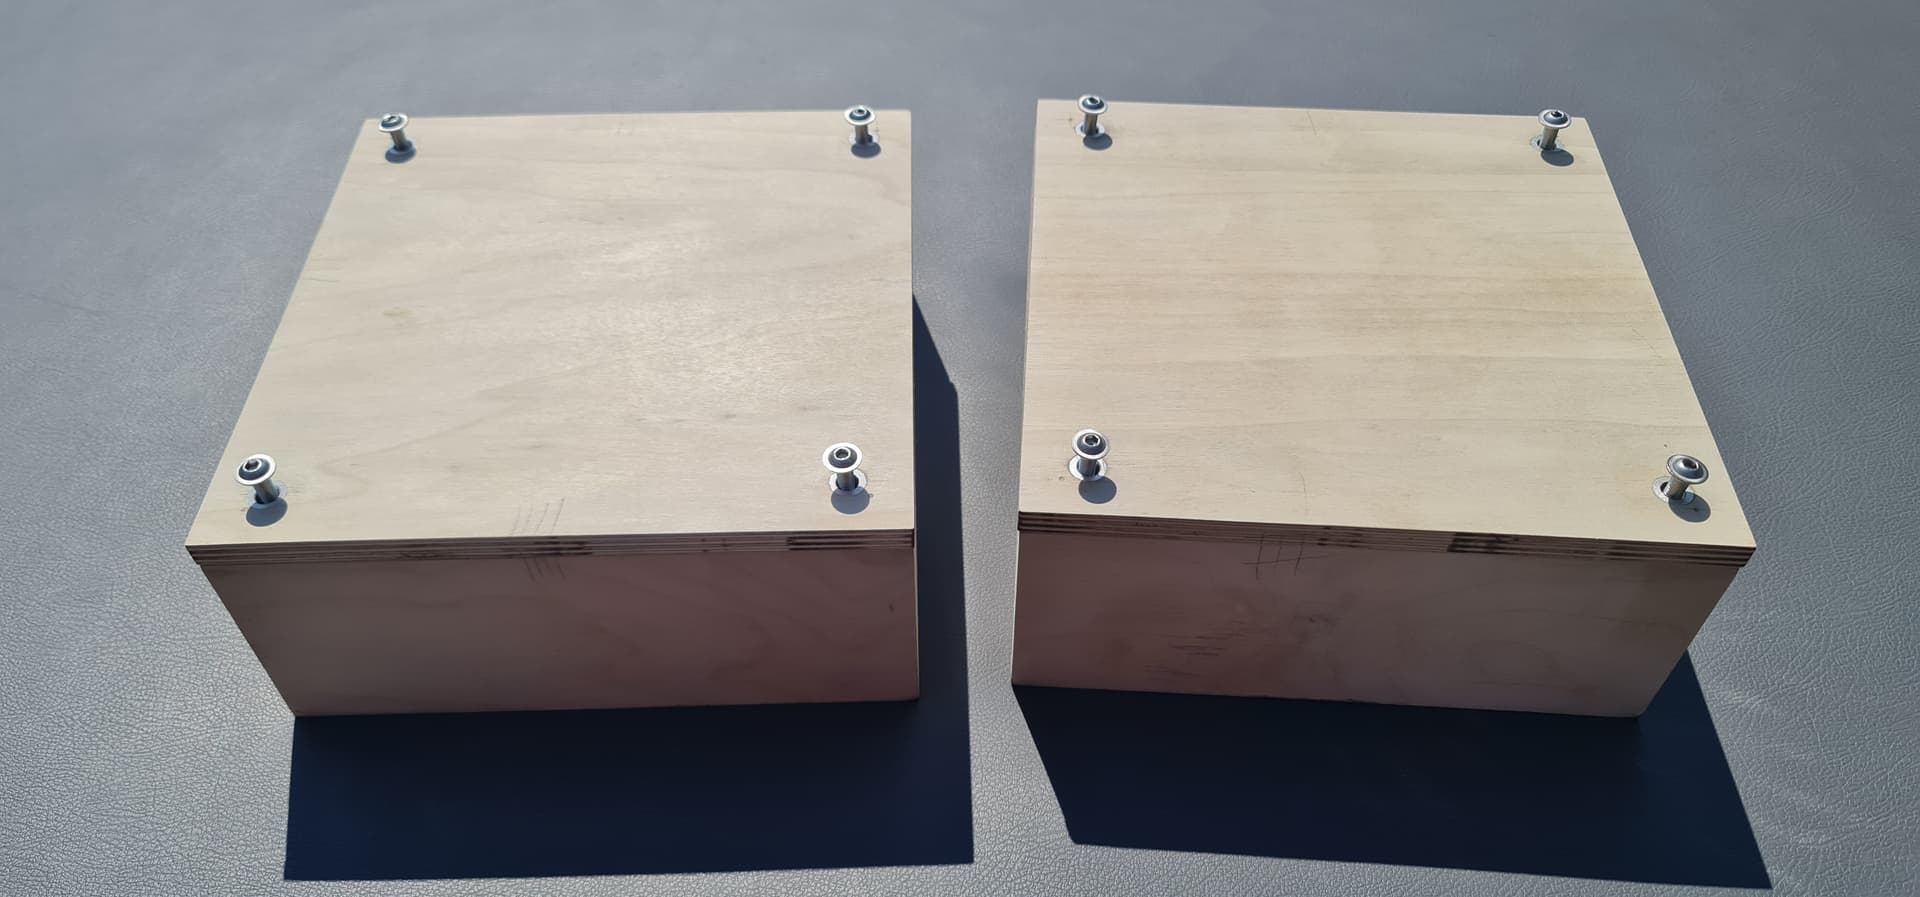
With the fasteners before carbon skinning:
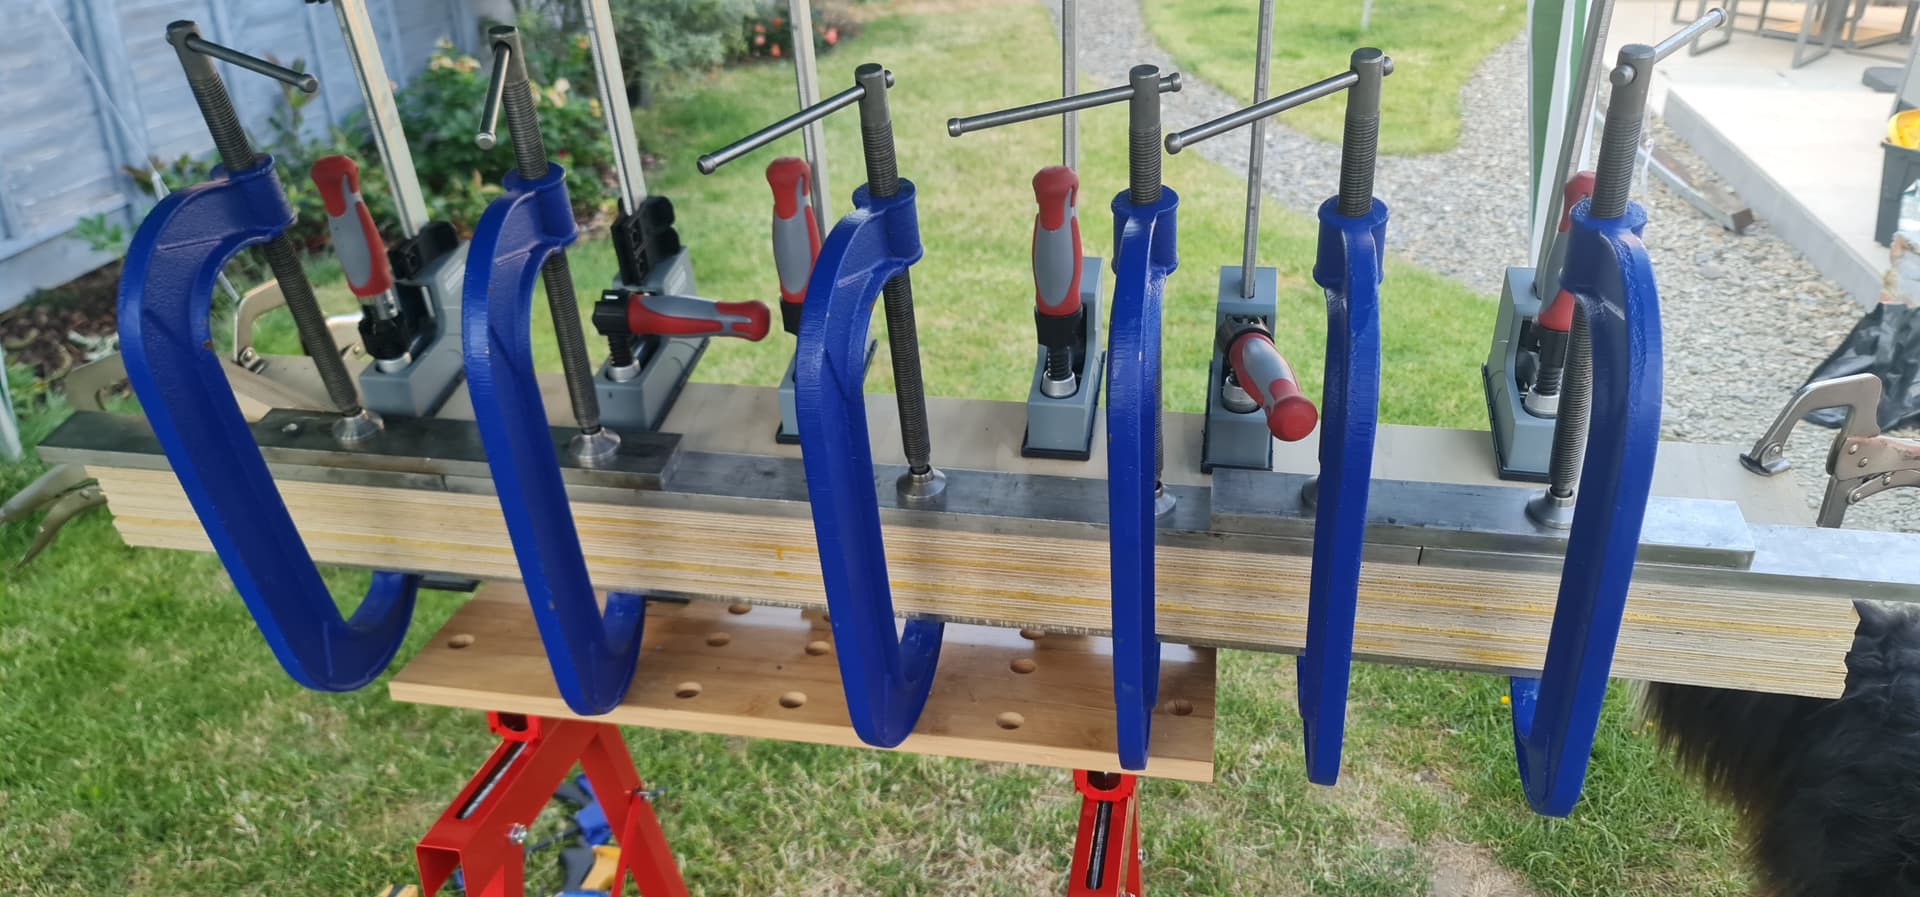
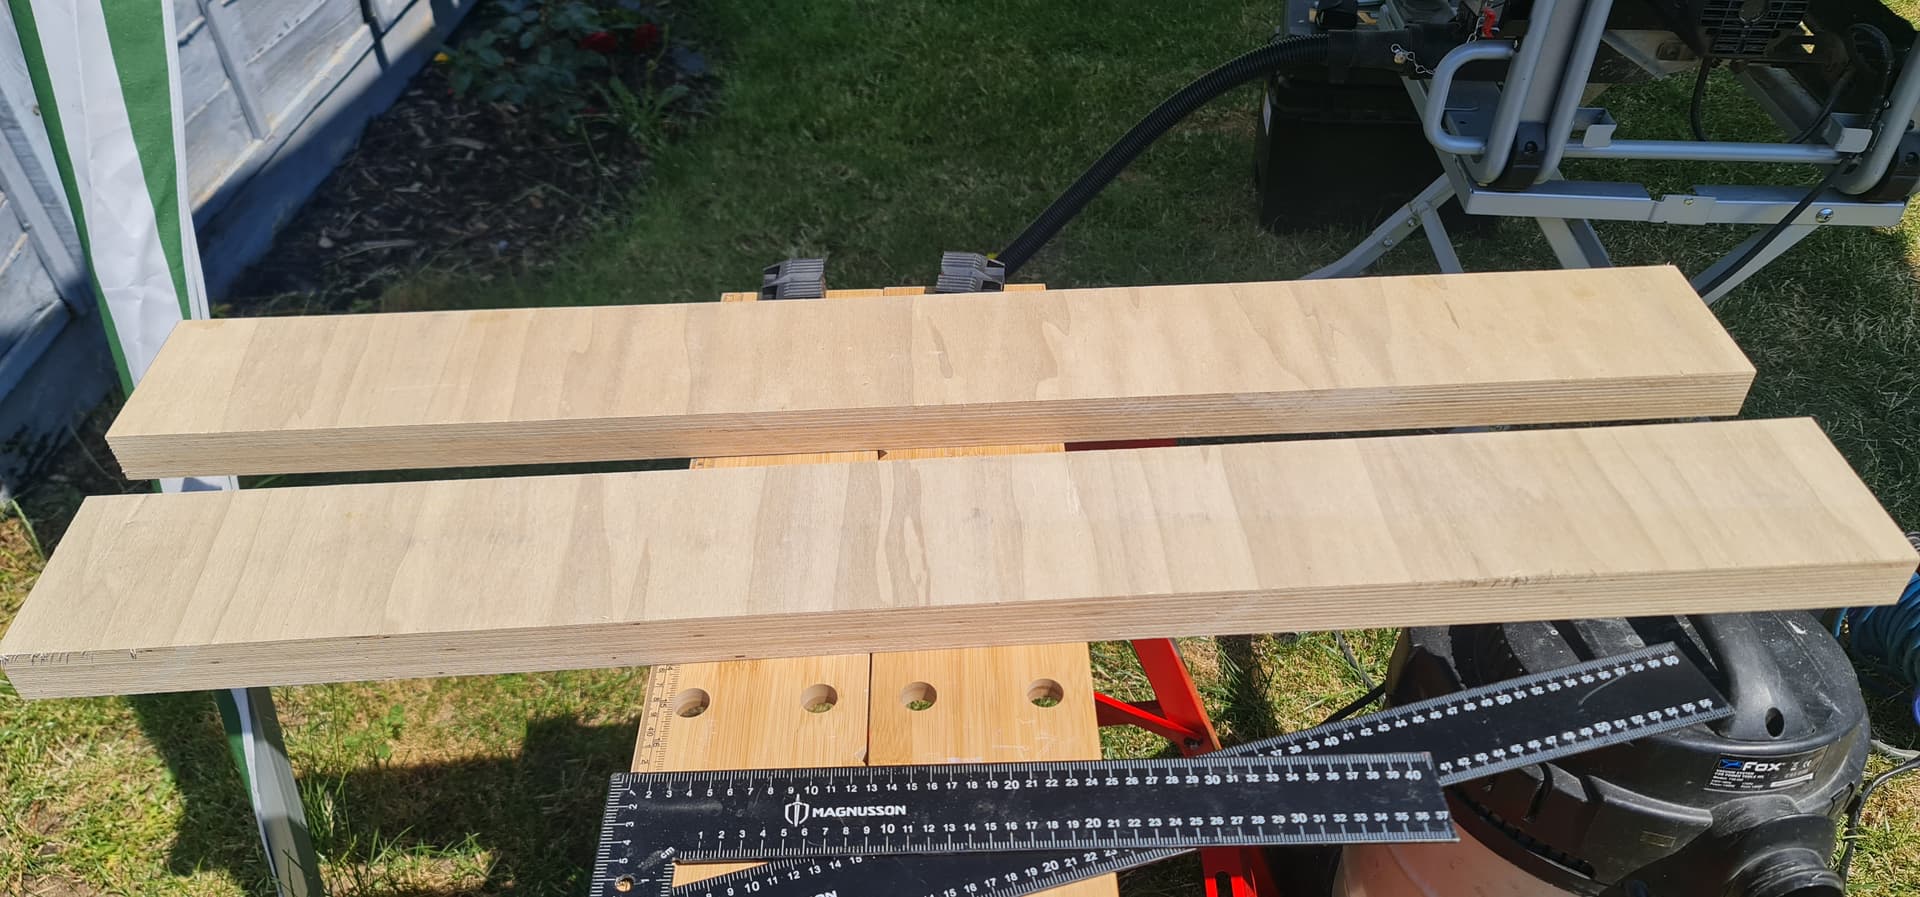
I’ve also set about making the pieces to close the cabinet ends off. 3 layers of 12 mm “Stretek” plywood laminated up and glued with Titebond 2. First two pieces clamped up:
Trimmed up on the tablesaw:
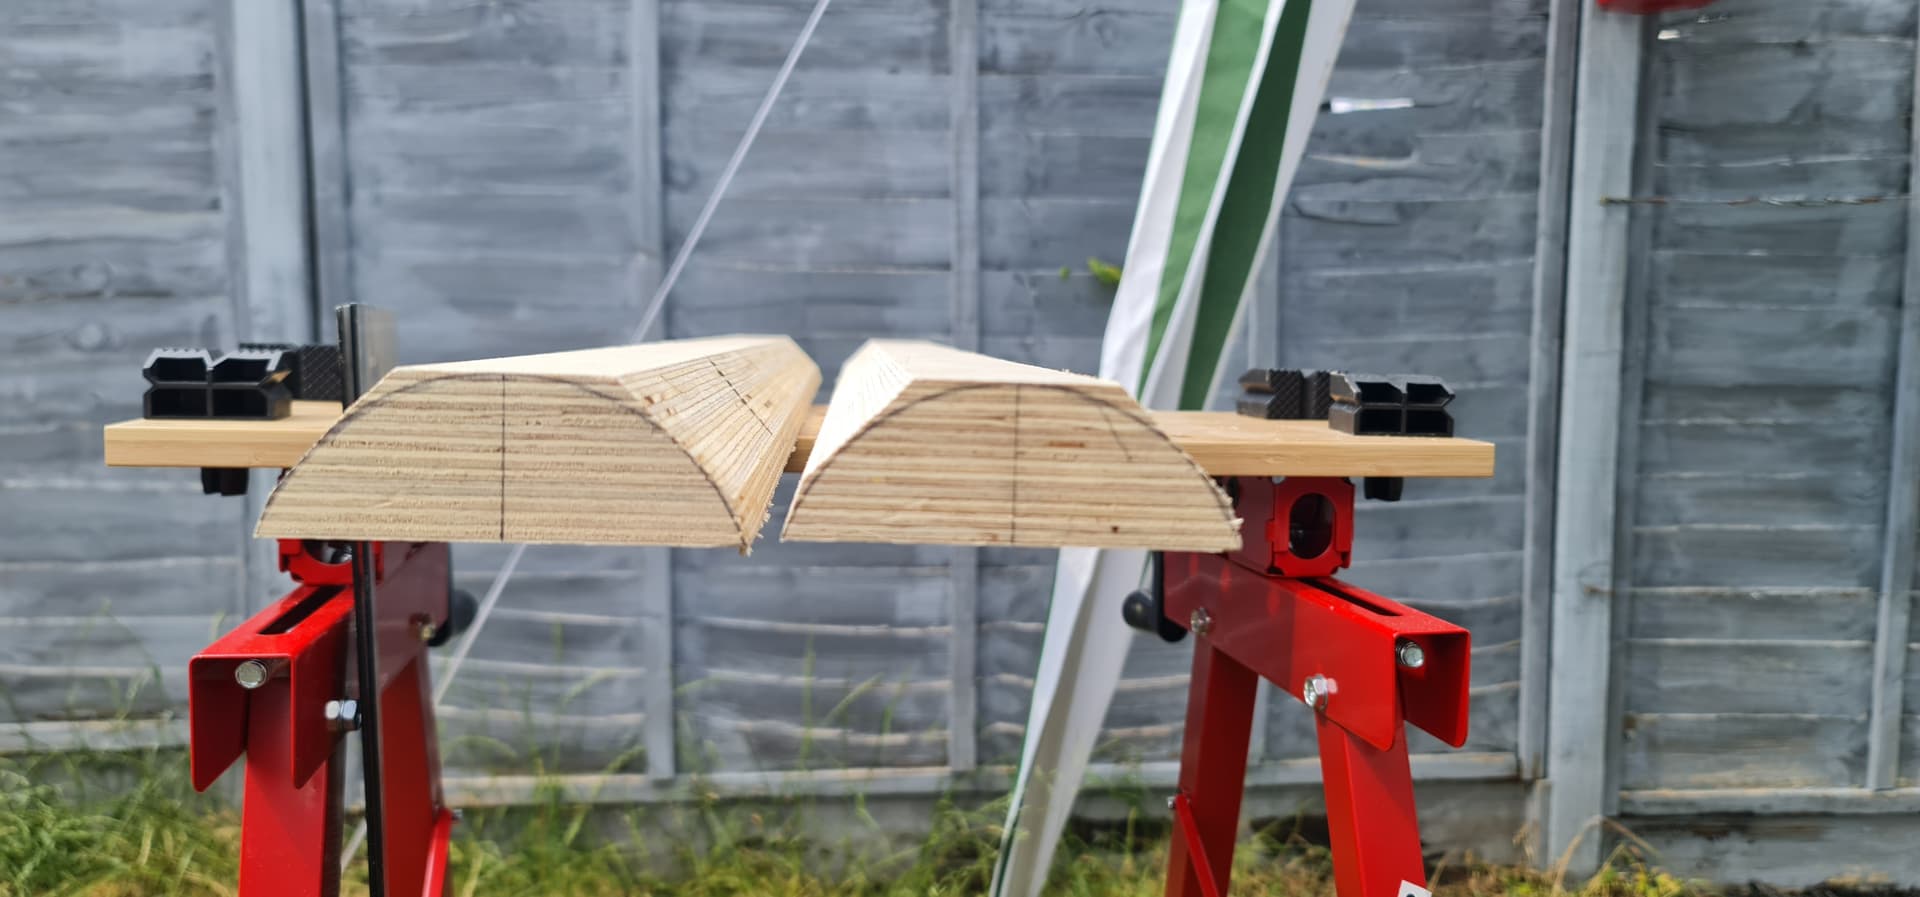
Curve marked out and a good few passes on the table saw:
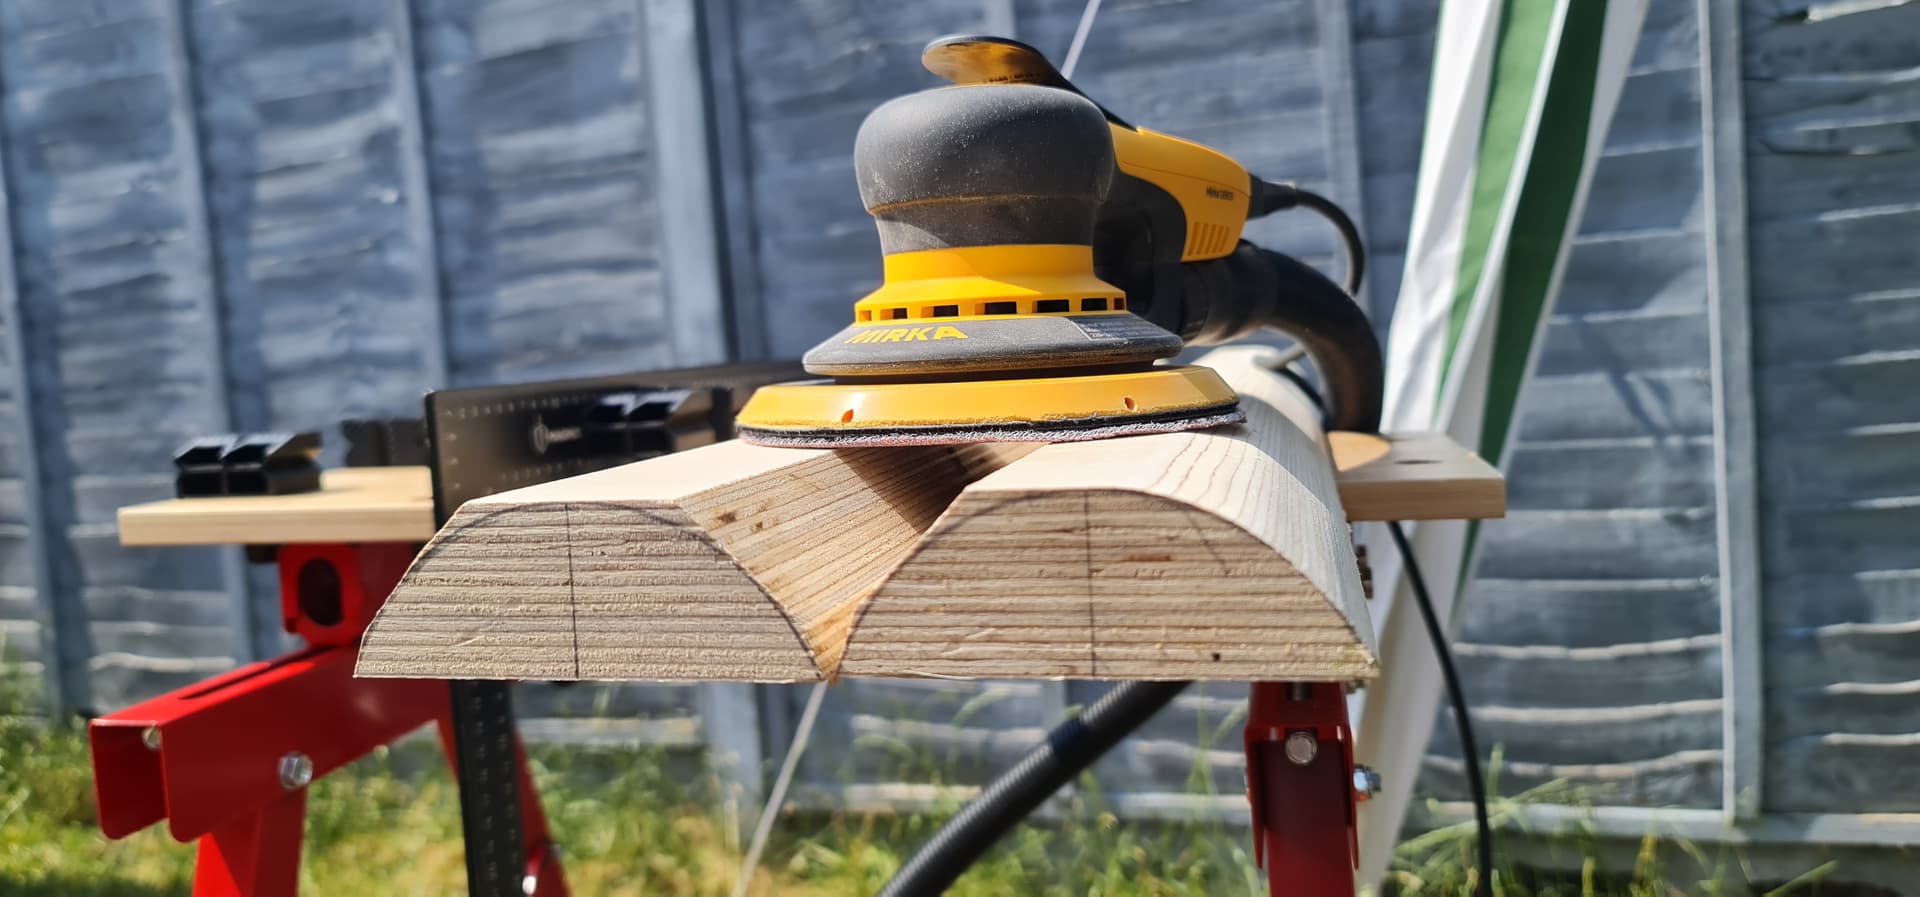
Ready to start sanding:
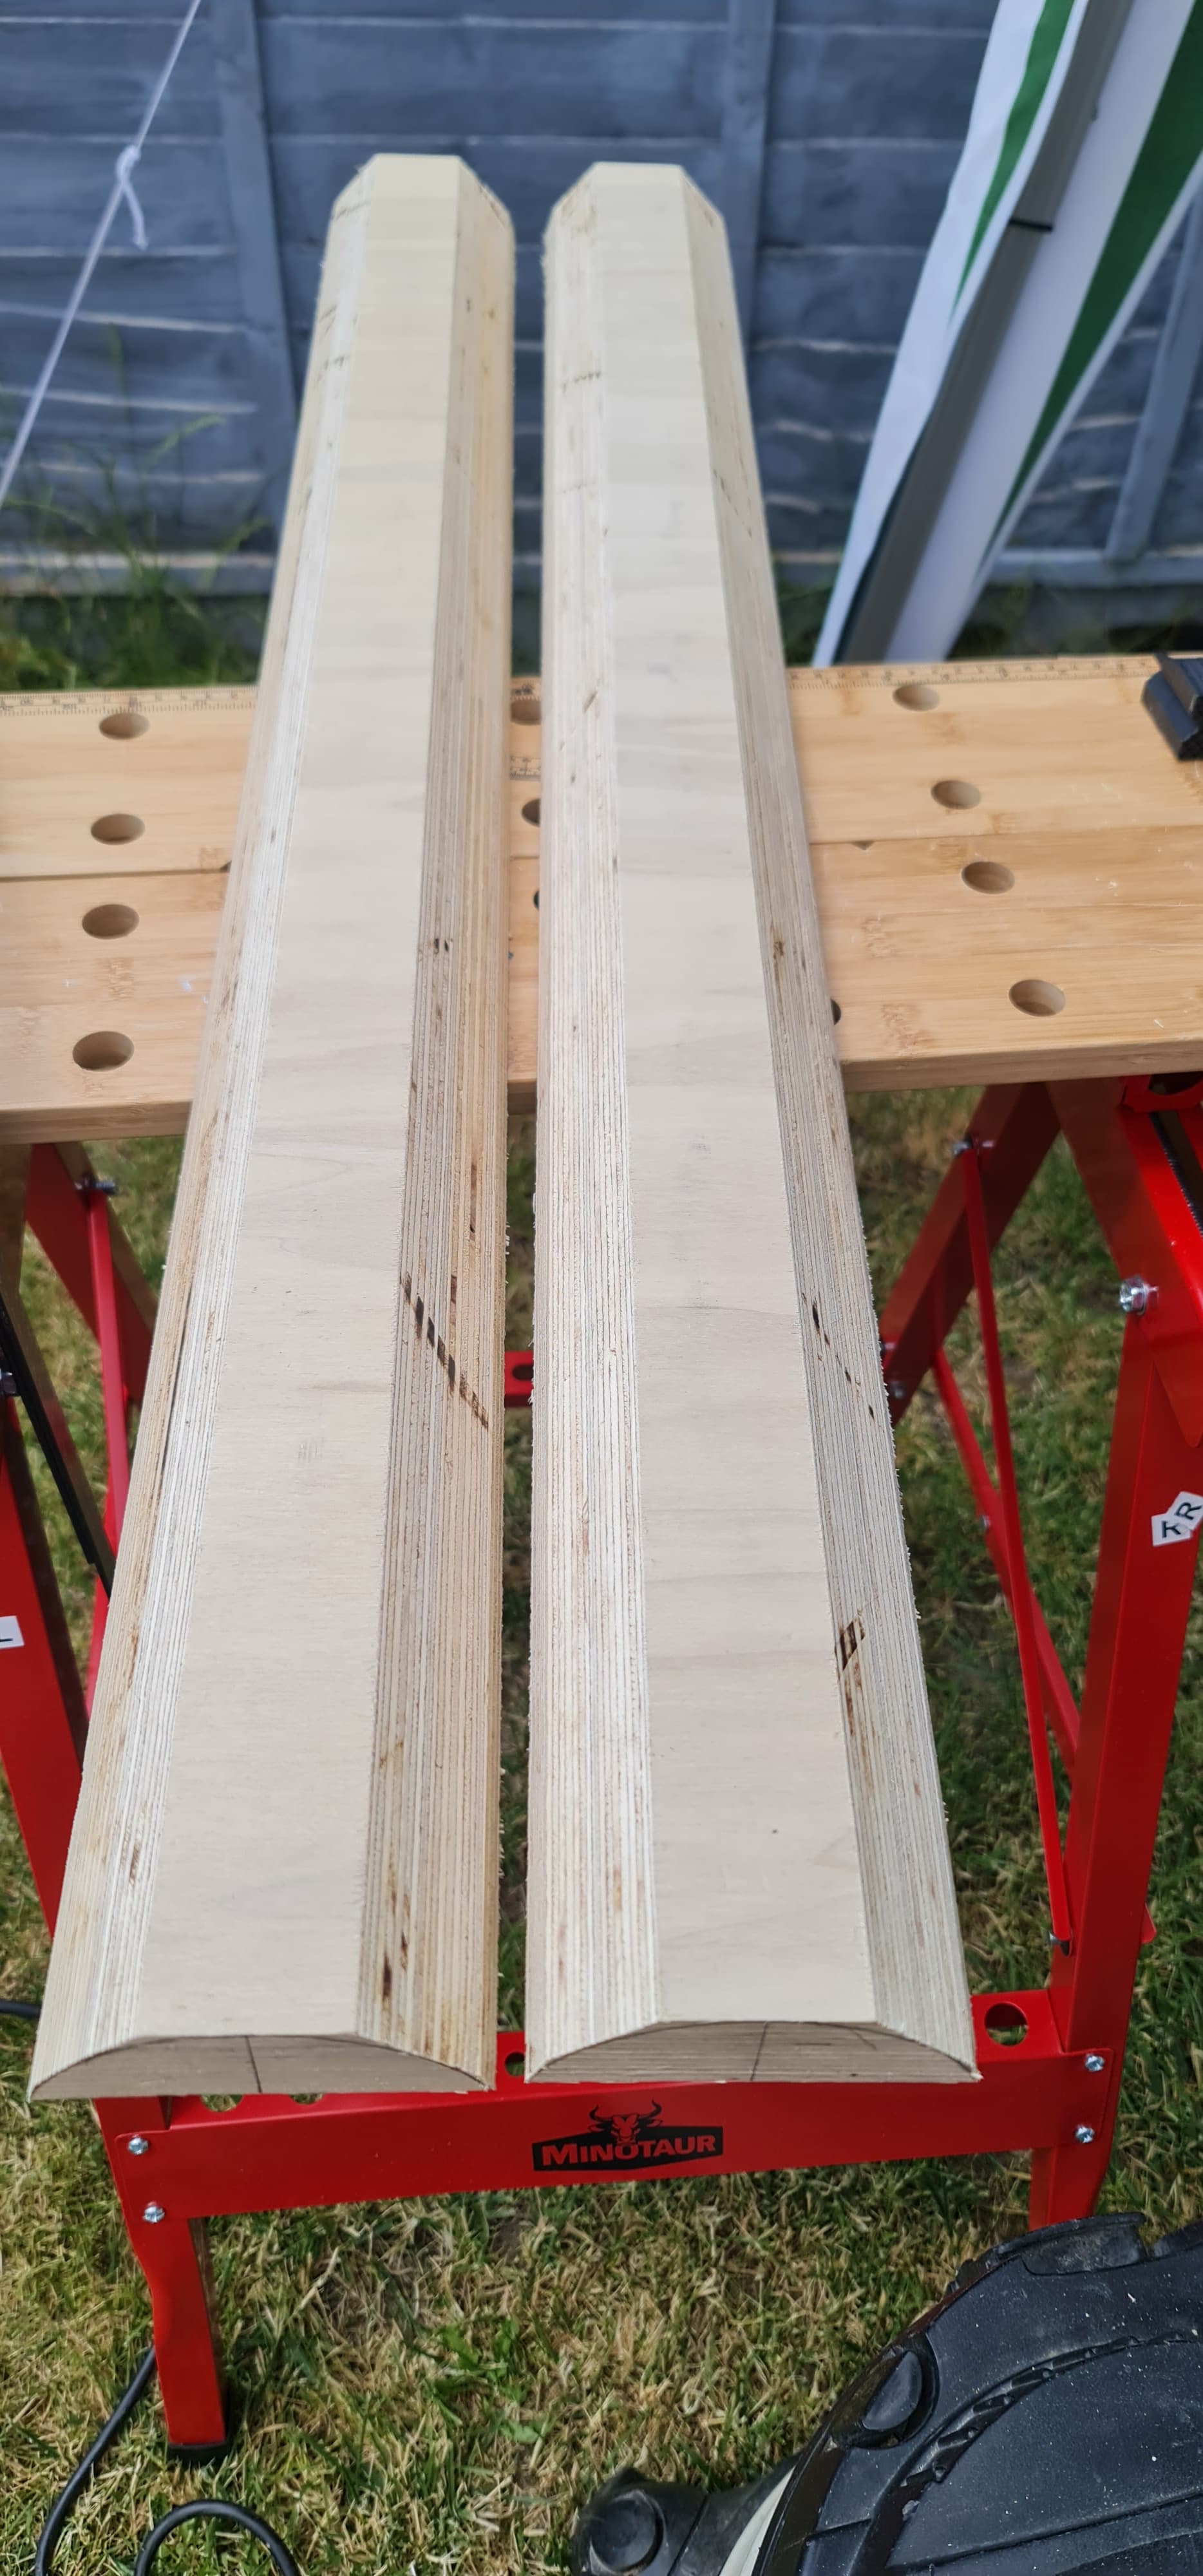
First curve taking shape:
I treated myself to a new sander in preparation for this project. A Mirka Deros 5650CV. Most expensive sander I’ve ever bought, but I suspect it’ll be the last one I’ll ever need to buy.
I’m thinking to add a strip of 3 mm aluminium between the cabinet and the ends. Rather than just big, black monoliths, the strip of Al might help to break up the outline a little.