Indeed! No matter the amount of thinking and planning that I put into the next steps, I invariably find that something doesn’t quite go as expected! That’s really not a bad thing. It accelerates learning and often leads to better and more efficient ways to do things.
I love to learn, but academia was very challenging for me. I always fared much better in subjects where there was a practical application, or even better if there was some “hands on” element to it.
Iterative learning on something with a practical output is very much my happy place.
I’ve also found that as my years have advanced, my patience has grown in proportion!
Maybe I’ll have to train him to fetch tools for me! He does check in on me regularly to see what I’m up to.
Friday, he had lots of walks, then tried to herd the lawnmower while I cut the grass, then he was 2 hours at the groomers (flirting with young ladies is hard work!), so he was zonked by the evening, Saturday was busy and today he hasn’t really rested either. I’ll have to drag him out of bed for his walk in the morning!
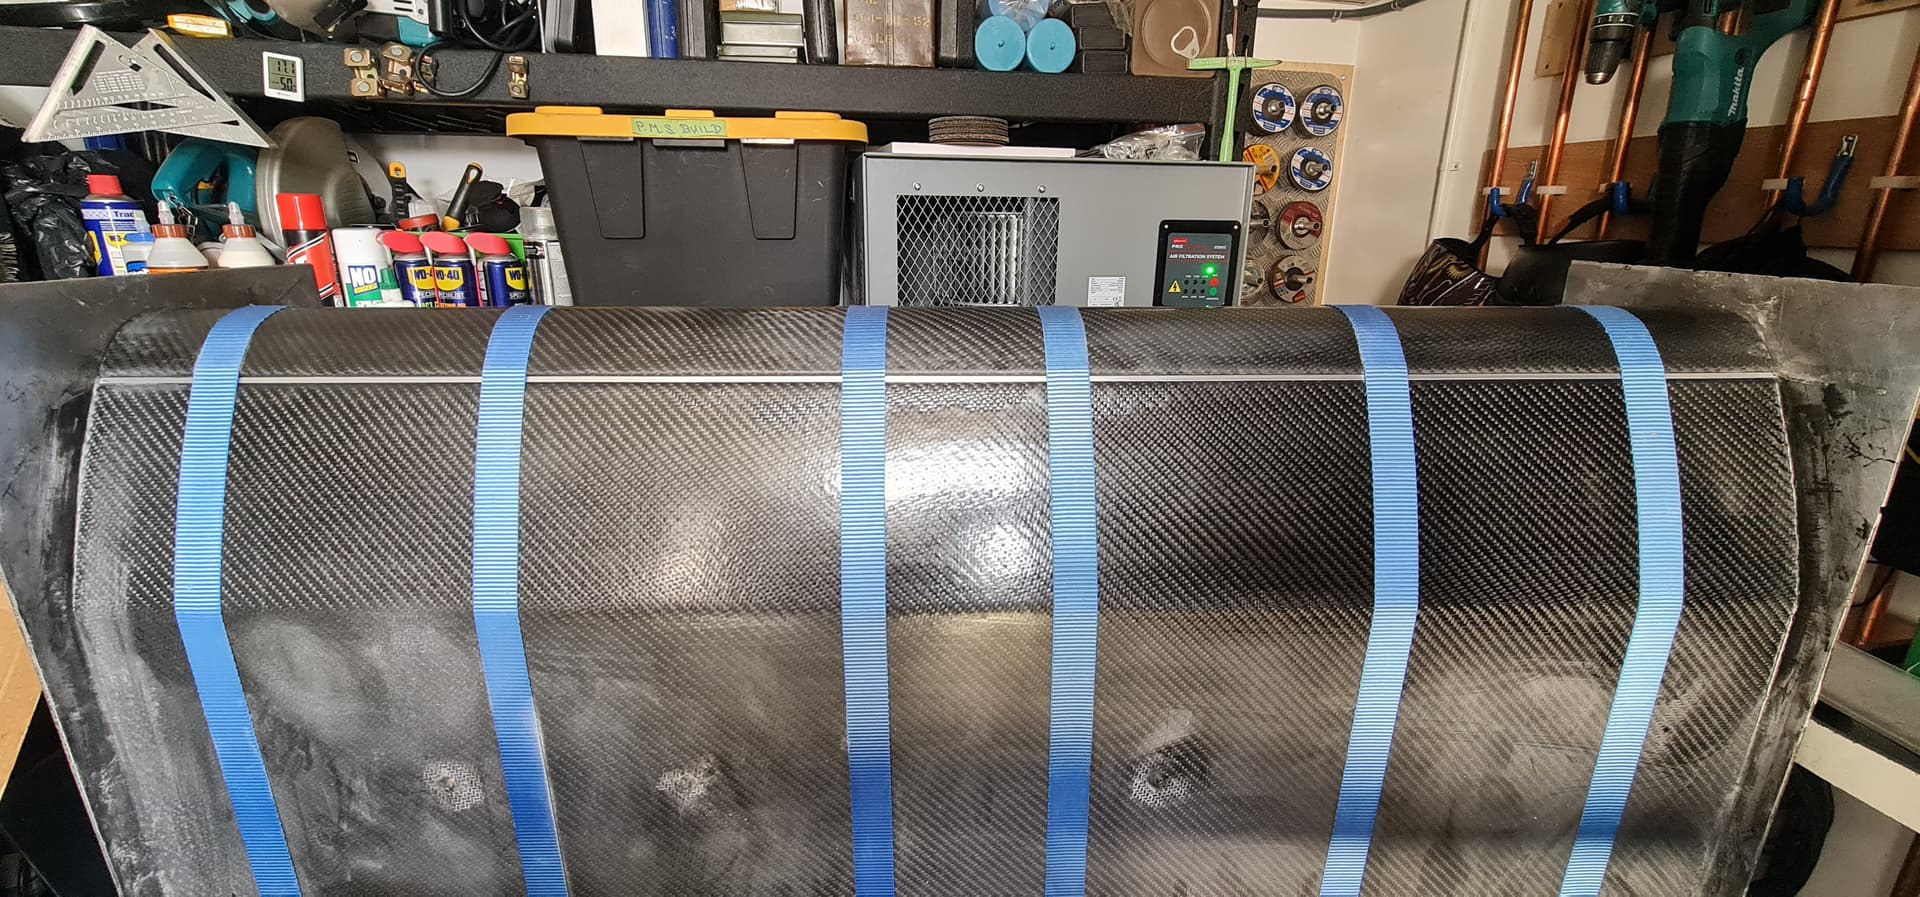
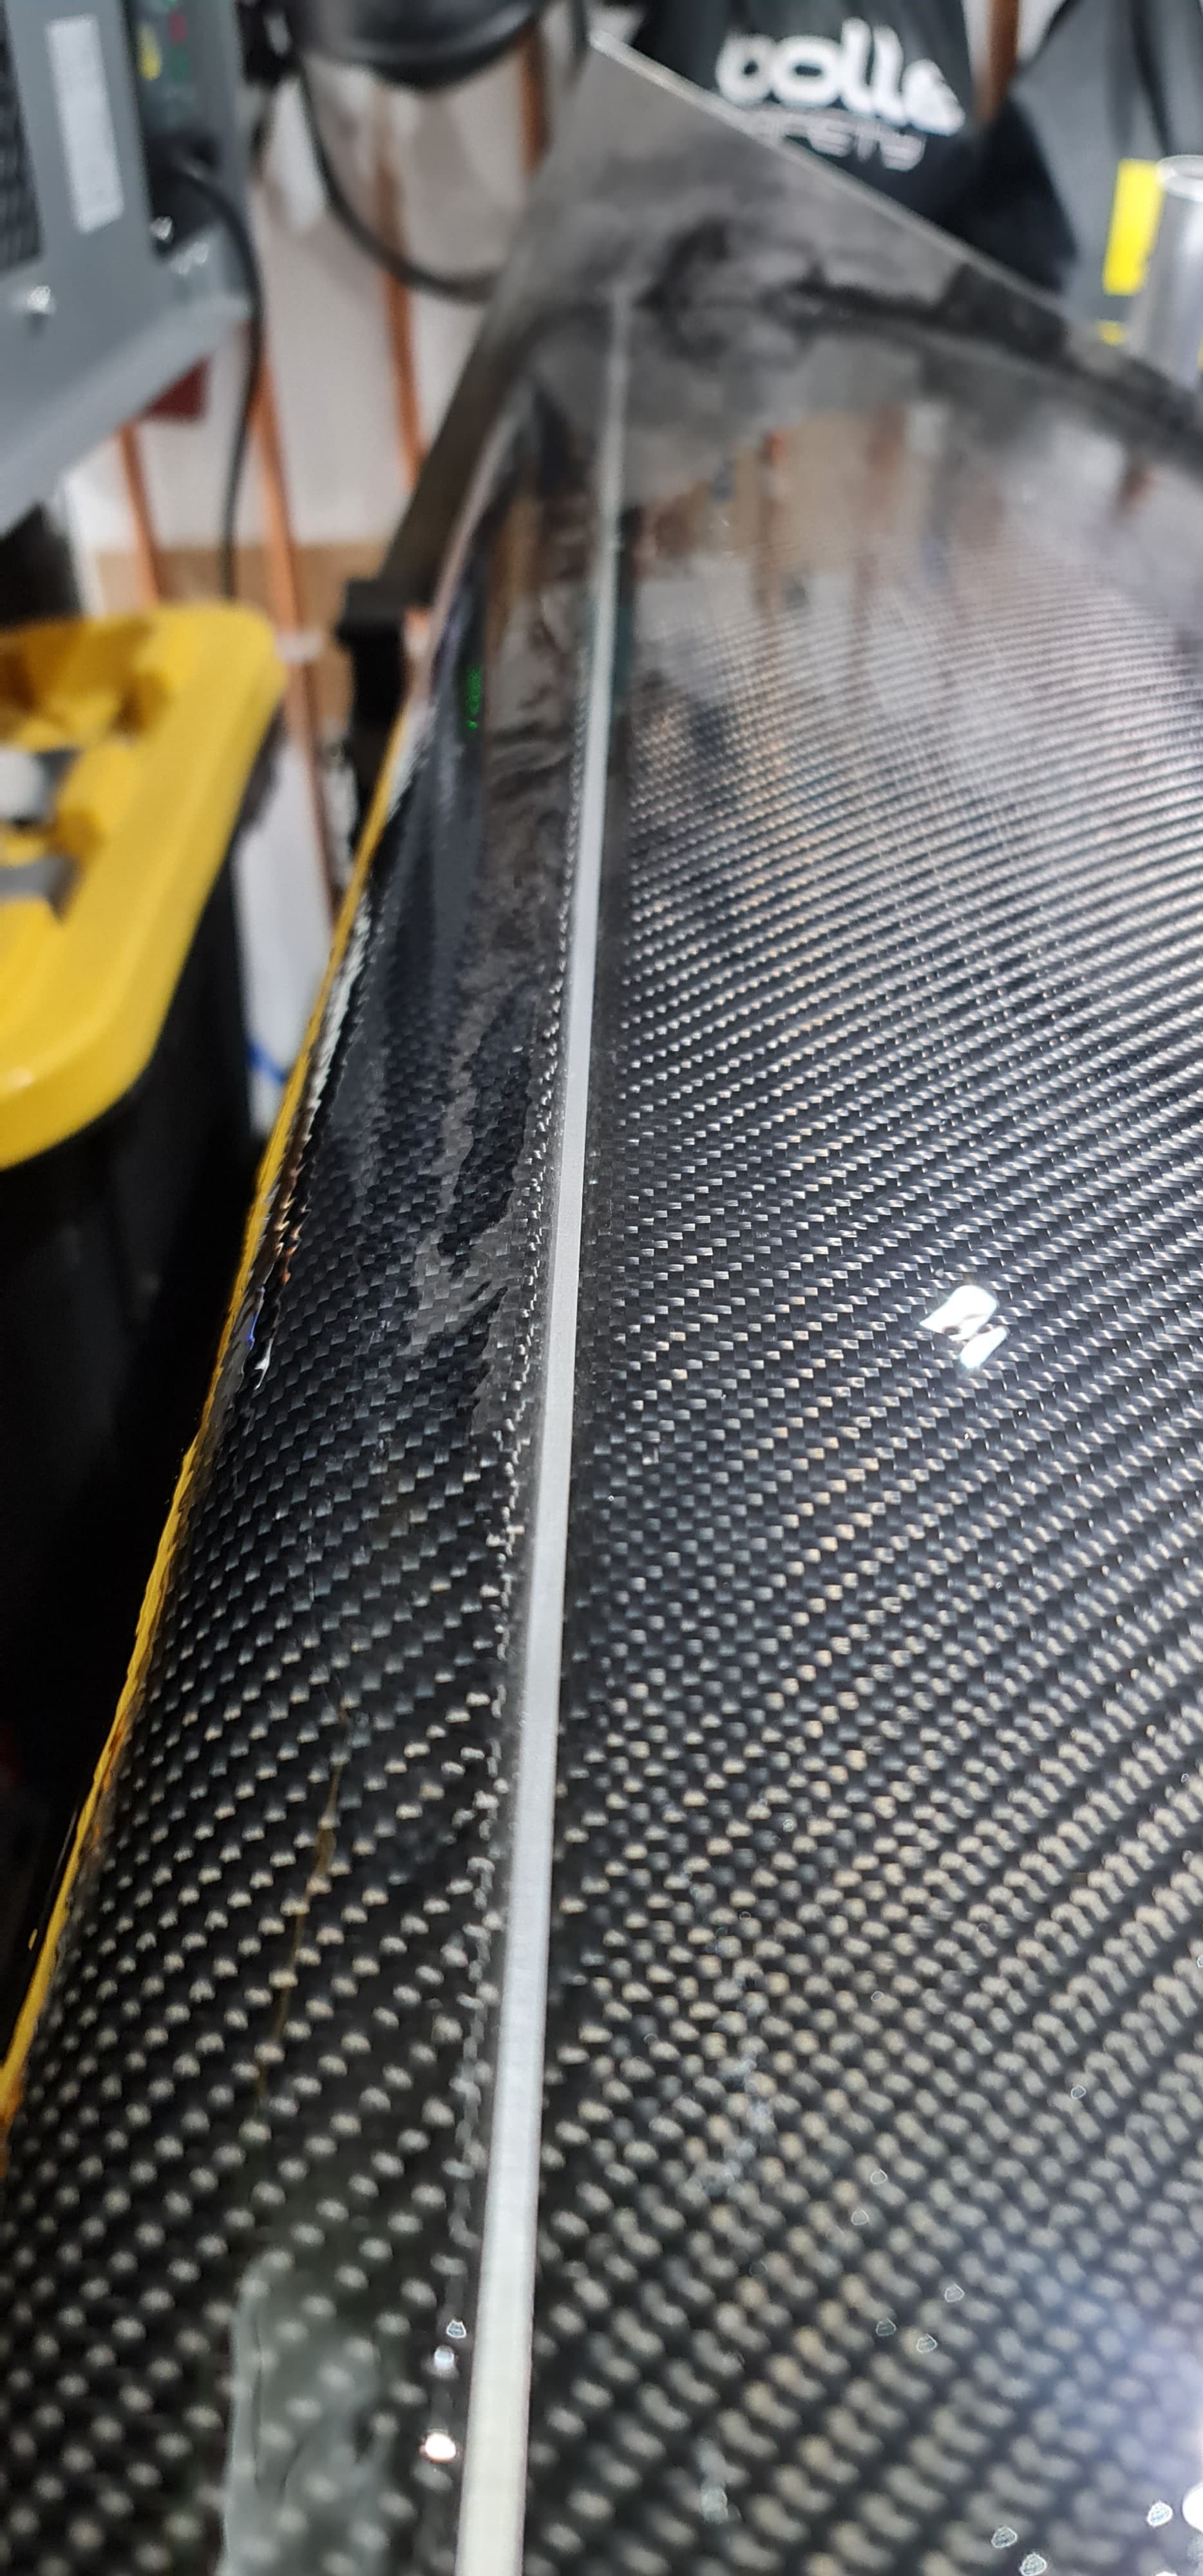
Back to work this week, so progress has slowed. The “wetting” coat has been applied to all of the first cabinet, allowed to cure and “keyed” with 120 grit. First aluminium insert and end cap in place:
After keying, degreasing and applying a substantial bead of Araldite Ultra, the aluminium was laid in place and then held down by 7 stainless steel screws. A further bead of Araldite was applied to the top of the aluminium insert and then the carbon-wrapped end cap was fitted with its locating pins and then clamped down with ratchet straps. I went with Ultra rather than Rapid as it has a longer open time to allow for positioning. The only downside is that it takes 8 hours to reach handleability and 14 hours to cure to full strength.
This task presented a bit of a challenge The edge of the aluminium is at an angle of 30° from the horizontal when the cabinet is laid down, so the cabinet needed to be tilted to 30°so that the resin fill would stay in place when it was poured.
The stainless plate is 600 mm wide, so needed a ~300 mm lift at one end (600 x sin(30°))
Turns out my axle stands are just about the right height. An offcut of 12 mm ply under the opposite corner got the perfect angle:
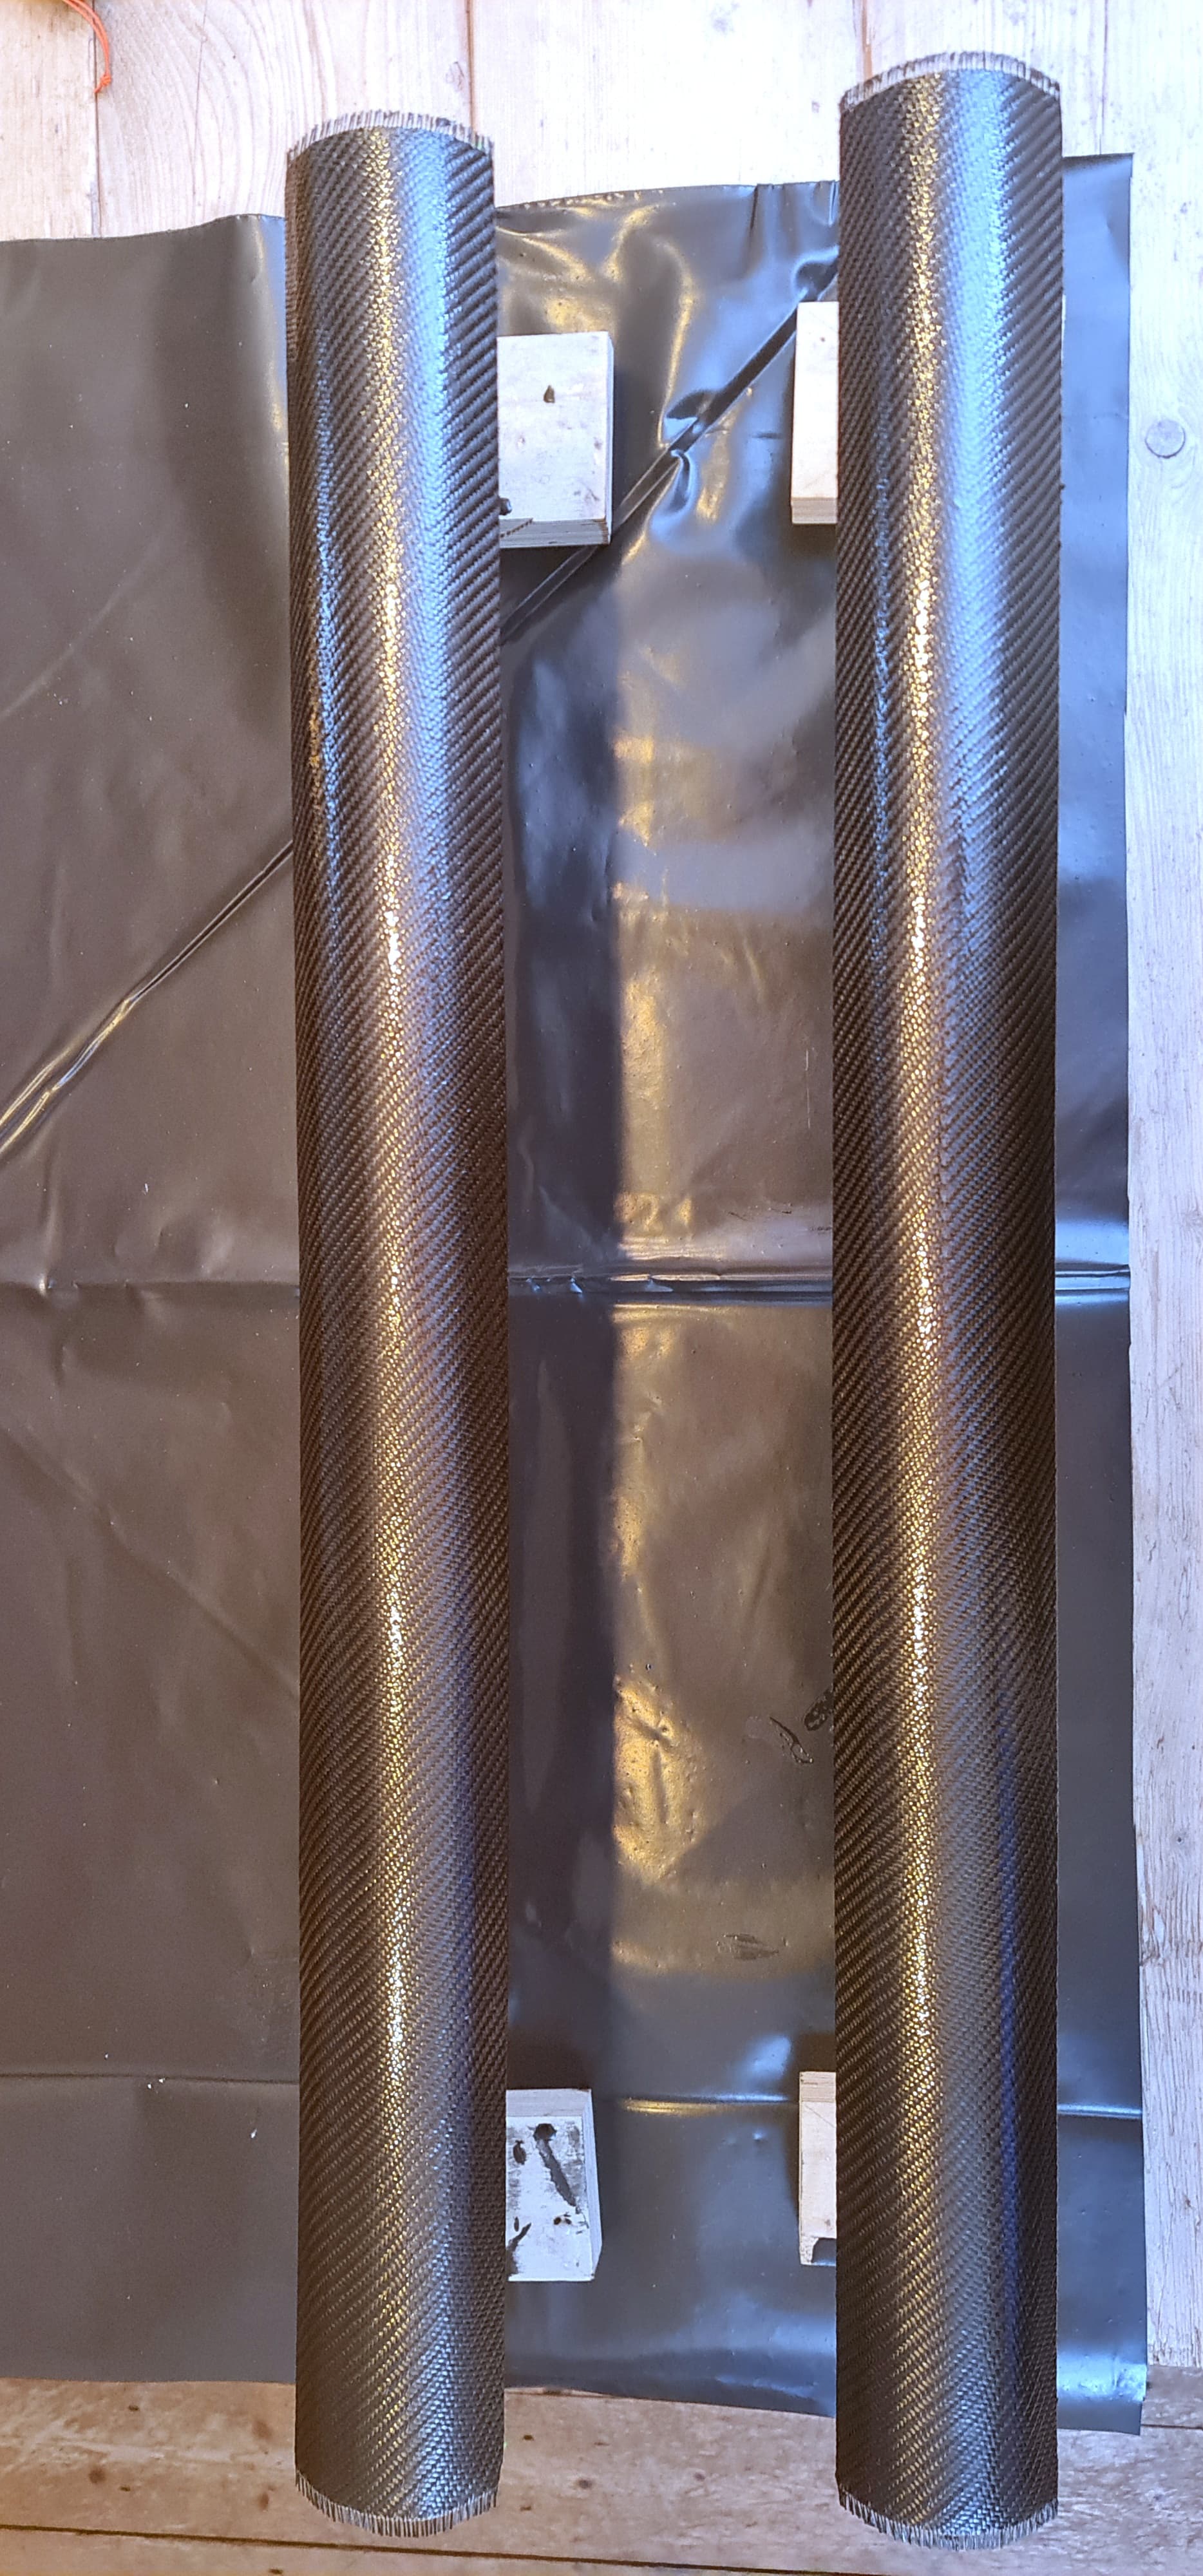
The second cabinet is also progressing. Base resin coat is on (it’s standing on it edge at the right of the photo above) and the end caps have their carbon wrap and wetting coat applied:
This saga of heroic DIY loudspeaker building with extreme attention to detail and execution somehow reminds me of the epic build documentation ‚The making of: The Two Towers (a 25 driver Full Range line array)‘ of user wesayso at diyAudio…
My hat‘s off to you, Graeme!
[quote=“Graeme_Finlayson, post:109, topic:242001, full:true”]
Back to work this week, so progress has slowed. The “wetting” coat has been applied to all of the first cabinet, allowed to cure and “keyed” with 120 grit. First aluminium insert and end cap in place:
I now have an appreciation of why the Sonus Faber Stradivari cost 40 grand. I reckon I’m about 300 hours into this project in practical time, let alone the thinking time in between!
Hi Douglas, how do you find the imaging/soundstage?
I’ve heard others say that wide baffles lack the pinpoint imaging of a narrow baffle, however, I’m also skeptical of some of these comments without knowing more about the room the speakers are in and whether it’s treated/DSP’d to maximise its potential.
Interestingly though, the designer did say “These speakers should have an Indian name and be called “Comes With a Room”, because this is what wide baffled speakers do. They kind of bring in their own room. There’s virtually no edge diffraction due to the wide baffle and the way these speakers recreate music in a room is special and to put it short: I like it! This project has turned out much better than expected and listening to a wide range of recordings, CDs and vinyl, I actually wonder if I should quit speaker building here. There’s something appealing about simplicity and this is an easy to build speaker”*
*except when you build it with constrained layer damping and wrap it in carbon fibre & stainless steel.
Update: after checking the resin post cure, there’s still an indentation, so my “angulation” wasn’t quite perfect. There are 8 to do across both cabinets, so a jig is in order. Watch this space - further updates tomorrow.
I‘d actually expect this to happen - gravity and cohesion force at work.
Gravity pulls the resin down the hill in the angled sections, which, due to cohesion force within the polymer layer, pulls it away also in the horizontal area.
Maybe book with Elon’s SpaceX for the job next time around and create the world‘s most expensive speaker!
But I‘m sure it‘s looking great anyway.



 The edge of the aluminium is at an angle of 30° from the horizontal when the cabinet is laid down, so the cabinet needed to be tilted to 30°so that the resin fill would stay in place when it was poured.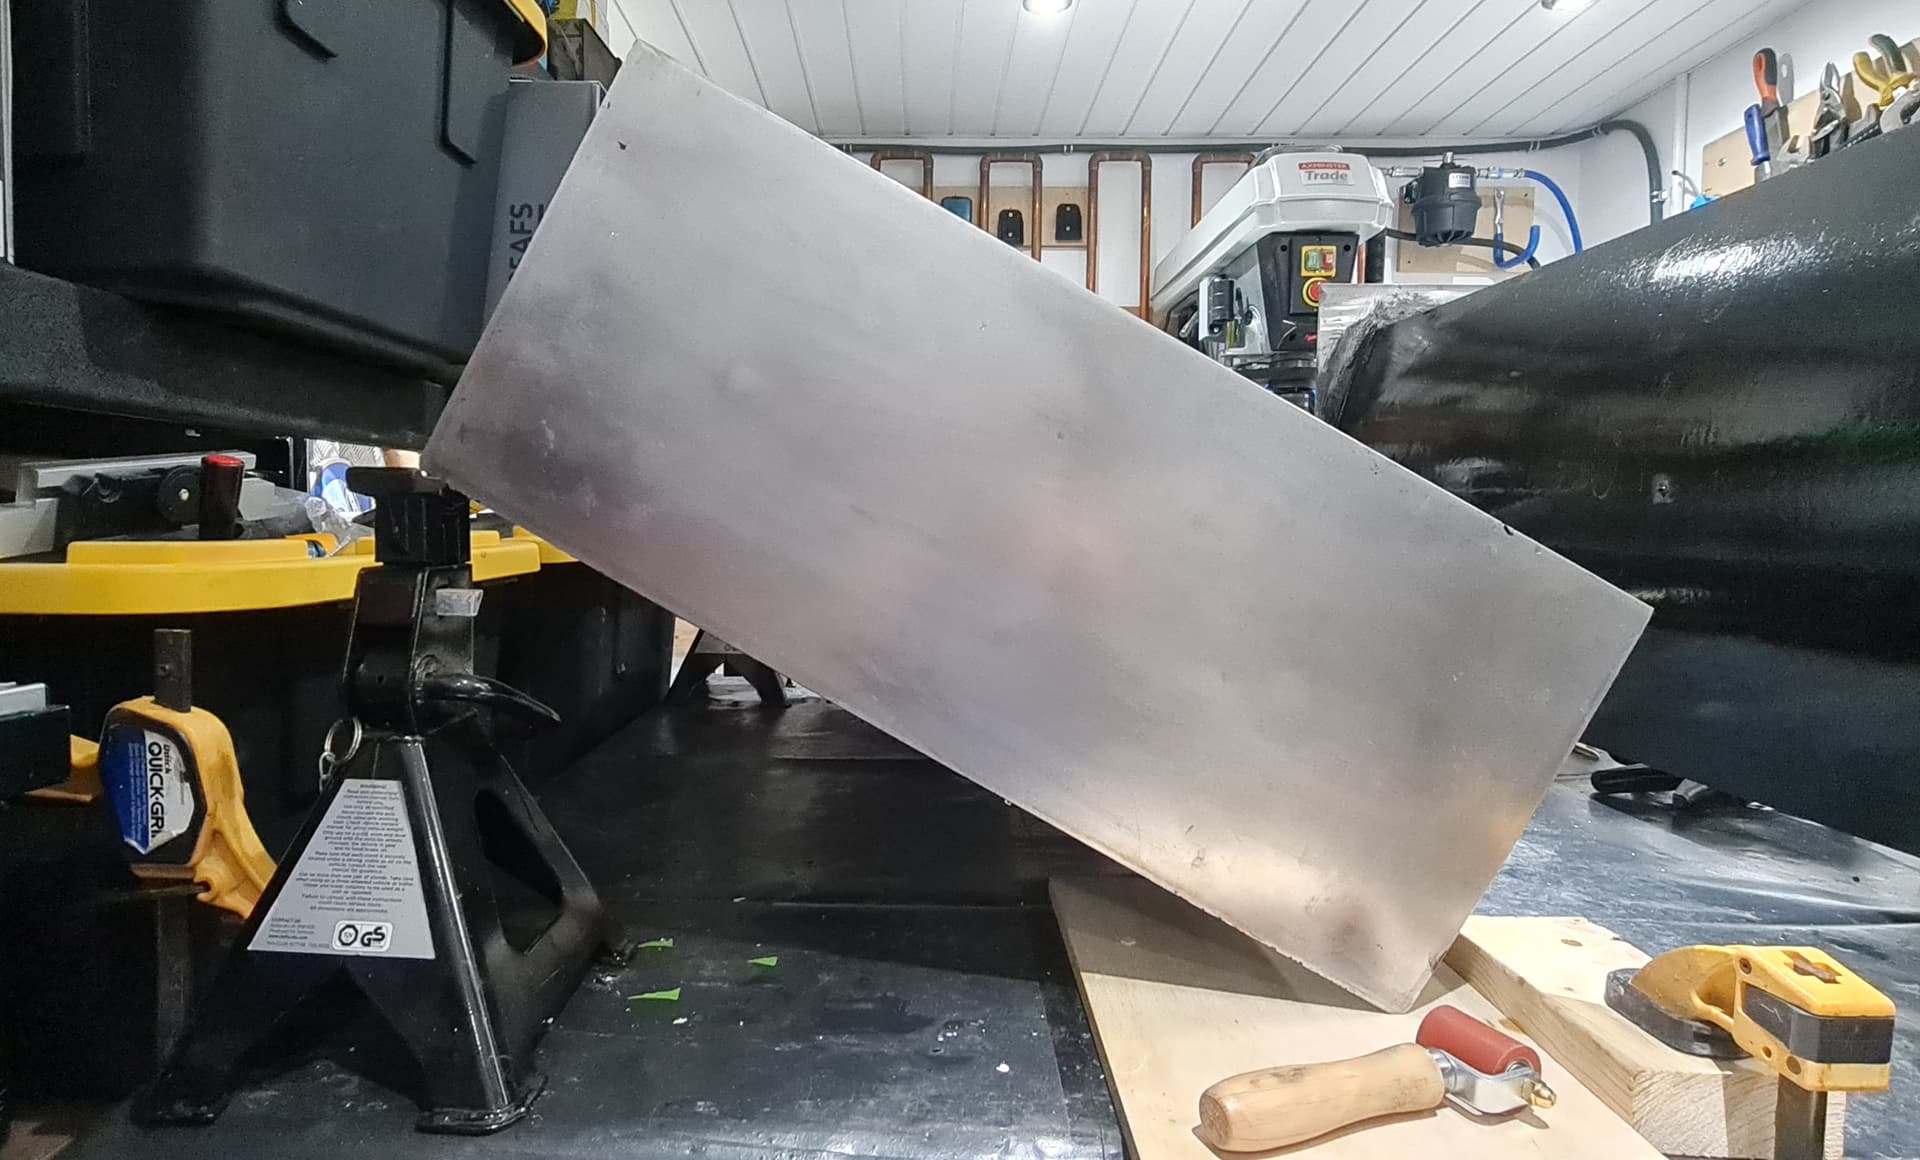
 Looking forward to see the end result. Amazing work you are doing.


