For years, the humble Raspberry Pi provided tinkerers with an inexpensive way to create great sounding Roon zones. Just flash a $10 microSD card with RoPieee, DietPi, VitOS or similar, pop it into a $35 RPi board, add power, and without much effort or expense, you had a new Roon zone. Connect virtually any USB DAC and it would show up in Roon. Such fun.
Sadly, at least in America, new RPi boards have not been officially sold to end users for 2+ years. OEMs can buy them for embedded projects and scalpers offer them for $100+ over the original prices. Because there’s been no (authorized) supply, I’ve been steering new Roon enthusiasts to the iFi ZEN Stream for endpoint needs. A fine product, but $399 is not affordable to everyone.
However, I have great news!
I’ve found an inexpensive board that is well-made and works beautifully with Roon. How much? How does $30 sound? What’s the catch? Well, there’s no on-board Wi-Fi or Bluetooth, but we never needed Bluetooth anyway, and Wi-Fi is easy to add with an inexpensive Wi-Fi dongle if you can’t run an Ethernet cable (wired is preferred for Roon).
HOW TO GET STARTED
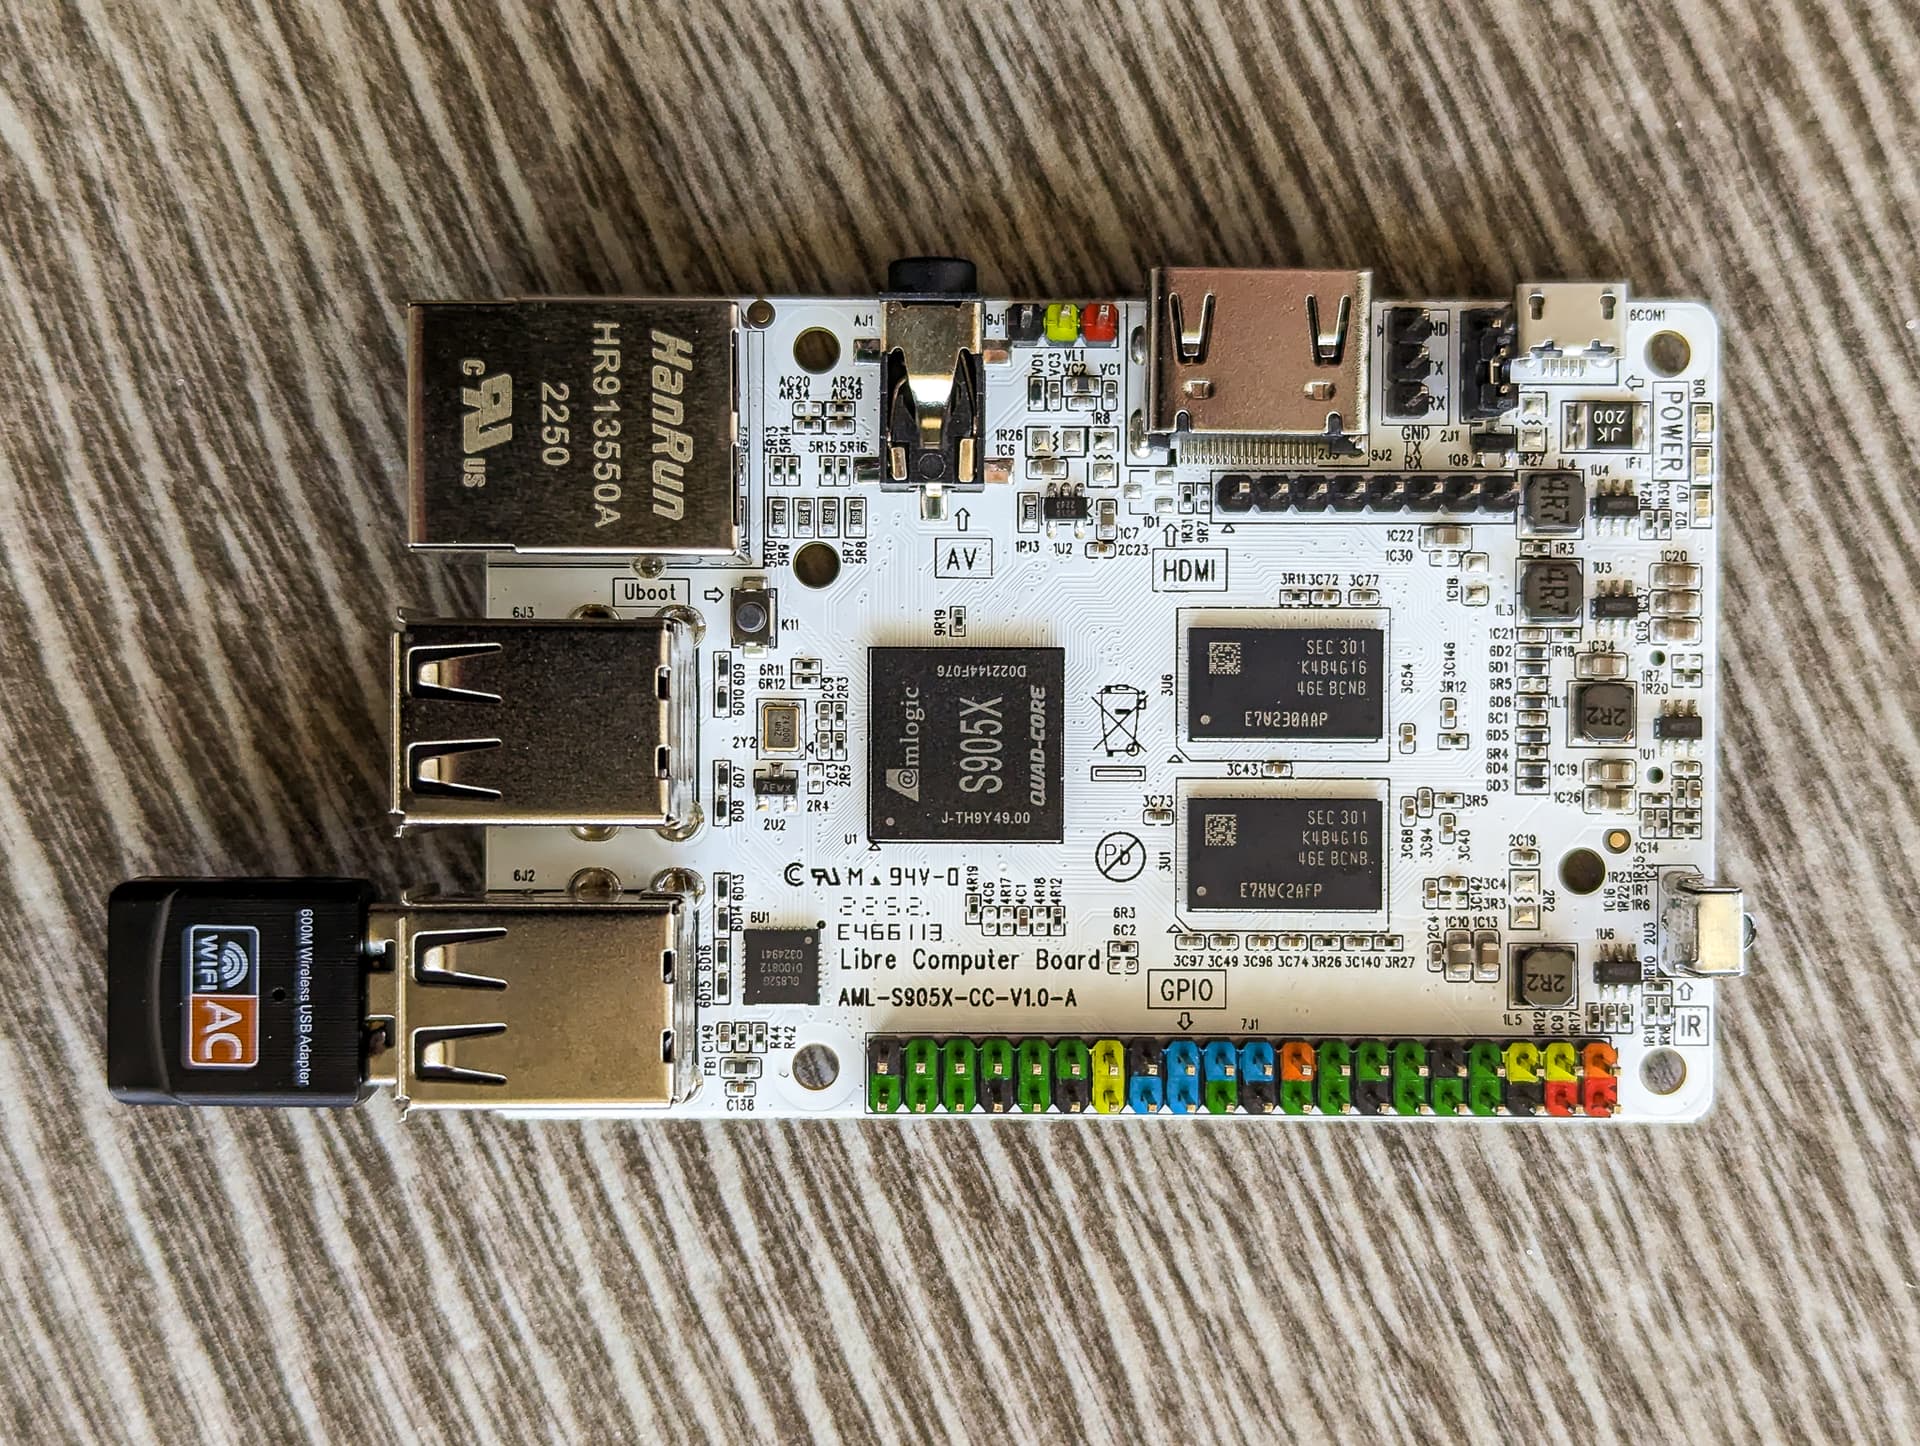
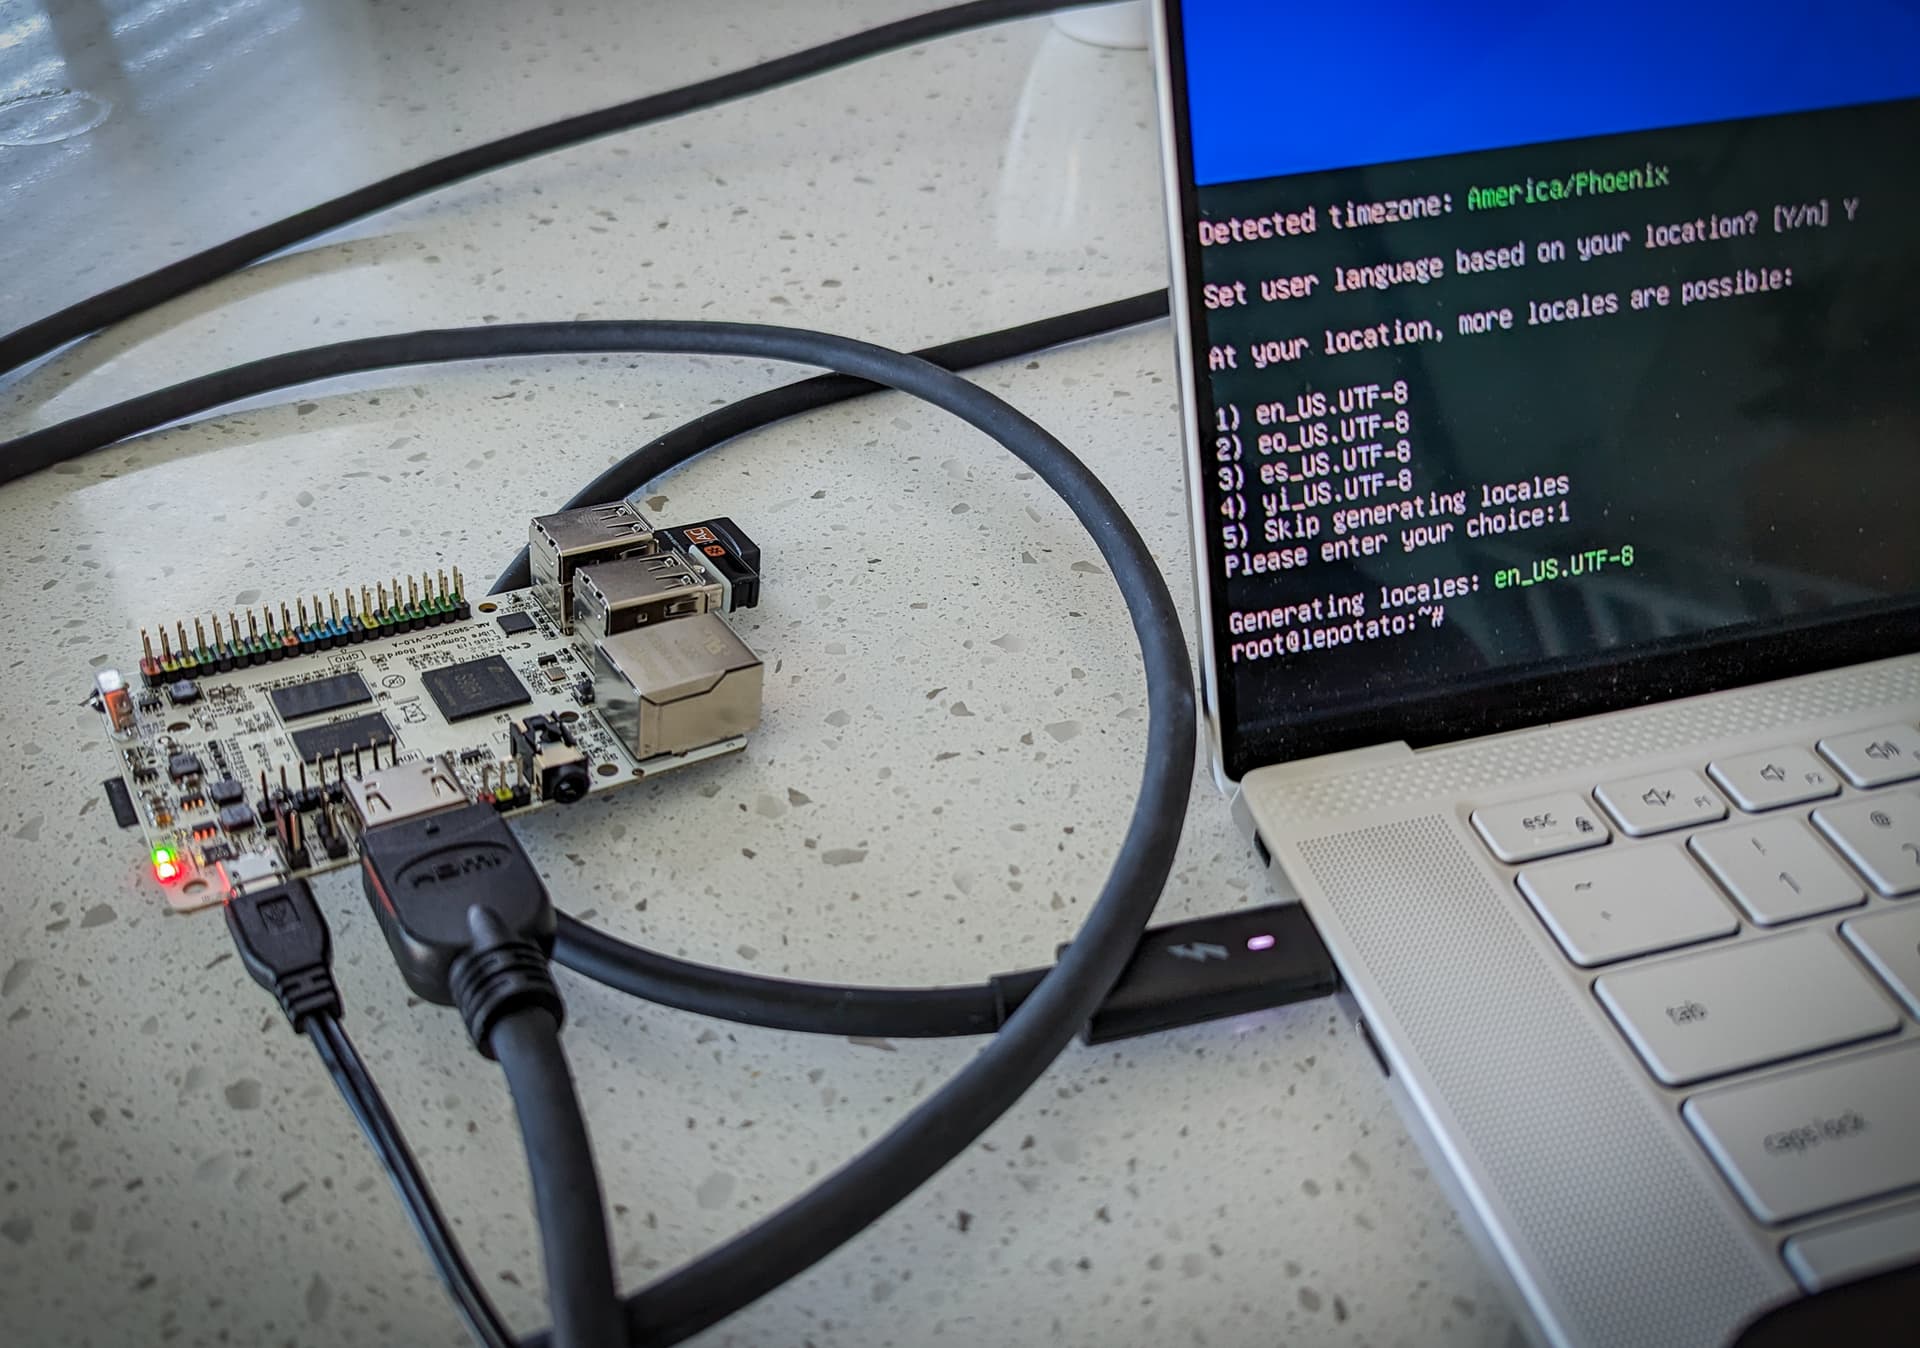
The solution is built around the $30 AML-S905X-CC (Le Potato) board from Libre Computer. The 1 GB version is more than enough for Roon, but $5 more gets you 2 GB of RAM for a bit of future-proofing, if that’s your thing. You’ll need a similar set of other inexpensive bits to what you’d use for RPi projects:
- Storage (microSD or eMMC flash, 16 GB is plenty)
- Power supply (5V, 3A microUSB)
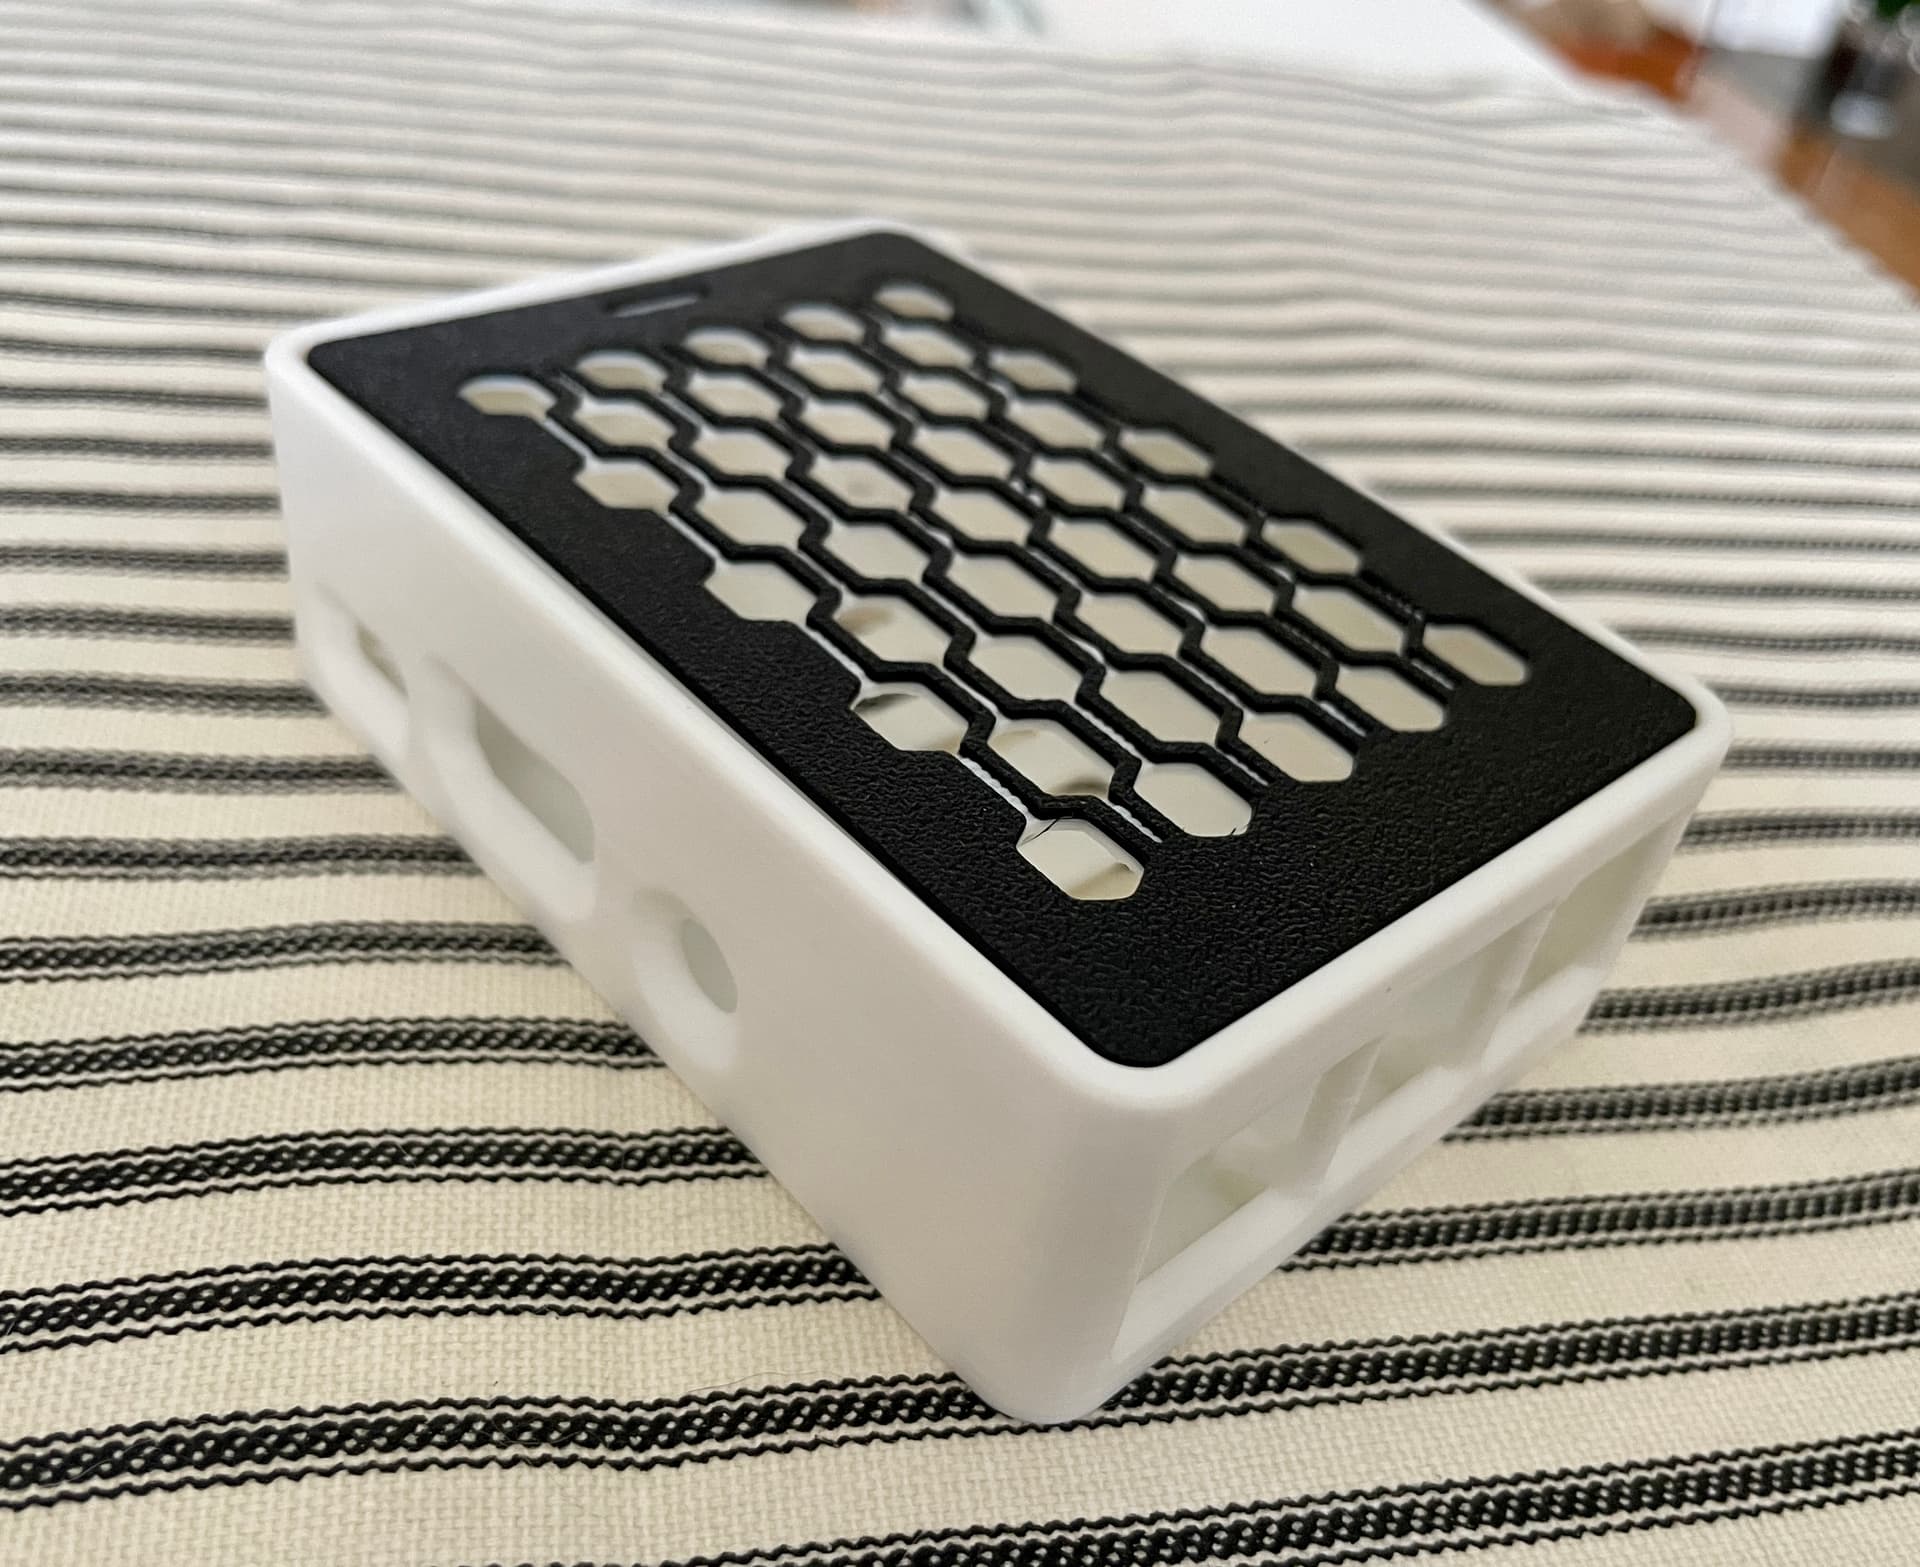
- Case (compatible with Raspberry Pi 2/3 Model B/B+ cases)
- Wi-Fi dongle (optional, stick with Realtek RTL8811CU Chipset)
Total cost will be $45 to $75, depending on how fancy you decide to go with your selections.
SOFTWARE
The Libre Le Potato board can run several different operating systems, but I selected Armbian since it appeared to be the most current. You’ll find links to all of this on the https://libre.computer/ website. On Windows, I used 7-Zip to uncompress the Armbian image and Belina Etcher to flash it to a microSD card. For initial setup, I connected an HDMI monitor (virtually any modern TV will work) and a USB keyboard.
A few minutes after applying power, I was greeted with a few simple prompts, and shortly after that, I could see the Armbian system on my home network. Once I had the IP address (run the ip a command locally if you don’t see it), I could connect over the network using SSH from any Windows or Mac terminal window. Once I was logged in, I ran sudo apt-get update; sudo apt-get upgrade to bring things current.
I next went over to Roon’s Downloads page and clicked the Linux link under “Roon Bridge”. That took me to information about Roon’s Easy Installer. The Roon Bridge (armv8) image is the one you want. To download it, I right-clicked on link to copy the link address and then went back to the terminal window where I had SSH’ed into the Libre Computer system. There, I typed this command to download the image:
curl -LO https://download.roonlabs.net/builds/roonbridge-installer-linuxarmv8.sh
Once the download finished, I ran the Roon Bridge installer with this command:
sudo bash roonbridge-installer-linuxarmv8.sh
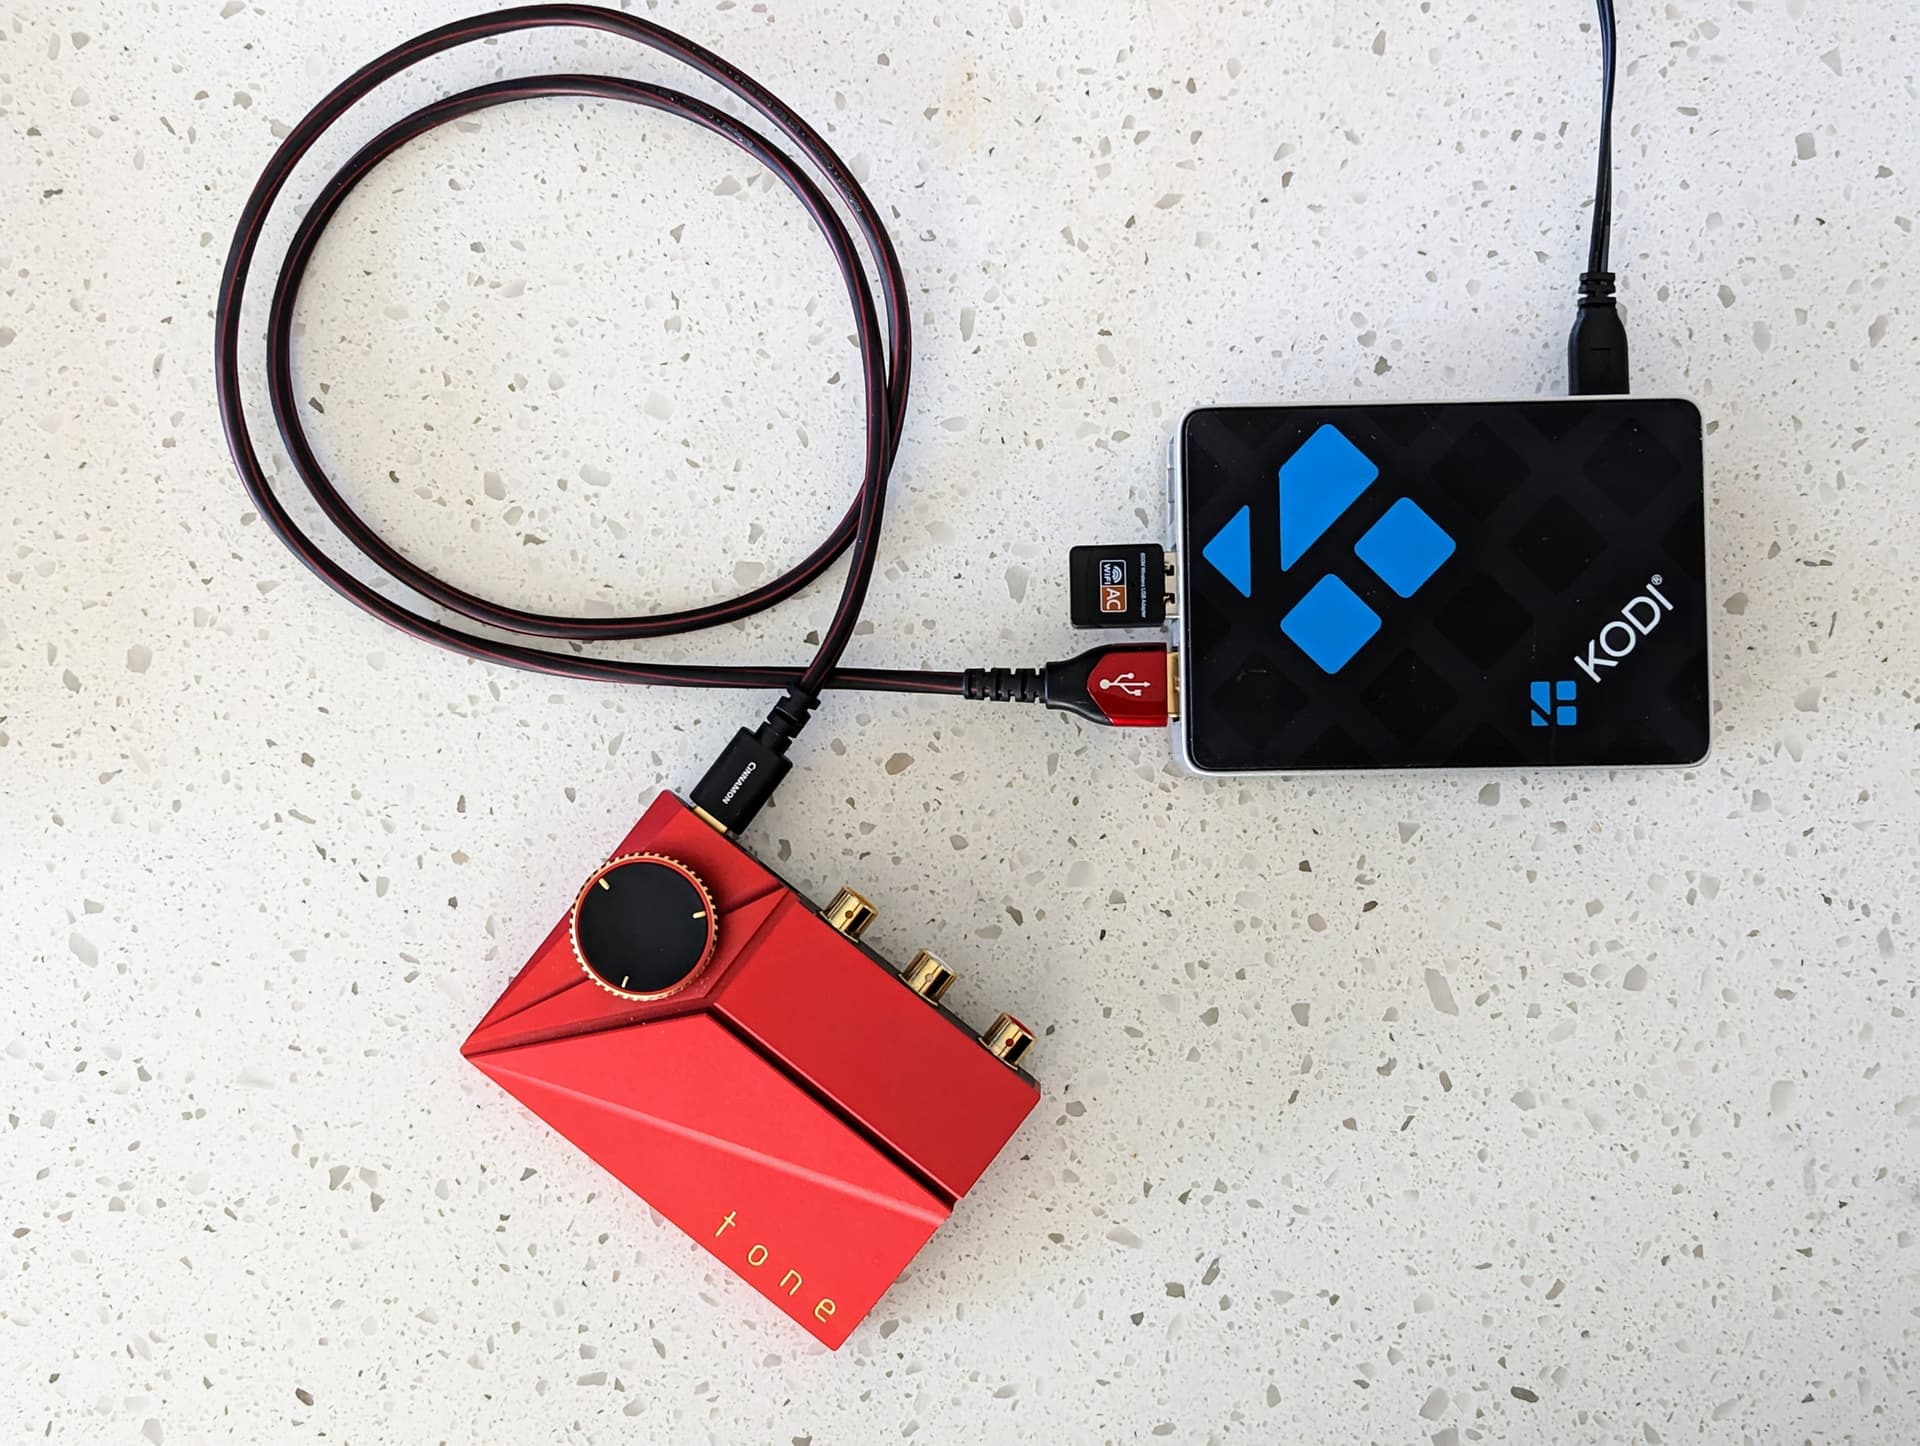
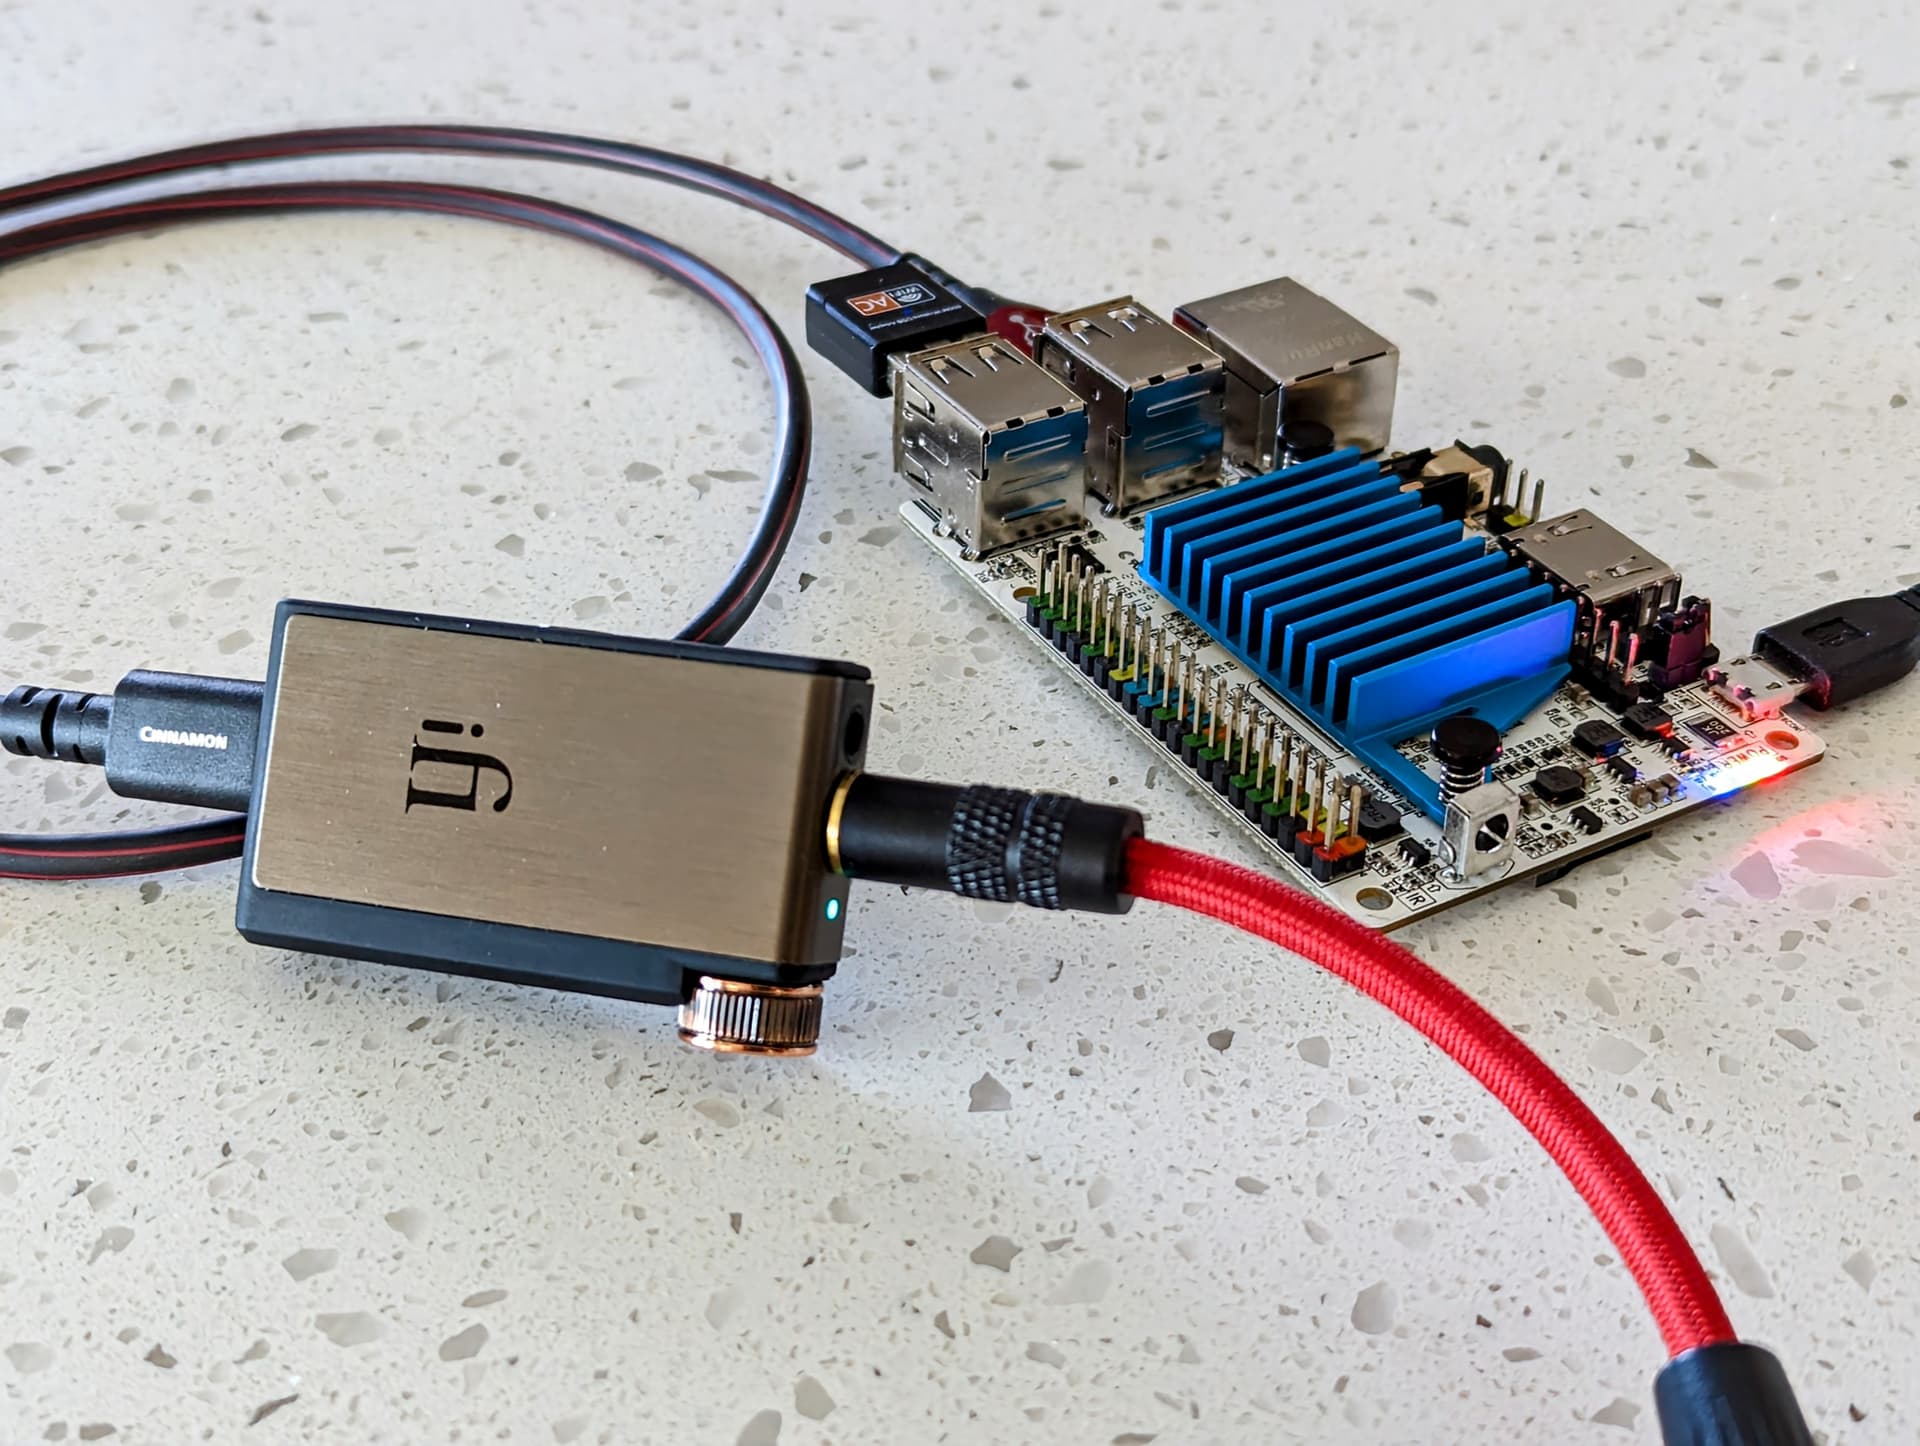
And, moments after that, Roon Bridge was up and running. As soon as I connected a USB DAC to the Libre board, I saw it show up under the Audio tab in Roon Settings. So cool! And much easier than DietPi. Enabled the new zone, and I had music playing seconds later.
I’ve tested this setup playing DSD256 and 32-bit, 768 kHz PCM over Wi-Fi (using this dongle: www.amazon.com/dp/B078NRDTYK) with zero dropouts. The CPU on the little board was 94-95% idle, even at these high sample rates.
I’ve not done a thorough evaluation of sound quality, but it sounds great running my Khadas Tone2 Pro DAC and Focal Radiance headphones. I’ll do a direct comparison with the ZEN Stream and also try a few DAC HATs from Orchard Audio and HiFiBerry. So far, I could not be happier!
Edit: I should add that I have not attempted to boot RoPieee/RopieeeXL or any of the rooExtend images. I assume that they will not work, but if I get around to giving these a try anyway, I’ll report back here. Please share your results if you are curious enough to test. ![]()
Edit 2: Here’s a parts list with my comments to help folks get started.