Background
QNAP have their own custom ROM and the OS Linux is non-standard, which leads to issues when trying to install software outside of the .qkpg environment - including things such as Roon Extension Manager (REM).
Fortunately, recent QNAPs ship with a package called Container Station. This allows creation and editing of “Docker Containers”. For the layperson such as myself, you can think of them as very flexible and lightweight virtual machines that can run individual apps alongside but outside of your core OS.
Unfortunately, I don’t know how to create and publish Docker containers. Somebody may well come along and optimise this, but I’ll give you a guide to downloading a “vanilla” container and the steps to configure it and install REM.
The How To:
- If you haven’t already, go ahead and install Container Station from QNAP’s AppCenter.
- Open Container Station and on the left hand side in the Management tab, click Create
- In the search box, type “ubuntu” and you’ll see this
Make sure it’s this one. Don’t go for any other version, for example the LXC version. - Click Create.
- Now we’ll get a pop-up where we need to do our first bit of config. Click on Advanced Settings and navigate to the Network tab.
- Change the Network Mode dropdown to Host. That’s all the config we need to do here so go ahead and click Create again. After you have done that we’ll have a Docker container running a vanilla and very stripped down Linux ready to go!

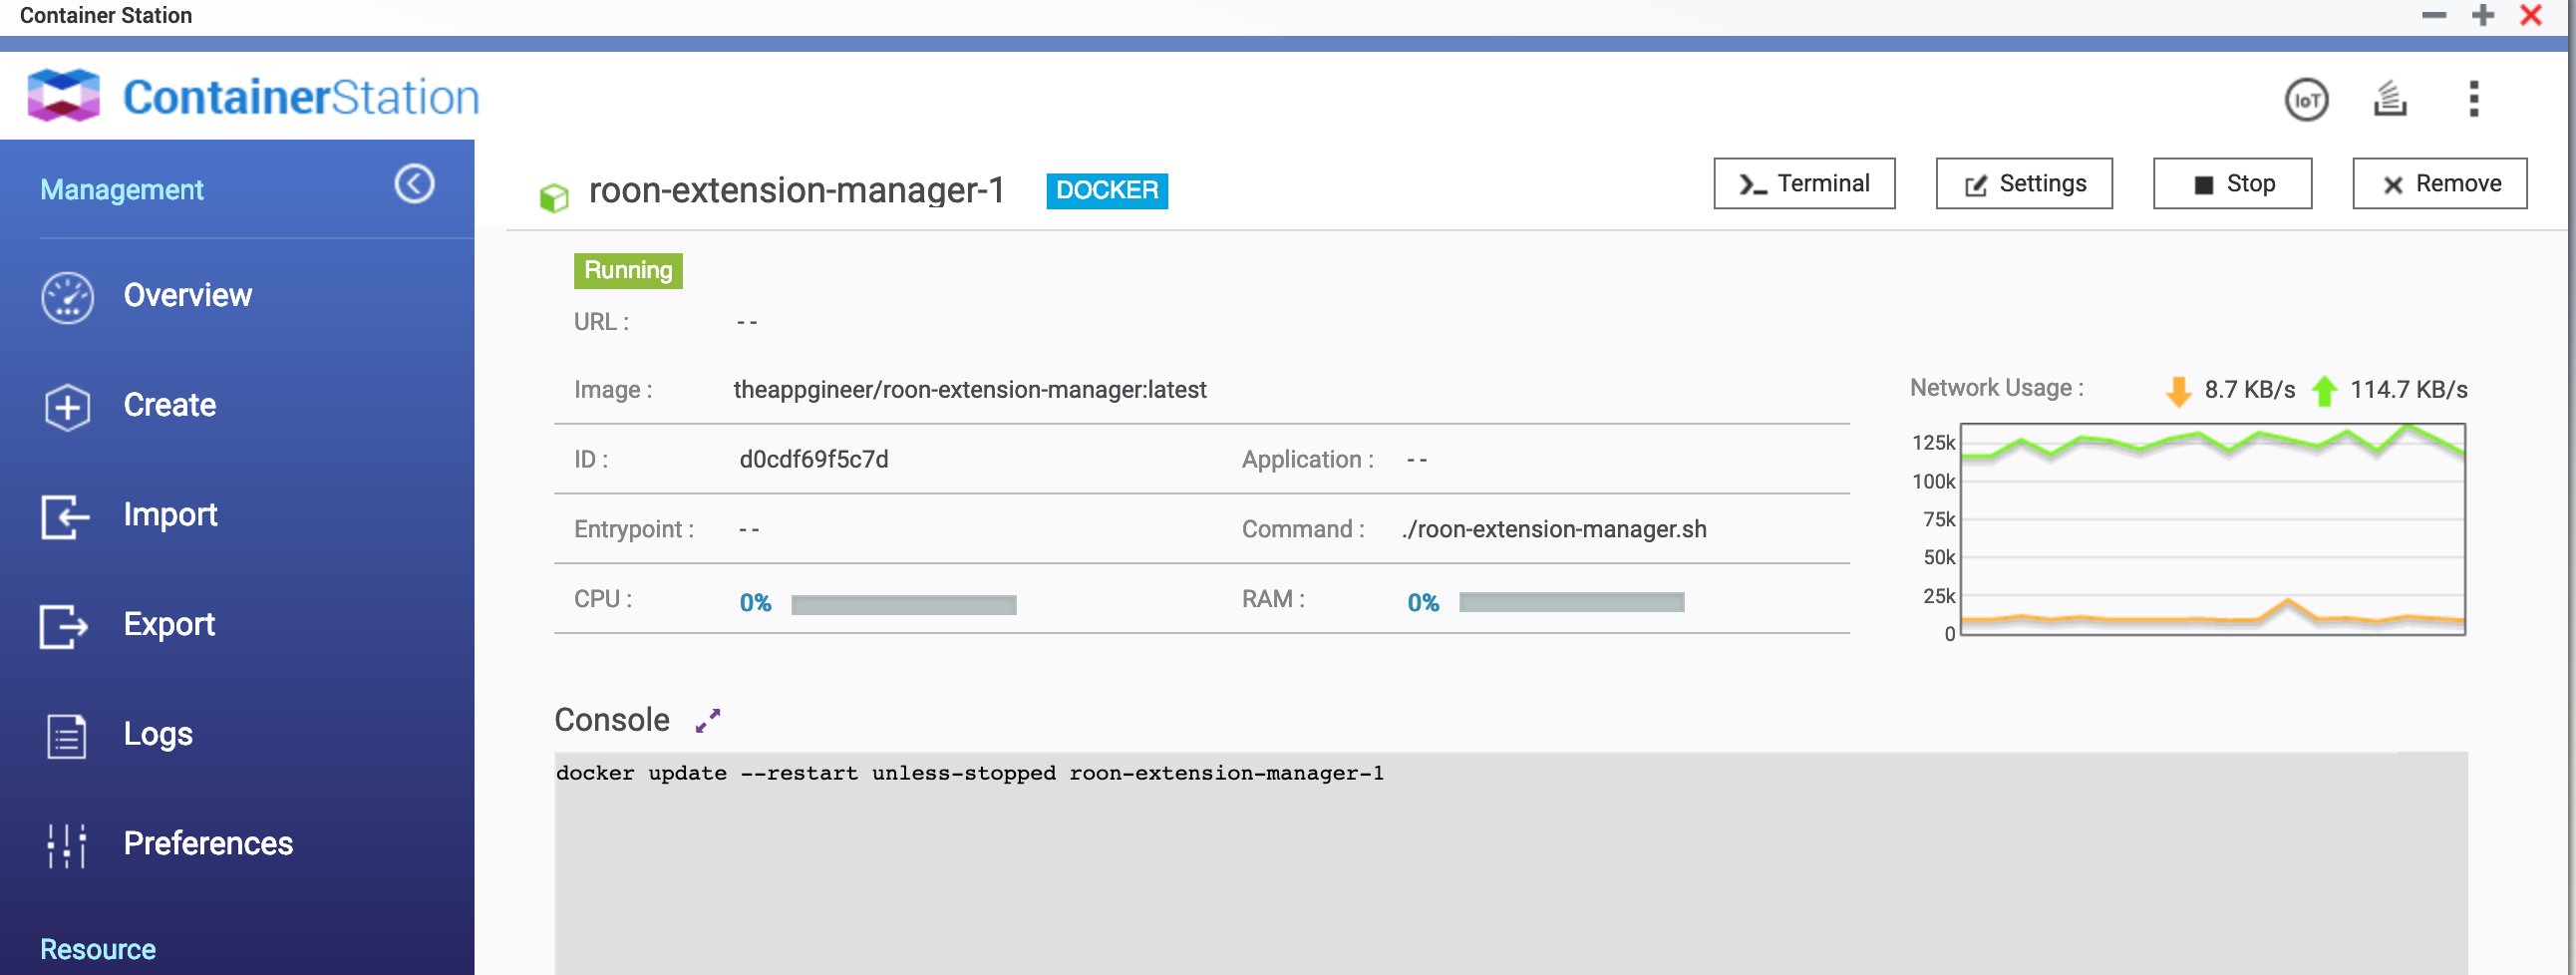
After a few seconds a background task will complete and your container is now running. Head back to the Container Station Overview tab and you’ll see the Container running - denoted by the green cube under Status.
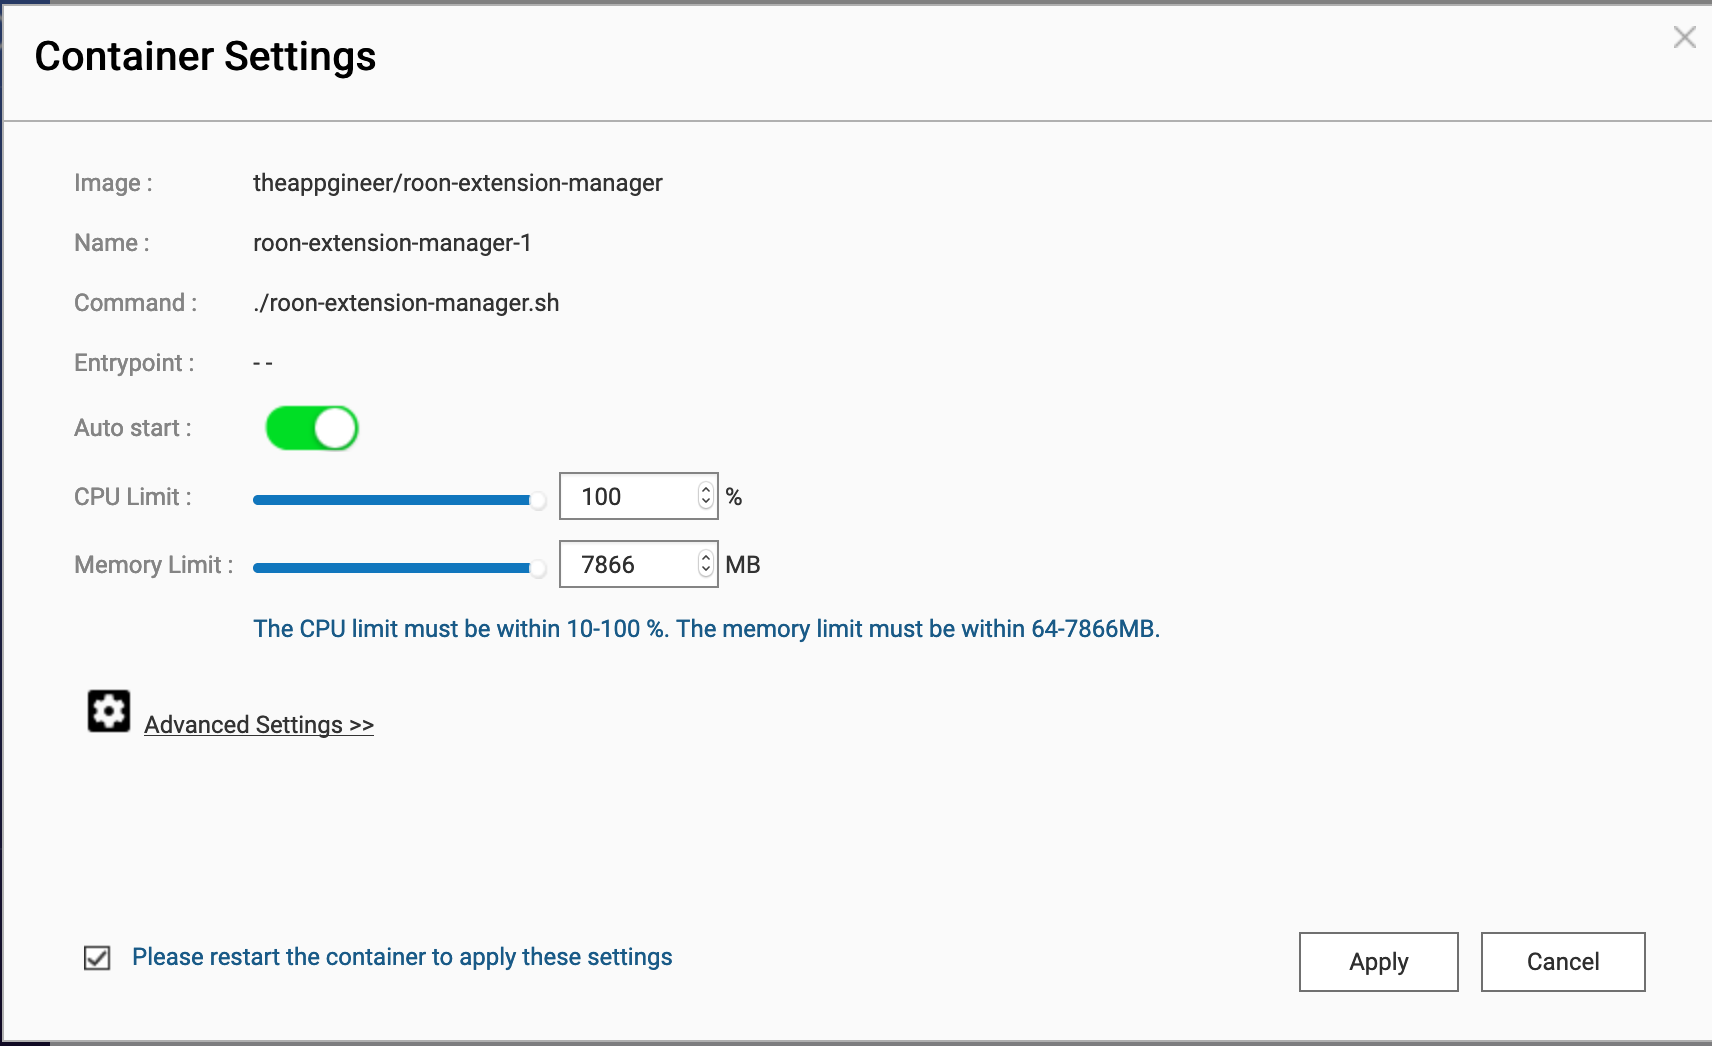
Now, if you created the container as above you’ll see that the container name “ubuntu-1” is clickable. Go ahead and click this and you’ll see the following:

- Click on the expand arrows next to the word Console. This will open a new browser tab with a black screen and not much else. Don’t panic! Press Enter and you should get a Linux command prompt, something like
root@[hostname]:/#
Now we need to start installing the pre-requisites for the extension manager:
- Run each of the following commands (some of these will take a long time to complete as a lot of dependencies must also be downloaded and installed on this very cut-down Linux) :
apt-get update
apt-get -y install sudo
apt-get -y install curl
apt-get -y install git
curl -sL https://deb.nodesource.com/setup_9.x | sudo -E bash -
sudo apt-get install -y nodejs
Then it’s on to the remainder of the config as provided by @Jan_Koudijs
-
Run the following commands:
mkdir ~/.RoonExtensions
npm config set prefix '~/.RoonExtensions'
npm install -g https://github.com/TheAppgineer/roon-extension-manager.git -
And the final 2 commands to start the REM:
cd ~/.RoonExtensions/lib/node_modules/roon-extension-manager
node start.js
That’s it! The REM should now be visible in Roon. To close the console, simply close the browser tab.
Note, if you restart your QNAP or your Container you will need to run the last two commands again, either throiugh the terminal or console as described above. I haven’t yet worked out how to get these two commands to run automatically when the container restarts.
 I’m just an audiophile and wasn’t expecting to learn about containers, docker, etc! Always enjoy the learning part of our hobby however.