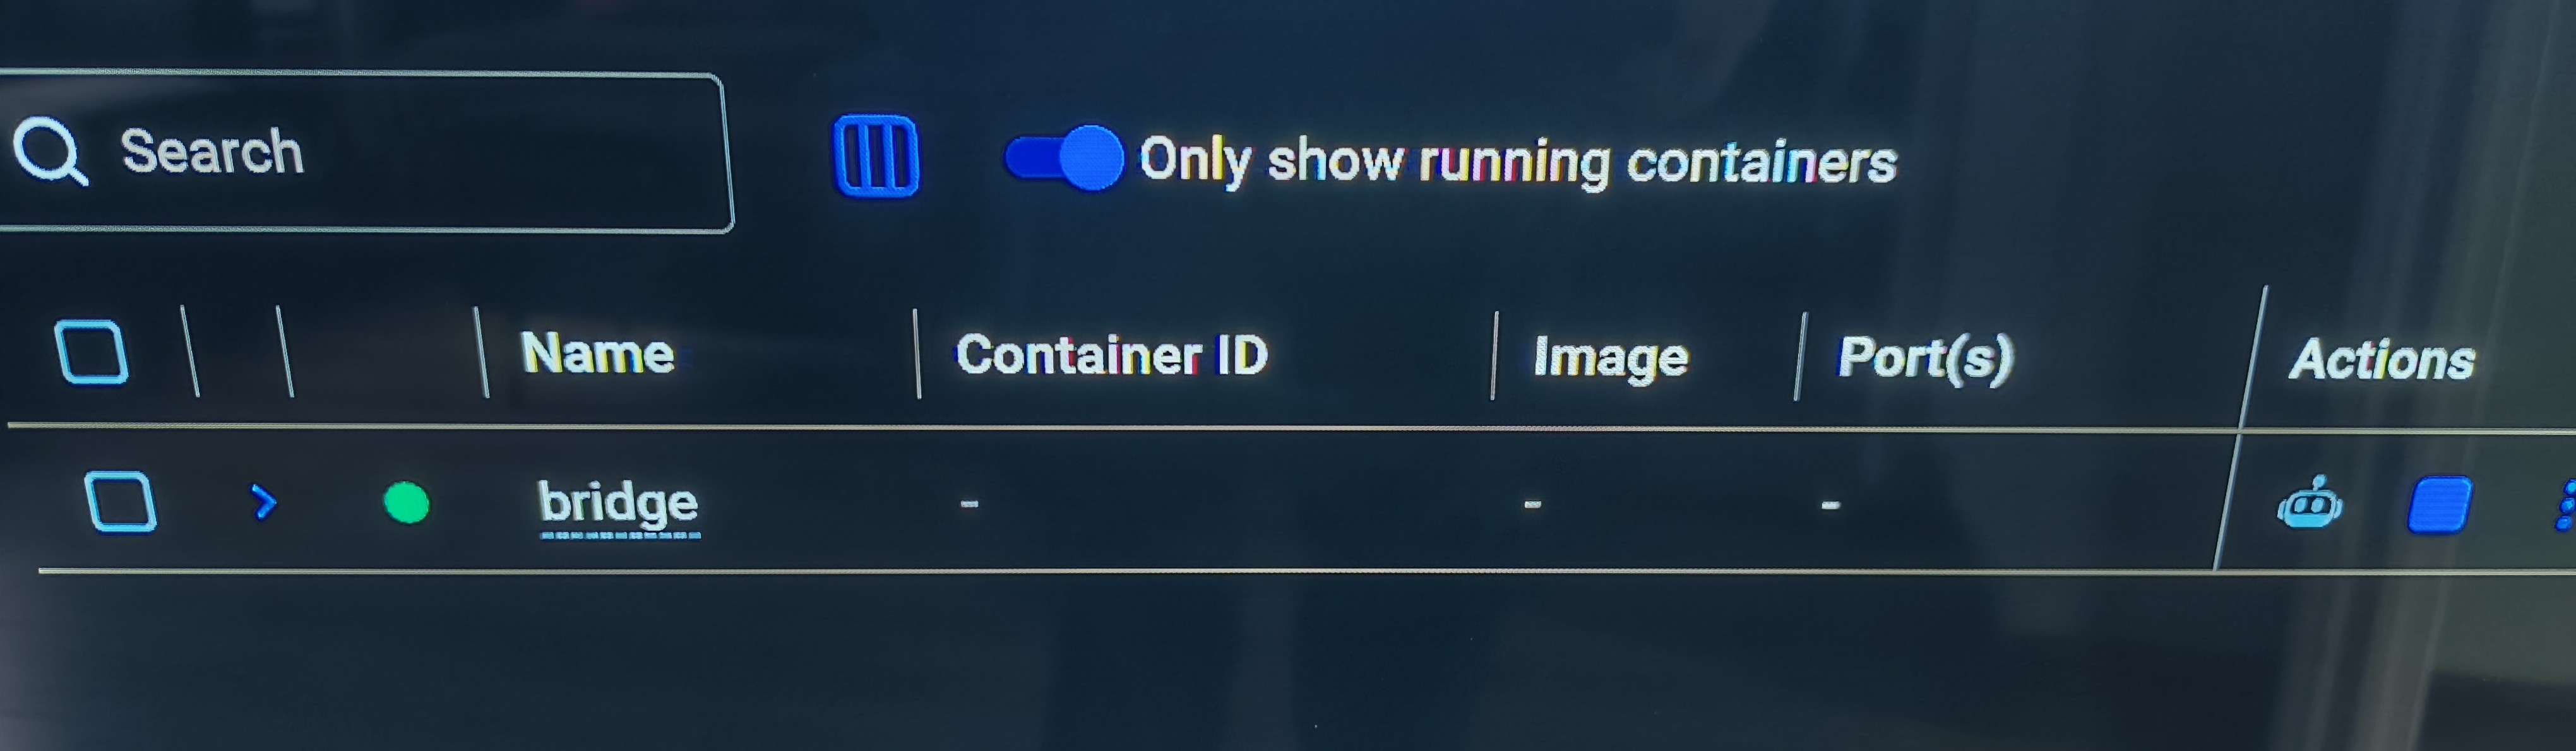
Nice! Maybe you don’t even need to update the bridge then. I did actually update it again yesterday after I posted this because I was finding that switching zones was too sluggish (hence the “switching” message); the latest version (1.1.0) is much peppier and therefore there is no need for the “switching” message. Let me know what you think!
I have my bridge on a home server (non-windows) so I’m not exactly sure how windows reboots affect the bridge but I checked our friendly neighborhood AI and it produced some instructions but YMMV:
Pebble Roon Bridge: Windows Persistence Guide
Target Platform: Windows 10 / Windows 11
This guide provides step-by-step instructions on how to configure your Pebble Roon Bridge to automatically start and run in the background whenever your Windows machine reboots. Choose the method that matches your current setup (Docker or native Node.js).
Method 1: Using Docker Desktop (Recommended)
If you are using Docker to run your bridge, your docker-compose.yml file is already configured with the restart: unless-stopped flag. We just need to ensure Windows launches Docker on boot.
Step 1: Configure Docker to Start on Boot
-
Open the Docker Desktop application from your Windows Start Menu.
-
Click the Gear icon (Settings) located in the top right corner of the Docker window.
-
On the left sidebar, ensure you are on the General tab.
-
Check the box next to “Start Docker Desktop when you log in”.
-
Click the Apply & Restart button in the bottom right corner.
Step 2: Run the Bridge in the Background
-
Open your Windows Start Menu, type cmd, and press Enter to open the Command Prompt.
-
Navigate to the folder where your docker-compose.yml file is located. For example:
cd C:\Users\YourName\Documents\PebbleBridge
- Run the following command to start the bridge in “detached” (background) mode:
docker-compose up -d
Note: You can now close the Command Prompt. Whenever your PC reboots, Docker will start silently in the background and automatically spin up your bridge!
Method 2: Using Node.js directly (Without Docker)
If you are not using Docker and instead running the bridge directly using Node.js, you will need a lightweight process manager called PM2. This tool is designed to keep Node.js applications alive forever and start them when Windows boots.
Step 1: Open PowerShell as an Administrator
-
Open your Windows Start Menu.
-
Type PowerShell.
-
Right-click on Windows PowerShell and select “Run as Administrator”.
-
Click Yes on the User Account Control prompt.
Step 2: Install PM2 and the Windows Startup Tool
In your Administrator PowerShell window, run the following two commands, pressing Enter after each one:
PowerShell:
npm install -g pm2
npm install -g pm2-windows-startup
Step 3: Install the Startup Hook
Next, run the following command to integrate PM2 with your Windows boot process:
PowerShell:
pm2-startup install
Step 4: Start and Save Your Bridge
- In the same PowerShell window, navigate to the folder containing your bridge-index.js file. For example:
cd C:\Users\YourName\Documents\PebbleBridge
- Tell PM2 to start your bridge and name the process “roon-bridge”:
pm2 start bridge-index.js --name “roon-bridge”
- Finally, tell PM2 to save this current configuration so it remembers to boot it next time Windows starts:
pm2 save
Note: Your bridge is now running in the background. If you ever need to view the logs or stop the bridge, you can open PowerShell and type pm2 logs roon-bridge or pm2 stop roon-bridge.