In another thread I announced my plans for the Extension Manager:
This thread is all about the beta version that is now available. The purpose is to get user feedback and allow extension developers to convert their extensions to Docker images and get them included again.
Prerequisites
Version 1.0 requires Docker for Linux. You can run it on a Linux PC, on a Raspberry Pi running e.g. DietPi, in a Linux VM or on a NAS that supports Docker. In general, if you already run version 0.x with the Docker based extensions available you should be good to go.
Installation
There are two main methods available for setting up version 1.0, via the setup script or by manually creating a Docker container.
Note: Version 0.x and 1.x cannot run side by side on the same system. If you are running v0.x via the Linux service then it will be disabled by the v1.x setup script. It is possible to switch between the two versions by enabling/disabling services.
Running the setup script
The easiest installation method is by using the setup script.
-
Download the setup script
wget https://github.com/TheAppgineer/roon-extension-manager/raw/v1.x/rem-setup.sh -
Set the execute permission for the setup script
chmod +x rem-setup.sh -
Run the setup script
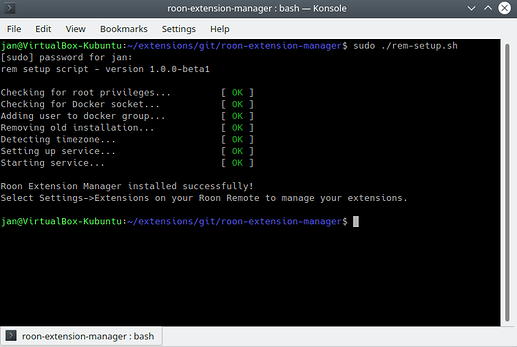
sudo ./rem-setup.sh
Creating a Docker container
Manually creating the Docker container can be useful if you are already running other containers or if you want to use the interface provided by e.g. a NAS.
In such a setup also the updates of the Extension Manager have to be done manually as the standalone image doesn’t support the update action for the manager itself.
Using docker run
The docker run command can be used to create a container from the image, the full command to be use is:
docker run -d --network host --restart unless-stopped --name roon-extension-manager --group-add <docker-gid> -v rem_data:/home/node/.rem/ -v /var/run/docker.sock:/var/run/docker.sock -e "TZ=<timezone>" --log-driver journald theappgineer/roon-extension-manager:v1.x-standalone
Replace <docker-gid> with the output of this command:
stat -c '%g' /var/run/docker.sock
And <timezone> with the local timezone, according to the TZ column in this list.
Using docker-compose
It is also possible to use the Docker compose file.
Change log
As version 1.0 only has to deal with Docker based extensions it focusses on improving the user experience during extension installation and use. The changes made compared to the current 0.11.9 version are:
- Extension specific installation settings
- Installation settings are better integrated in install flow
- Settings of pending installations can be changed
- Environment variables are taken over from Extension Manager if existing
- Extension installation
- Status information about downloading and extracting layers gets reported
- Extension updates
- Already up-to-date extensions get detected and reported during update
- Status information about downloading and extracting layers gets reported
- Repository
- Extensions that are not available for the host architecture are hidden
- Logging
- Extension Manager link always provides latest logs of installed extensions
- Extension logs include timestamp for each line
- Setup script
- System gets prepared for auto-rip feature of CD Ripper extension
- Timezone of host system gets detected and taken over by Extension Manager
Extension Snapshots
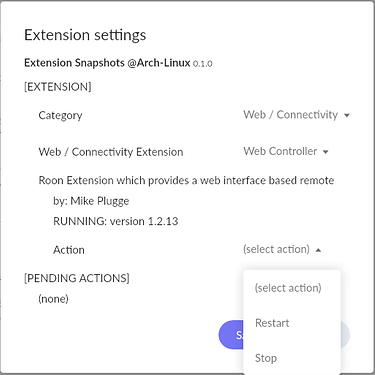
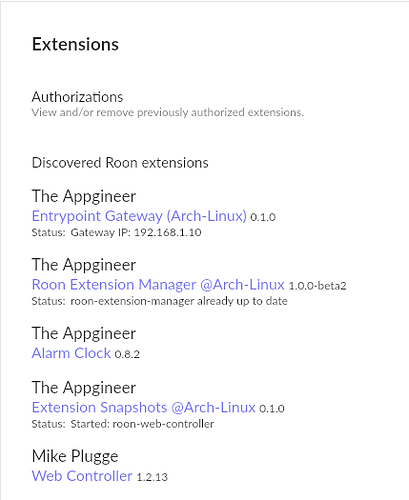
Extension Snapshots bundles those extensions from the 0.x Extension Repository that are not yet available as a Docker image. It is meant to smoothen the transition to 1.0 and to provide a means to run extensions that are no longer maintained. It is installed from the System category in the Extension Manager. You can start the individual extensions via the Extension Snapshots Settings.
The Roon Extension Generator
To make the transition quick and easy for extension developers a tool has been created that can adapt the extension code, create and publish the Docker image on Docker Hub and integrate the image in the Extension Manager for testing purposes. The tool is called the Roon Extension Generator and its use is described in the README file.


