Hello @DNack
Thank you for the update, and sorry for the delayed response.
What is actually wrong
Roon Server is not failing to start. It is failing to install. Every attempt ends here:
tar: RoonServer/Appliance/RAATServer: Cannot write: No space left on device
tar: Exiting with failure status due to previous errors
This is not about your SSD being full, and nothing is wrong with your hardware. The container cannot write to the folder it was told to use.
Step 1. Fix the share permission
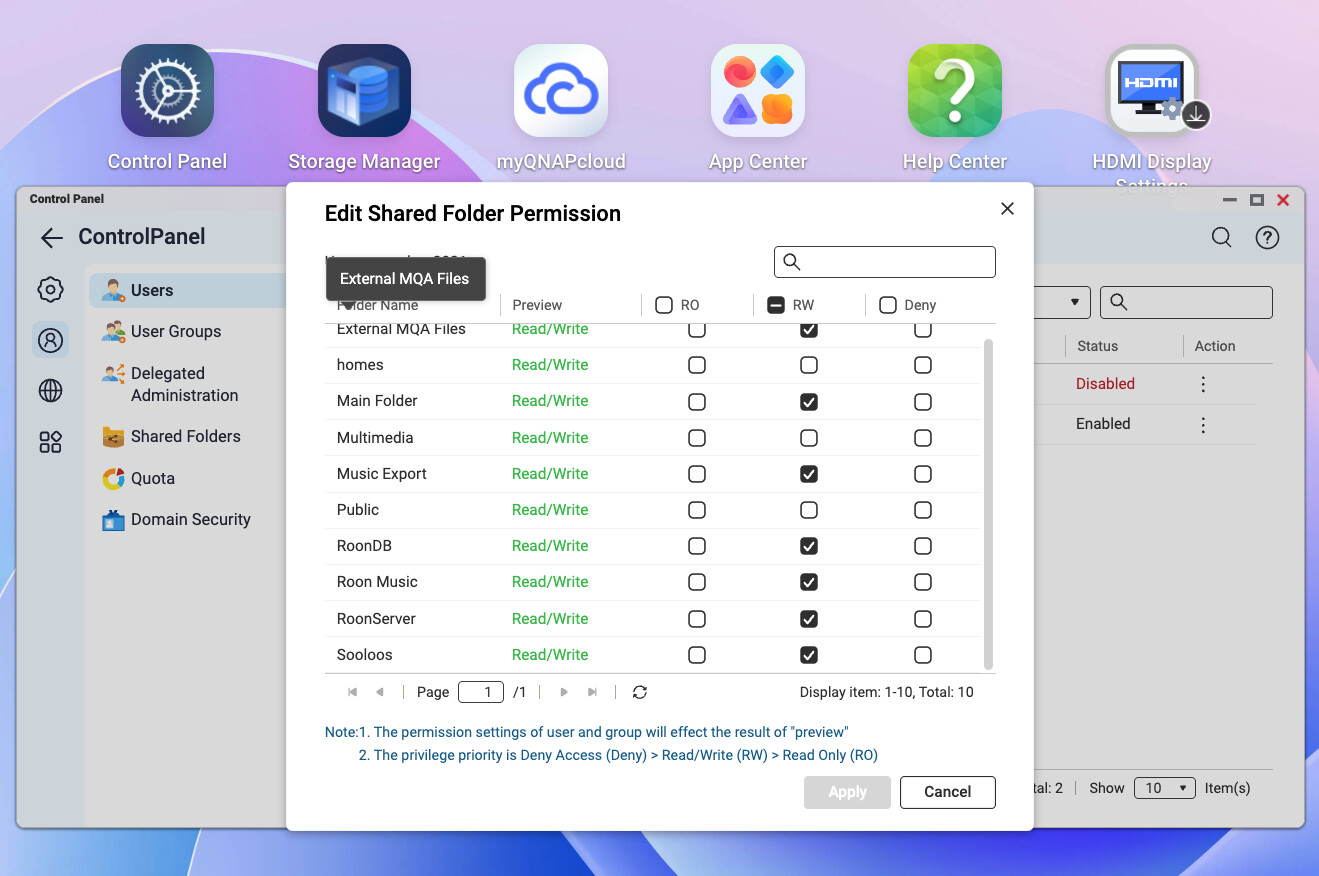
Control Panel, then Privilege, then Users. Open your account and choose Edit Shared Folder Permissions. If Container is set to Read Only, please change it to Read/Write.
Step 2. Find the real paths
QNAP has a folder shortcut and a real storage path, and the two are not always the same. Please get the real one rather than trusting the shortcut.
First, in File Station, check whether roon-backups exists inside Container. If it does not, please create it now.
Then right-click each folder below, choose Properties, and note what it shows for Location, Storage Pool and Volume. QNAP documents that window as showing exactly those three fields, which is what we need.
roon, inside Containerroon-backups, inside Container- every folder that actually holds your music
That last point matters, and it is where your previous configuration was almost certainly wrong. It pointed at a single folder called Music, but your storage screenshots show your music spread across more than one folder and more than one volume. Please go through File Station and list for us every folder that contains music, with the Properties details for each. There may be two, there may be six. Whatever the number, we need all of them.
If you want the literal path your NAS uses for any of these, Container Station will hand it to you, and you do not have to finish the process:
- Containers, then Create, and pick any small image such as
alpine
- Advanced Settings, then the Storage tab
- Choose Bind Mount Host Path, browse to the folder
- Note the exact path it fills in, then cancel without creating anything
Step 3. Delete the failing application
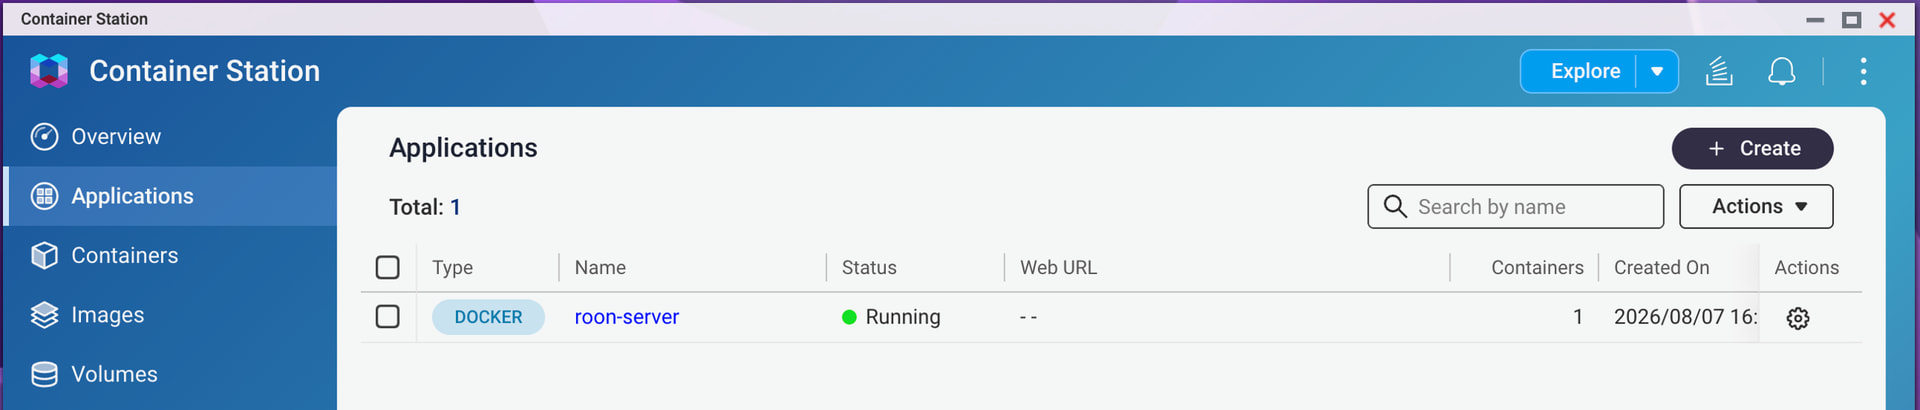
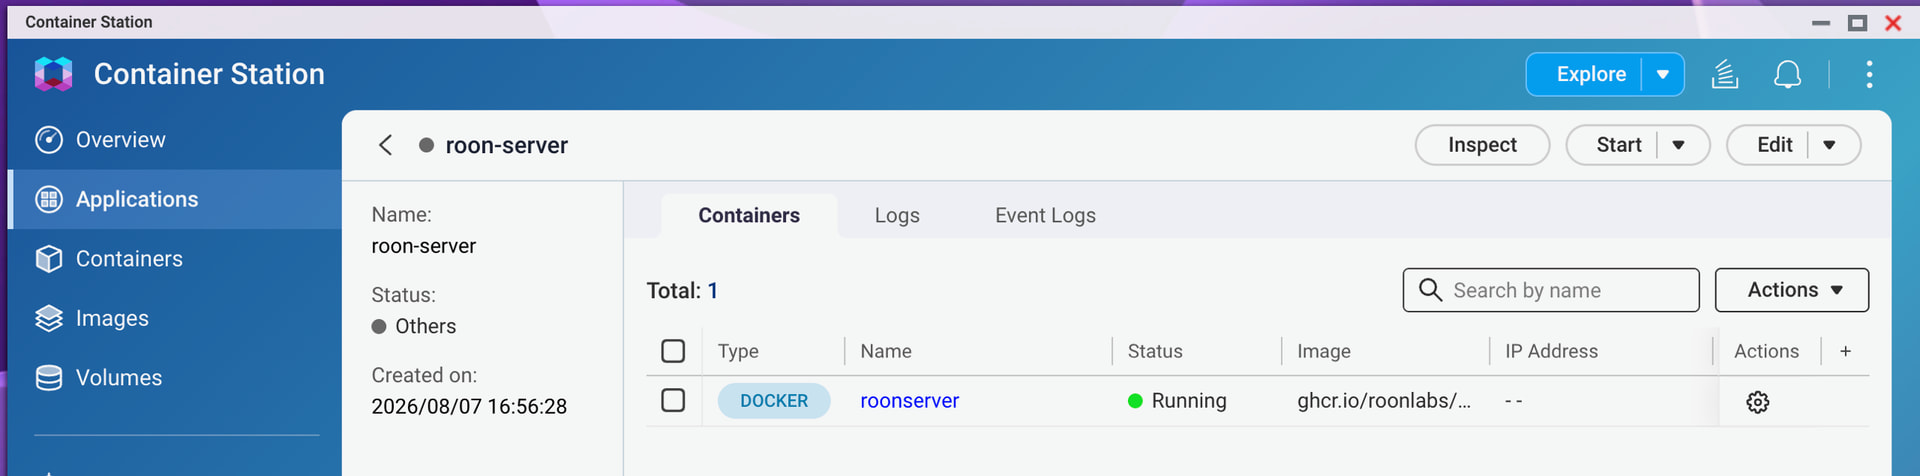
Container Station, then Applications, select roon-server, then Remove. This does not touch your music or the old RoonServer app.
Step 4. Create it again with this configuration
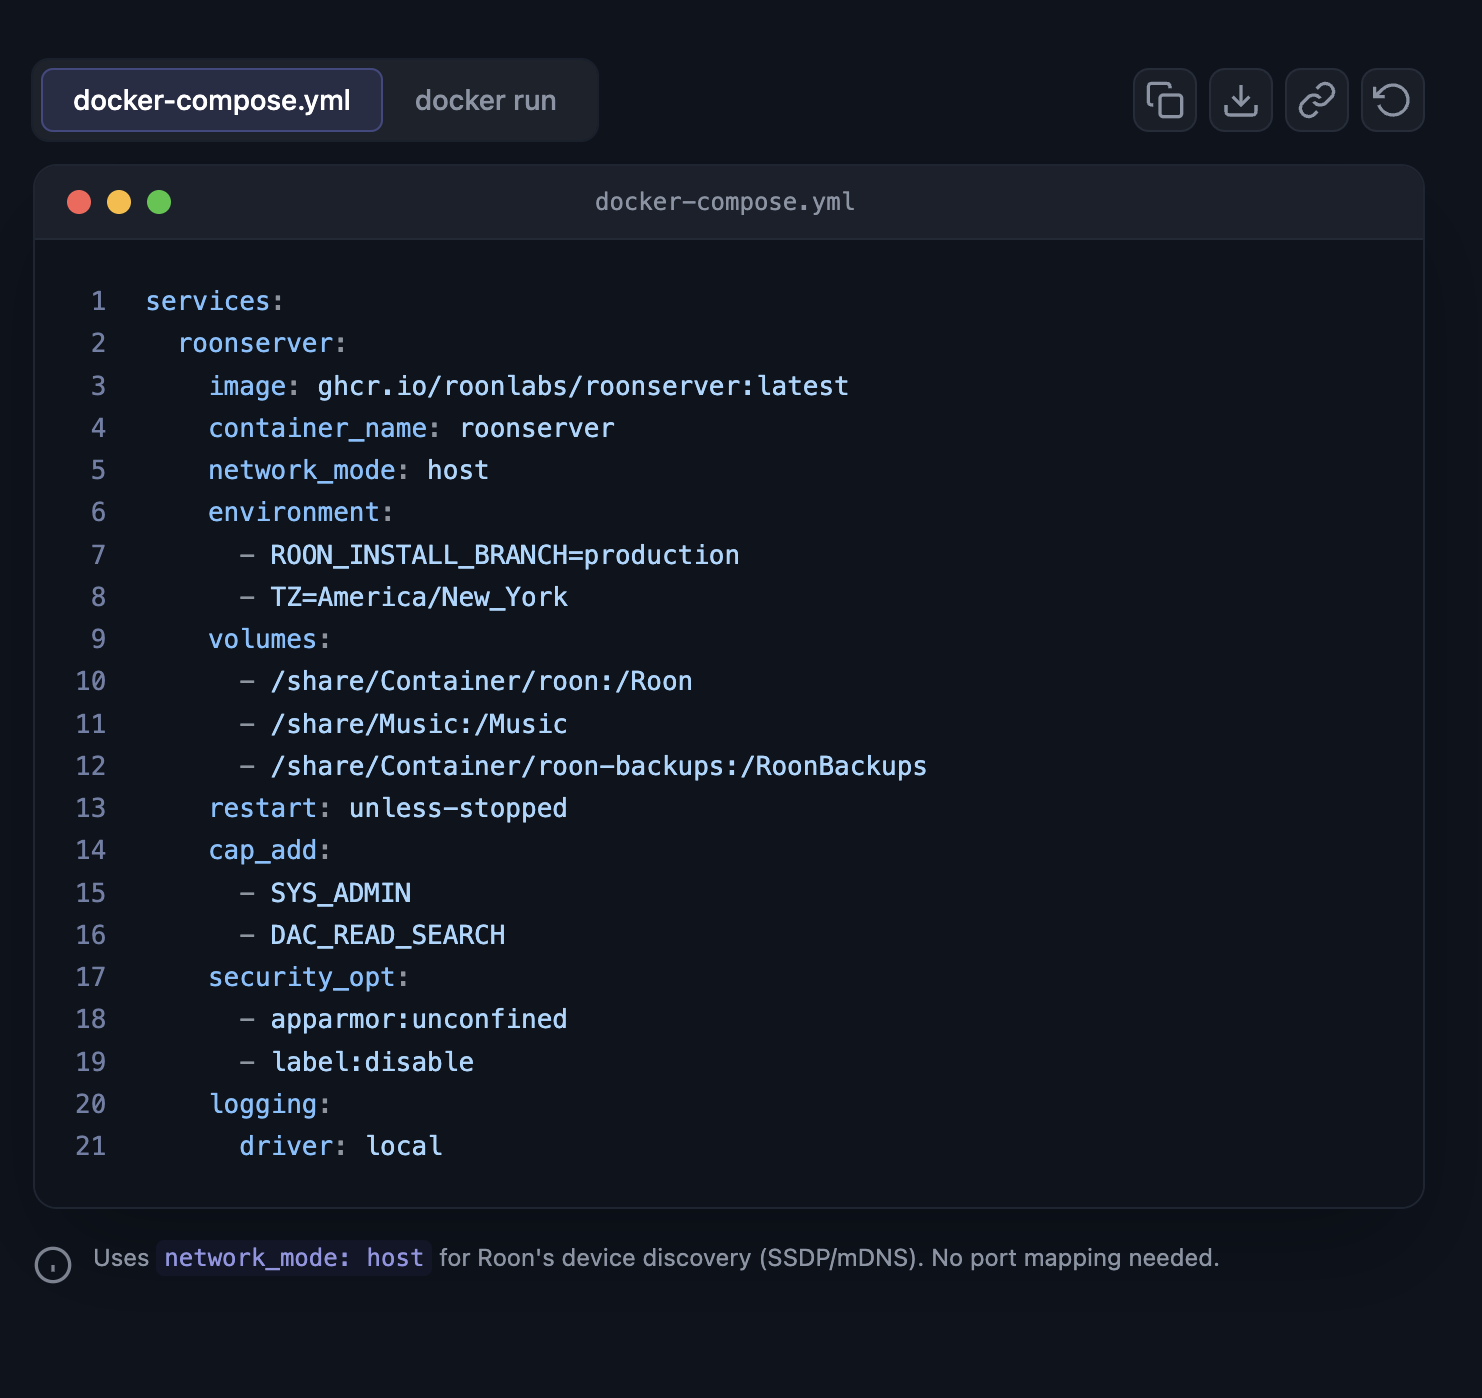
Two things have changed from your version: privileged: true is now present, and the paths must be the real ones from step 2.
version: '3'
services:
  roonserver:
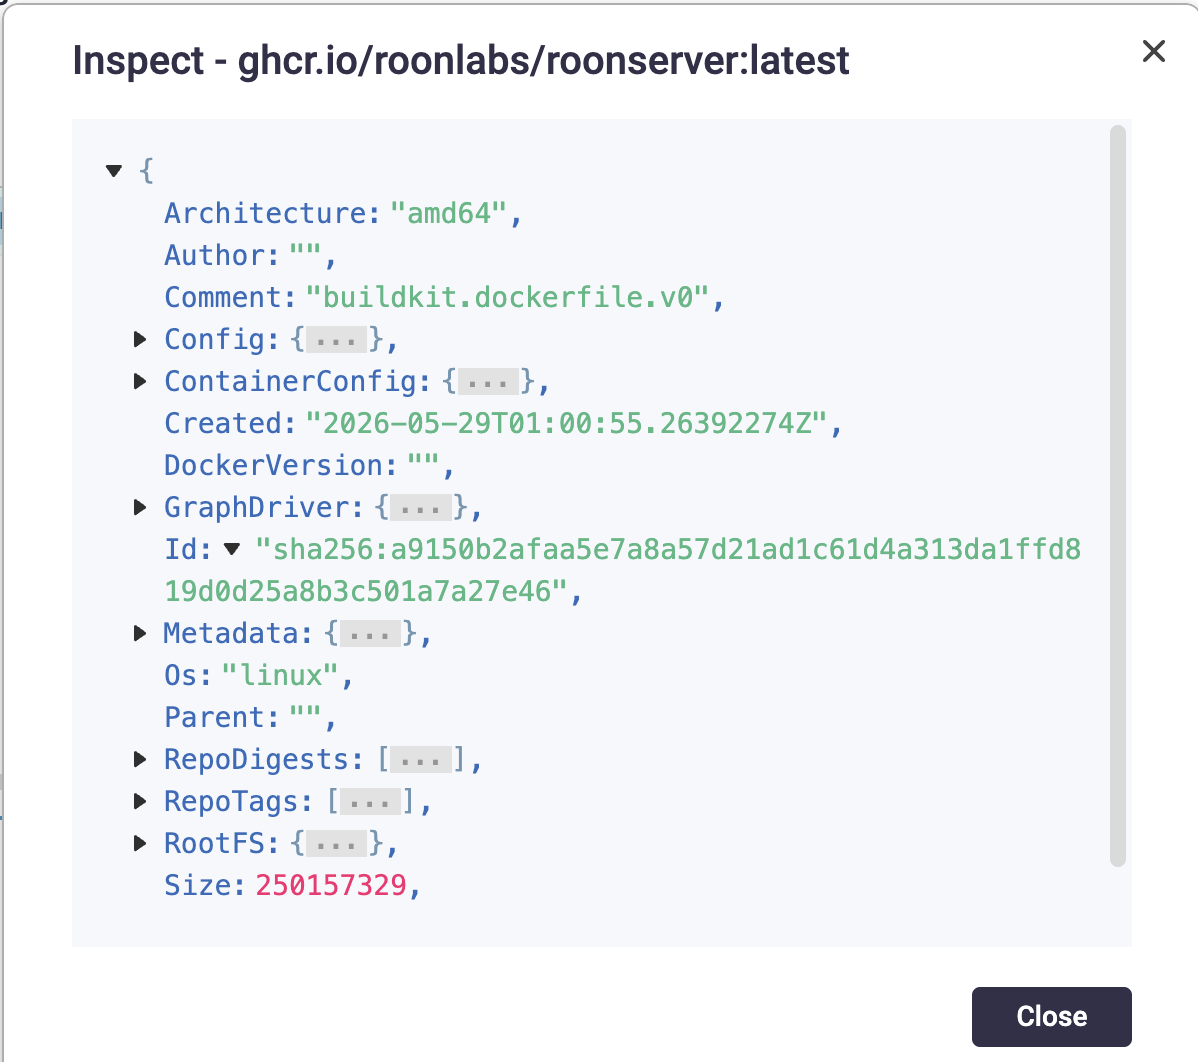
    image: ghcr.io/roonlabs/roonserver:latest
    container_name: roonserver
    network_mode: host
    privileged: true
    environment:
      - ROON_INSTALL_BRANCH=production
      - TZ=America/New_York
    volumes:
      - <REAL PATH>/roon:/Roon
      - <REAL PATH>/roon-backups:/RoonBackups
      - <REAL PATH TO MUSIC FOLDER 1>:/Music/folder1
      - <REAL PATH TO MUSIC FOLDER 2>:/Music/folder2
    restart: unless-stopped
    logging:
      driver: local
How those volume lines work, since this is the part that has been tripping you up. Each line maps one folder on the NAS to one folder inside the container. The part before the colon is your real NAS path from step 2. The part after the colon is the name Roon will see.
You are not limited to one music folder. Add as many lines as you have folders. The only rule is that each one needs a different name after /Music/, otherwise they overwrite each other. Those names are yours to choose, so use something you will recognise, for example:
      - <REAL PATH>/Classical:/Music/Classical
      - <REAL PATH>/Jazz:/Music/Jazz
      - <REAL PATH>/Rips:/Music/Rips
Keeping them all under /Music/ means that later, in Roon, you add /Music once as your storage folder and Roon finds everything beneath it. That gives you one tidy library rather than several entries to manage.
Please leave /Roon and /RoonBackups exactly as written. Those two names are what the container expects.
On privileged: true: QNAP’s Container Station documentation states that a container must run in privileged mode when Advanced Folder Permissions is enabled in Control Panel. You can check whether that applies to you under Control Panel, Privilege, Shared Folders, Advanced Permissions. Being straight with you, privileged mode gives the container root-level access to the host, so if that setting turns out to be off, you can remove the line later and we will help you confirm it still runs. For now we would rather get you playing music.
Step 5. Start it and check
Start the application, then wait five minutes rather than two. It has a full install to download and unpack this time.
Then open Containers, roonserver, Logs.
If it worked, you will see:
RoonServer installed successfully.
Roon:    2.71 (build 1683) production
Running
If you see that, you are past the hard part. If you still see No space left on device, please paste the last 30 lines along with the Properties details from step 2, and please change nothing else. That combination will tell us exactly which path is wrong.
Two things to leave alone
Please do not delete or uninstall the old RoonServer app.
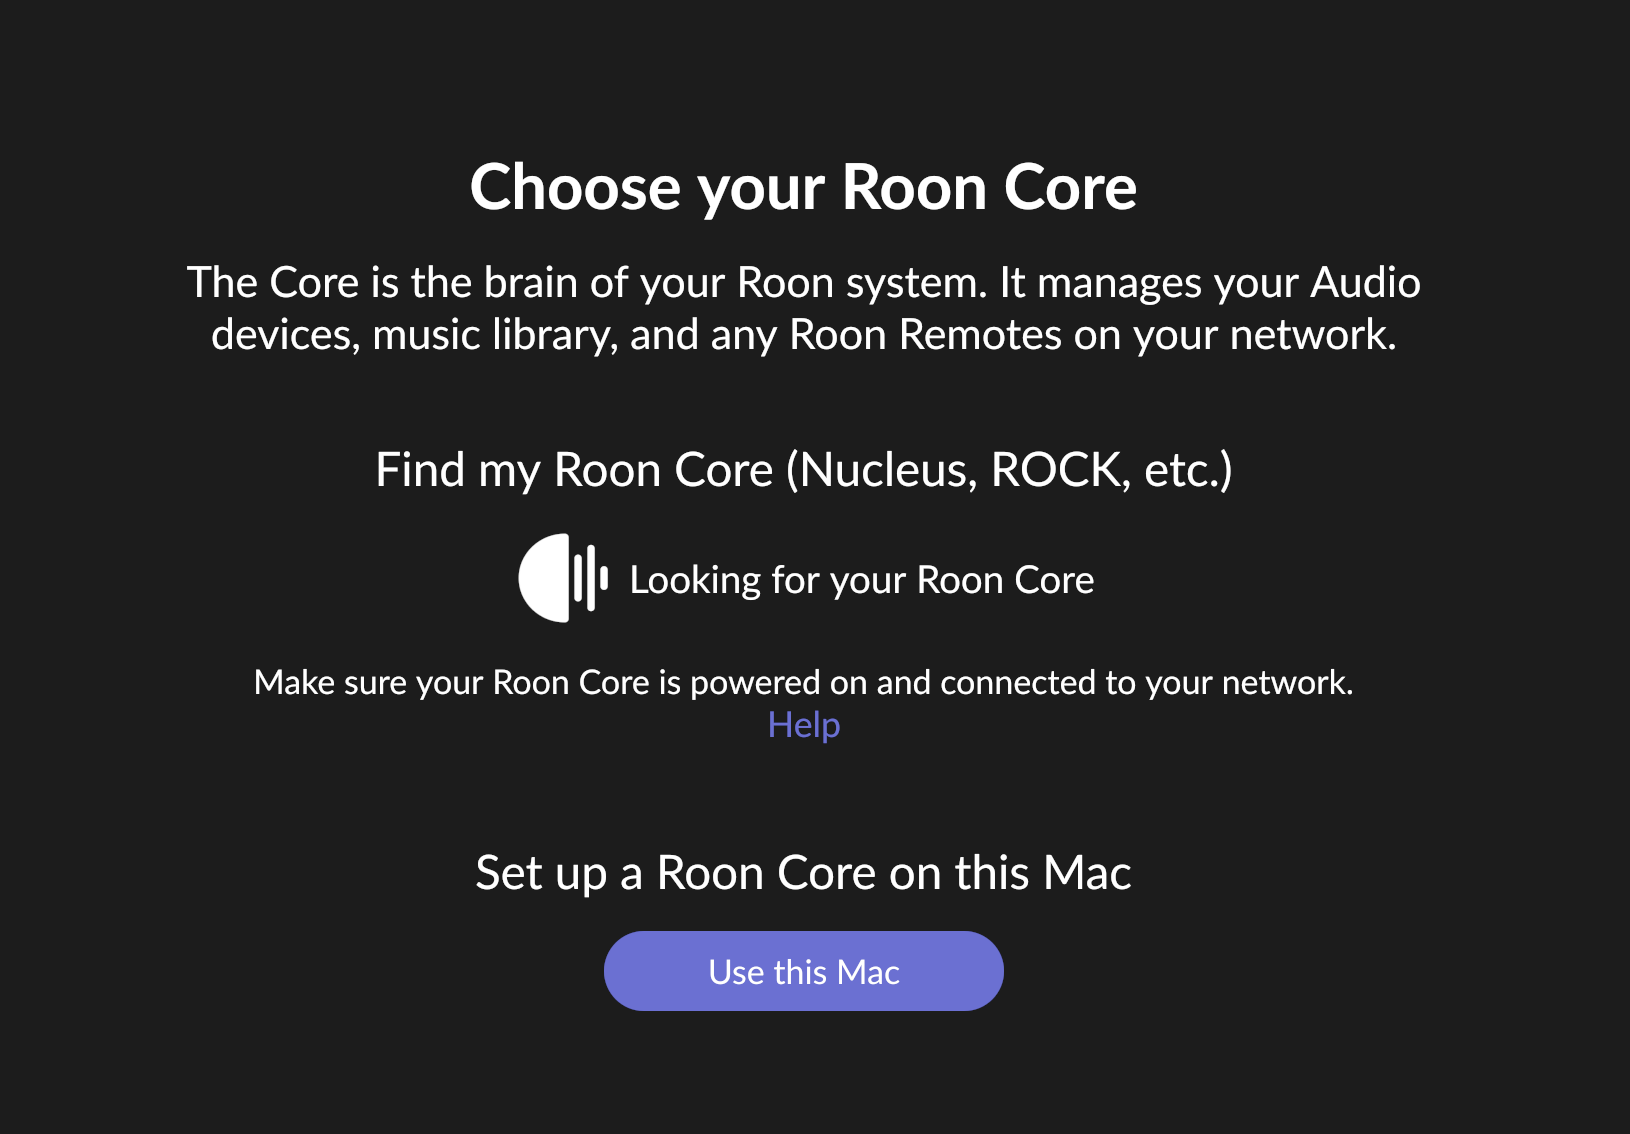
When the new container does start, it will appear as a brand new server with no library, because its folder is empty. That is expected. Please do not set it up or add your music yet. We will bring your existing library across once it stays running.
On where Roon should live
The first path in the volumes list is the only thing that decides this. Point it at your SSD pool and Roon runs from the SSD, which is what you want.