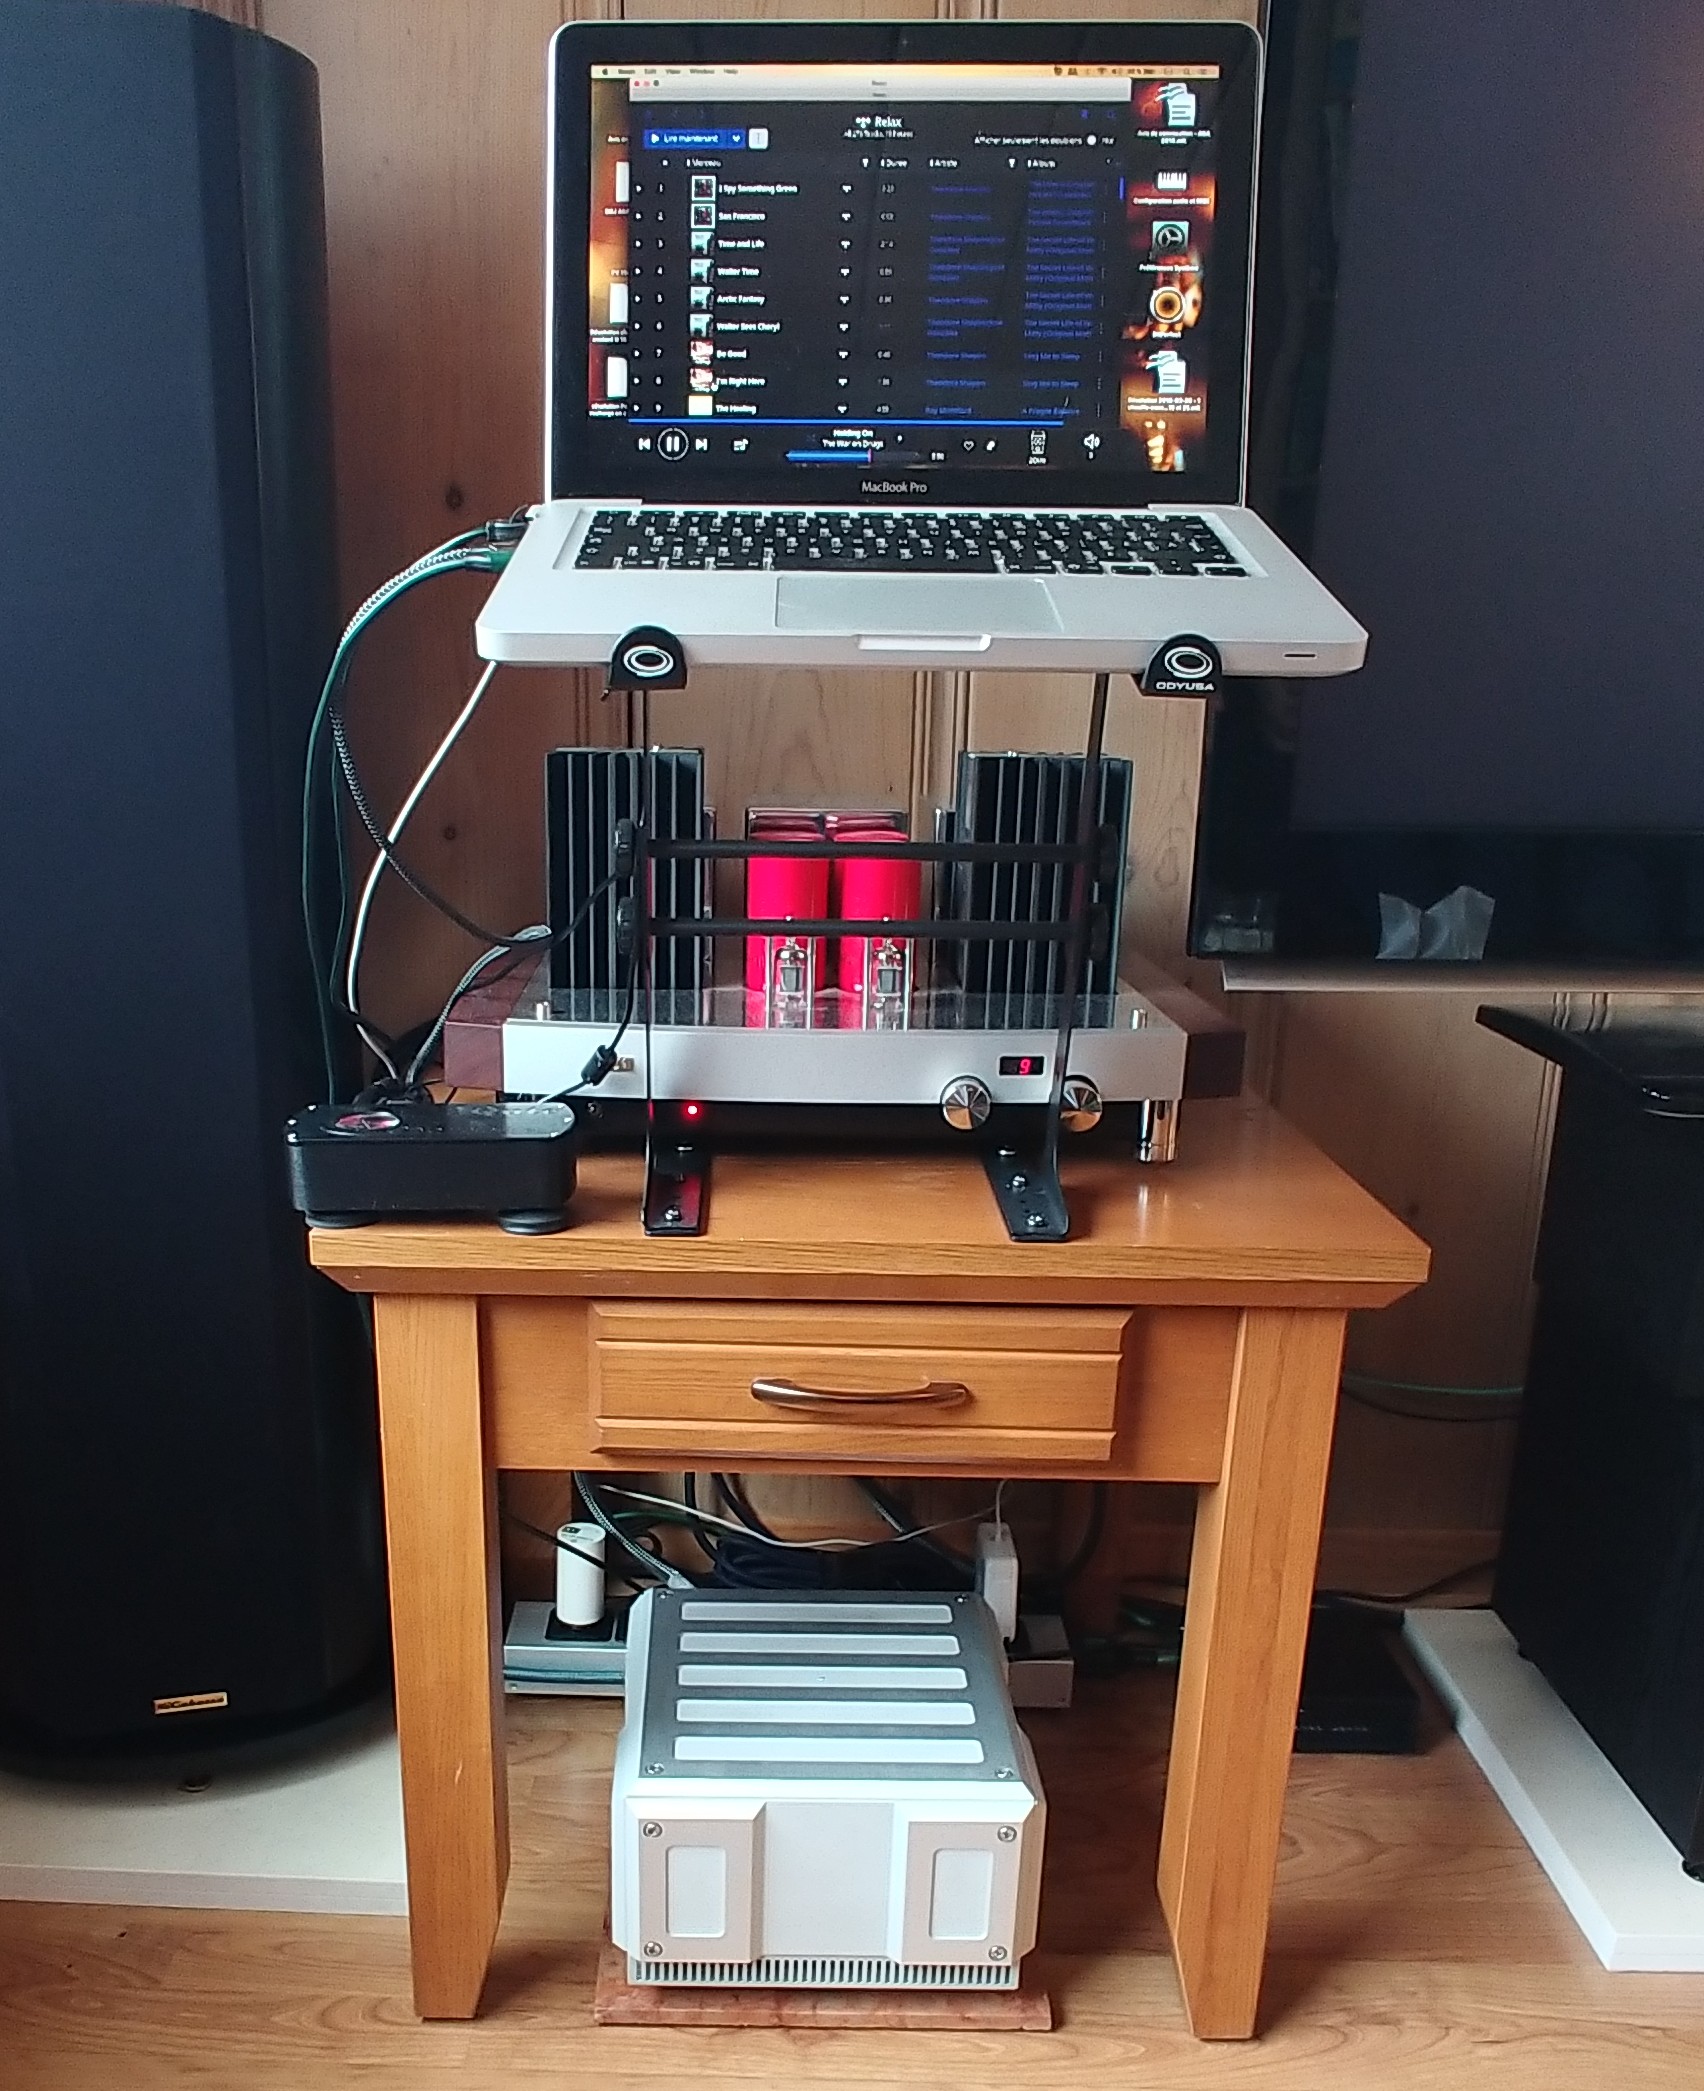
The advantage for me is the setup’s simpler to playback through Roon as the cabling’s already there and I stream over Ethernet. It means I don’t have to use separate USB from my laptop to the DAC - which would mean two long USB leads as I use along one for the mic too. It also means you are playing back through the usual chain which is what you need to do if you want to measure the effectiveness (i.e. With convolution enabled).
The disadvantage is it’s more fiddly to output only left or right. You either mute channels in a procedural EQ, or in your DAC/amp if its possible (and simple). Or as fallback you could pull out speaker cable - but I’m sure for most the procedural works.
I’m sure there will be other reasons.
Next time I may investigate making two more versions of the pink pN file - with L and R separately muted to make it quicker and less likely to forget a step.
By having the signal (whether sweep or pink noise) as a file you can play in Roon, you can measure after adding Roon’s DSP correction, and thereby verify which that it all worked as expected.
Wrt sweep vs. pink noise, the sweep fits in with most exact measurement techniques, real time measurement from pink noise is very easy.
Generally, 0 degrees is used for a stereo setup.
90 degrees, i.e. Vertical or pointing to the ceiling, is used for a surround setup.
I’m sure I tested both, some years ago now, and decided that in my room, any difference was insignificant. As I’m sure you’ll appreciate it is a simple test for you to perform and come to your own conclusions.
You can do either, if you have the speaker symmetrically placed in the room and with good quality speakers, it’s probably enough to do one measurement with both speakers, else measure them both individually.
In my guide I recommend one measurement/speaker, and then one fine.tuning measurement with both speakers with the previous correction in place since this should work for pretty much all setups. But doing just one measurement with both speakers is easier and works in many cases.
Don’t do only one sweep measurements though, either use the moving-mic technique with Pink PN sound, or many sweep measurements and average them out (in my guide I suggest moving-mic technique since its less time consuming and produce very reliable results).
I personally think there’s much more to be gained from measuring each speaker so you can get them sounding as close to each other as possible. In an imperfect room they’ll be different.
Once you have the mic and everything setup it seems kind of pointless saving the few extra seconds it takes to do both?
Measuring each speaker individually is all about improving stereo imaging, and if you sit in a perfect listening spot in a symmetrical room with symmetrically placed speakers, then there is nothing to improve. All you can do is get the same stereo image or worse.
In this case, A + A is not always 2A, that is, once you measure 2 speakers individually and play a measurement with both speakers after correction, you might not get the result you wanted. The reason for this is that the room influence the frequency. In my room, I get a few dB higher bass frequencies when measuring individually, which is why I added the step 16a in the guide.
Having said this, in the normal case 2 measurements is still better, since most people don’t have a perfect listening position and optimal speaker placement. And in some cases, the improvement for using 2 measurements can be huge.
In my very, but not entirely, symmetrical setup, I still had huge differences in the base nodes between the two speakers. I think that correcting each speaker independently is very much worth the small amount of additional time.
Minimal amounts of movement (cm’s) can change the responses … think about the size of a frequency waveform in the Mids and it will start to make more sense when timing and reflections come into play. The ear and brain is very clever and can detect these little changes much more than one might imagine.
Think about how a good conductor can pinpoint a player who is flat or sharp in a field of so many players in a orchestra.
Hello, I’m looking out for a room correction software for my two speakers at the cottage, which aren’t located in the ideal room. My only source is Roon on my MacBoock Pro via a 2Qute DAC. Apparently, REW software with a MiniDSP can send the corrections to Roon. What annoys me is that the ROON EQ option doesn’t seem to apply to two channels separately. Someone already used it and can confirm that ROON treat the channels separately? In other words, I wan’t to know if the a specific EQ treatment (like the distance) is dedicated to each channel.
That is correct. Roon does not do separate L/R EQ. Your only option here is convolution. If EQ is all you need I guess REW can do a good job, but you will have to experiment a bit to get it right. Roon has settings for distance so you can adjust delay individually.
A better solution would be Audiolense. The normal version does amplitude (EQ) correction only. XO also does timing correction and digital cross-over. Audiolense (and of course Acourate) has all the experience you do not have your self, built in. You’ll have good sounding corrections quite quickly. Both programs have a learning curve. I’d say Audiolense less than Acourate. And there is the price tag…
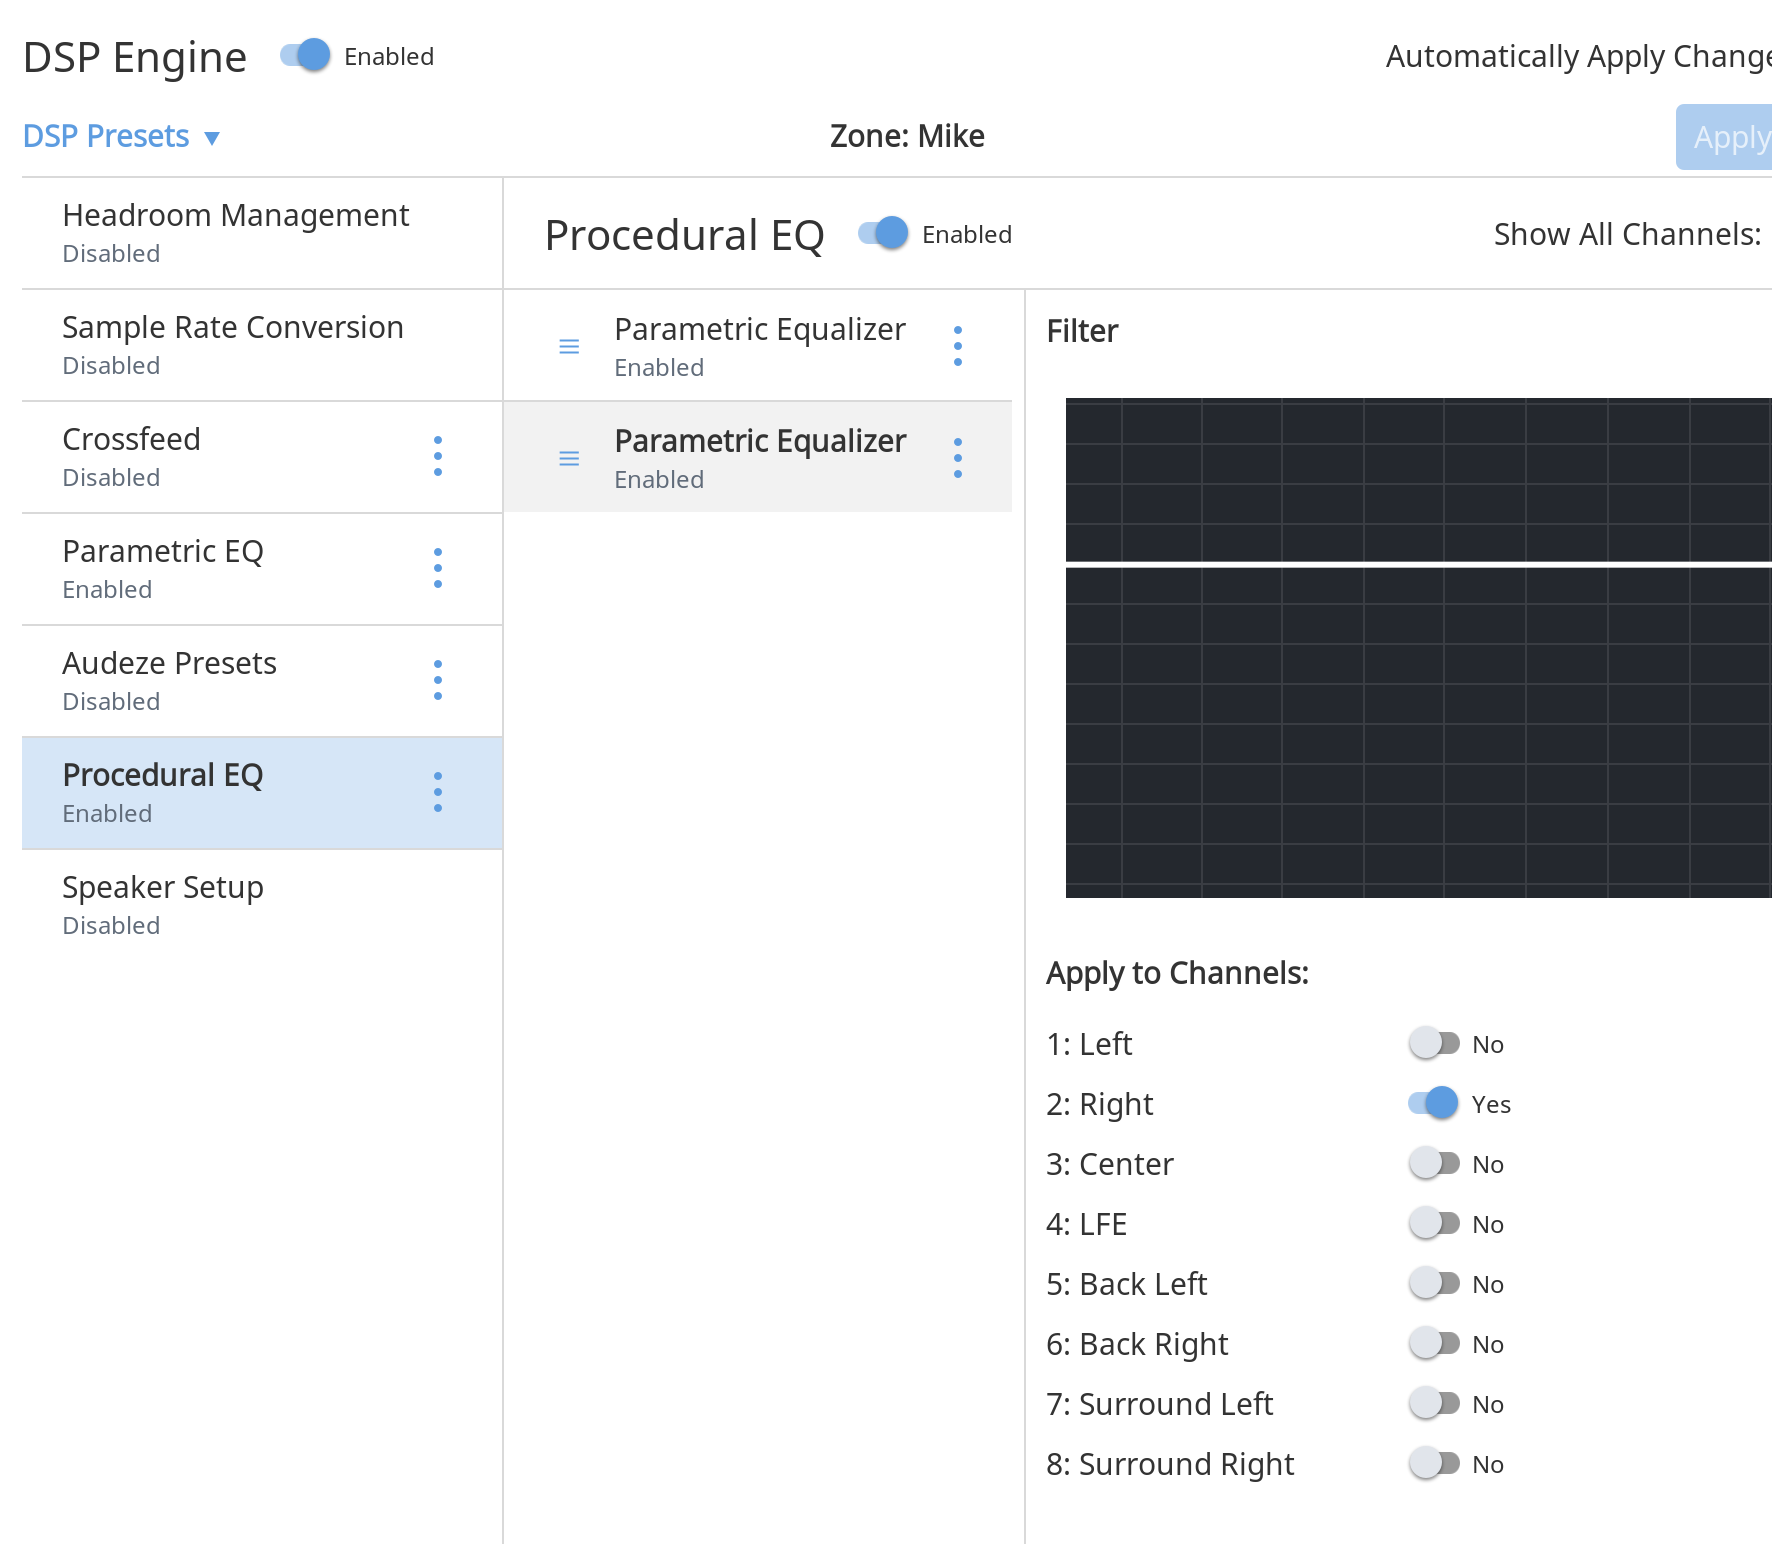
It is possible to do separate L/R EQ with the parametric equaliser in Roon - add ‘Procedural EQ’ and then, within that, add 2 parametric equalisers - set on to L channel and the other to R channel.
Wow! I did not know this. Thanks Mike. Sorry for stating wrongly that it could not be done! It is a fairly well hidden feature though…
This is something I can use myself. I used separate L/R PEQ in JRiver so I’ve missed this…
It’s cool it can be done, but once you’ve learnt how to do it via convolution it’s a bit easier than having to setup all the individual PEQs each time. Since REWs max is about 20 PEQs per channel, it’s a lot of values to type in.
If I were @Vincent_Frechette I’d invest the time learning convolution, and once you’d got a sense of what you like, consider a solution like HAF to make them for you!
REW has in the past done export files for specific vendors like Emotiva IIRC - maybe Roon could work with REW to implement an Export to Roon so that the settings could be imported into Roon and that would help a lot of people.
I might have this wrong and its Emotiva has an import REW settings from a text based Export in REW … maybe that is a better place to start.
Filter Settings file
        Room EQ V4.00
        Dated: 07-Jan-2007 17:20:32

        Notes:Example filter settings

        Equaliser: DSP1124P
        sampledata.txt
        Bass limited 80Hz 12dB/Octave
        Target level: 75.0dB
        Filter 1: ON  PA   Fc   129.1Hz (  125 +2 )   Gain -18.5dB  BW/60  4.0
        Filter 2: ON  PA   Fc    36.8Hz (   40 -7 )   Gain -15.5dB  BW/60 10.0
        Filter 3: ON  PA   Fc    99.1Hz (  100 -1 )   Gain  -3.5dB  BW/60  1.0
        Filter 4: ON  None
        Filter 5: ON  None
        Filter 6: ON  None
        Filter 7: ON  None
        Filter 8: ON  None
        Filter 9: ON  None
        Filter 10: ON  None
        Filter 11: ON  None
        Filter 12: ON  None