Cool, but seems expensive when you can do the same with a Chromecast (GoogleTV cost less) and also get digital audio? What am I missing? Note: I love and own this app, for my AppleTV.
I have 3 of those too (Chromecasts) which are great for secondary TVs, though I prefer Apple TV for my main room with Roon (for the transport controls, etc. using a physical remote). My 2 cents (as I’m not the creator): this setup is a great use case if you have a spare monitor and Apple TV lying around, which I’m sure many people do as Apple keeps upgrading their products (and monitors are pretty cheap nowadays). I can always find room for yet another Roon display and with this you can control Roon with a physical remote (can’t do that with Chromecast as it’s just a display only). I think it’s pretty darn cool and plan to set this up in my listening room which does not have a TV ![]()
3 Likes
Exactly this. And I had the Apple TV sitting around unused.
3 Likes
Thanks for sharing — I’ve been using Harmony and RooExtend for playback controls so that didn’t factor for me but it’s good to know ![]() -Cheers
-Cheers
1 Like
Just bought The app, and can’t get it working. The extension appeared for a brief moment in my Room set up, but then disappeared, and the app on Apple TV won’t discover my core. What should I do? Thanks.
This is how I get mine working:
- Open the App on AppleTV
- Extension should now be visible in Roon/Extensions
- Roon/Extension find the extension and click ENABLE
If the app doesn’t see your Roon core then you need to check your network and make sure they are both on the same subnet e.g. 192.168.1.X. Some ppl have different wireless networks running or have Apple TV on a wireless AP that is on another Subnet. If the AppleTV can’t ping/see your Roon core it won’t work.
Thanks Henry. That works for a few songs, then the app drops connection to the core. I run Roon on a Mac Mini that always has a VPN running. The VPN might be a part of my issue?
YES, the VPN could definitely be the cause, you might be able to still play music on your MAC but basically you’ve just created a new Virtual Network and your other endpoints would no longer reach the core.
However, there is hope…
What you want is to create a “Split Tunnel” - I don’t have a MAC Mini as my Roon core, so I just pulled these instructions from a google search. How to split tunnel VPN traffic on Windows, MacOS, DD-WRT & Tomato
The goal is to add a route entry into your systems routing table so that local packets are routed via your local network instead of your VPN.
TIP: I run Roon on a NUC using AudioLinux and it’s several orders of magnitude better for me than relying on my WindowsPC. YMMV
Thanks again Henry that’s a little more complicated than I want to engage with. I’ll guess I’ll wait until I upgrade to streamer or integrated amp with the display built-in. I appreciate your help.
Israel - perhaps I made it sound too complicated in the interest of providing you a detailed response… What VPN client are you using? It could be as simple as a checkbox to enable split tunneling. Here is some input from ChatGPT:
![]()
do you have a list of mac vpn clients that support split tunneling
ChatGPT
Certainly, here are some macOS VPN clients that often support split tunneling:
- Cisco AnyConnect Secure Mobility Client: This popular VPN client commonly supports split tunneling, allowing you to choose which traffic goes through the VPN and which uses your regular internet connection.
- OpenVPN Connect: If you’re using OpenVPN as your VPN protocol, the OpenVPN Connect client for macOS often provides split tunneling options.
- Tunnelblick: This open-source OpenVPN client for macOS may support split tunneling, depending on your VPN server configuration.
- ExpressVPN: ExpressVPN’s macOS app typically supports split tunneling, allowing you to select which apps or traffic should use the VPN connection.
- NordVPN: NordVPN’s macOS app includes a split tunneling feature, giving you control over which applications route traffic through the VPN.
- Surfshark: Surfshark’s macOS app offers split tunneling options to choose which traffic is routed through the VPN and which isn’t.
Please note that the availability of split tunneling features may vary depending on the version of the VPN client and the specific VPN service you are using. Be sure to check the settings and documentation of your chosen VPN client for detailed instructions on configuring split tunneling.
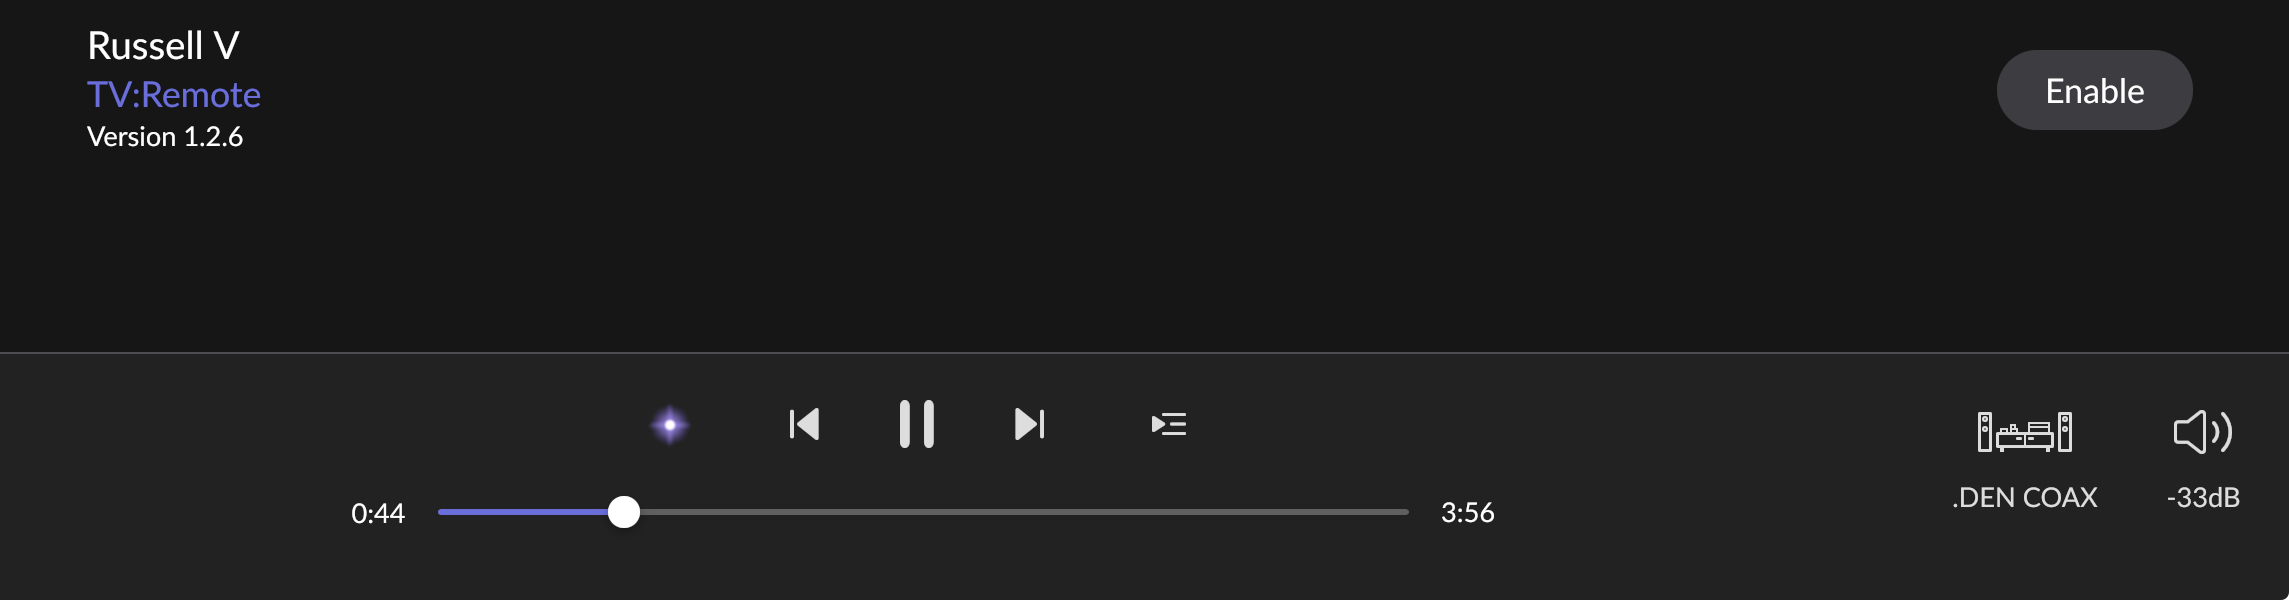
I’m using the app on my apple tv successfully. The only thing that concerns me is that, I can not use the volume control buttons of my atv remote control. I always have to use the ring of the remote control, to move to the volume digit and using the ring for up/down.
I just want to use to +/- button of the remote control itself
Can you control the volume for that zone from within Roon?
Thanks again Henry. The Mac version of NordVpn does not support split tunnels.
This is the behavior that I see as well. I’ve assumed that it’s by design.
My guess is that that apps can’t intercept or control the behavior of the volume buttons. Apple TV remotes are often configured to directly control the volume of an A/V receiver or soundbar. In that configuration, they emit IR commands. I believe applications can’t change that behavior any more or less than they can change the behavior of the remote’s power button.
I think we just have to live with using the ring to control the volume.
1 Like
Israel,
The link I shared above has the instructions (below) for enabling the Split Tunnel in macOS. Note, that without this any streamer/integrated Roon Ready amp you buy is going to have the same issue seeing your Roon core. So if you decide to keep your core on your Mac you need to make sure it’s visible on your network to other endpoints.
- Go to System Preferences > Network
- In the left sidebar, click your VPN connection and go to Advanced settings > Options
- Uncheck the box for Send all traffic over VPN connection
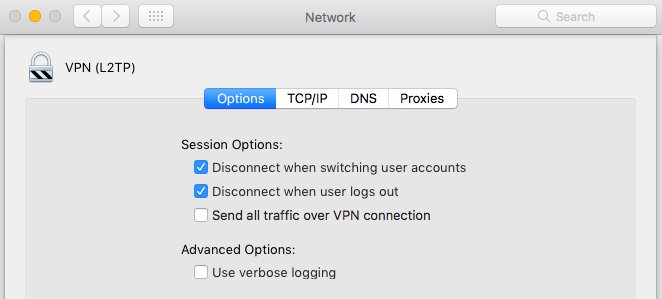
- Save your changes and connect to the VPN
- Once connected, go to Application > Utilities > Terminal
- Type ifconfig into the terminal and hit Enter. Make a note of the interface used by the VPN. Using L2TP, this will probably be ppp0

- Log in as root. An easy way to do this is to type sudo su into the terminal and authenticate with your Mac password.

- Enter the following command, replacing >DESTINATION SUBNET< with the subnet you want routed through the VPN, and >VPN INTERFACE< with the interface listed in the previous step.route add -net >DESTINATION SUBNET< -interface >VPN INTERFACE<
All good Henry. Too complex for me. Roon works fine on the Mac with a VPN running 24/7. The only trick is this remote extension won’t work. I can live without it.
A core use case for Roon is to use it as a server with endpoints in our home/network able to see the core and play music, even in sync. In my case, 10+ rooms/systems. If you are happy with running Roon only on your Mac, that’s great. However, if you want to expand to other rooms and devices, you will need to make your core visible. As long as you are enjoying it, that’s what matters.
Henry I appreciate your insights, but you are describing issues I don’t have and never have had. My only issue with Roon and a VPN was with the TV remote app.
Other than that small bump, Roon has been running and serving 5+ zones from a Mac with zero issues with NordVPN running 24/7 for almost six years.
In that case, you may have another issue… If your endpoints can see your core, your AppleTV also should… could be network configuration. Just trying to help…
1 Like
Hi, @Israel_Smith.
I had issues with this as well. The Apple TV app supports specifying the IP address of your Roon server. You get to the settings by going into the Apple TV “Settings” app and accessing Apps > TV:Remote. From there, you can enable “Connect Using Core IP Address” and set the IP address and port for your Roon server. You can find the IP address and port in Roon Settings under Settings > Displays. Both are in the Web Display URL.
This worked for me.