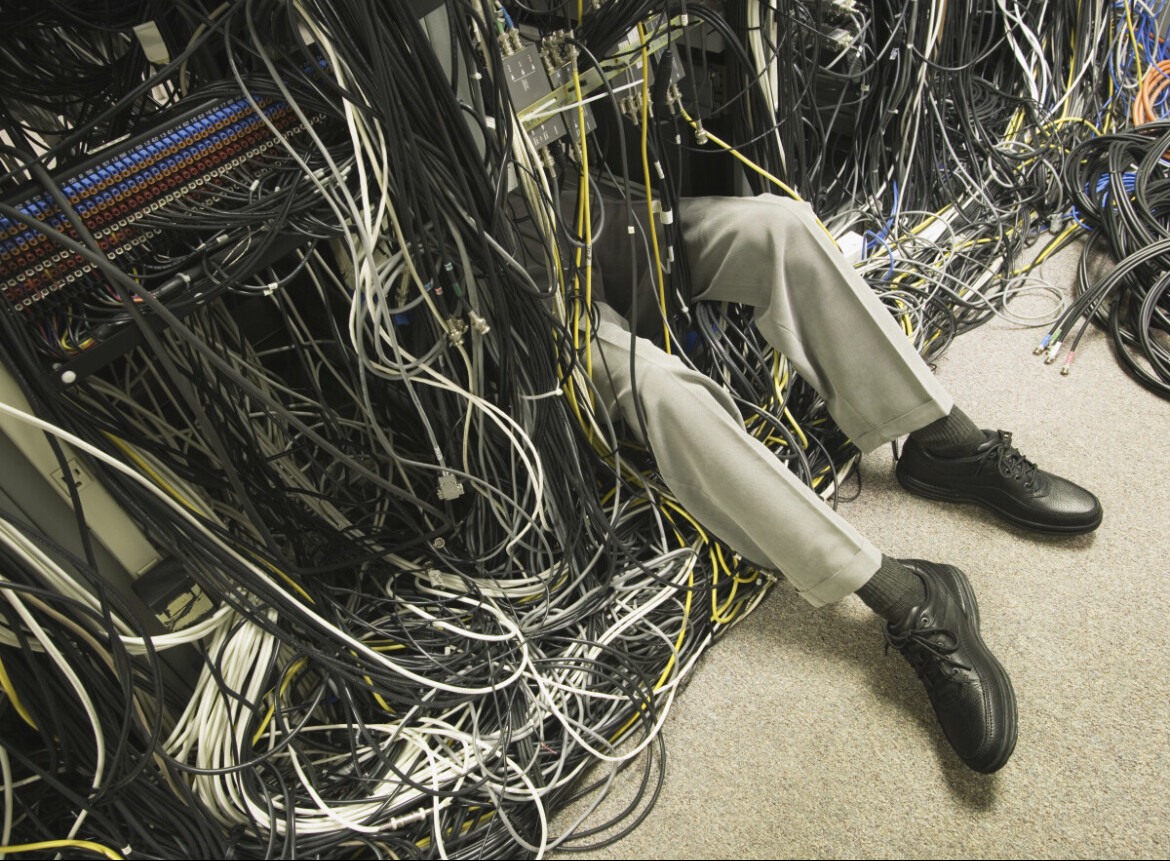
We all live with the ever present bane of lots of wires and cables attached and connecting all our computer and audio equipment. Many of us have discovered clever ways of trying to manage this often unsightly Medusa of modern life. While I have had only limited success in dealing with the nightmare of cables, I have a few methods that I use which are sometimes helpful. Here are some of my tips, successes and failures (and a few of them are truly epic!).
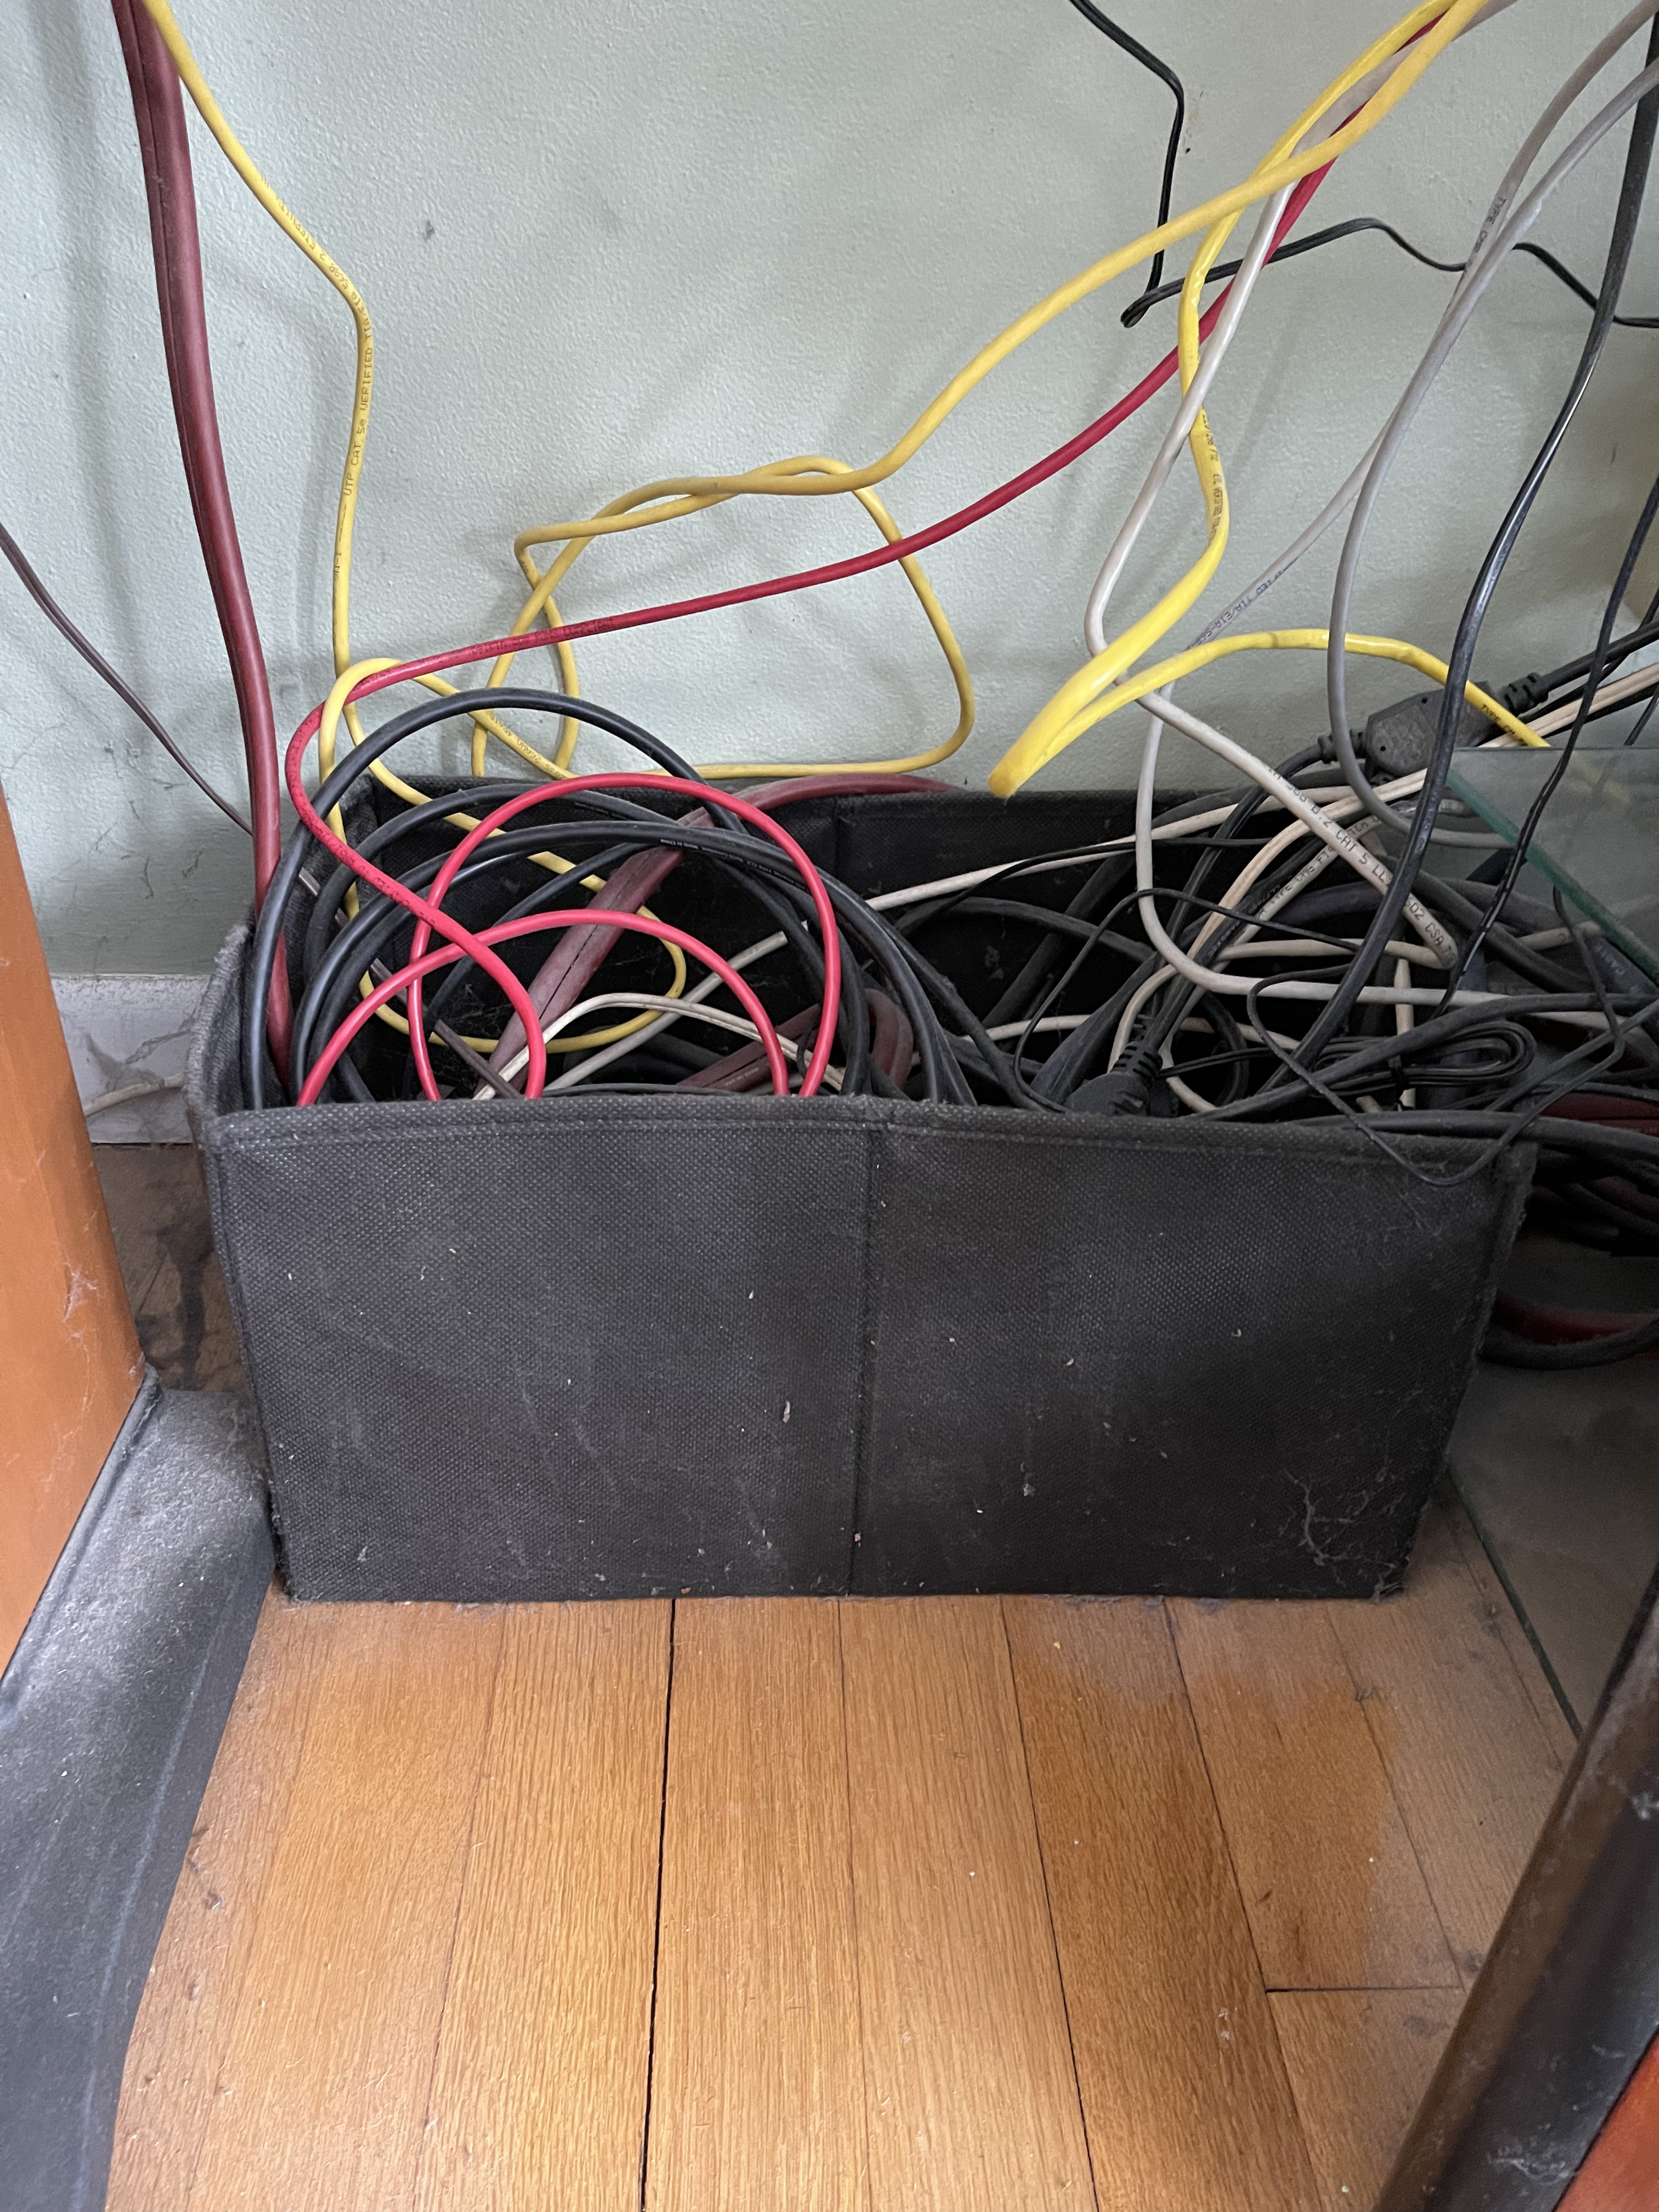
Tip: when possible use some kind of container to “capture” and hide excess cables, power cords, power strips and power supplies.
This box sits next to the TV stand and captures some of the many cables that are part of my home theater set. I call this one a success.
Another trick is to run the cables behind walls or under the floor or through a crawl space, basement or attic:
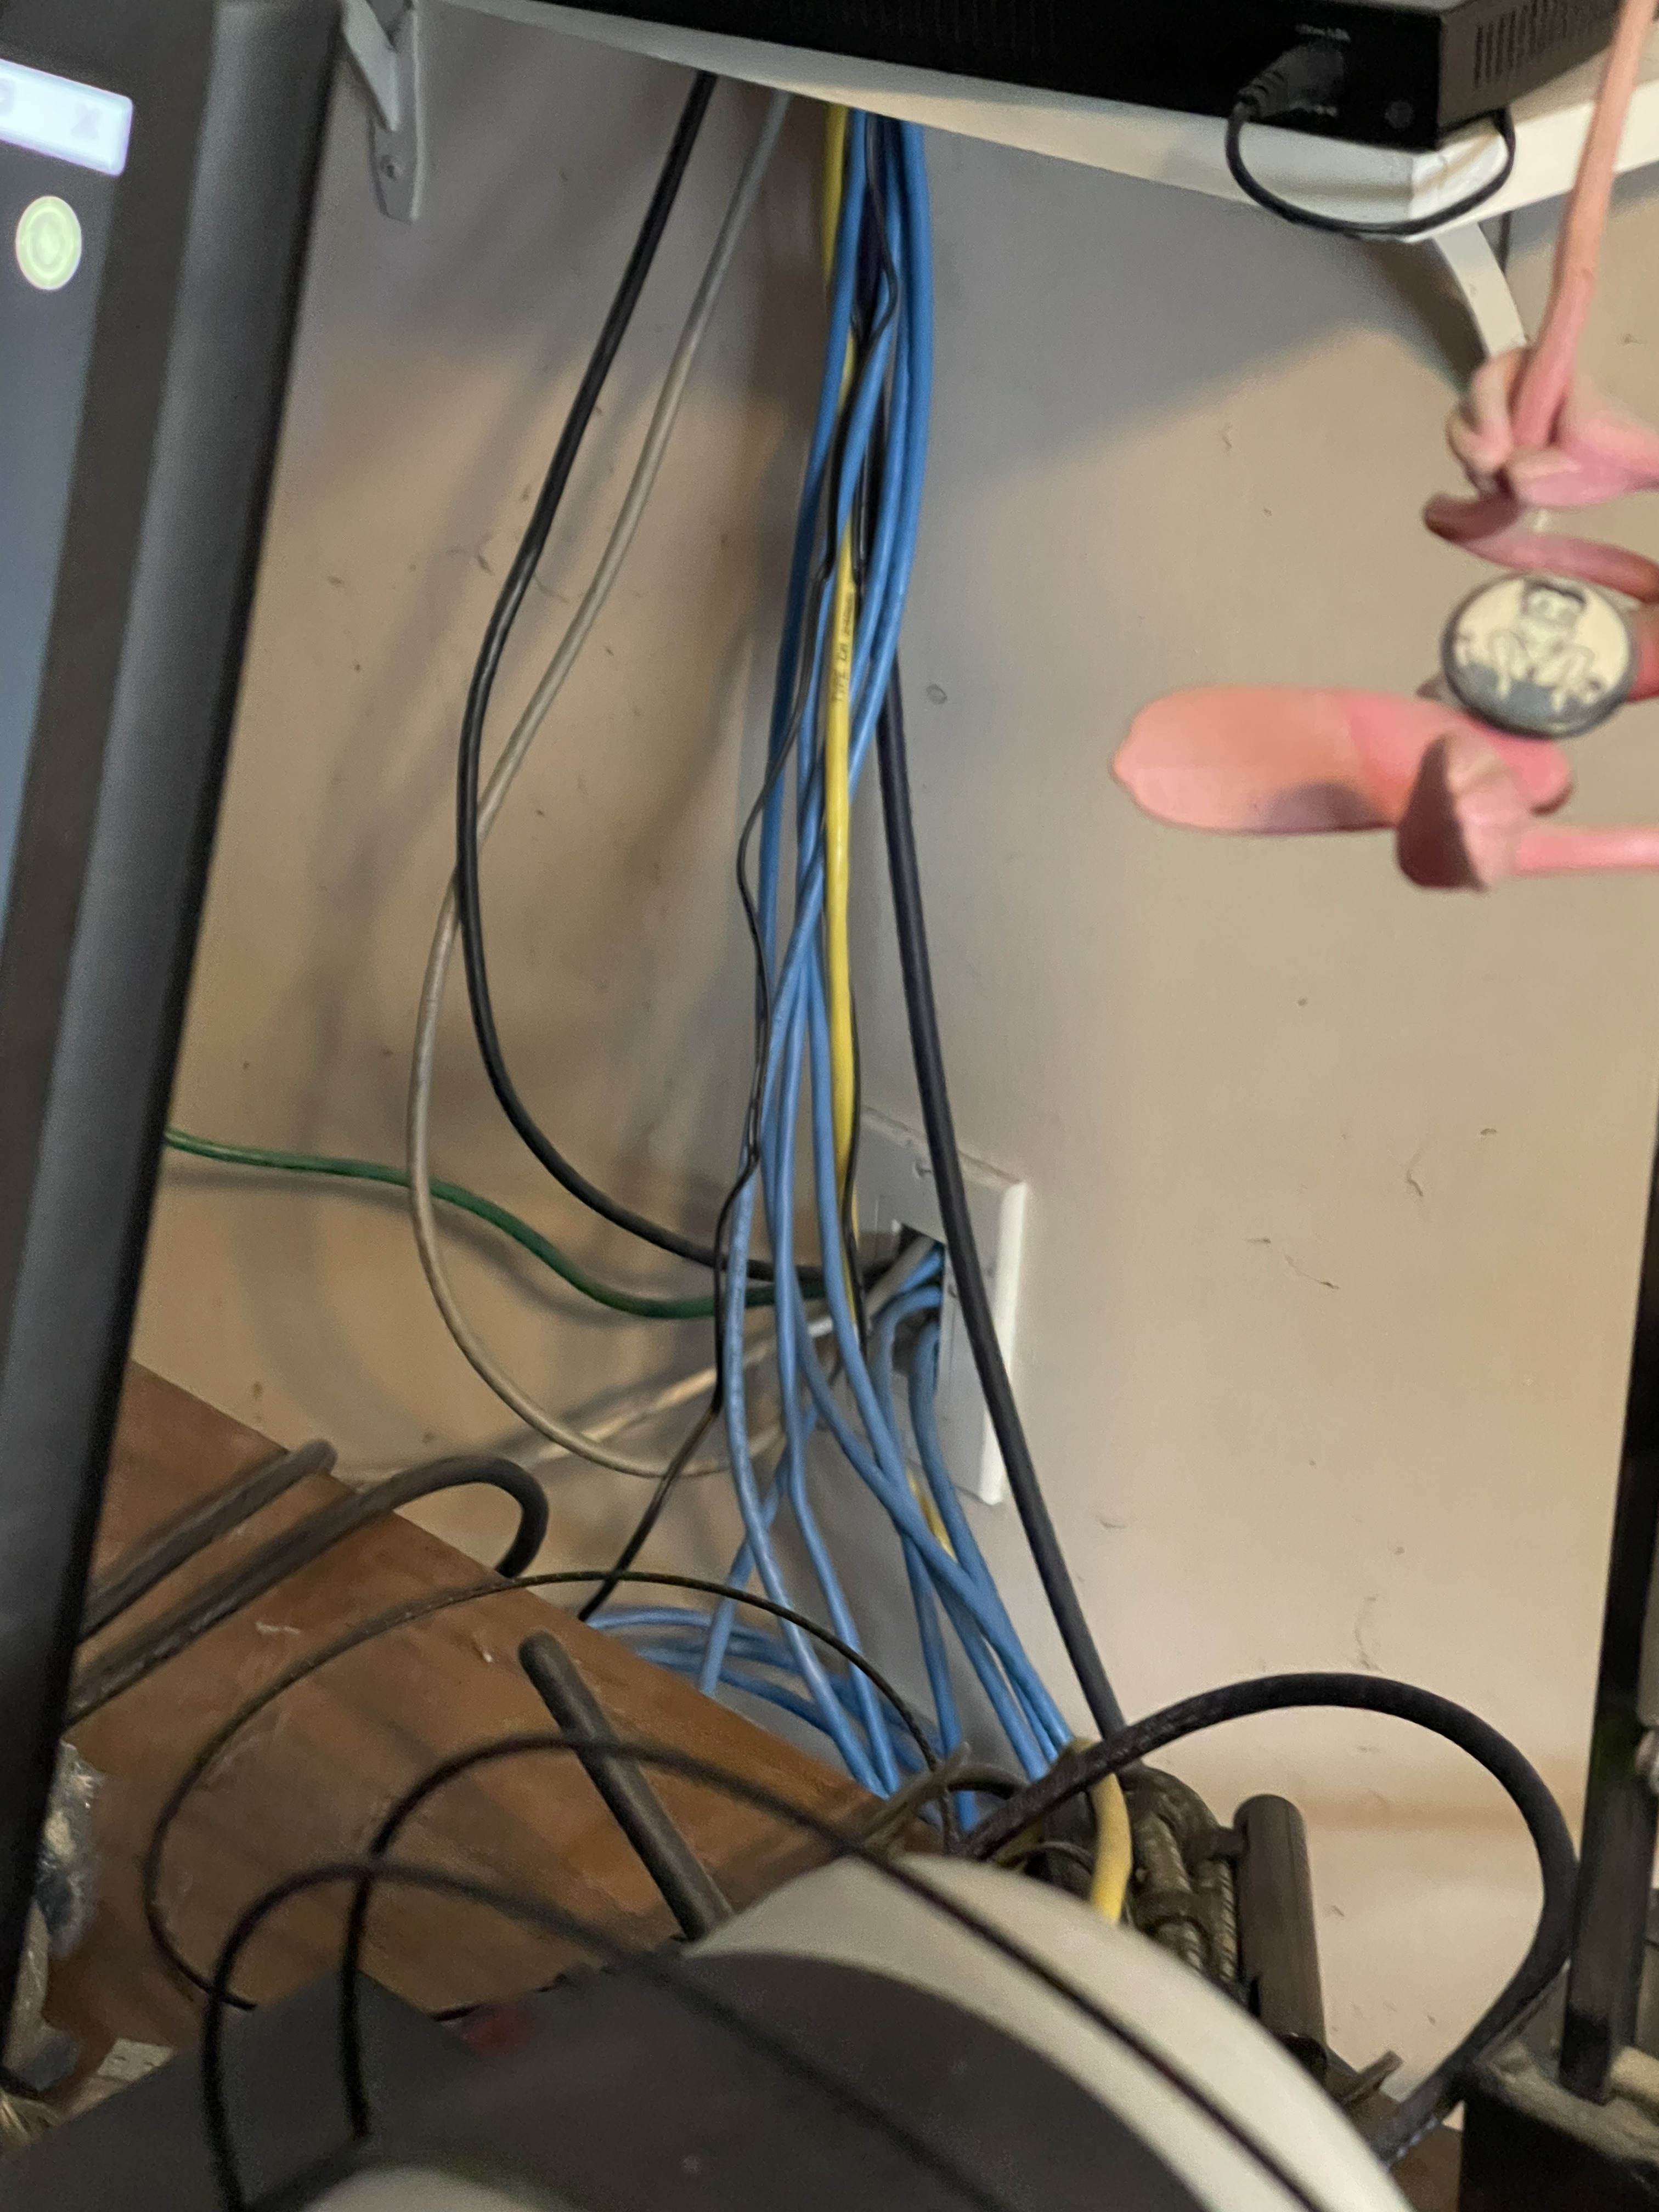
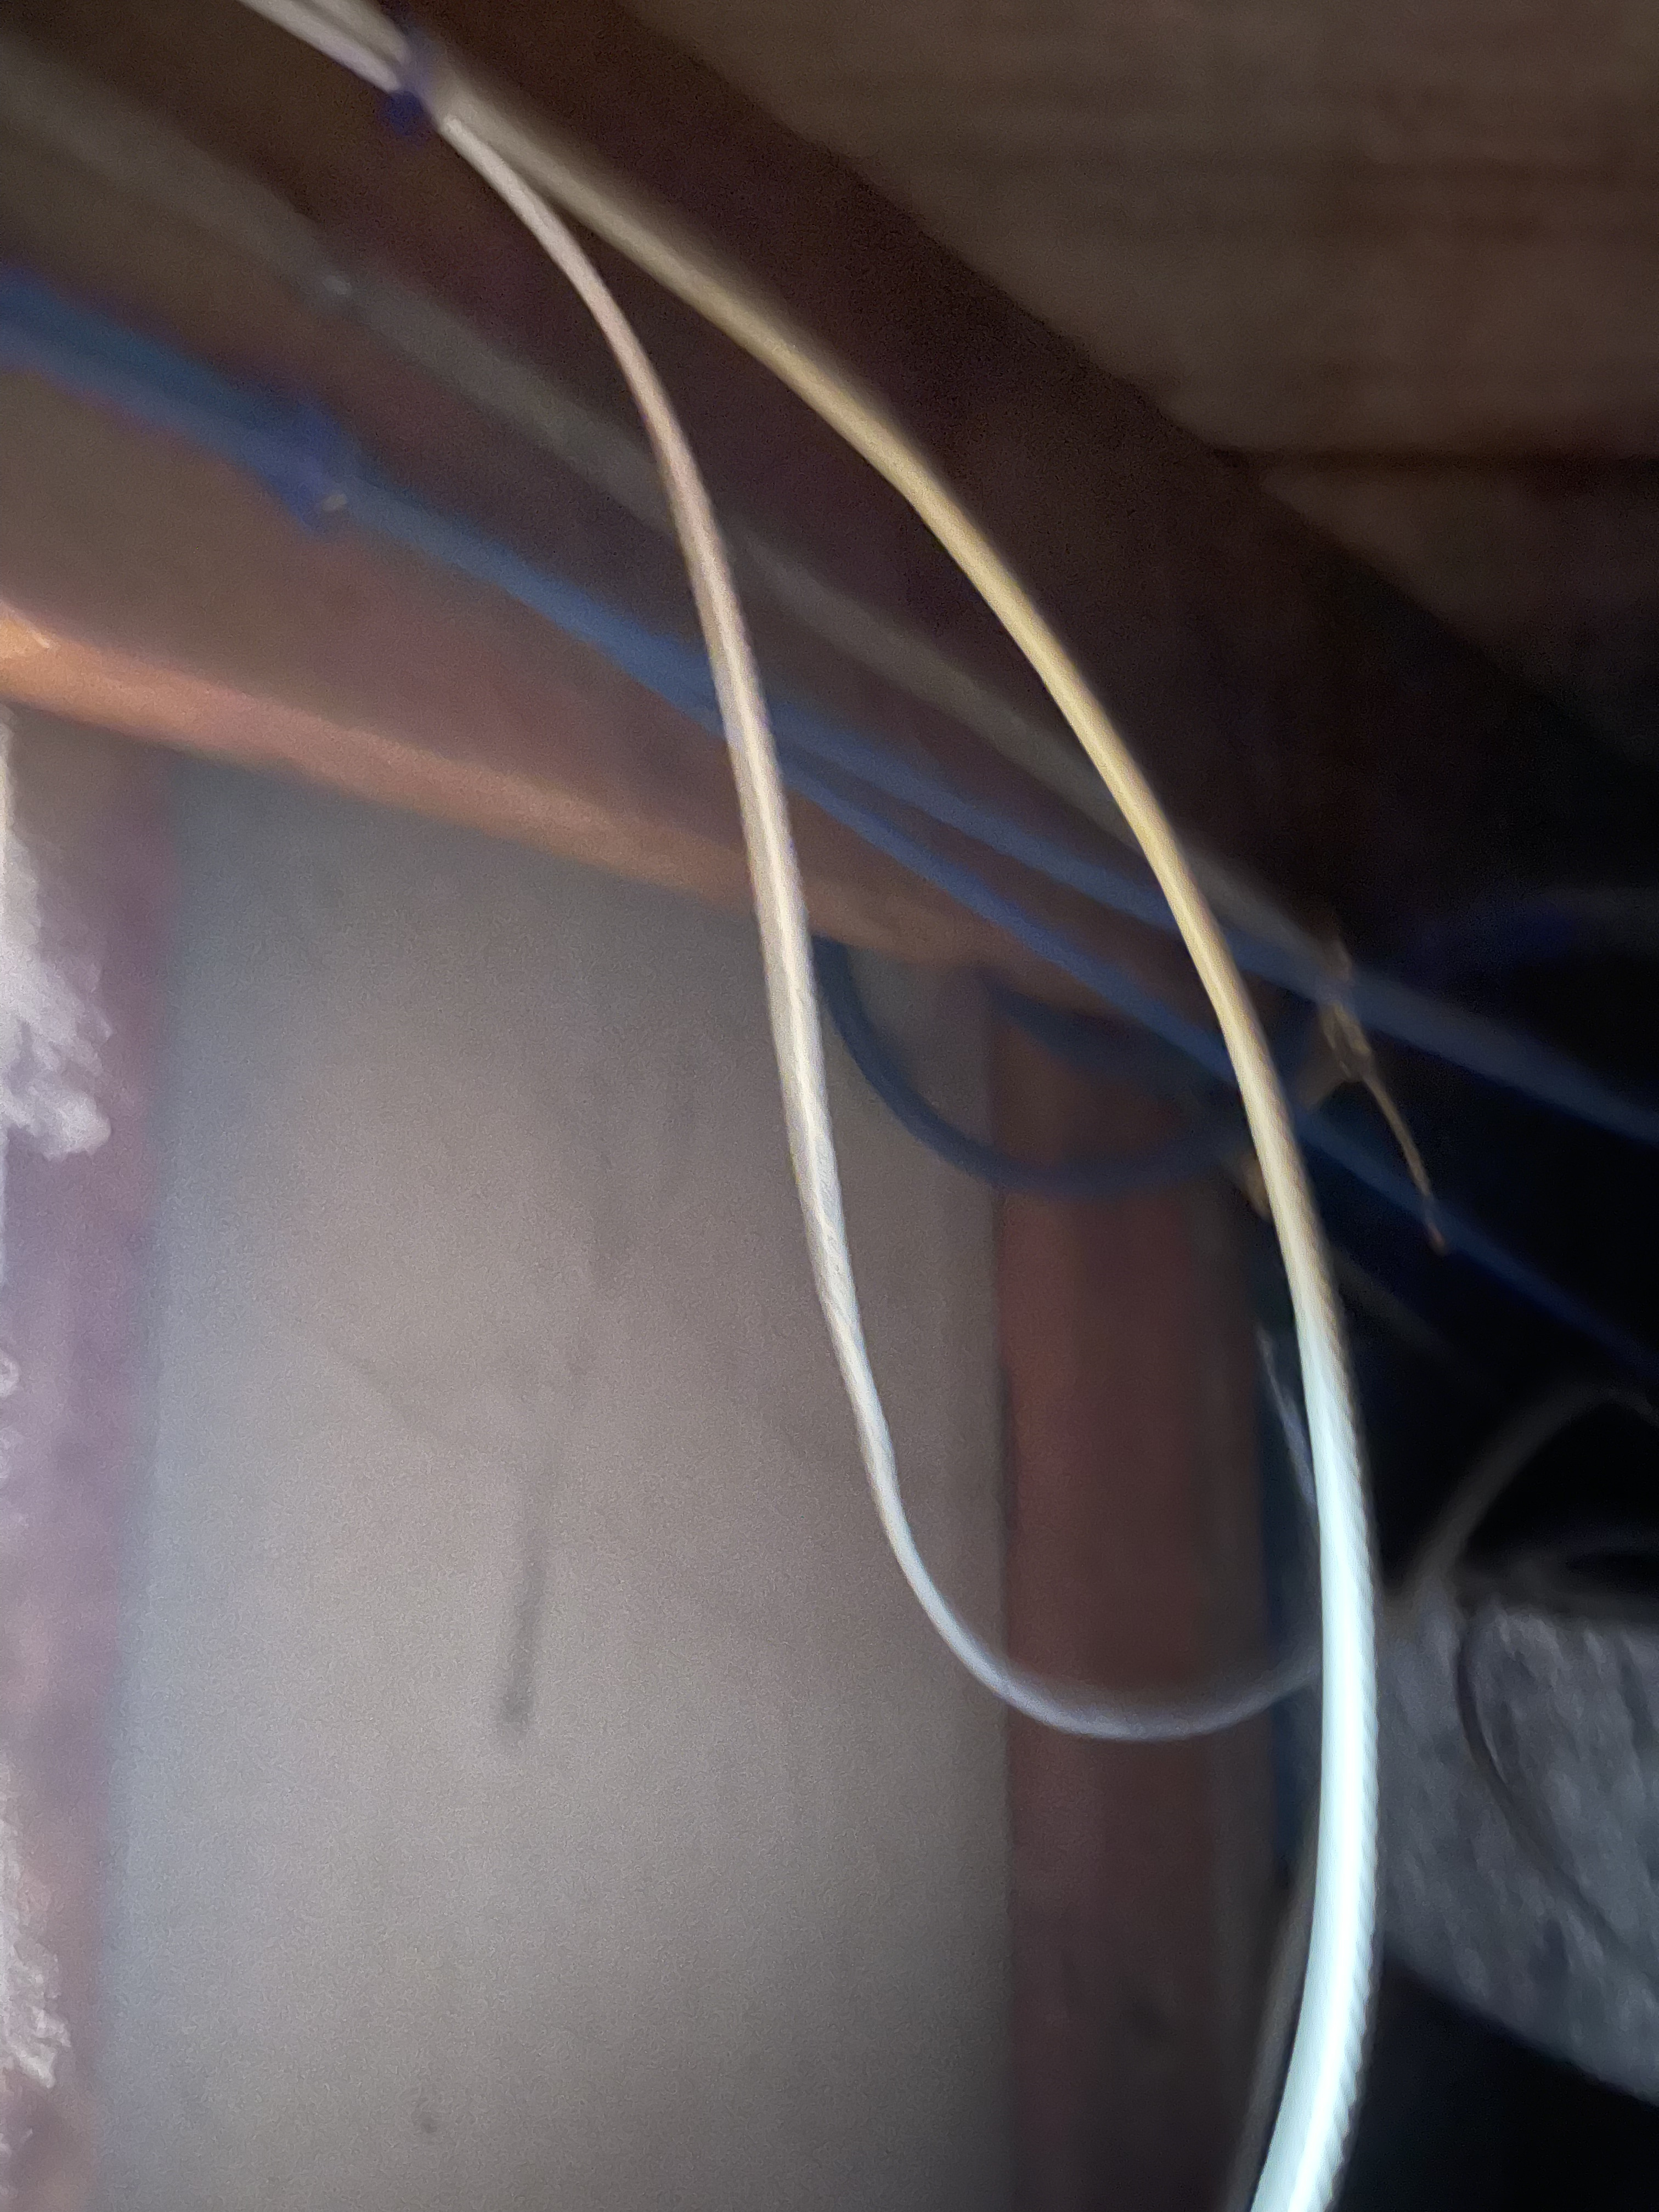
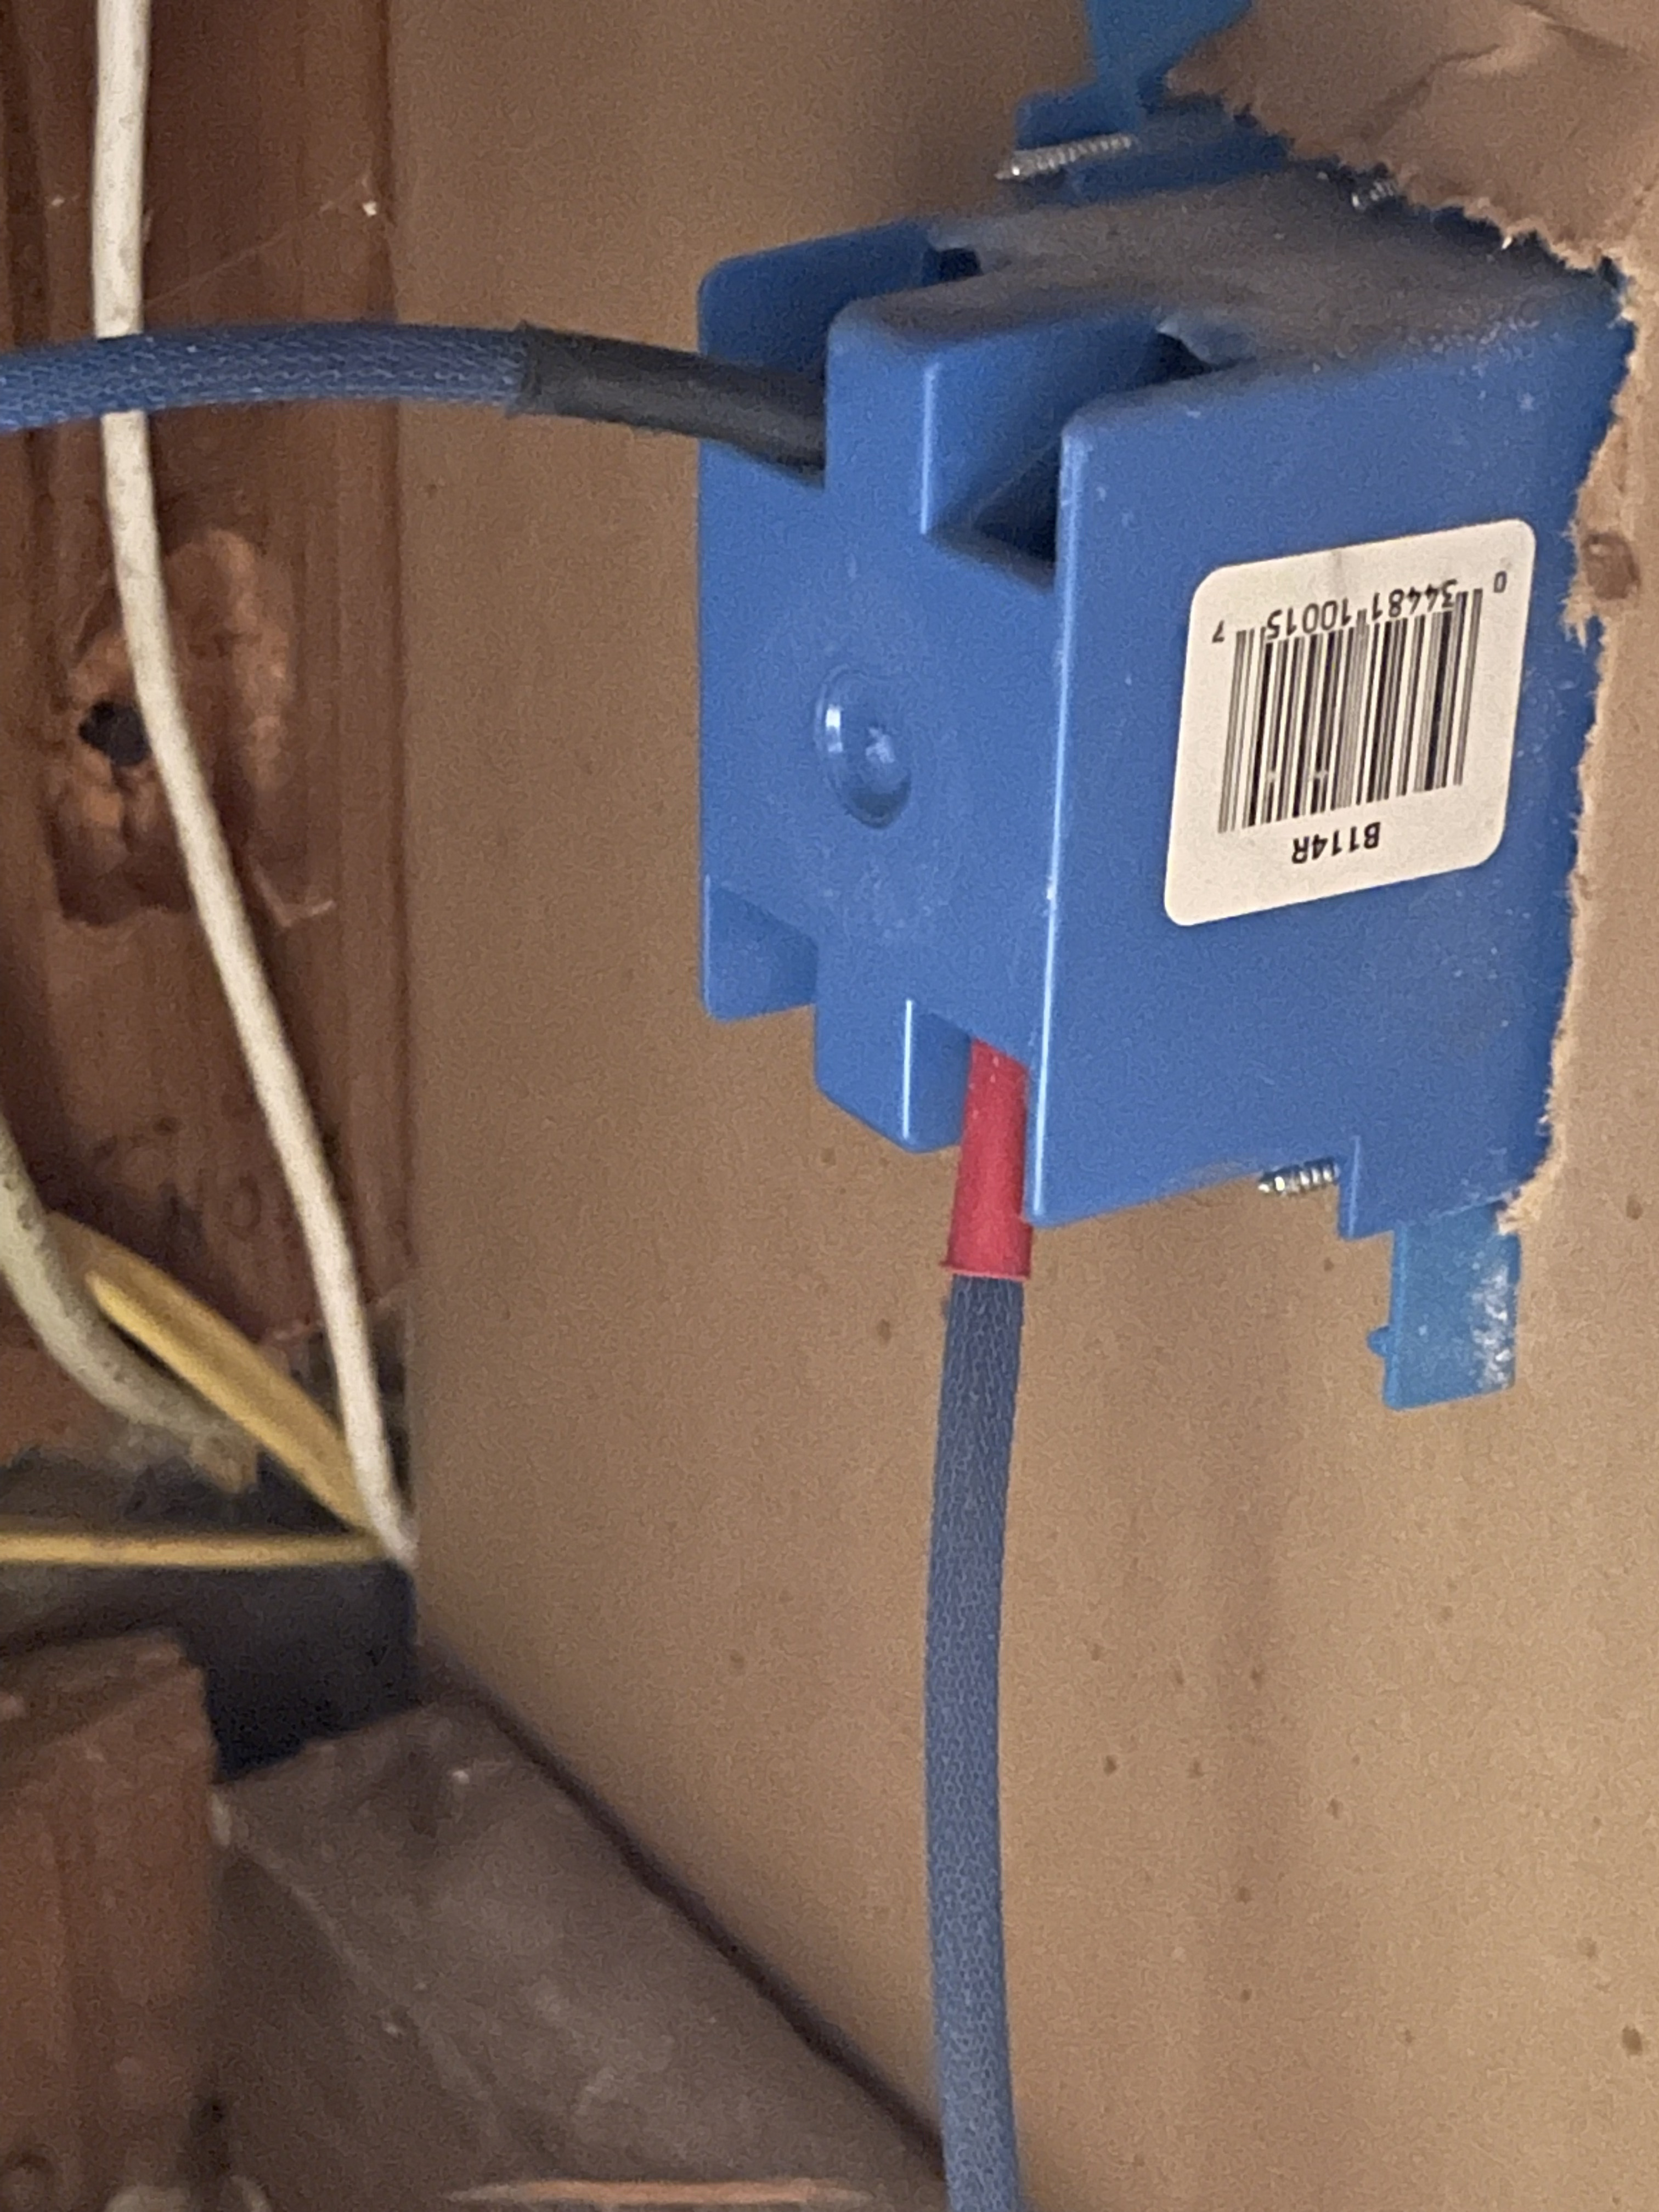
Here are some Ethernet and audio cables going from the computer area into a crawl space (and beyond!)
And now the failures and near misses:
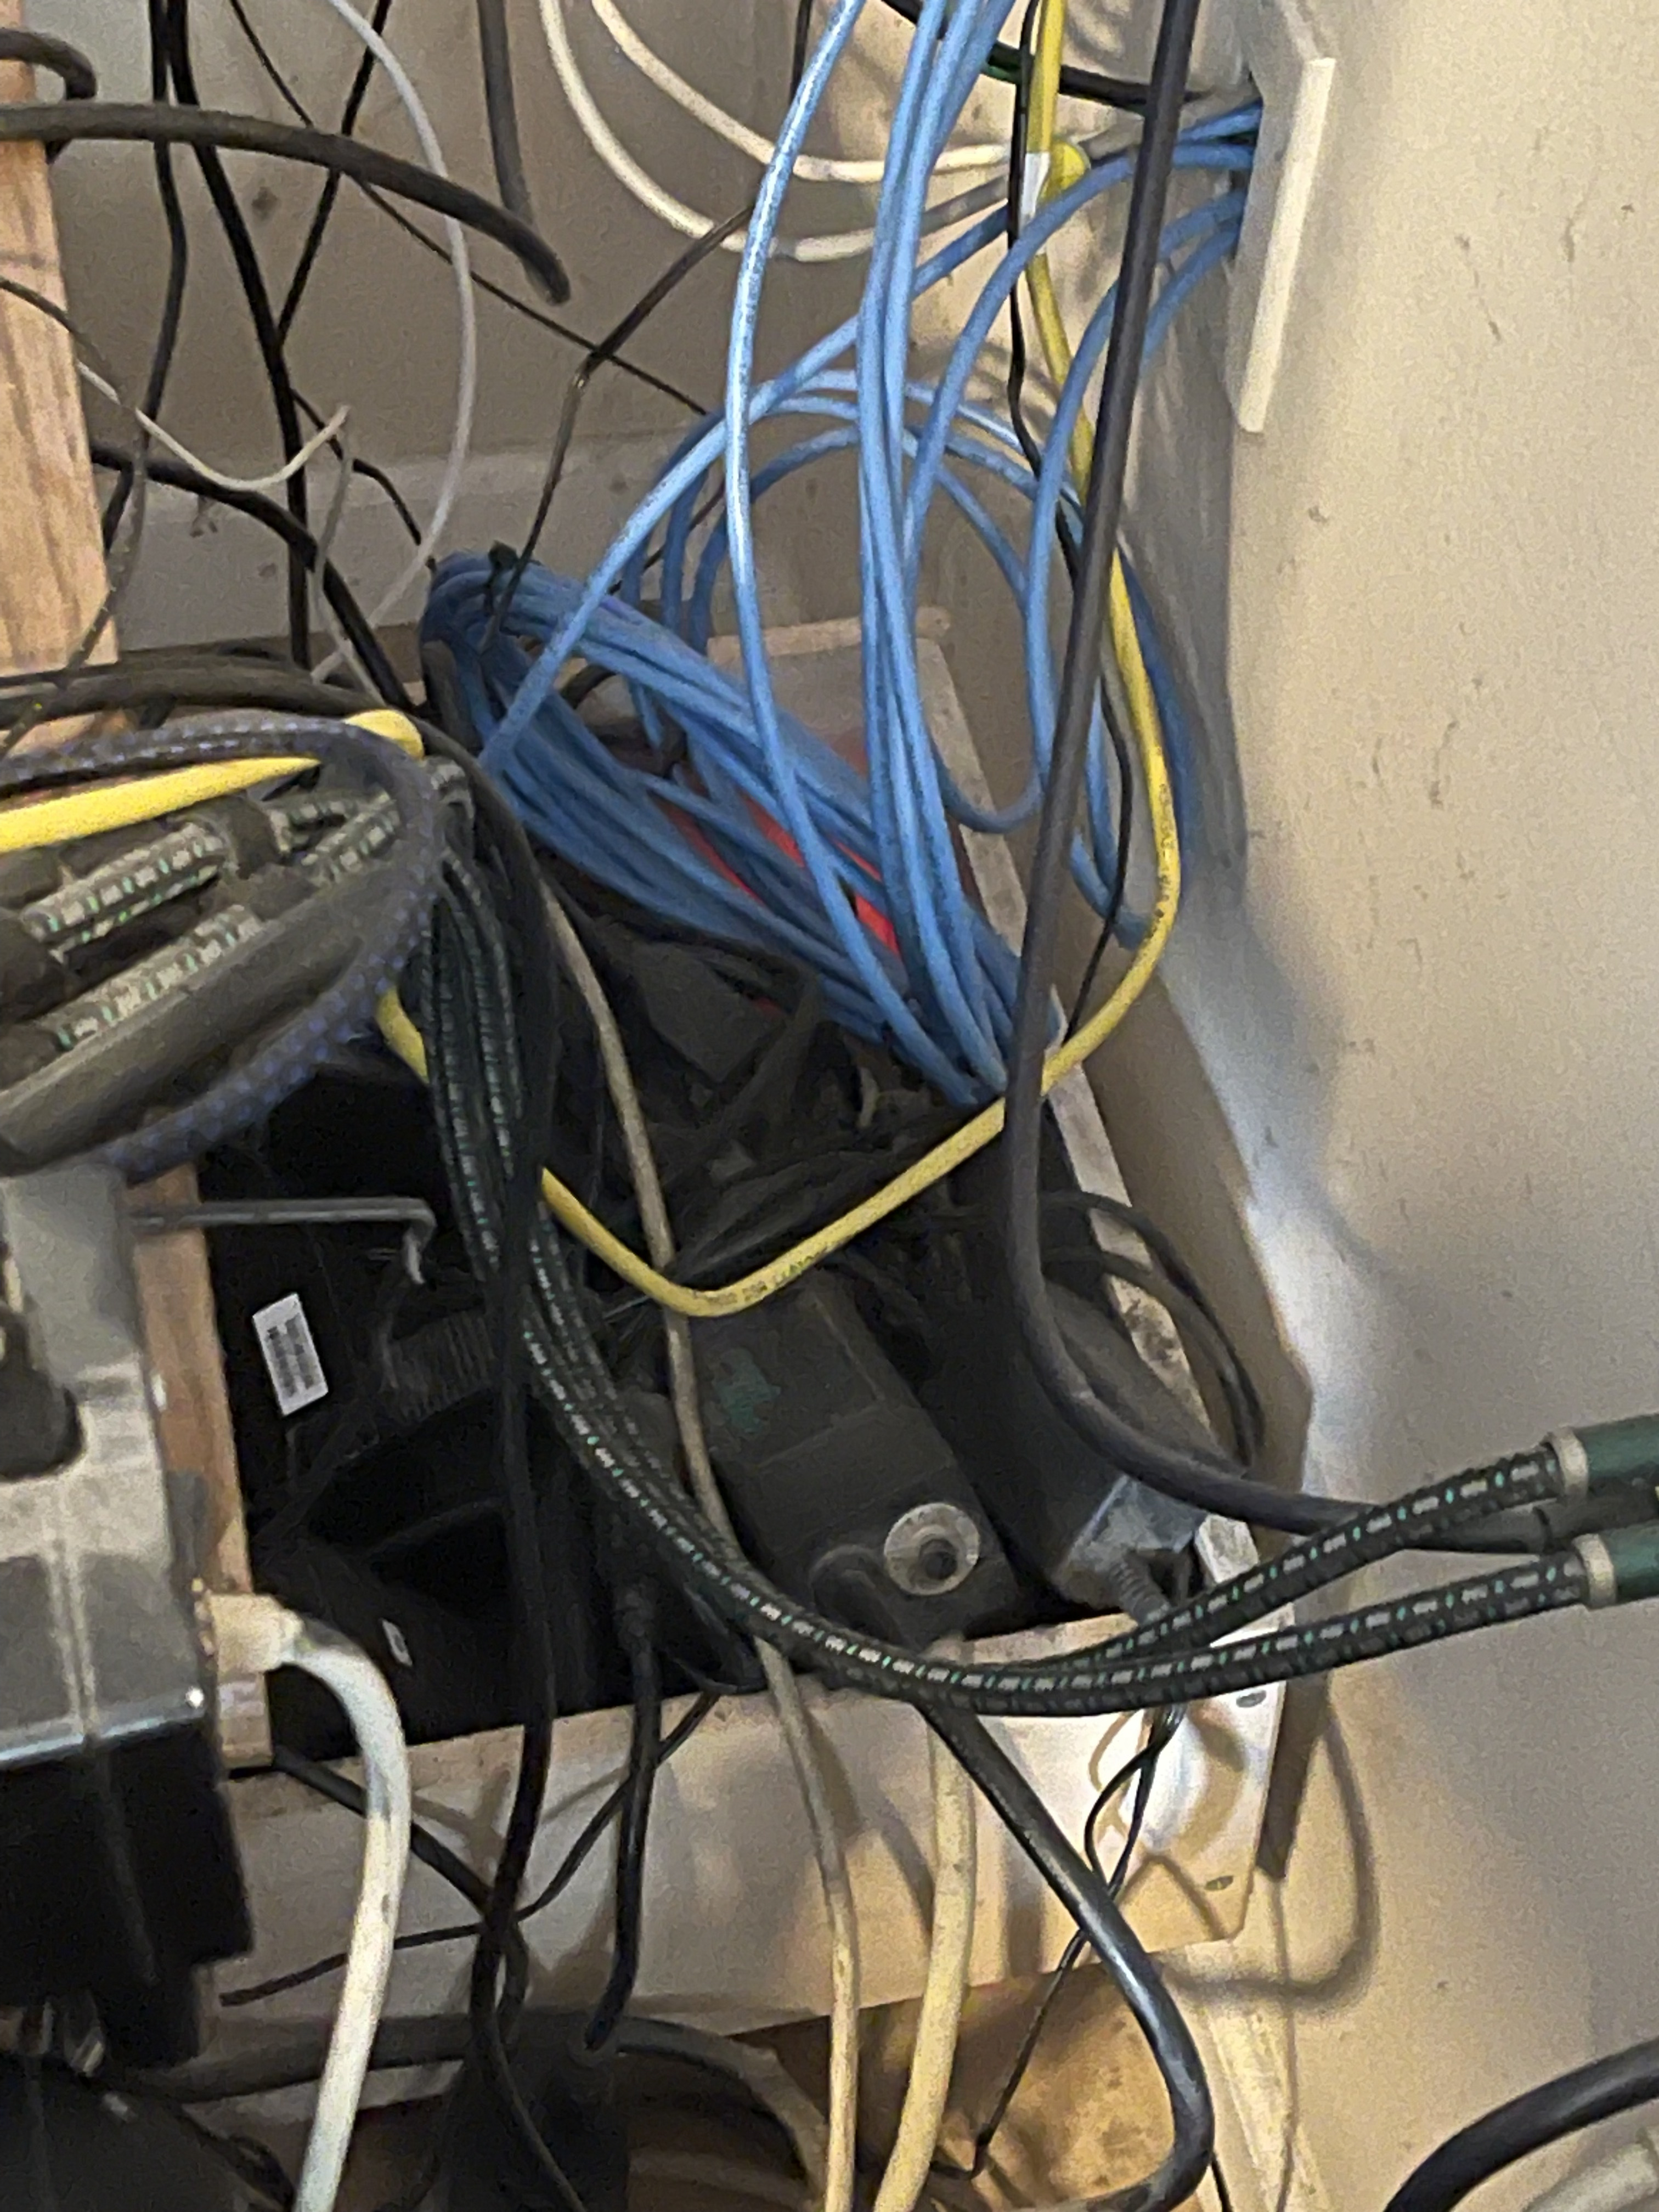
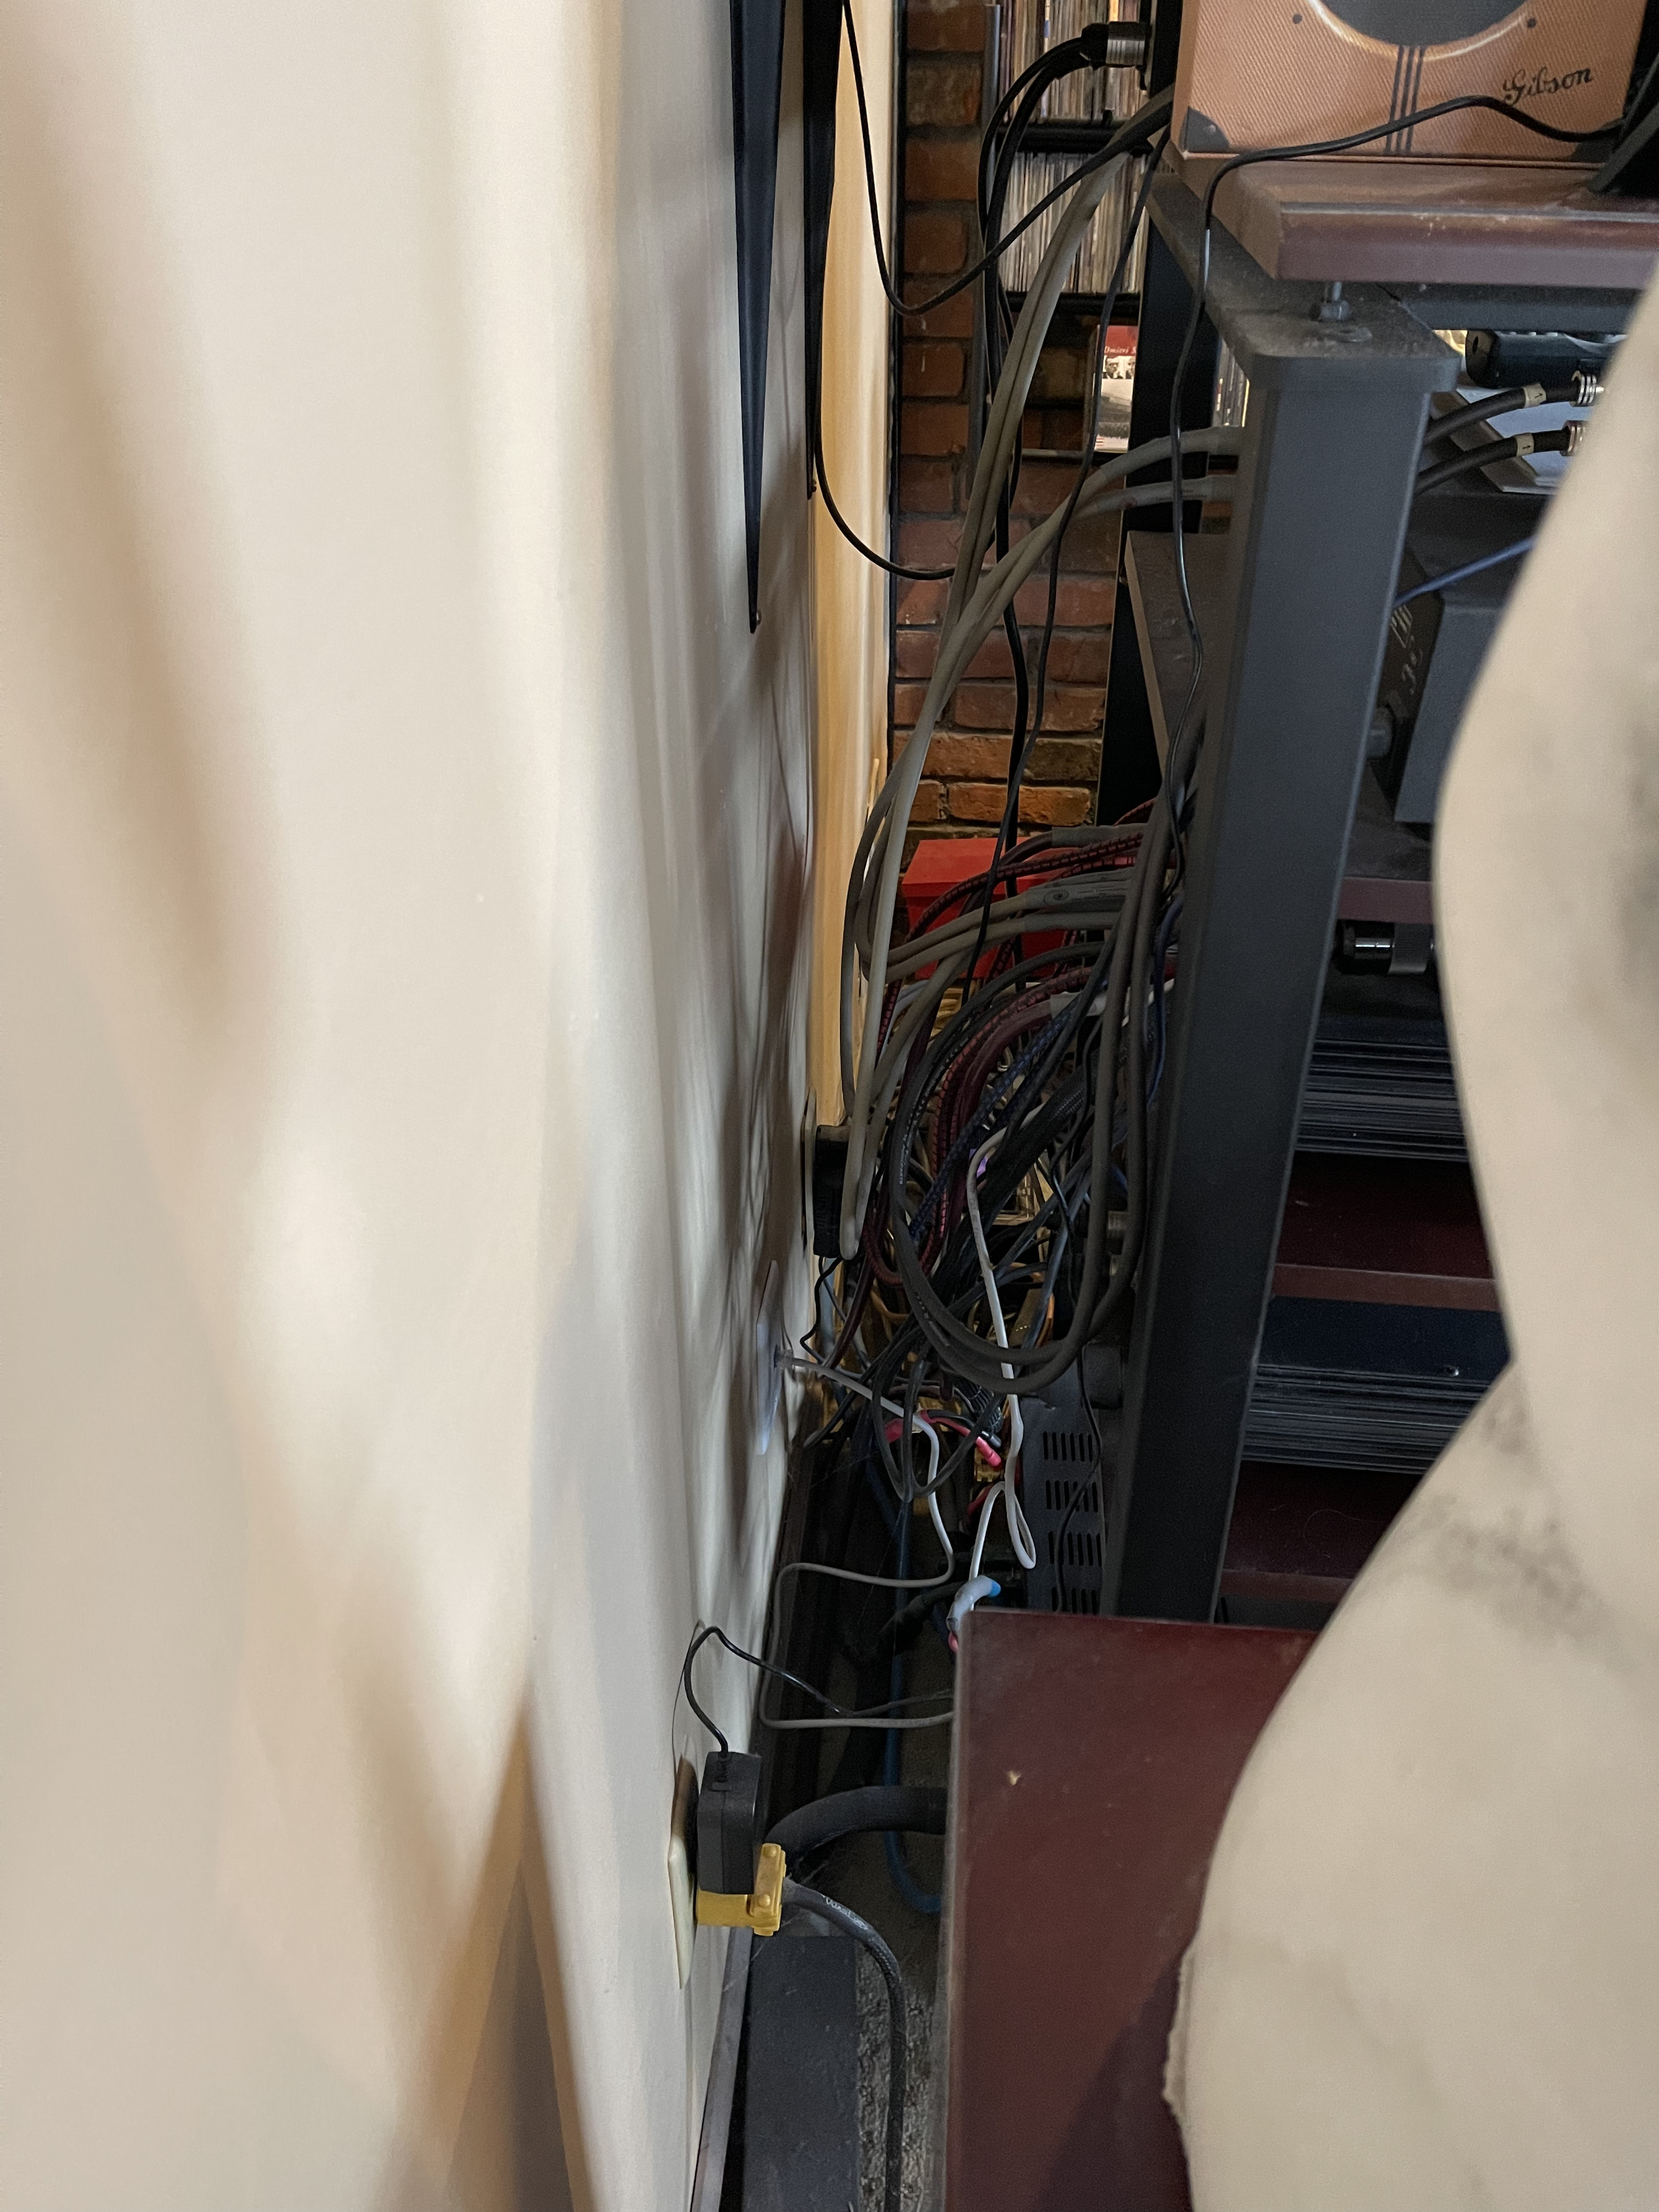
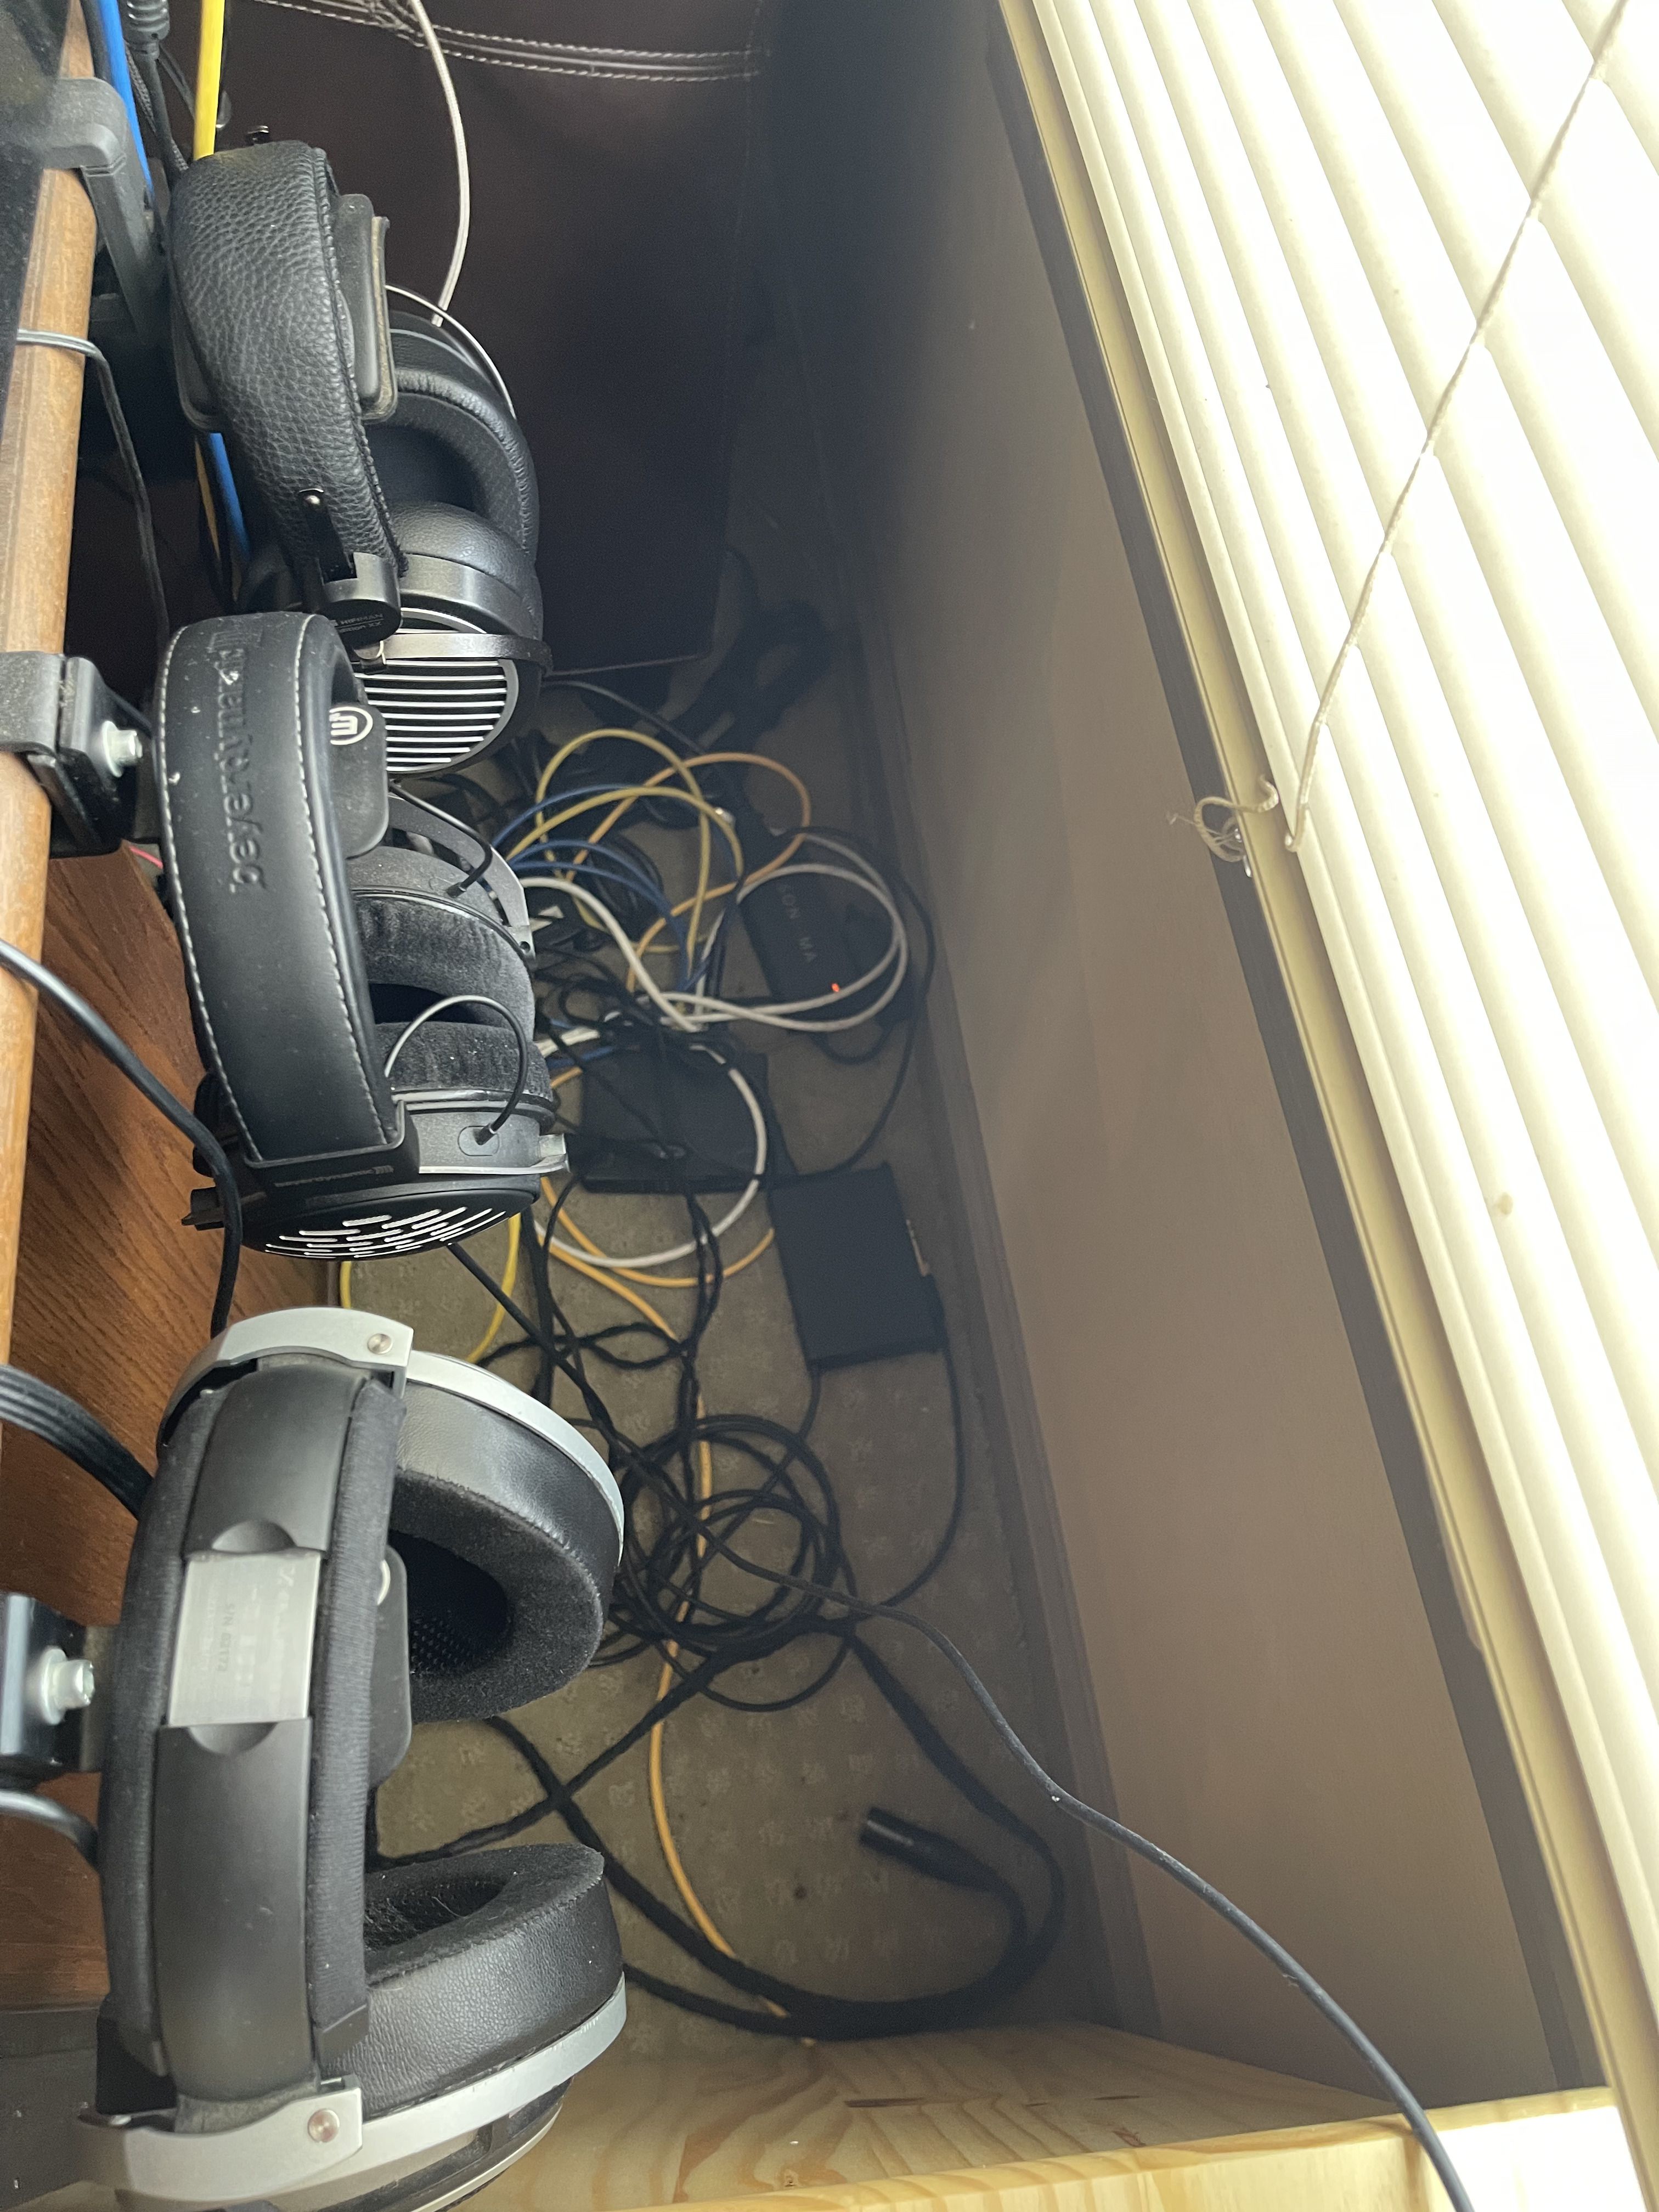
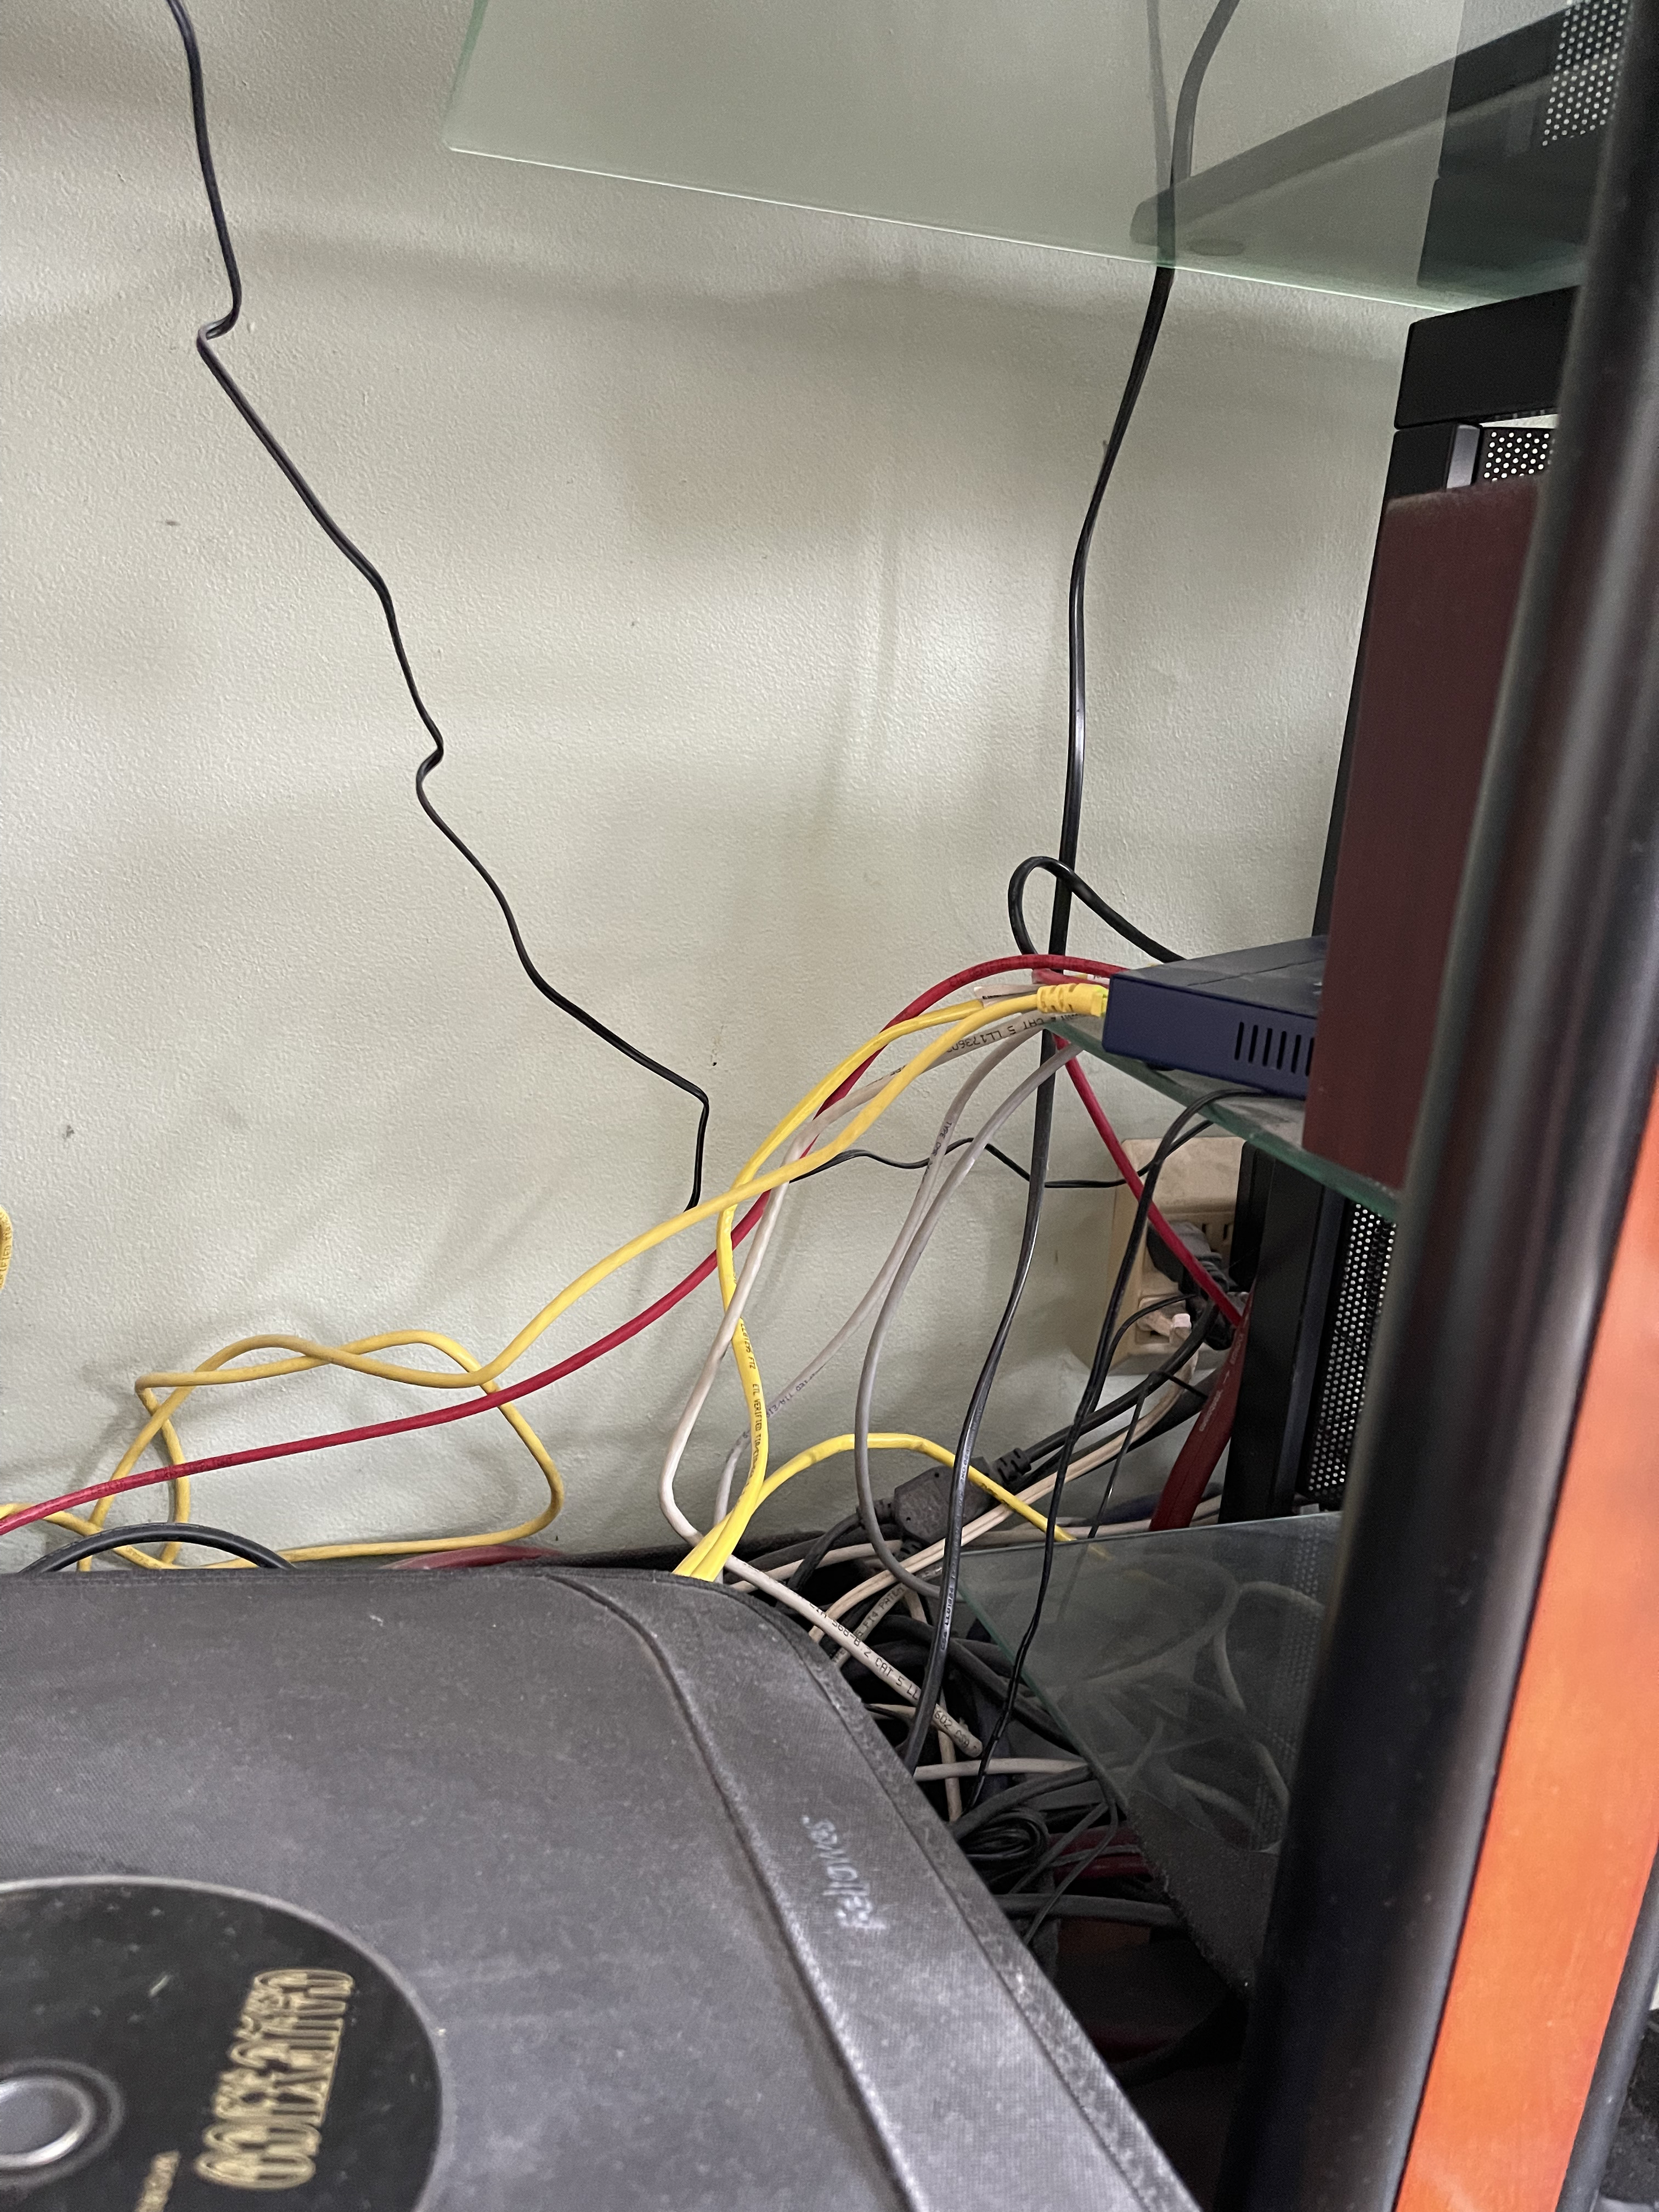
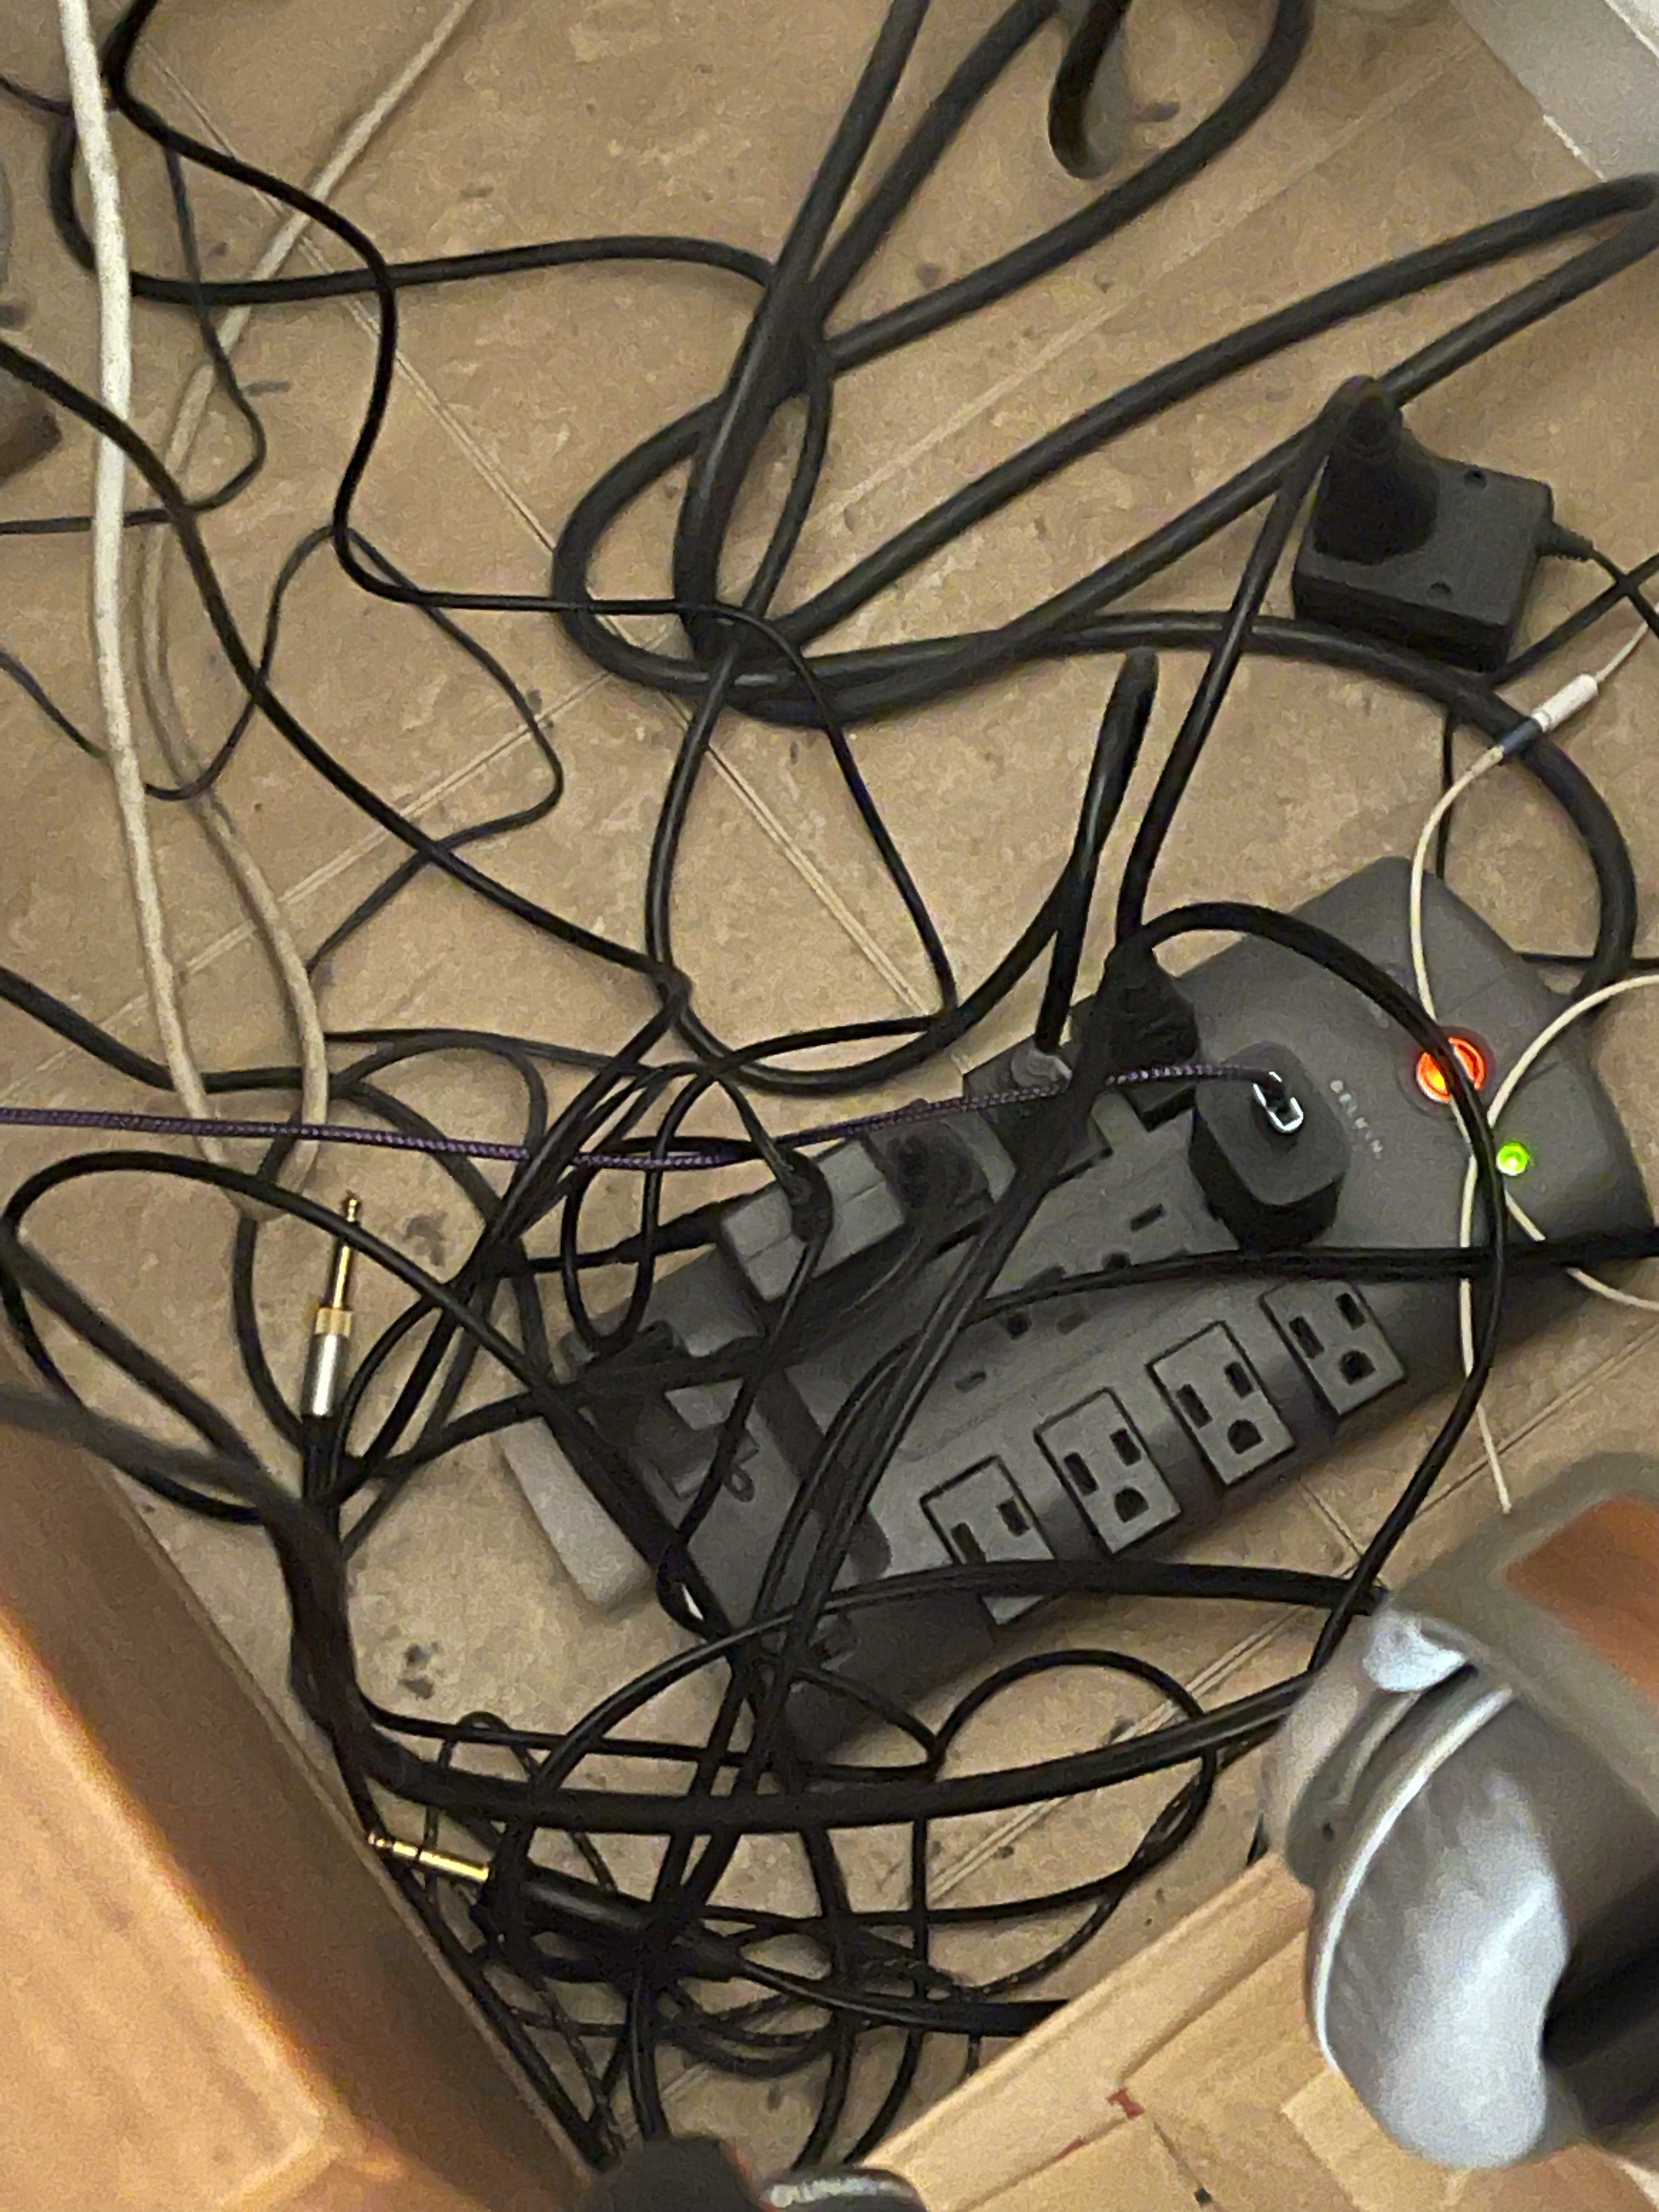
Audio racks are a mixed blessing. Great looking with lots of air around the equipment but all those cables in the back:
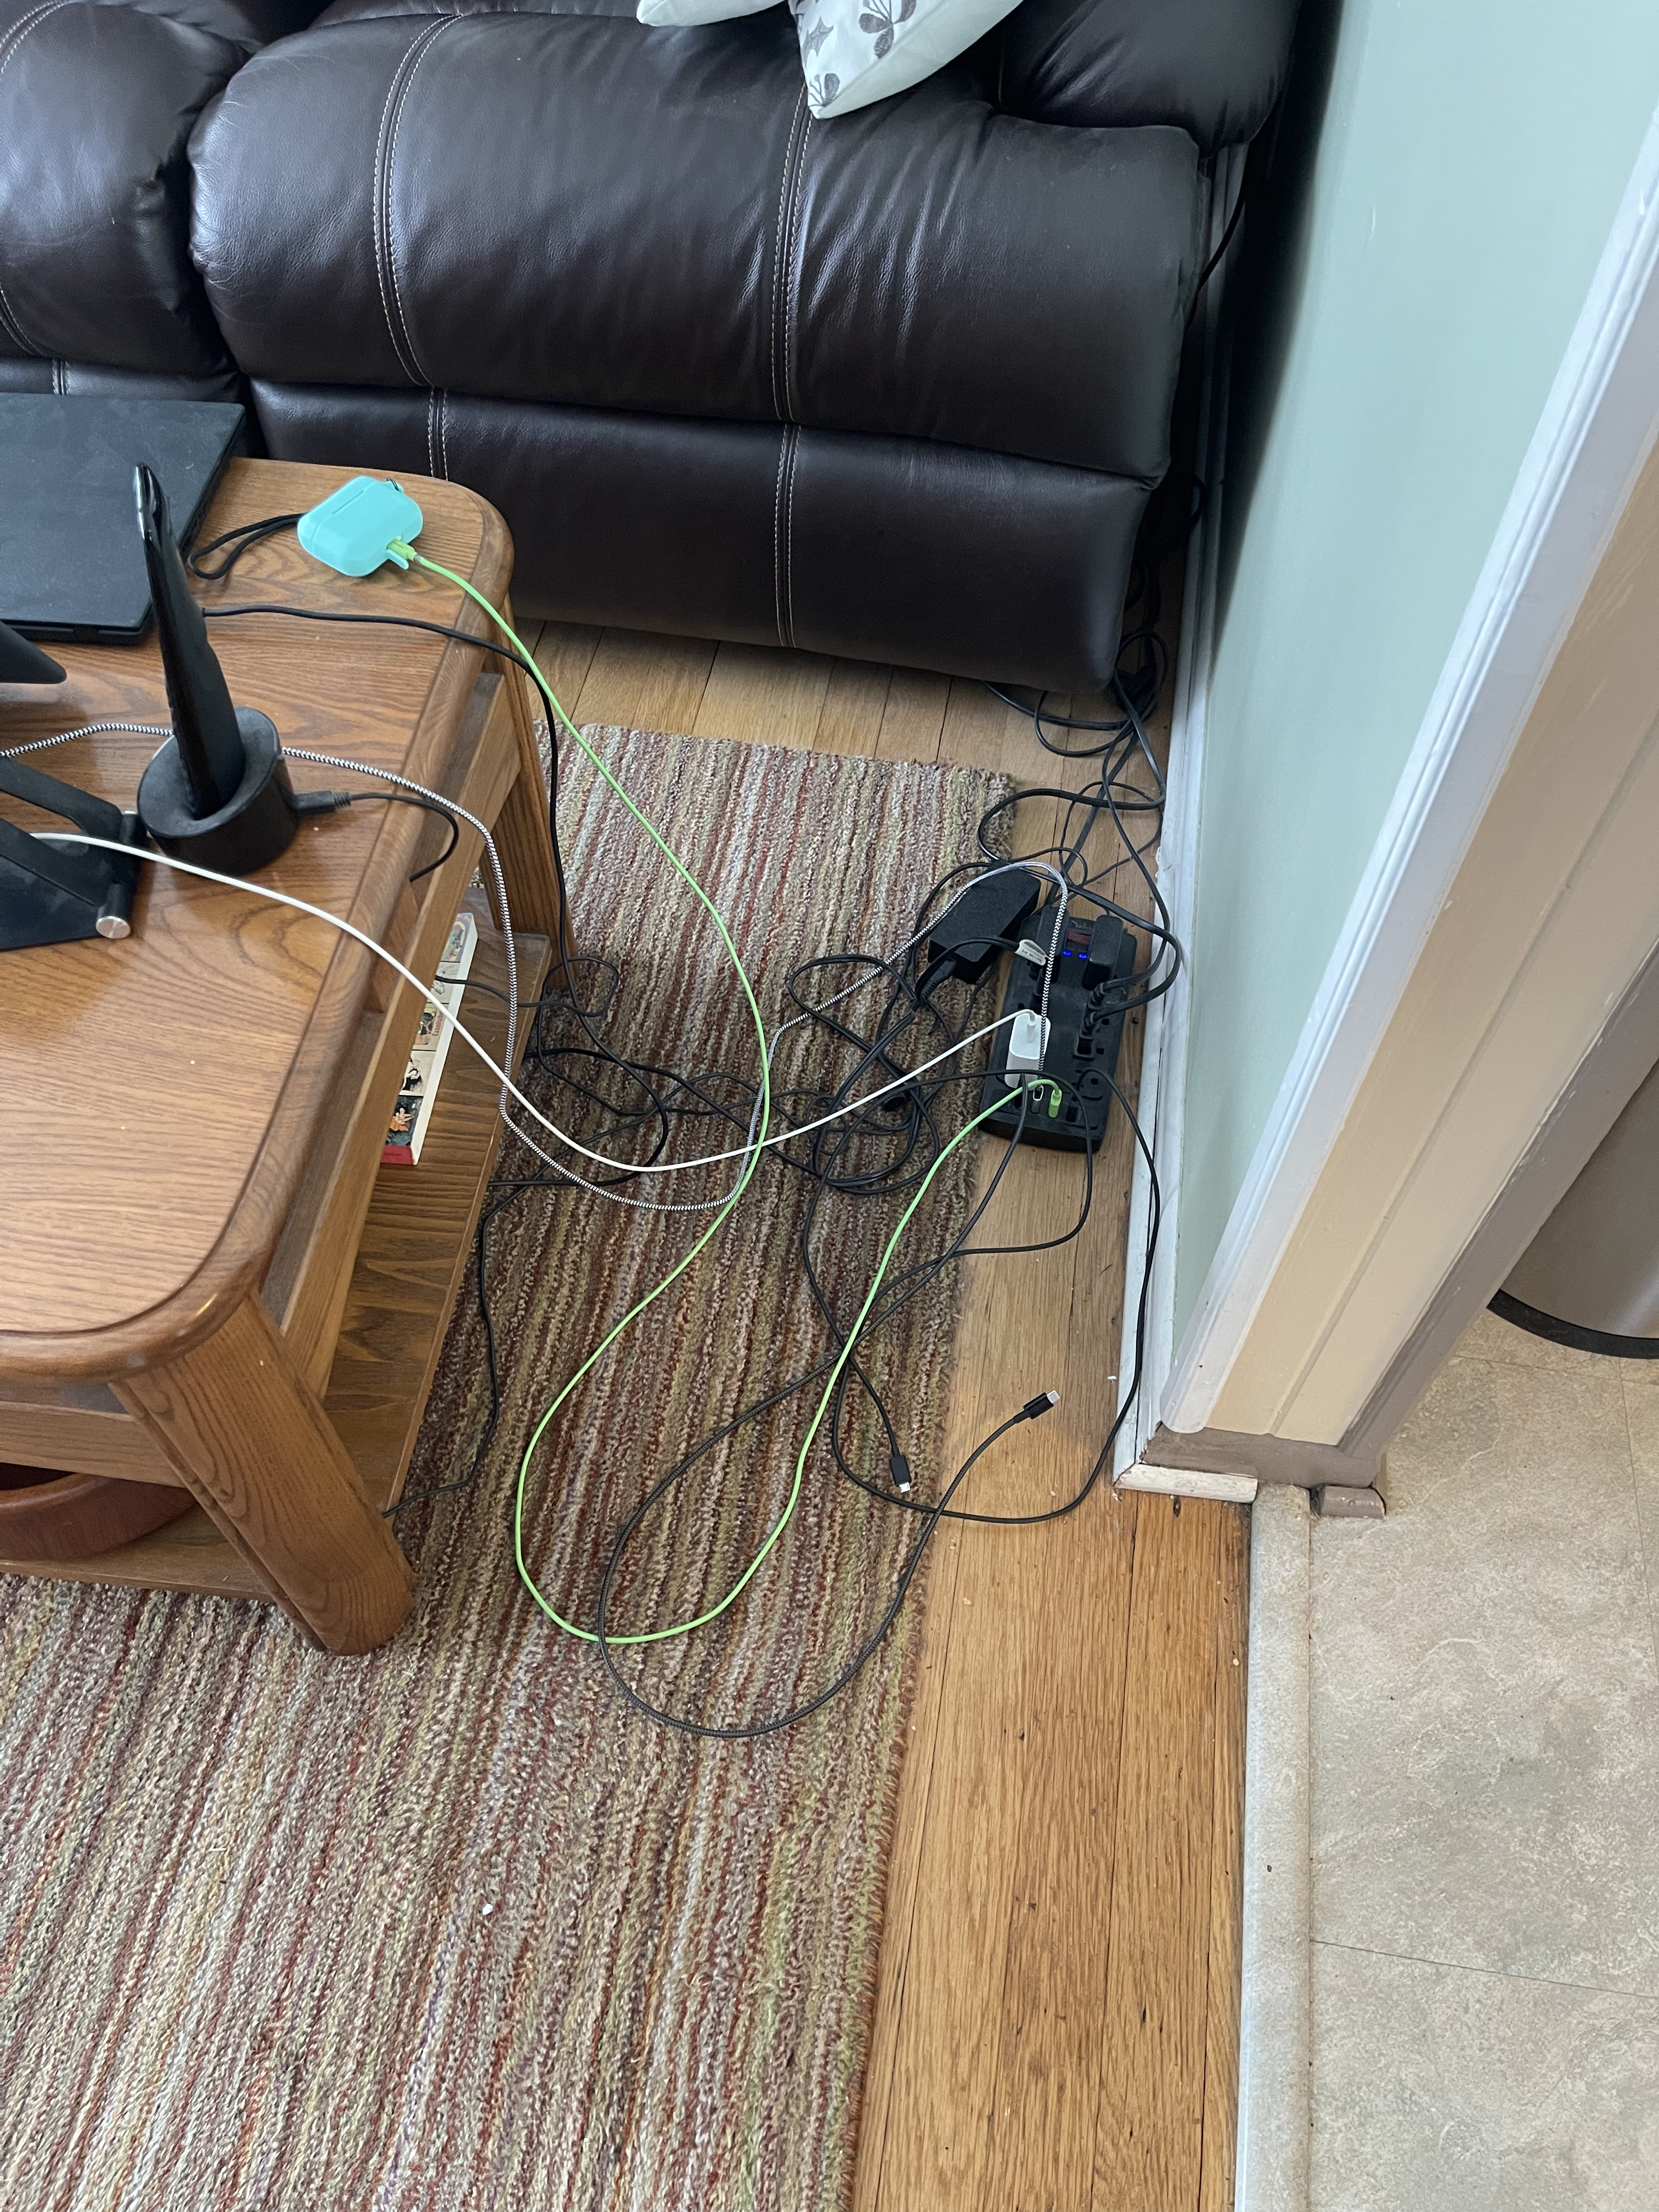
Every device needs power and place to plug in, thus creating a gaggle of unsightly wires. Wherever possible I try to hide the mess someplace that is not out in the open.
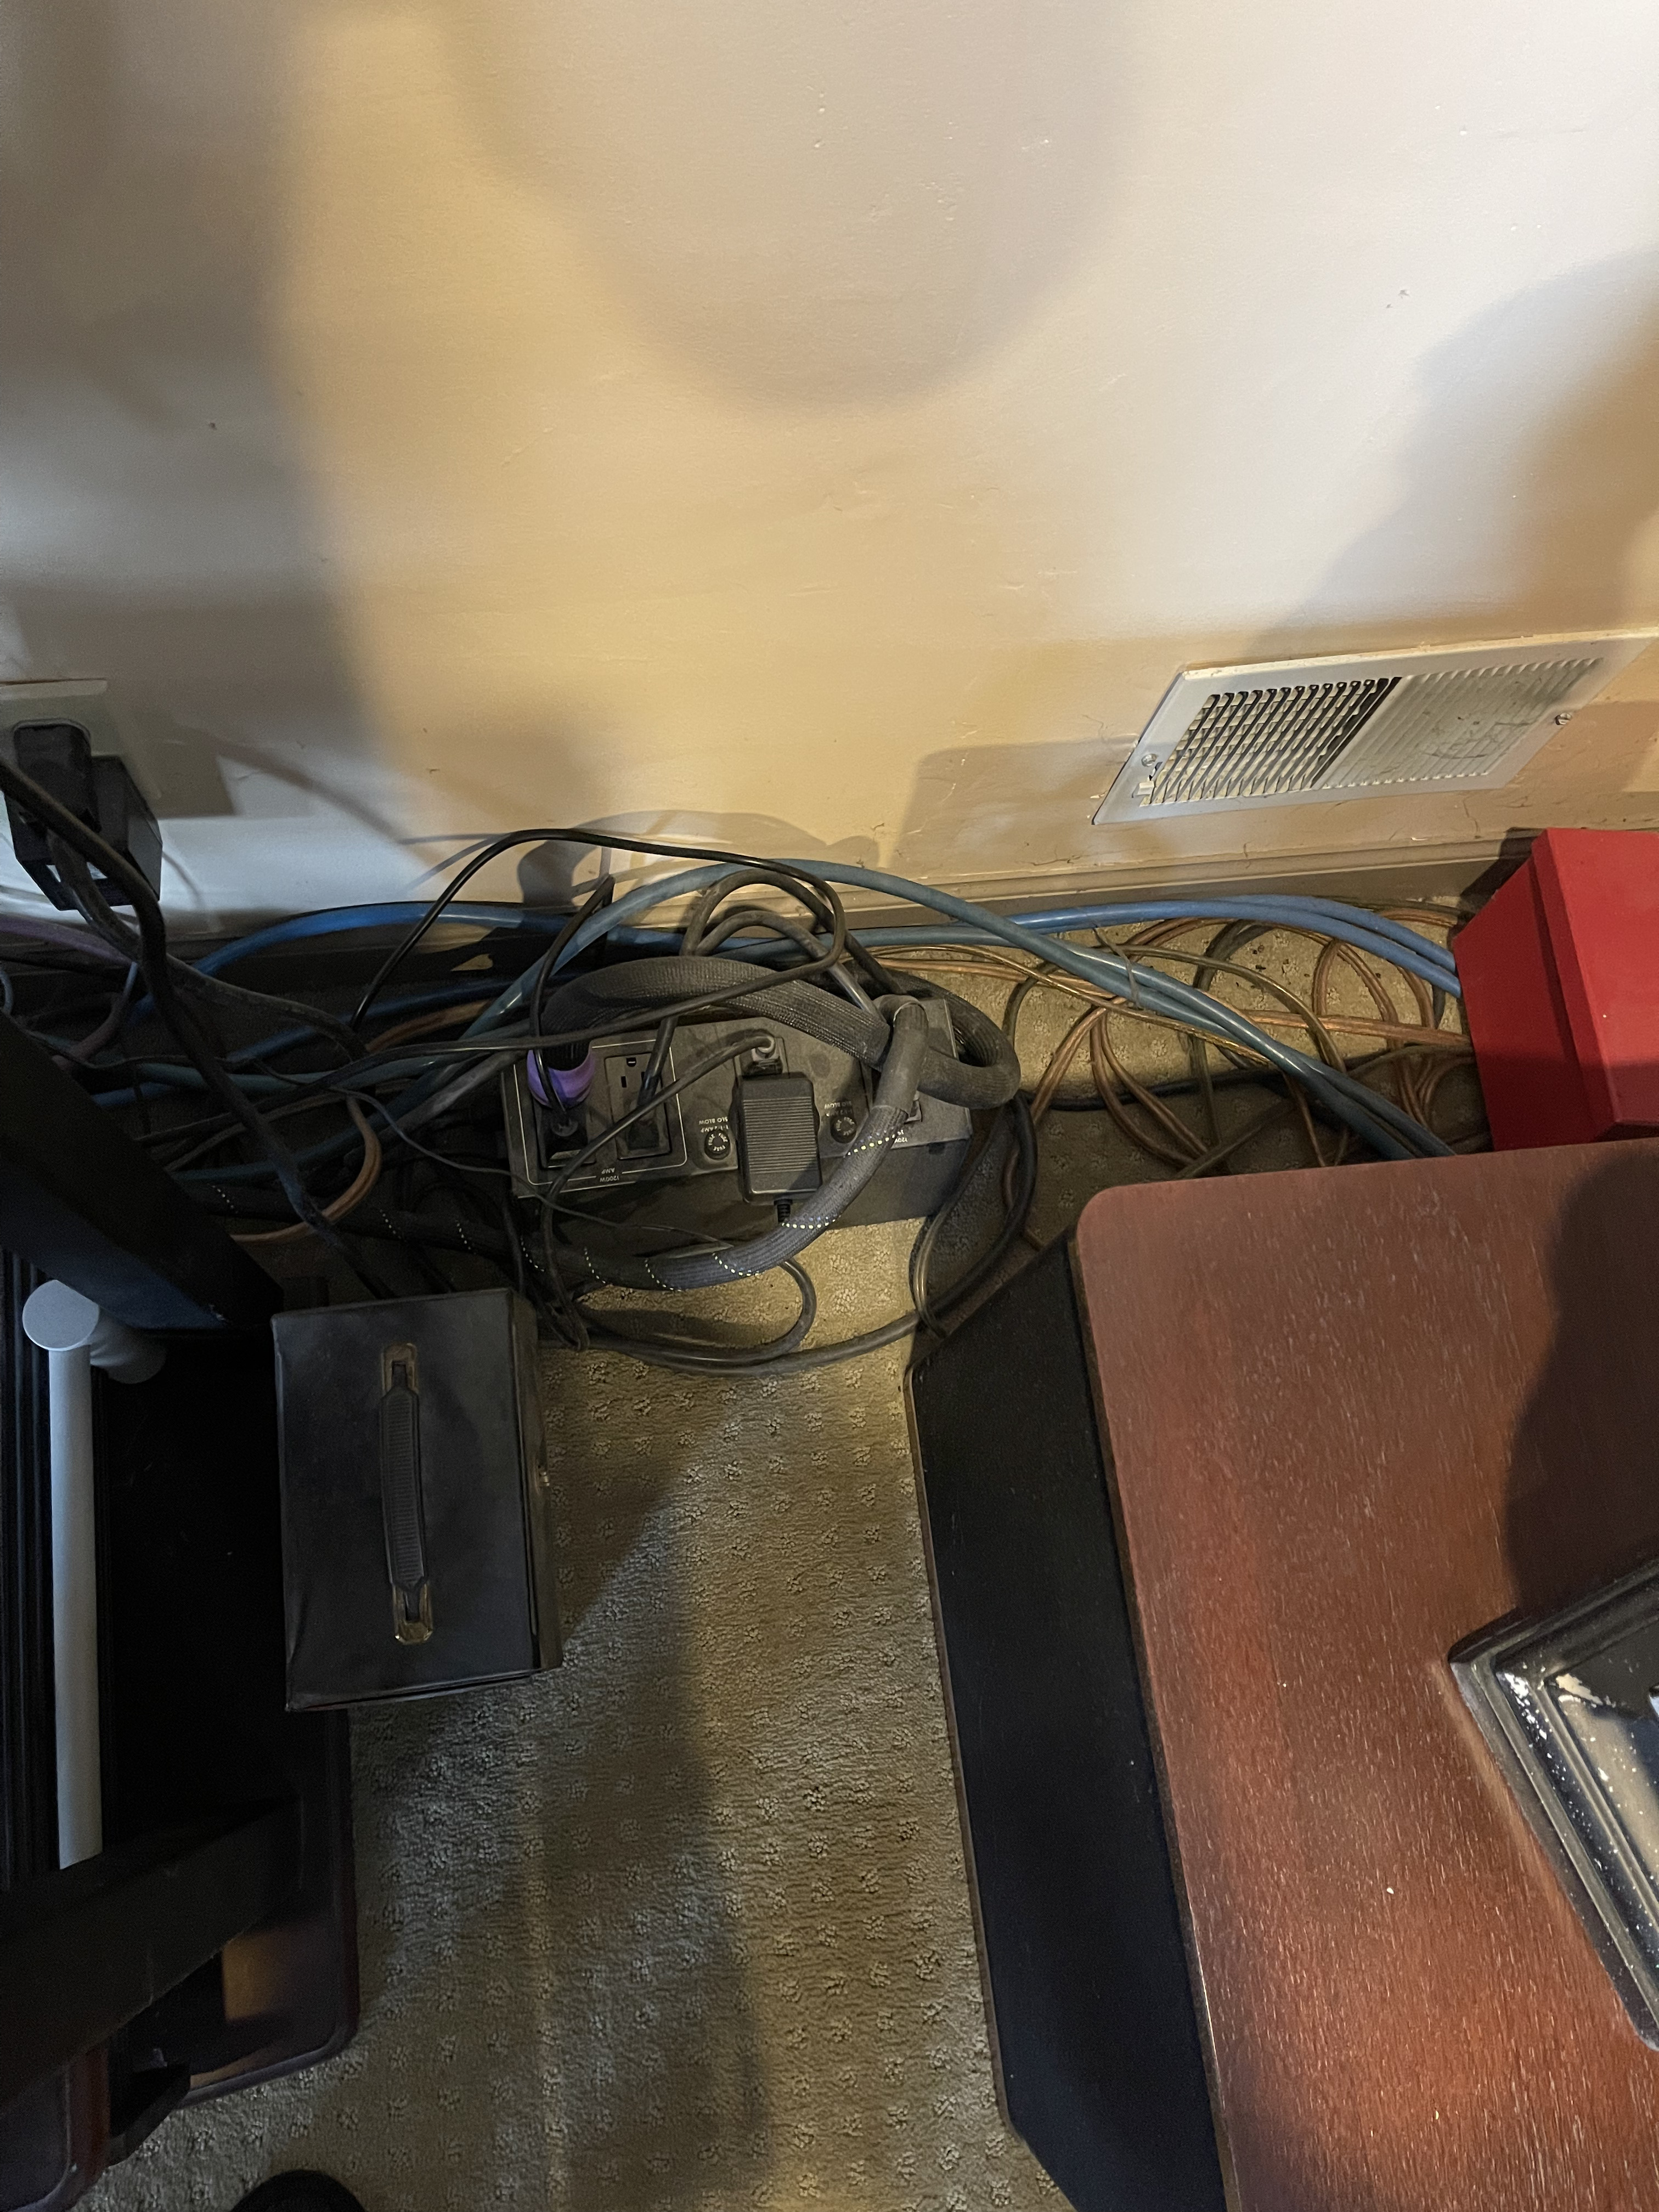
This mess is semi hidden beside the sofa:
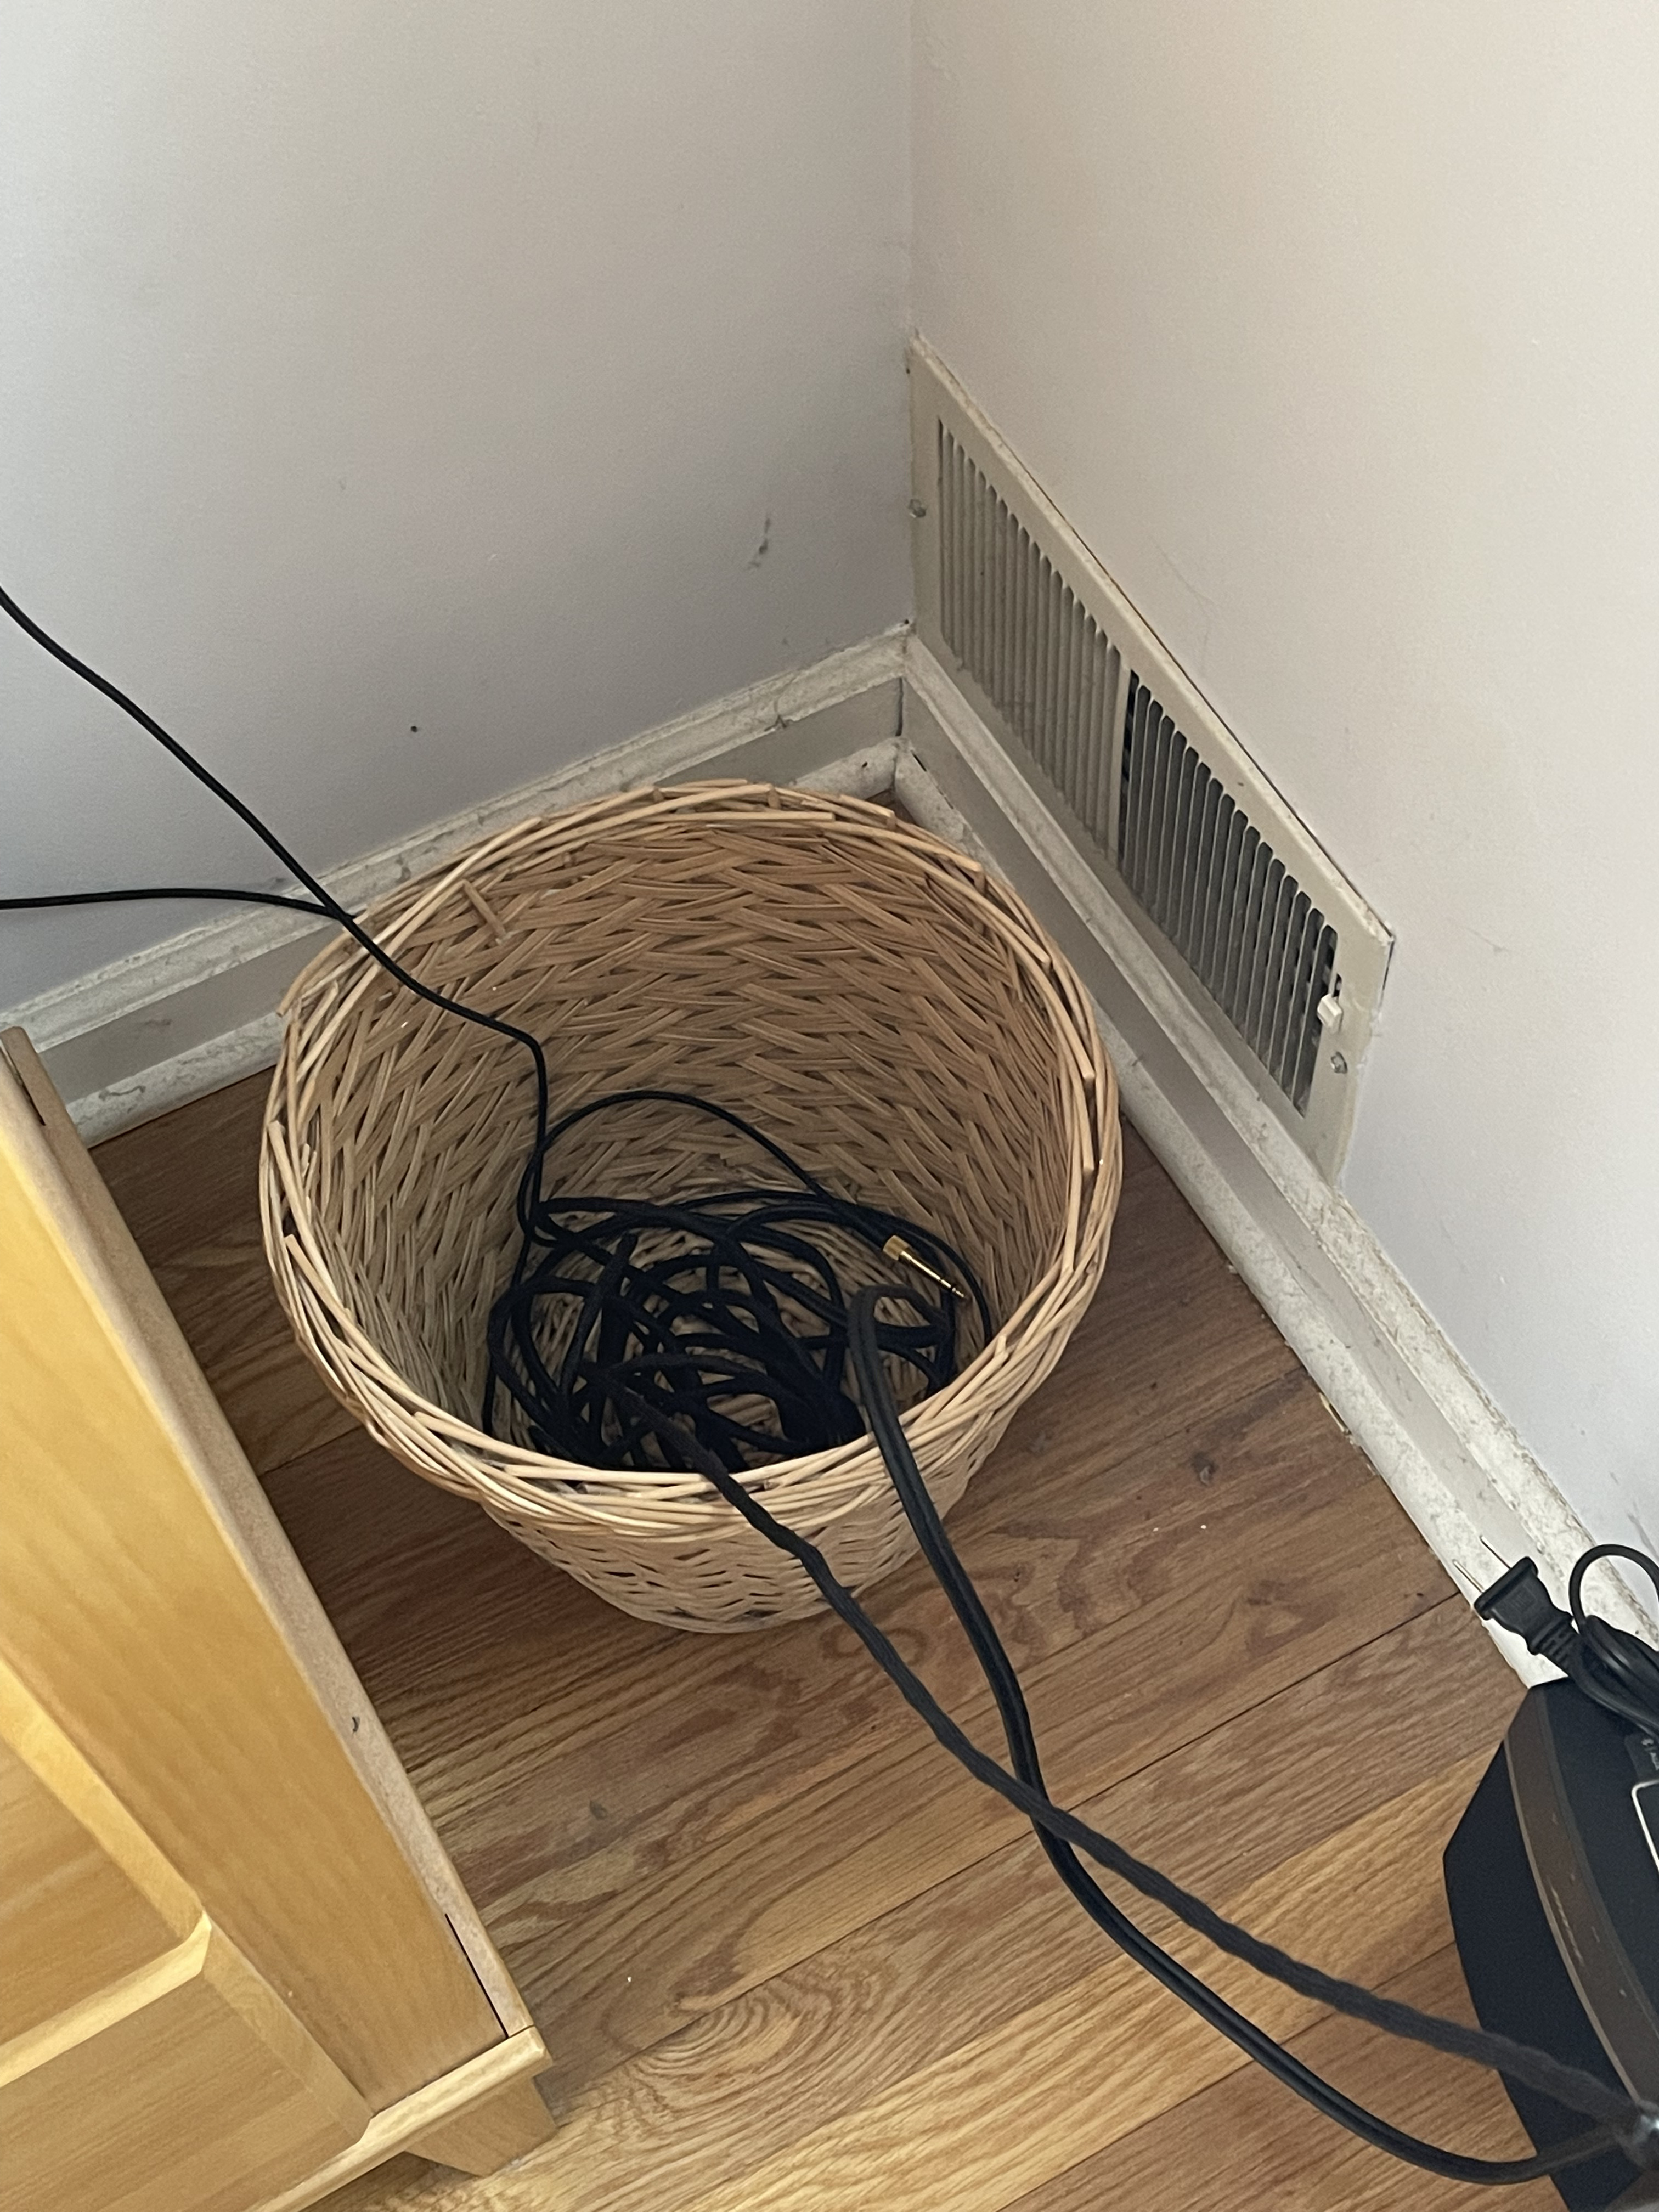
This is a subject dear to my heart. I have a few successes and failures to share but I’ll need more time for photographs than I’ve got currently. My most spectacular fail story was losing my wedding ring about 4 months after getting married. Loose fit and it just slipped off. It turned up in a nest of wires a year later, found it while sorting and untangling…
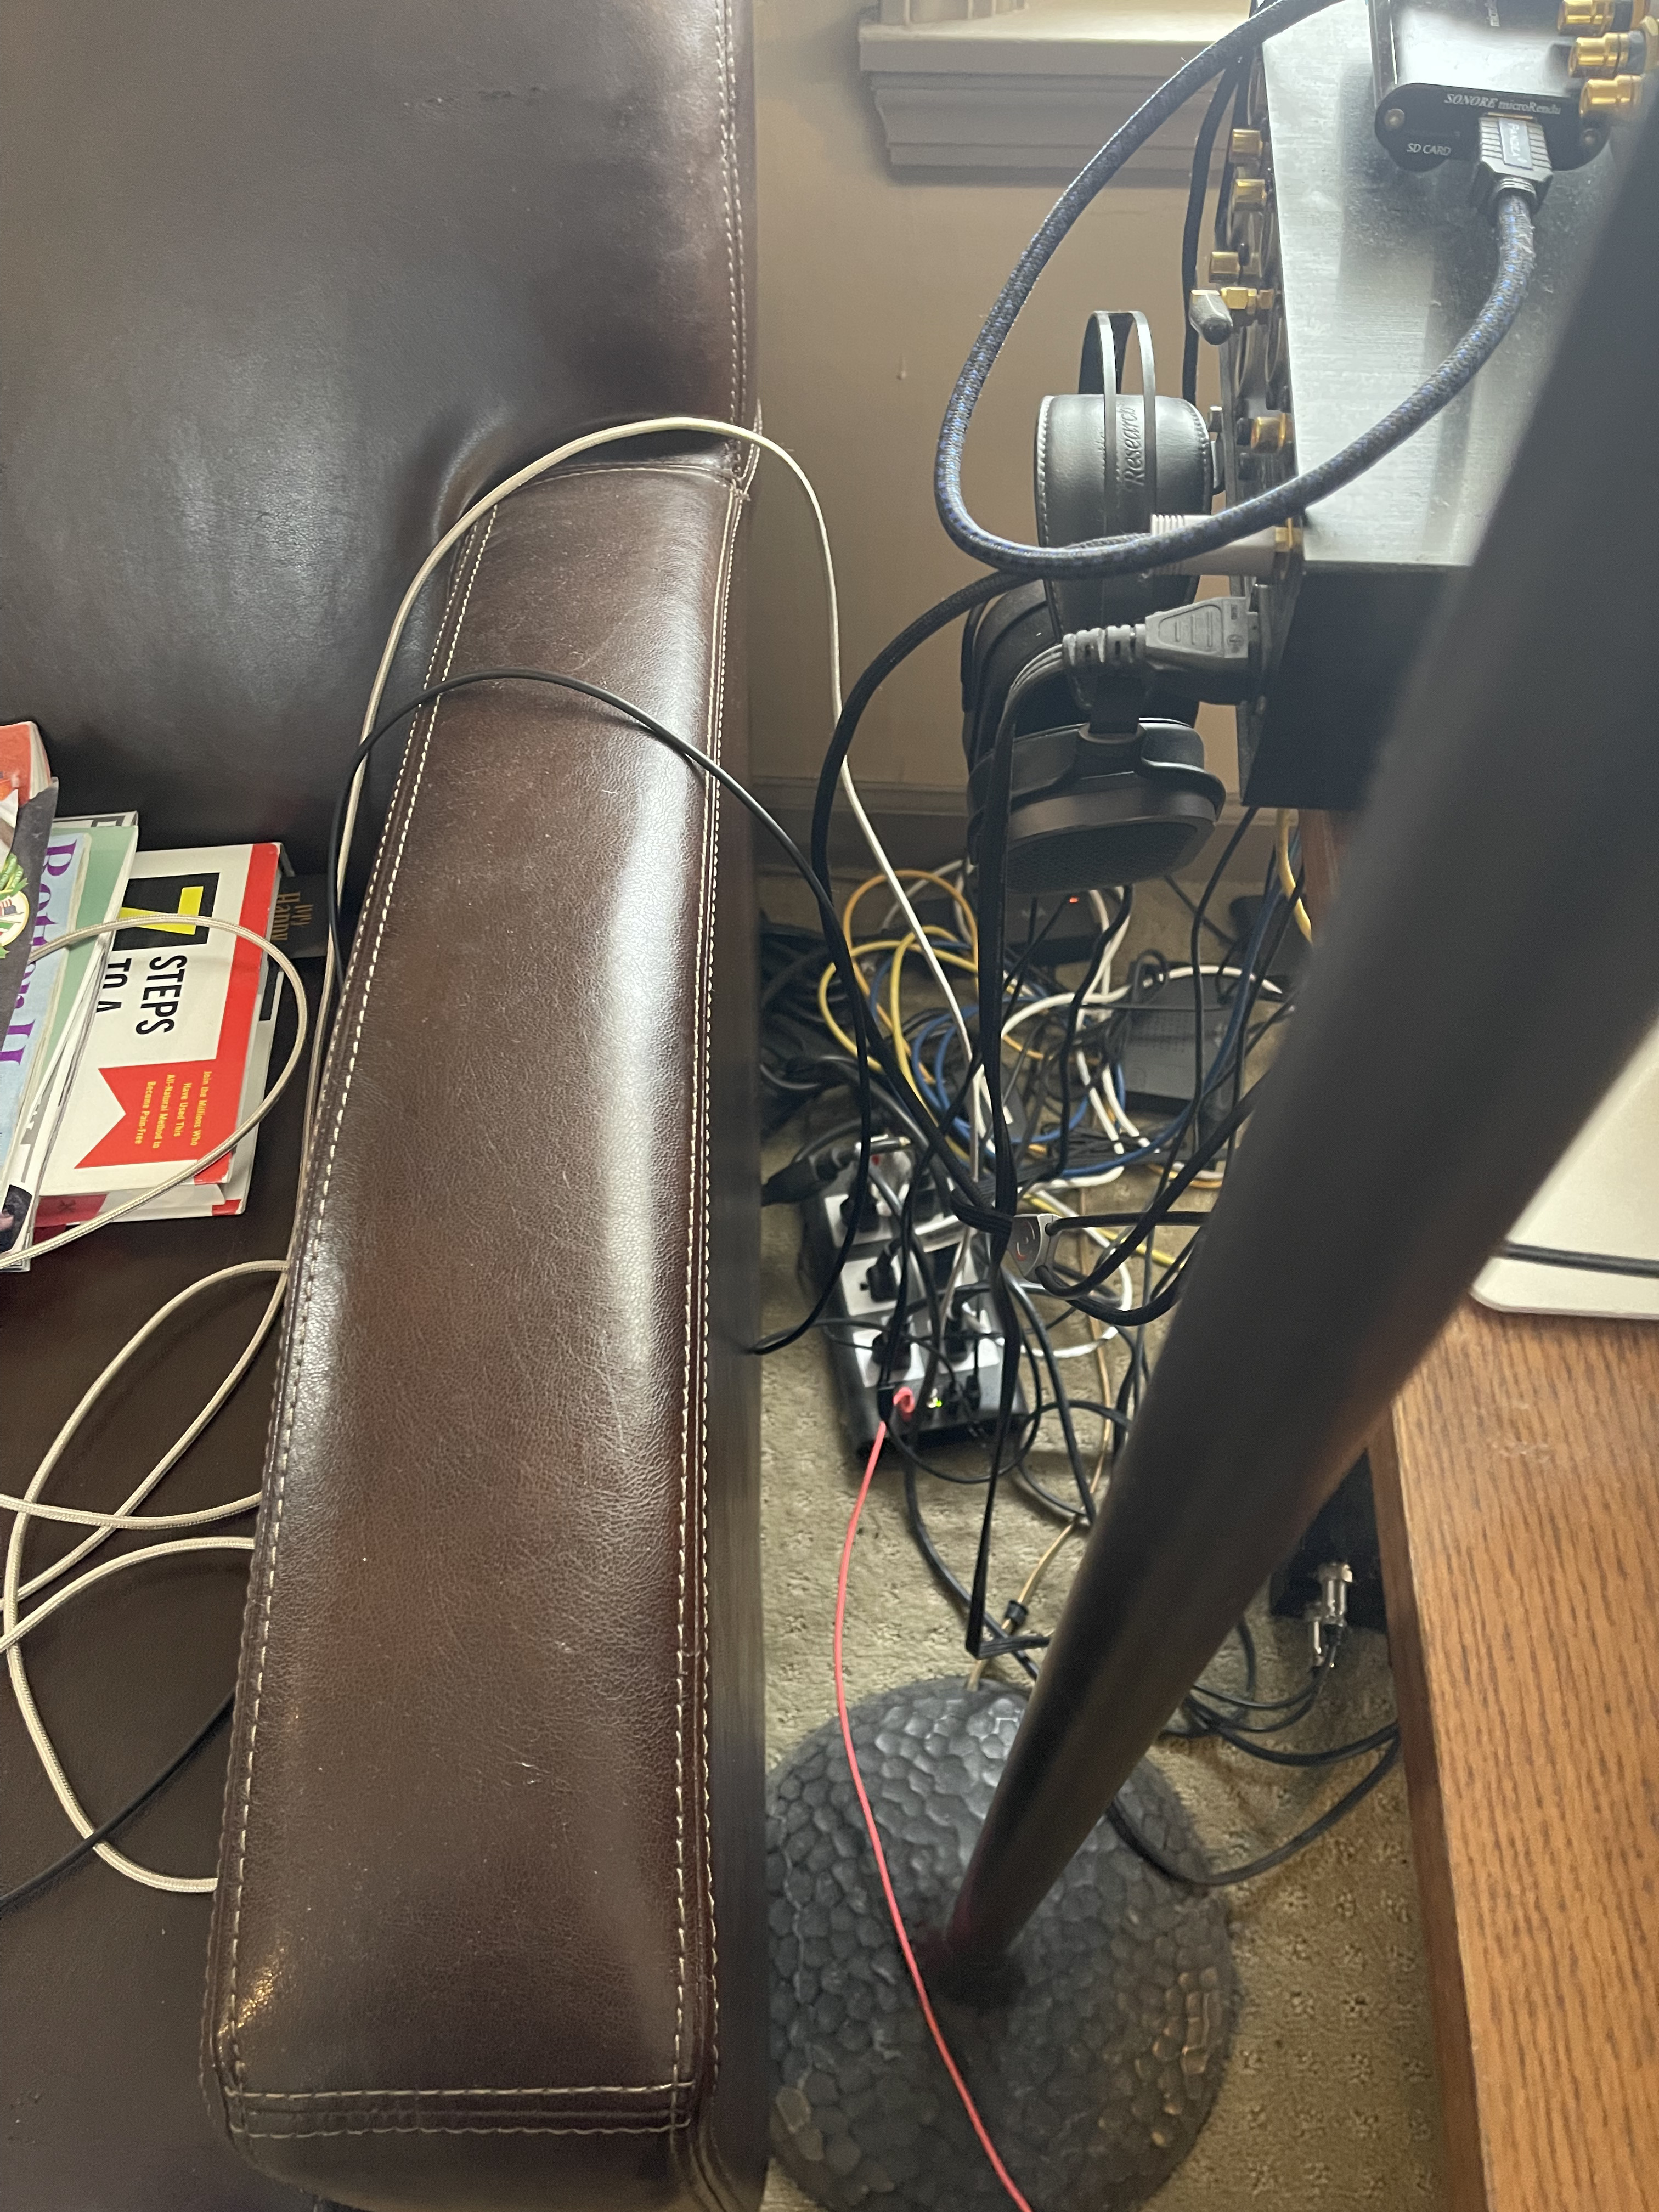
I only have one recommendation: hide them behind furniture. Leave a little space between furniture and walls if needed. In my case, the biggest mess is behind the media cabinet in the living, but unless you lean forward over the cabinet and put your cheek against the wall or get on your belly and peek under the cabinet, you won’t see anything. You can however see the mess on top of the cabinet, which has nothing to do with cables.
Be wary when purchasing cables. Don’t buy longer than you need; Don’t buy unnecessarily bulky or inflexible cables; choose jacket colors that blend with your decor.
Cable trunking carefully screwed (or adhered using double sided tape) to the back of your hifi rack and basebards can hide cabling neatly and cables can be added and subtracted by removing the cover. Trunking is inexpensive and can be purchased in multiple colors, styles and dimensions. It can even be run on the surface of the floor.
Form your cables into looms by using cable ties - one loom looks much better than 3 independent cables.
Don’t unnecessarily proliferate cables by adopting fads like biwiring!
Potted plants can hide cable (or trunking runs).
Traditional open-air hifi racks are great for cooling and separation (and sometimes isolation) but do tend to put the wires on show. A credenza or sideboard (with the equipment on top) is much more effectine in hiding cables and isolating feet or platforms can be used if these matter to you.
Consider professional in-wall or underfloor, cable installation for speaker and other cables. Done right using high quality cabling, there does not need to be a sonic penalty. Also consider the option of placing equipment out of the room (in a dedicated area), which will further neaten the instal.
If cabling really bothers you, pursue high quality one-box solutions like the NAD M33 (streamer DAC and integrated amp). These can perform at a very high standard and eliminate many interconnects.
8 Likes
Torben_Rick
(Torben - A Dane living in Hamburg - Roon Lifer)
6
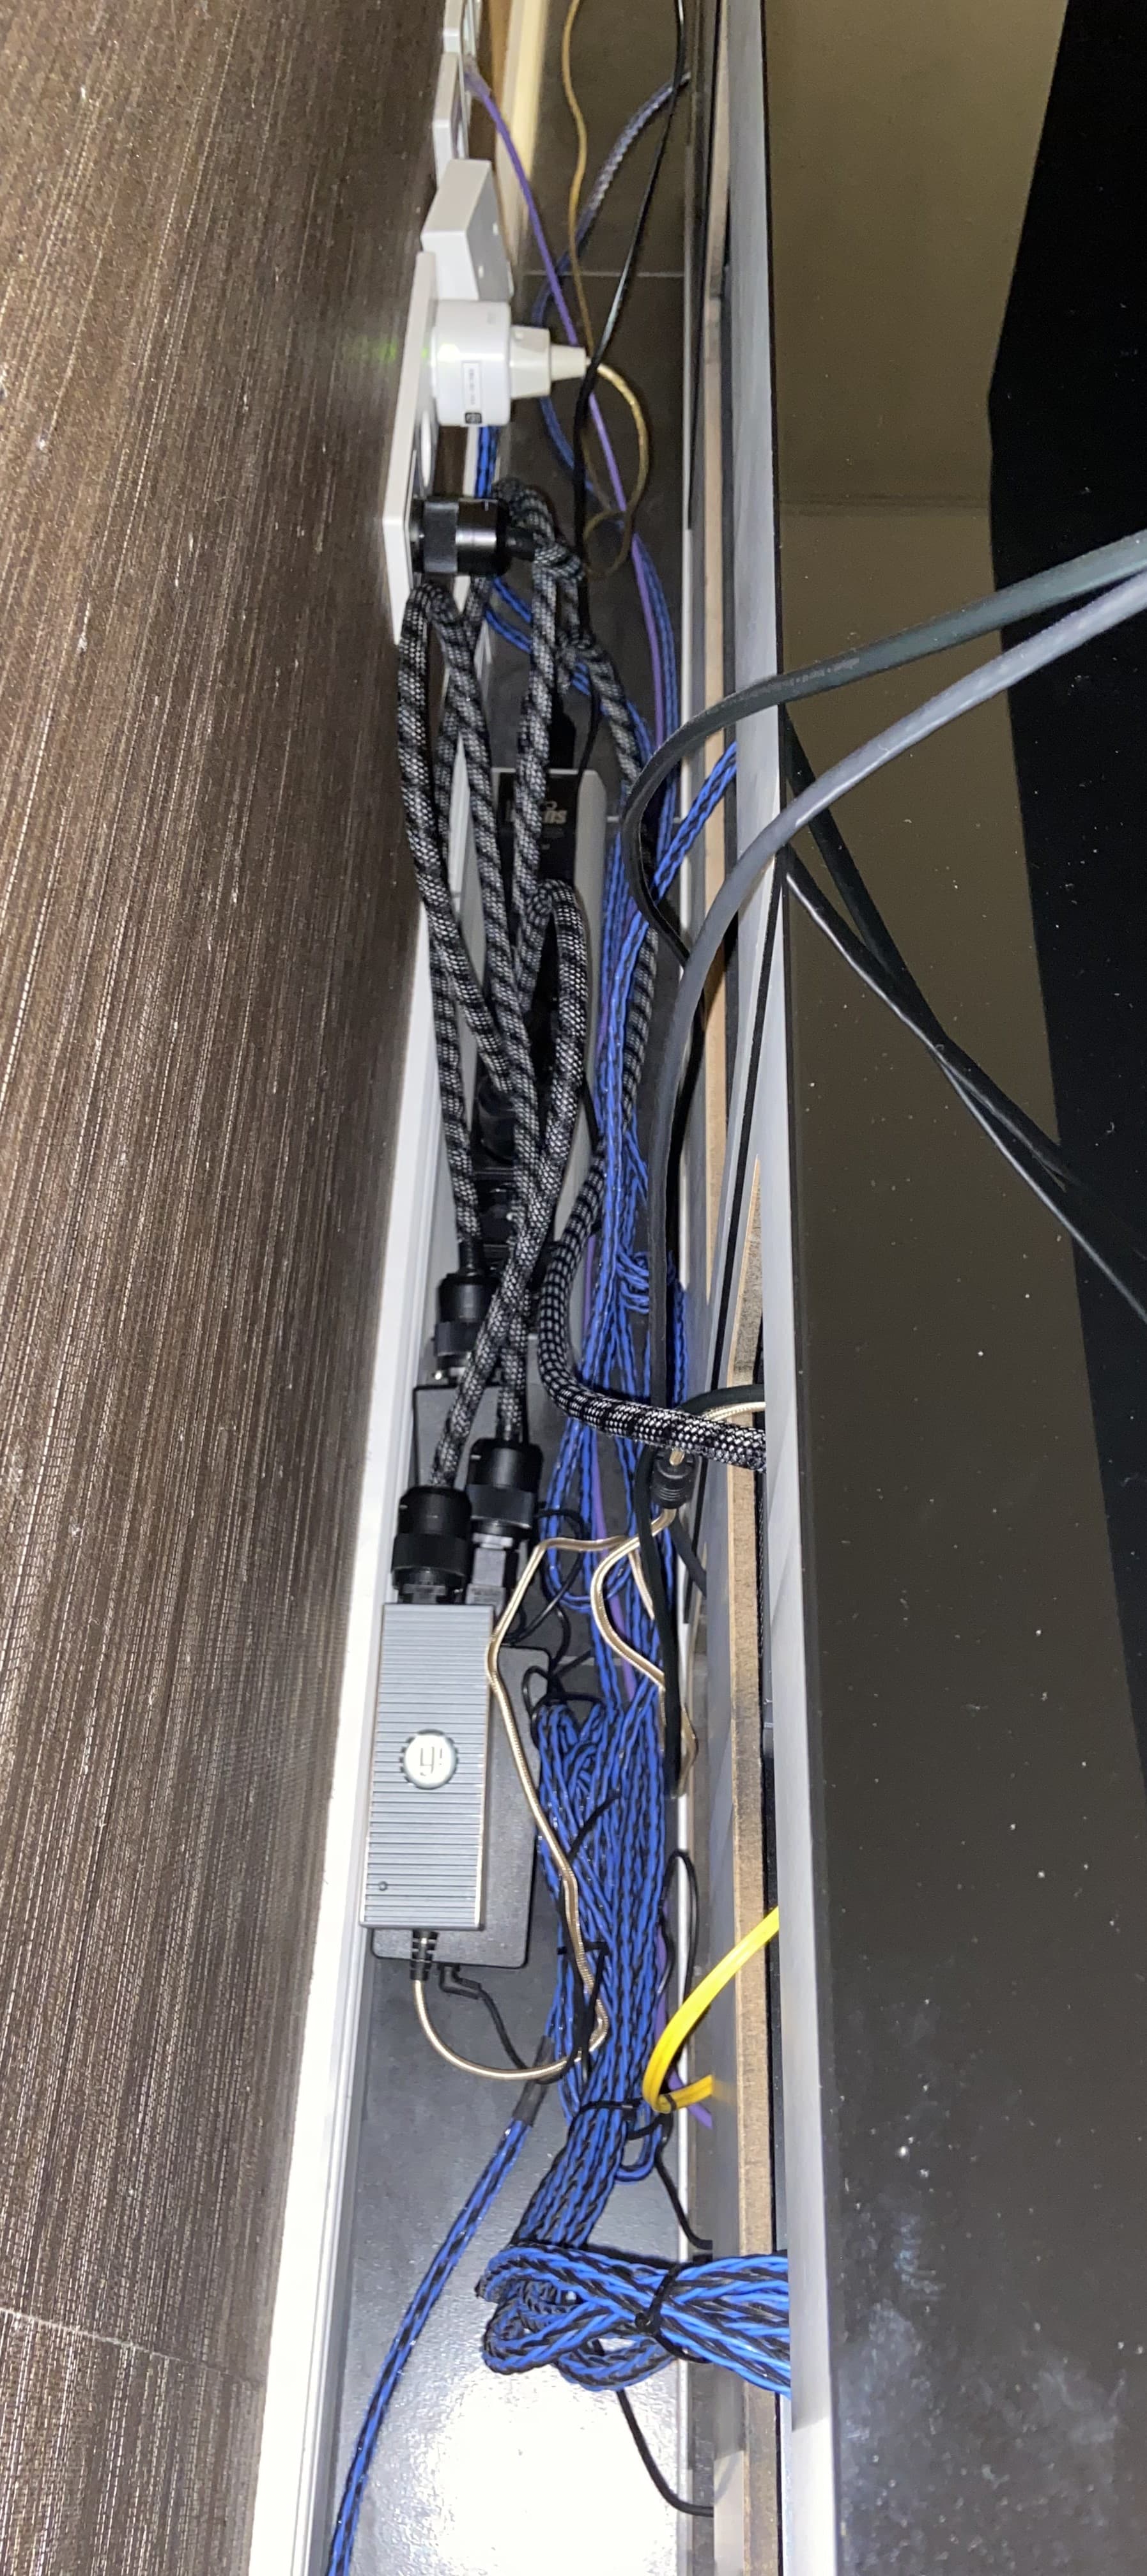
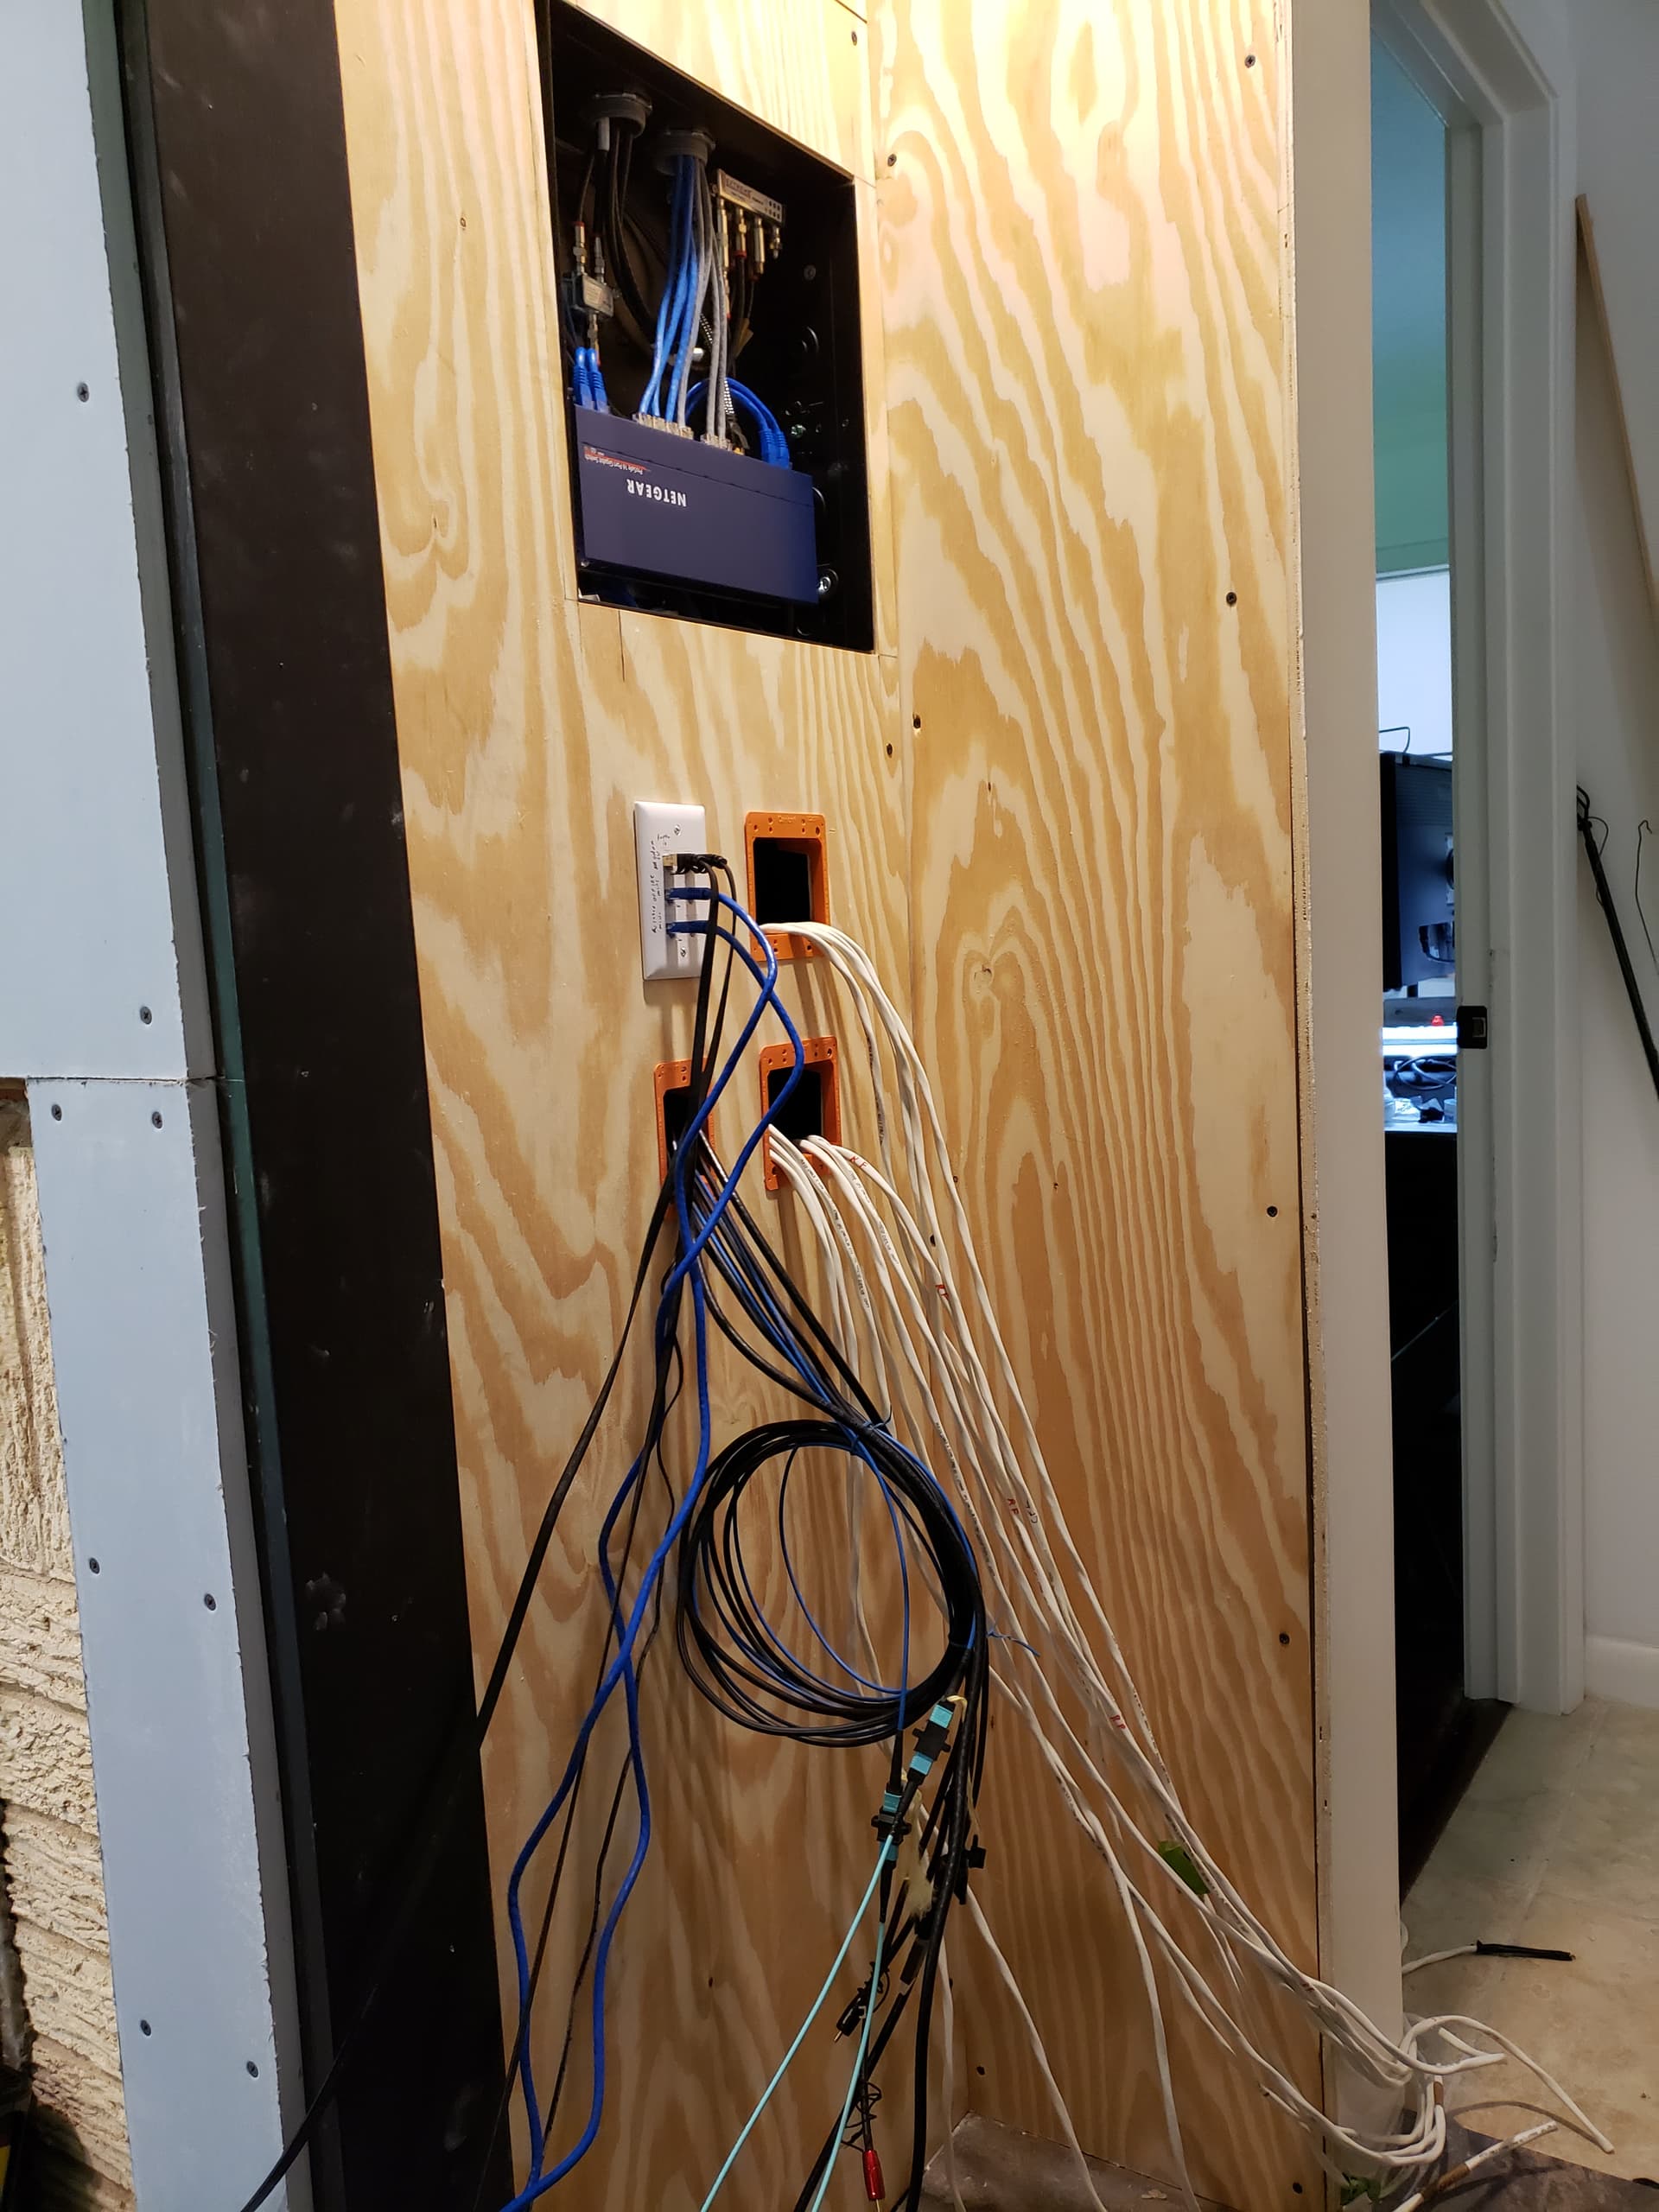
Most off the space occupied by Eupen EMC/COM ferrite filter cable, 3 x 2.5qmm
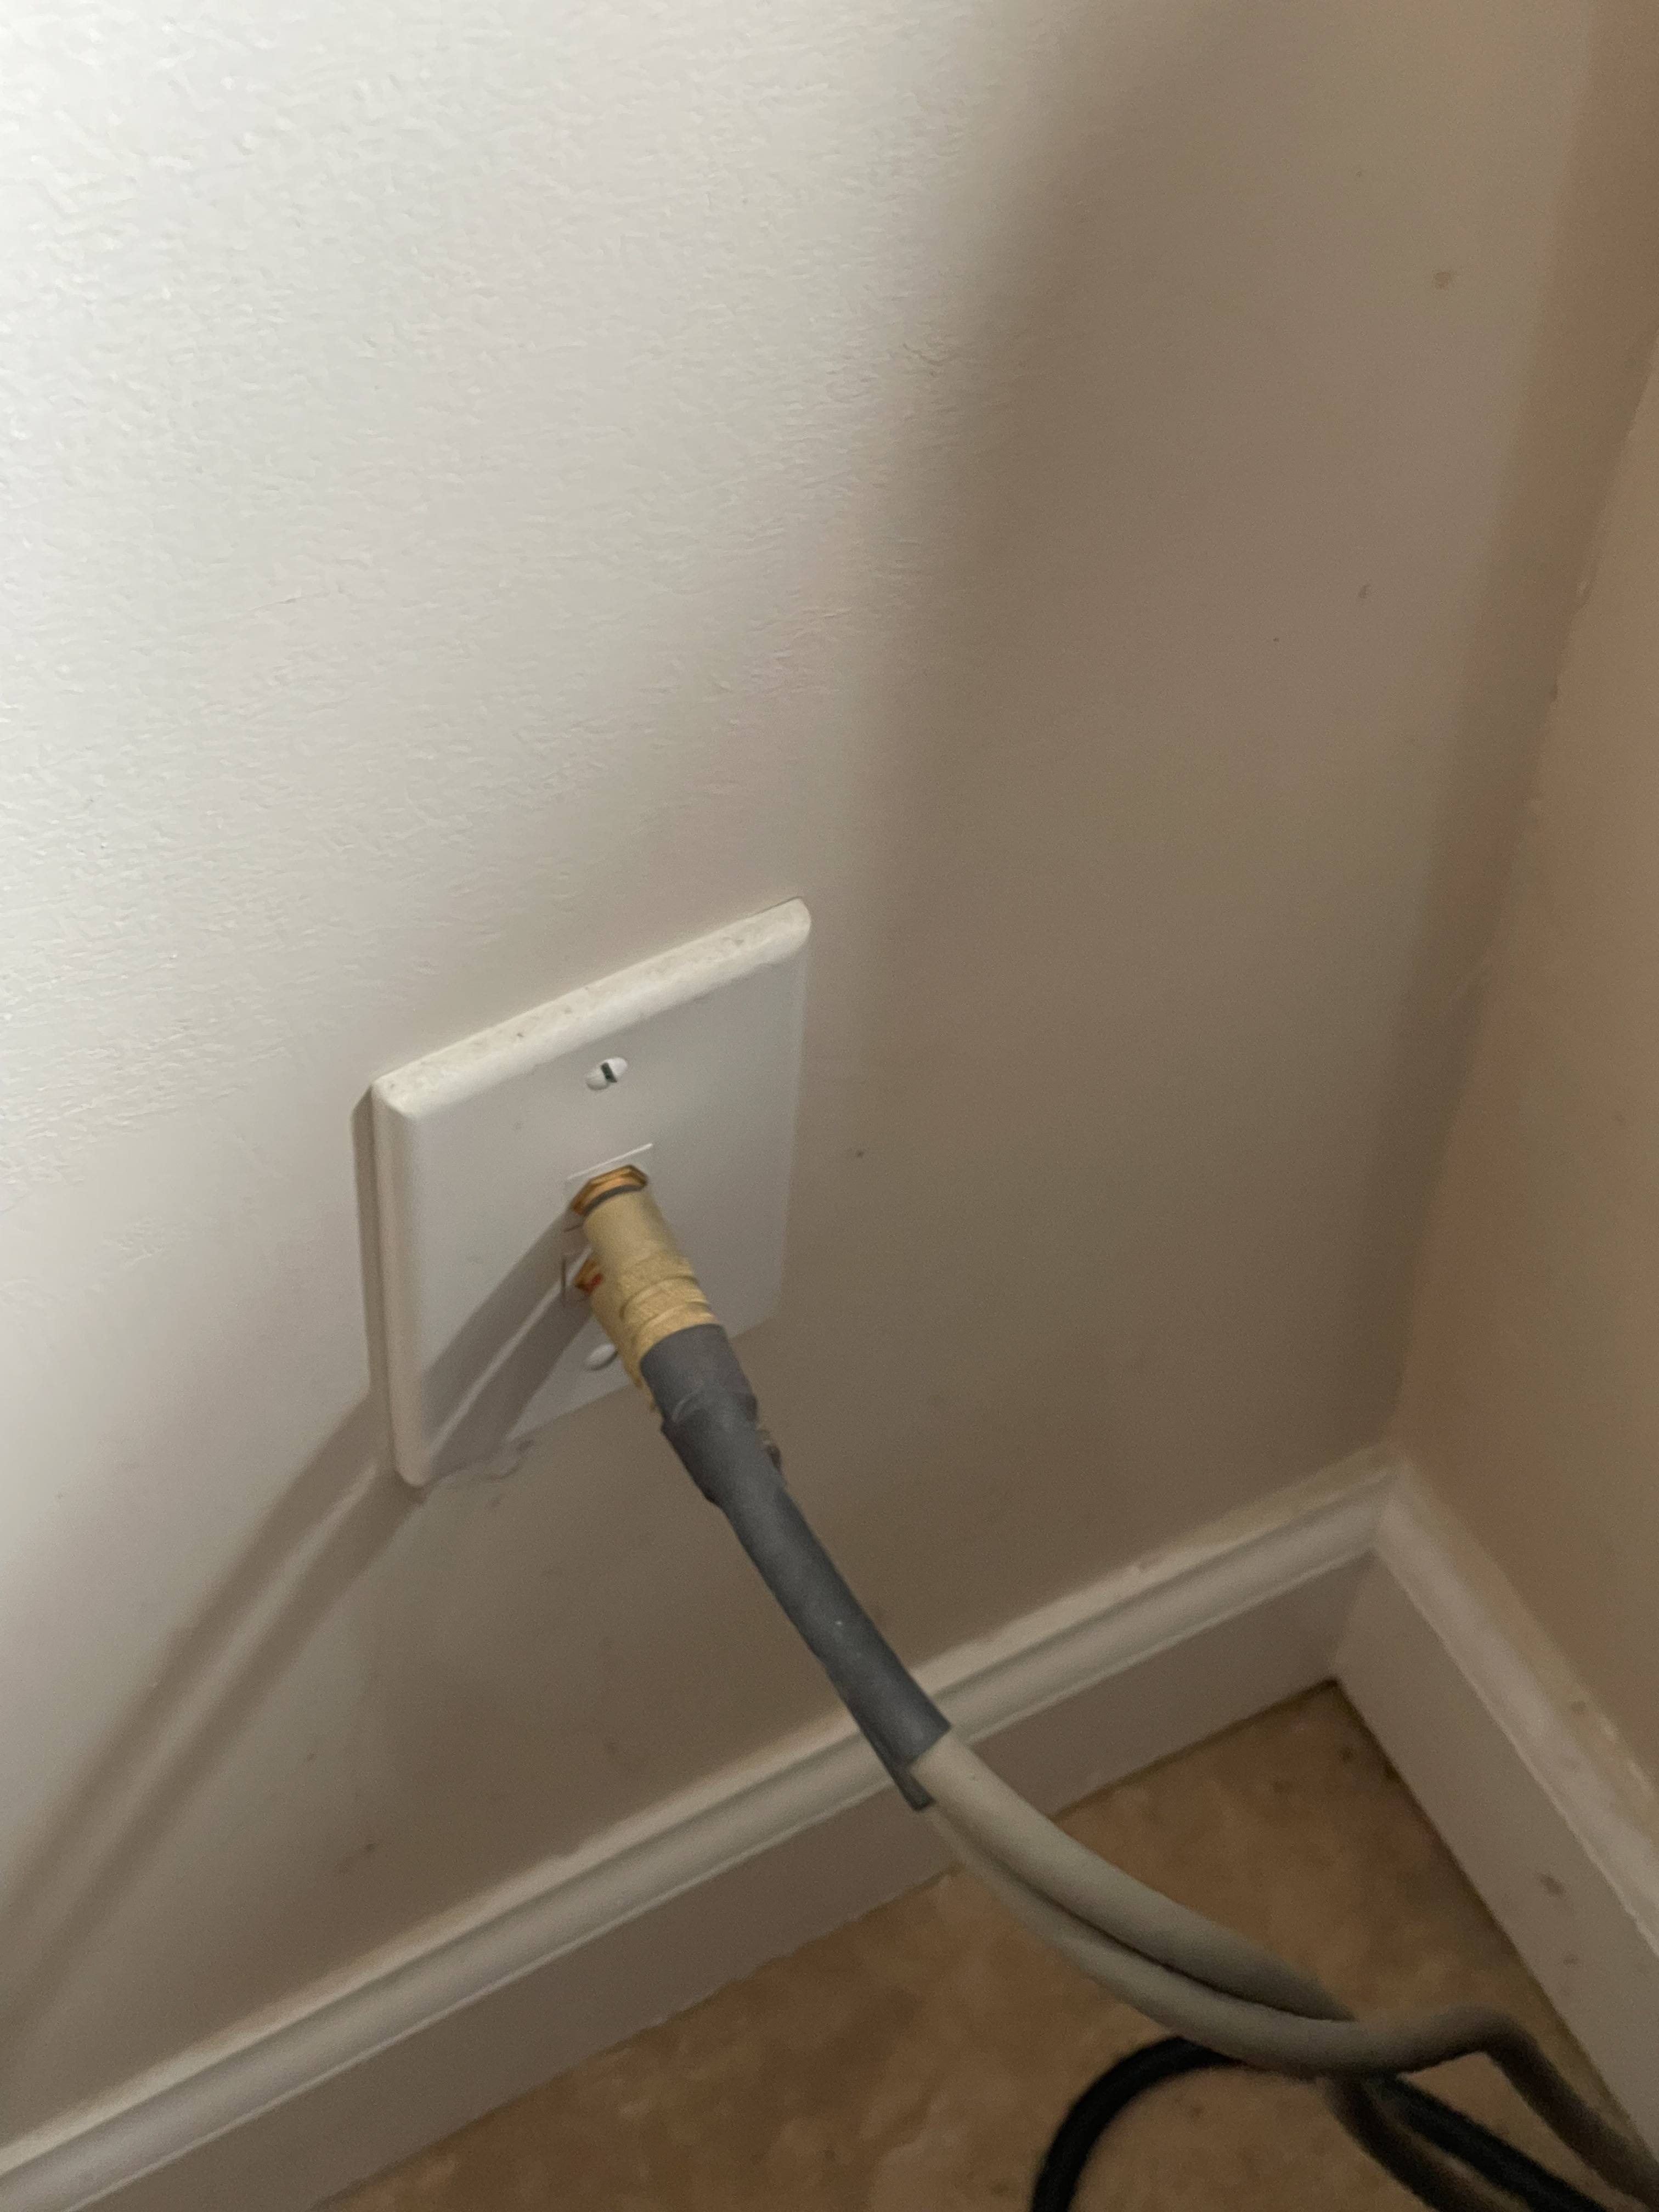
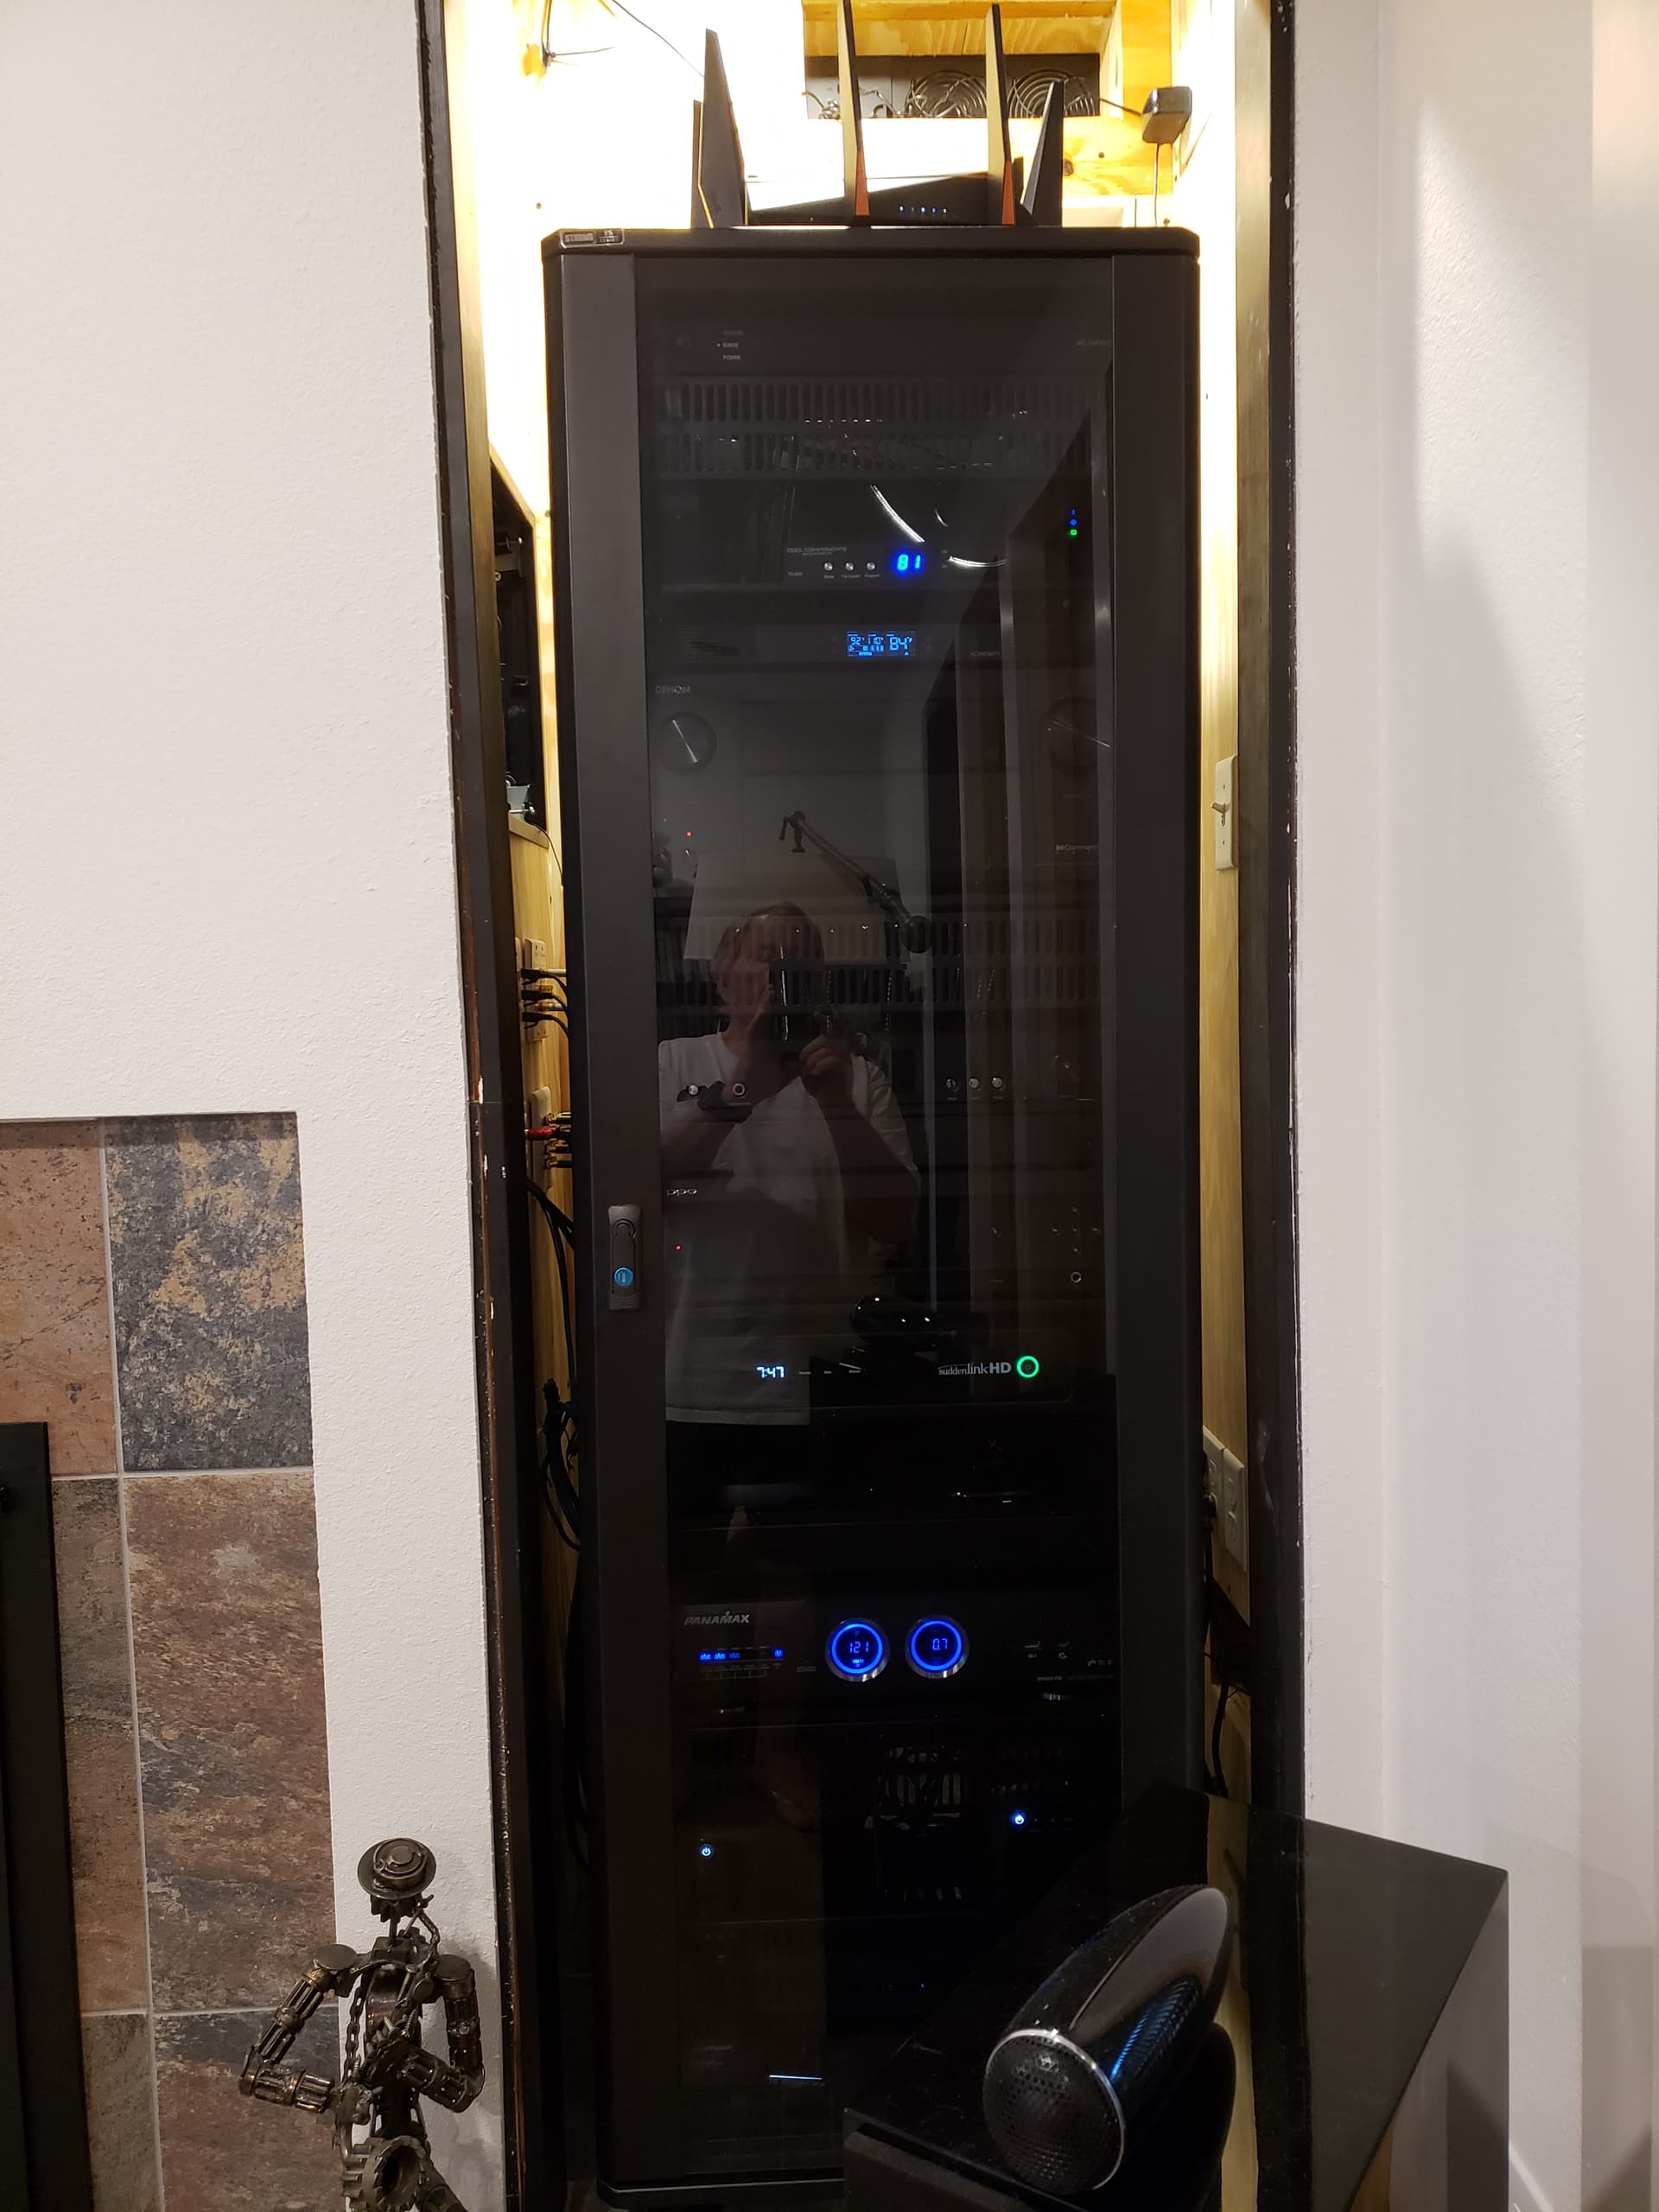
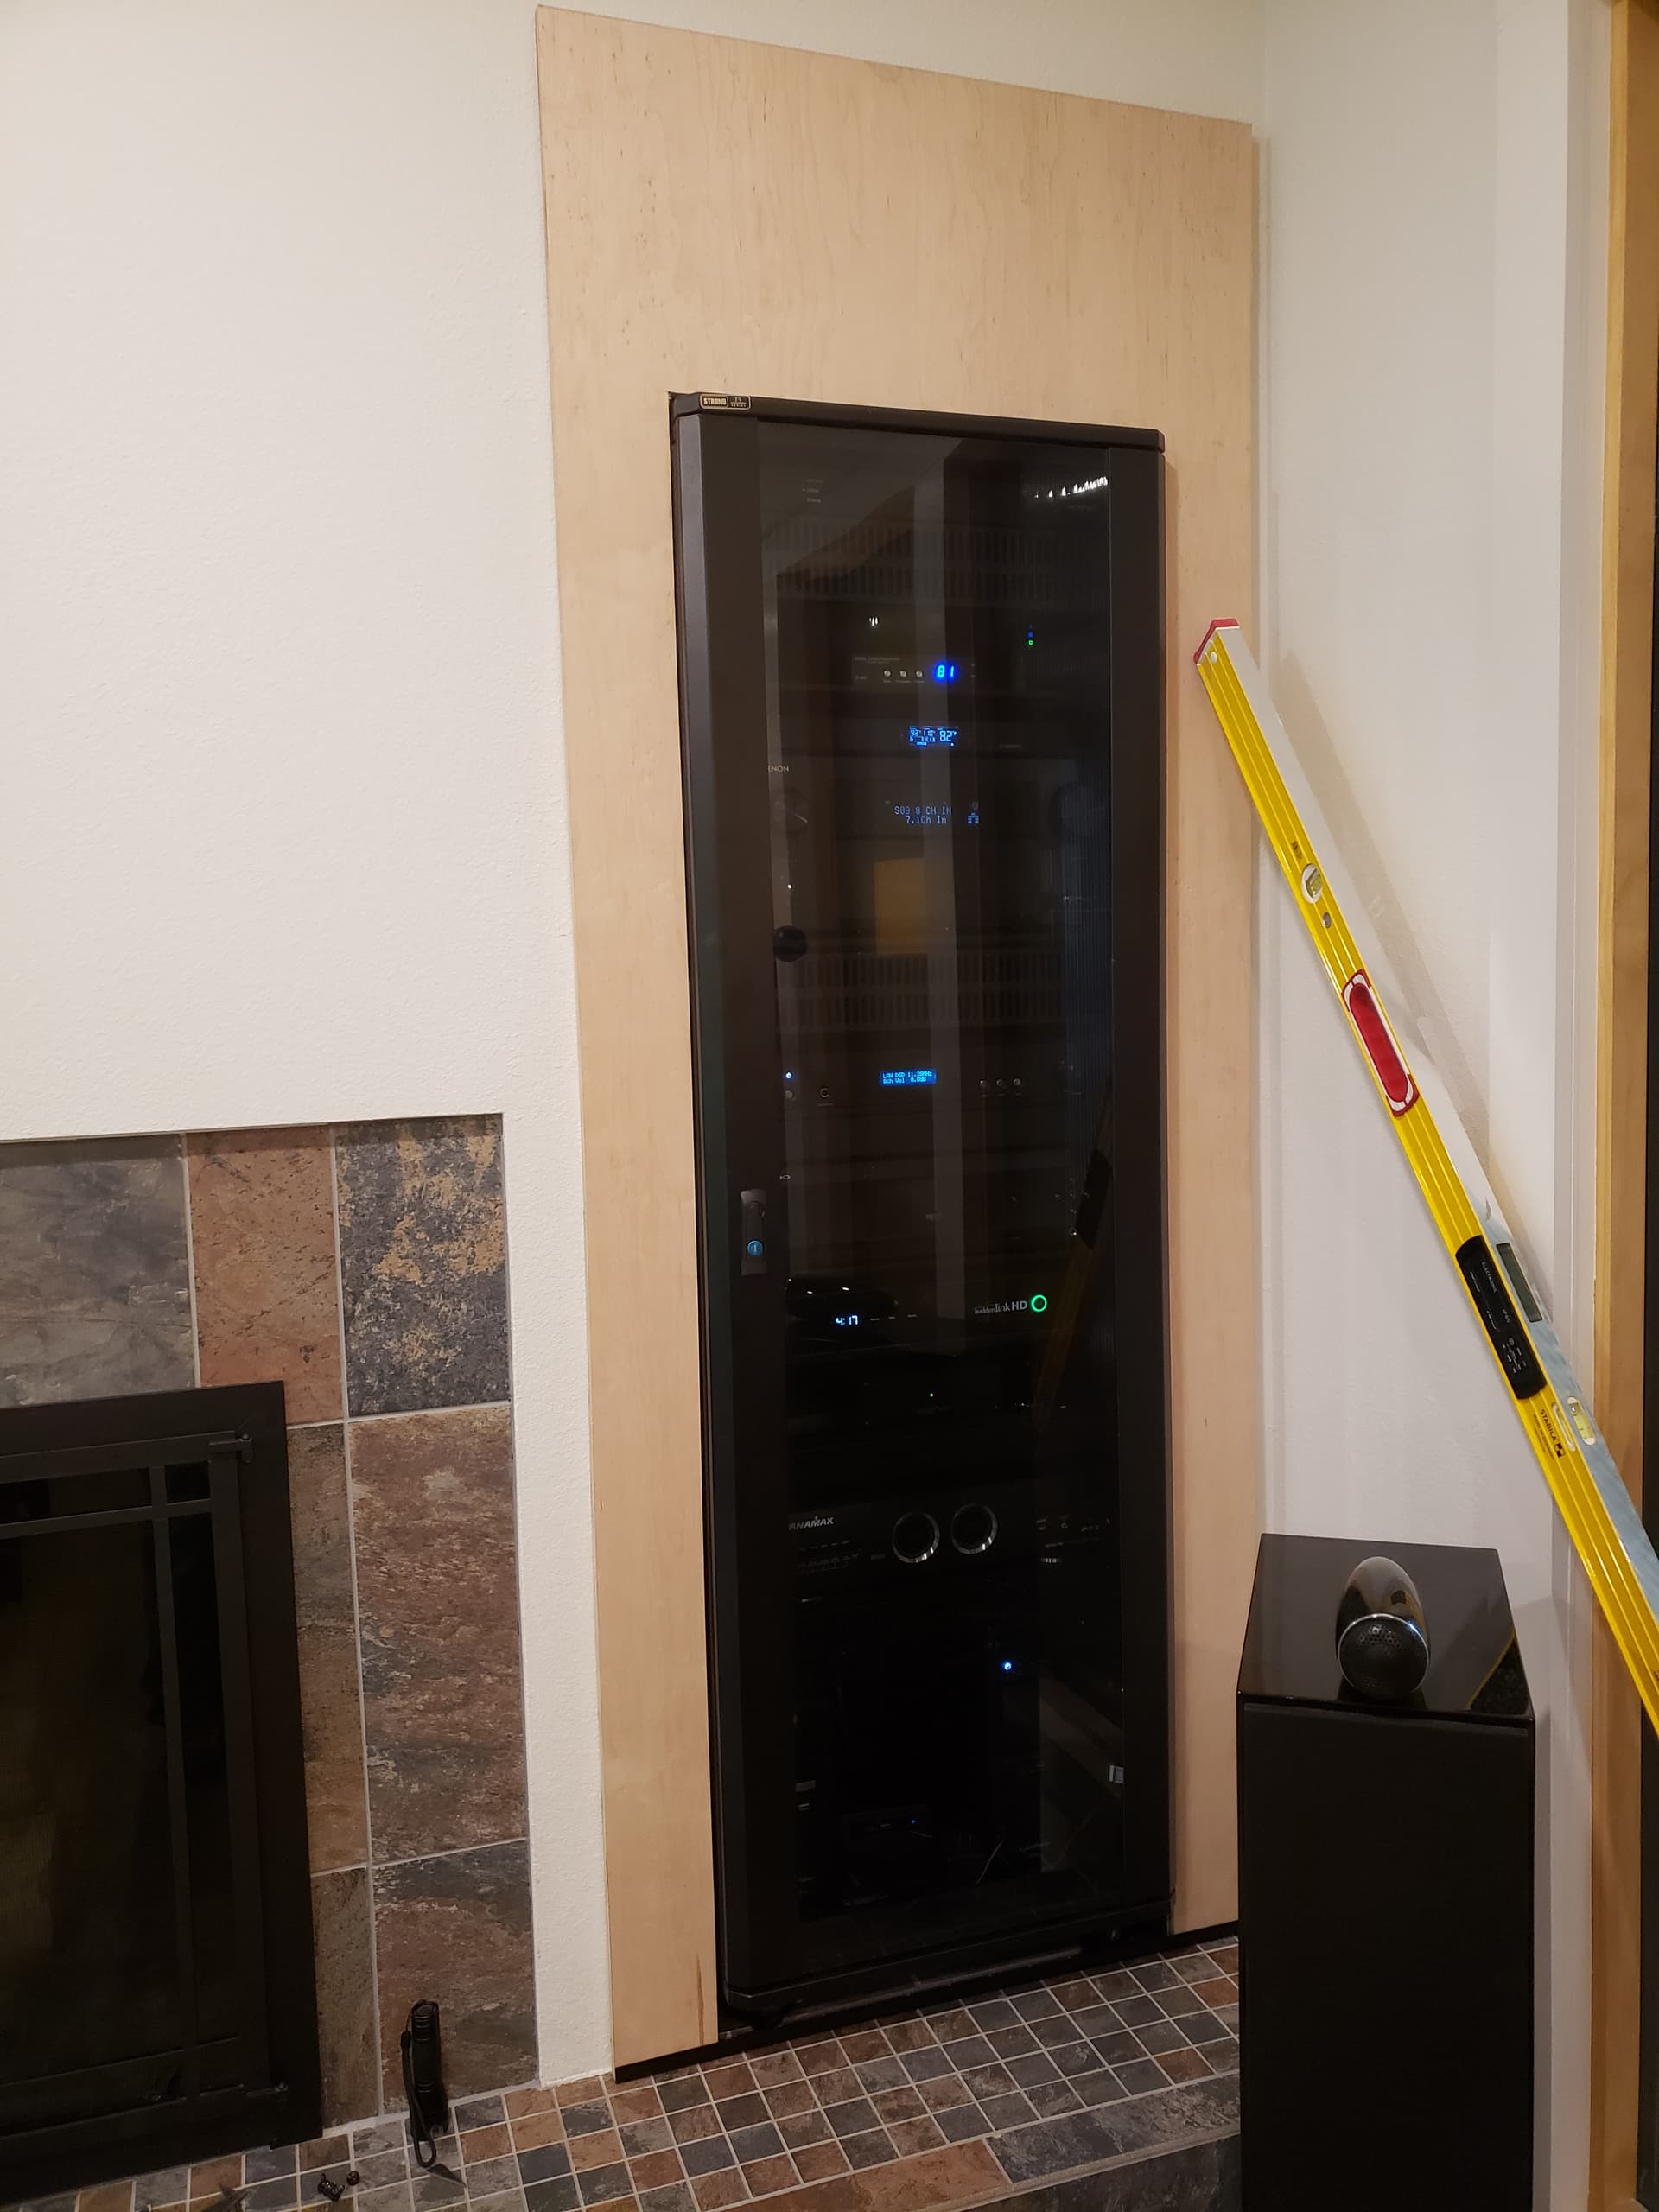
I cheated, had all the walls down to studs and wired the space for audio, video and network including the media closet. It looks better with the wall plate connection in place.
Made a cover panel for the closet opening out of 3/4 plywood with metal channel framing on the back side. That hides the cables running from the wall plates down to the floor then up inside the cabinet. The cover is painted black now and attached from behind with springs to allow for movement.
It seems to me there are two separate issues: the visual, and the hassle of trying to trace out cabling through a tangled mess every time you want to change something. The OP deals with the former but not the latter.
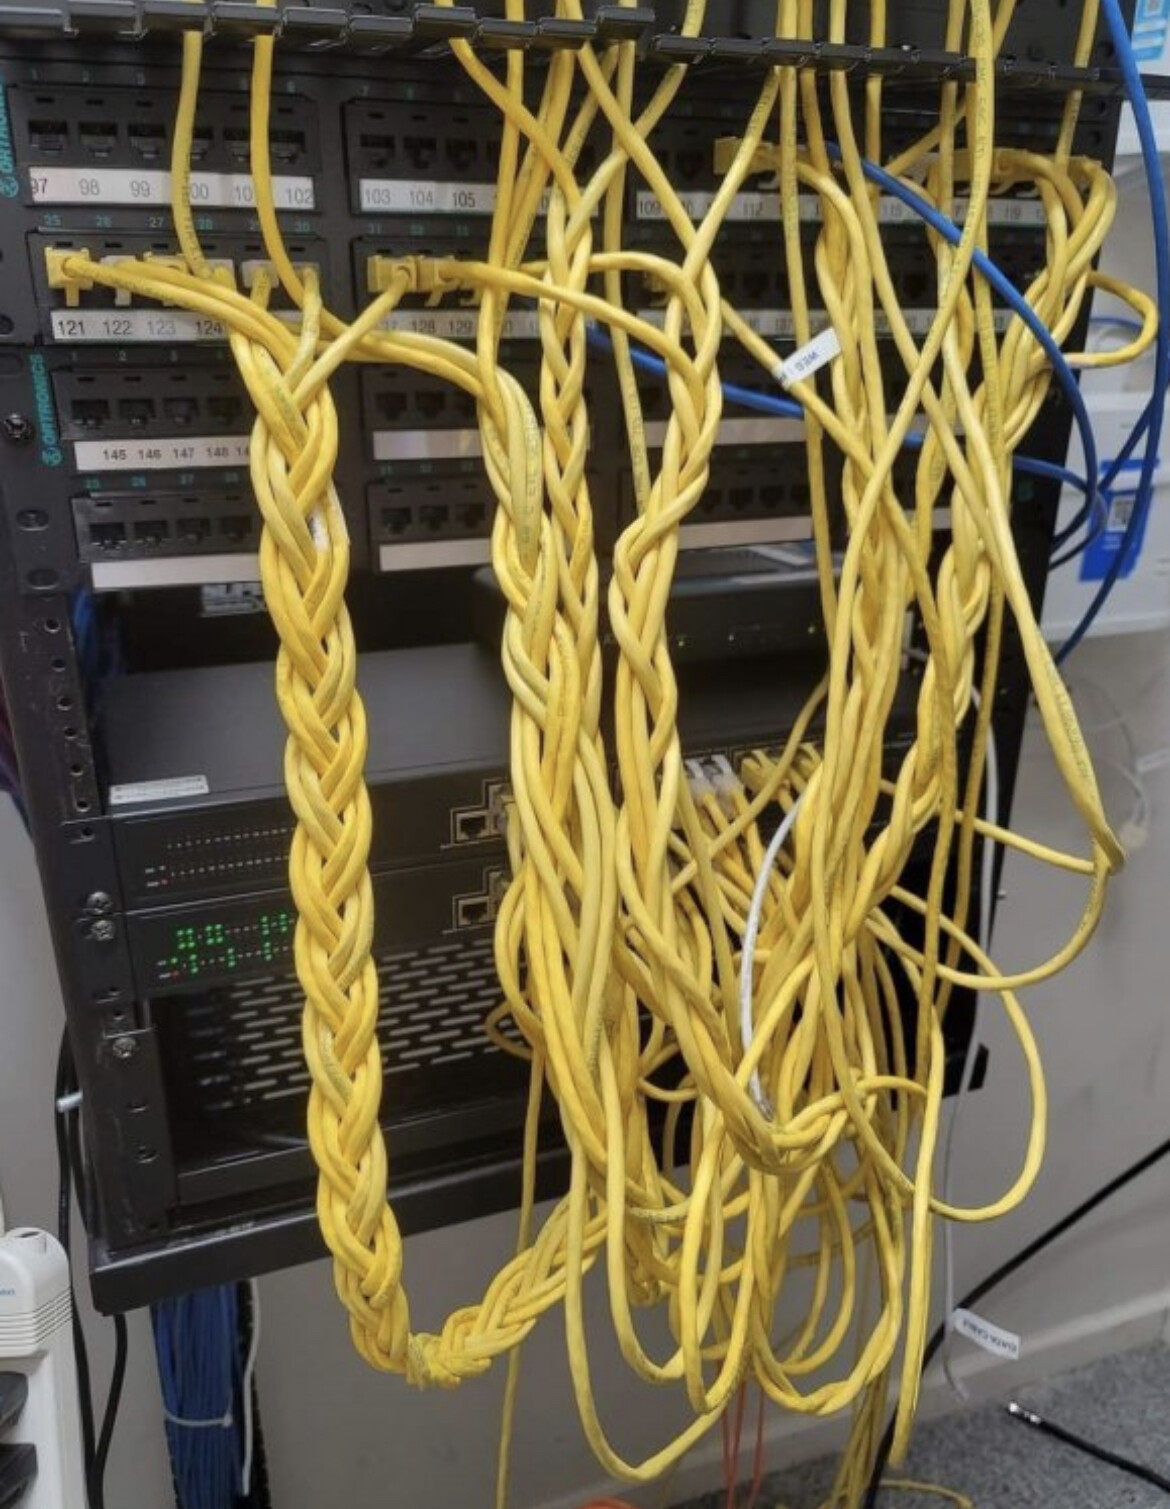
I make use of my many years of experience working in broadcast plants, including wiring racks and adding and removing equipment.
One thing that is very helpful is organizing cables into neat bundles. For this, cable ties are typically used. But they have to be clipped and replaced every time you want to add or subtract a cable. Instead, Velcro straps are very useful, like these:
Of course once you have the cables bundled, you need some way of keeping track of which one is which. Two ways of doing this are using different colors, and labeling the ends. For the latter I just use a regular label maker and wrap and fold them around the cable so that they can be seen. But cable specific labels and labels printers are available. At the broadcast station I used cable labels that came in books and filled them out with a Sharpie.
Monoprice also sells many cables of every conceivable length. I stock various lengths of HDMI and power cables to use as needed. If you have the ability to make custom length RCA cables, Ethernet cables or XLR cables, you should do so. Having a finely tuned length makes all the difference.
For power in my equipment rack I have a power strip mounted vertically, and short power cords from Monoprice going between it and the equipment. Of course if you believe in magic audio, power or Ethernet cables this gets a lot more complicated.
One of my failures is something I’ll post a picture of when I get a chance. I forgot who makes it. Is a flexible cable loom you wrap around the cable bundle, with holes for the cables to enter and exit at regular intervals. It was just too complicated to make work right, wasn’t all that convenient, and didn’t look all that good.
Blockquotes are slightly different, they’re intended to highlight when you quote an external source…
If you need to call special attention to a quote from another source, or design a pull quote for a magazine article, then Markdown’s blockquote syntax will be useful. A blockquote is a sentence or paragraph that’s been specially formatted to draw attention to the reader
Any text line starting with a > character will appear as a blockquote as above. If you use the button just replace the Blockquote text with whatever you want to appear as a quote. I suspect that the above isn’t as clear as I’d like but it’s the best that I have.
I’ve adopted this approach in two rooms, with a Node, and an M10, however, with multiple video sources (Apple TV, Blu-Ray), plus a with and associated ethernet cables, wires still proliferate.