Difficulty removing internal cover of Roon Nucleus One (ref#I1J1GU)

Select your Nucleus model from the list below

· Nucleus One

I'm having trouble with my Nucleus hardware

· Other

Select the option that fits best

· The Nucleus boots up and I can connect to it in the Roon app without issue, but I have a question about configuration/storage/attached devices

Describe the issue

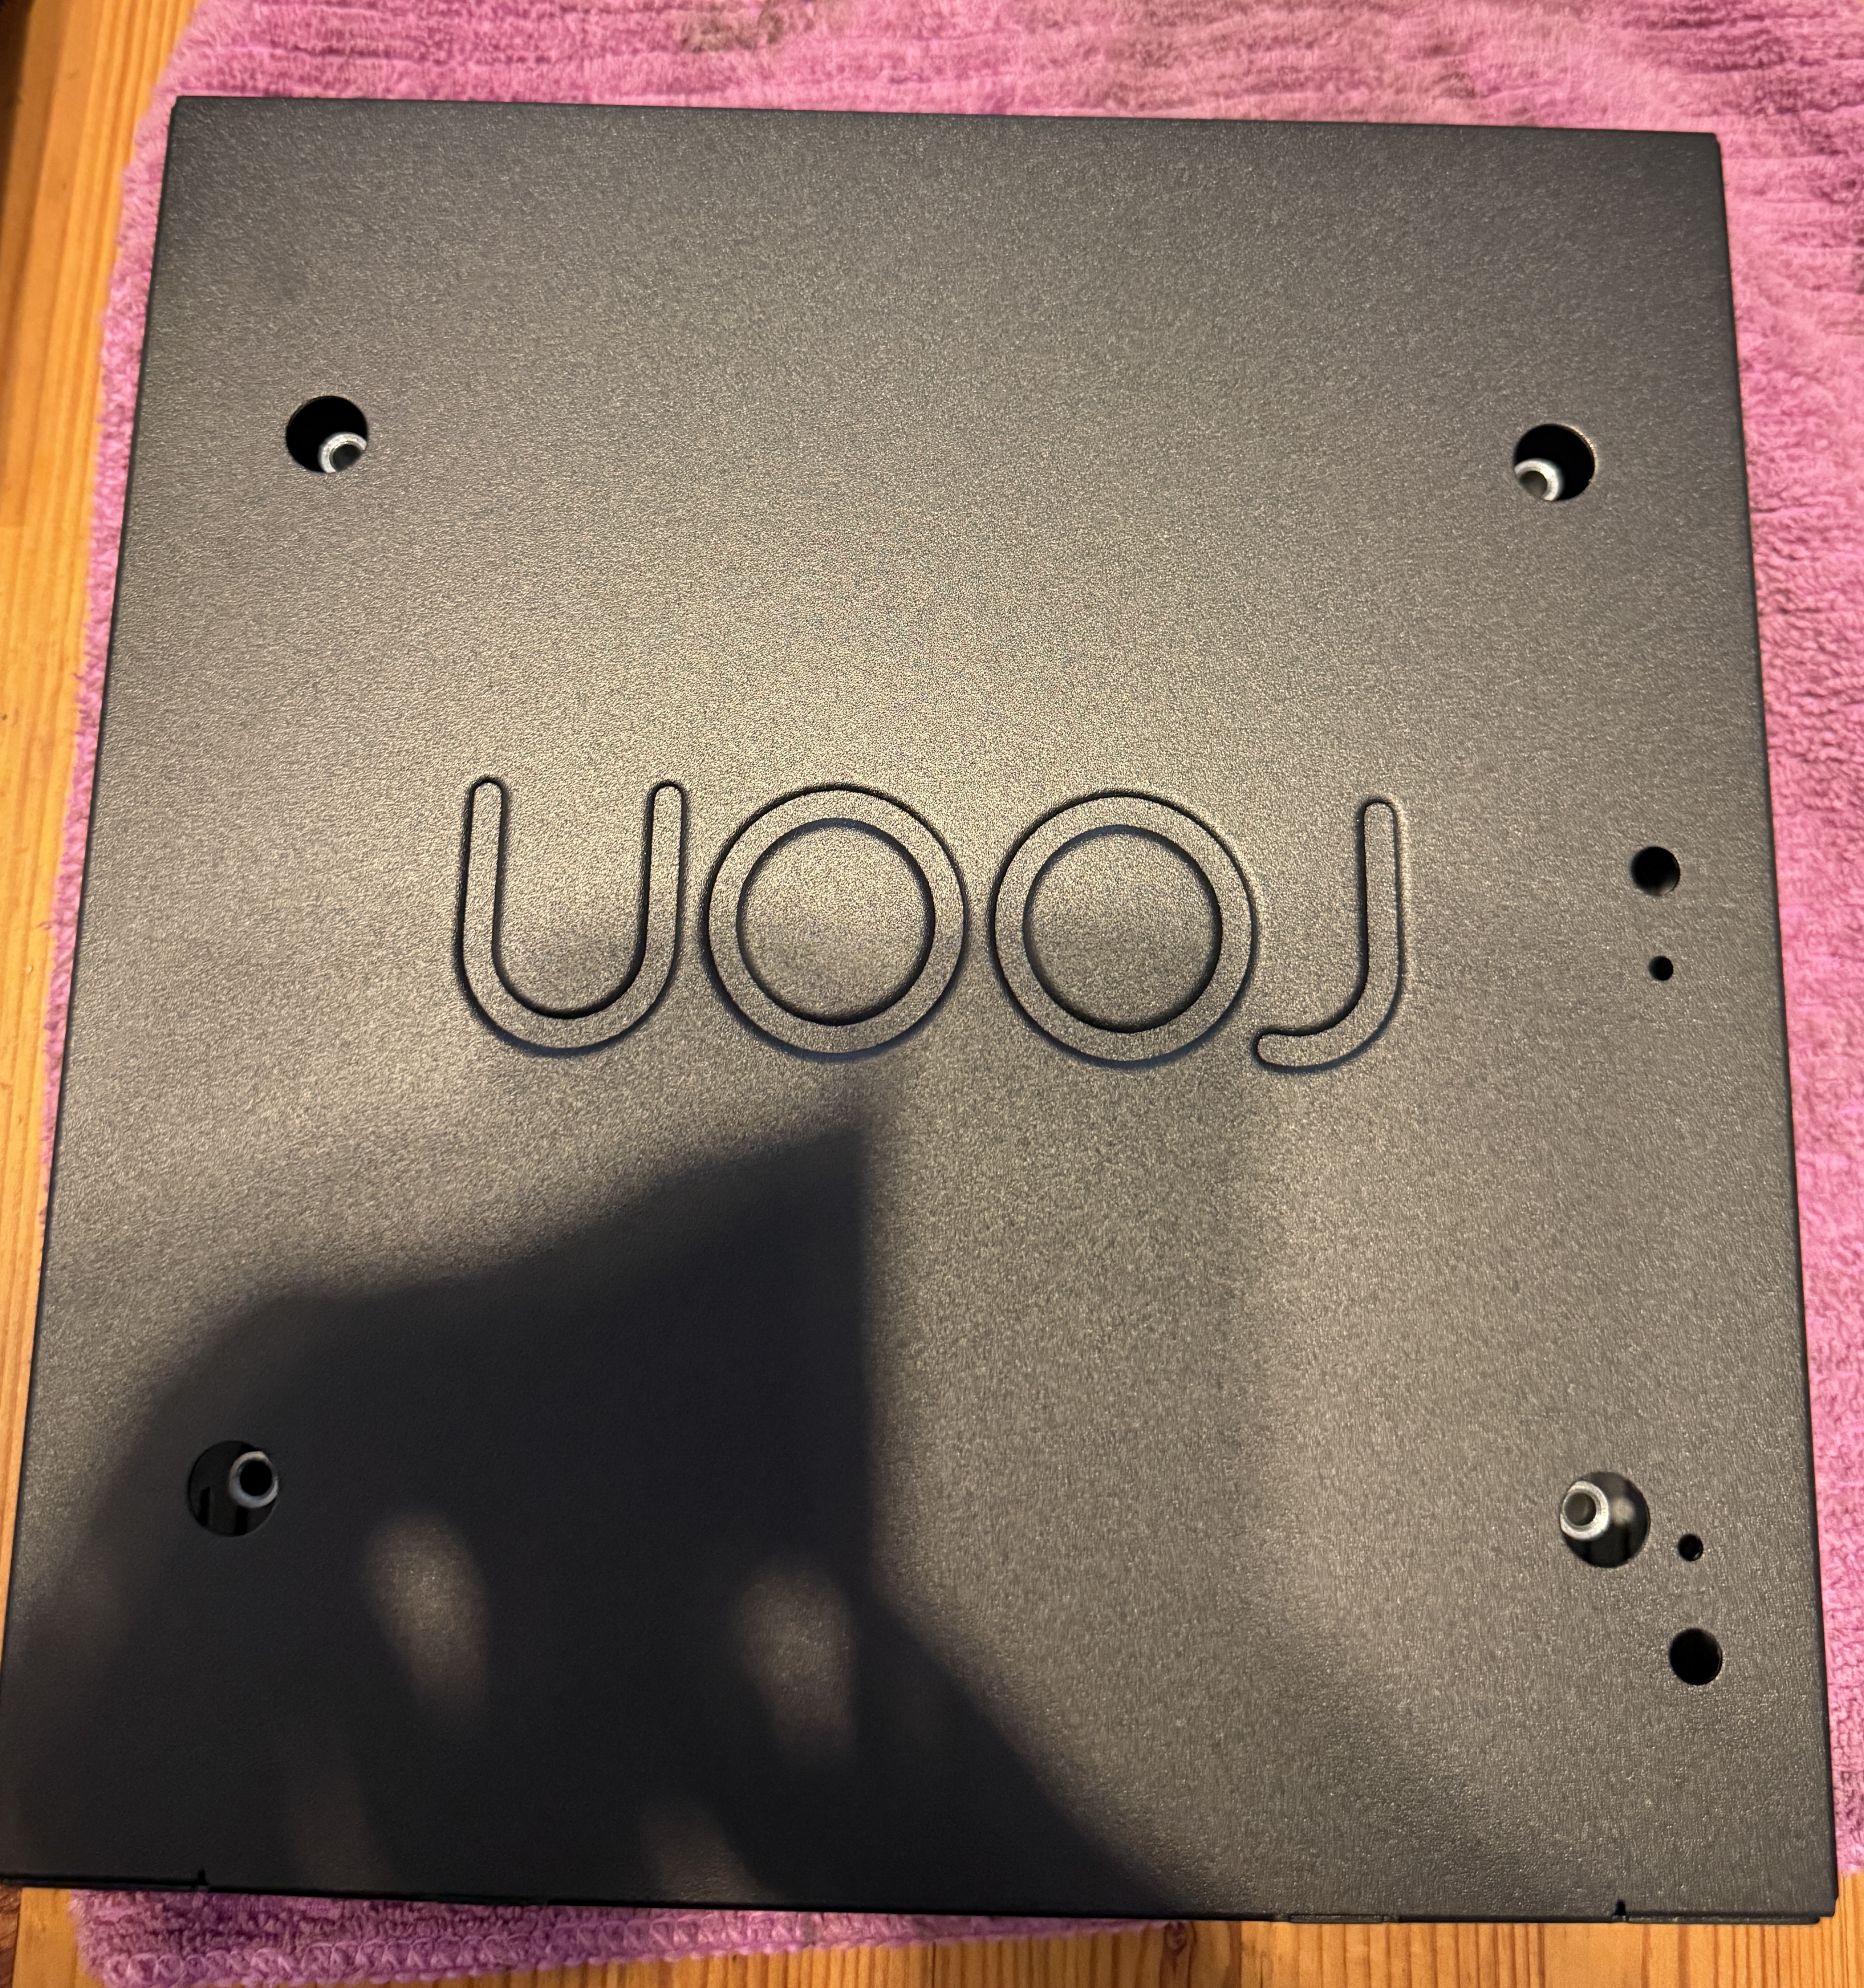
I am trying to upgrade the RAM in the Roon Nucleus One. As suggested in the FAQ, I have opened the top of the Roon Nucleus One by unscrewing the 4 long screws from the bottom.

I can now remove the top cover. But now there is yet another cover inside. How does one remove this? I do not see it mentioned anywhere in the FAQ files.

Thanks!

What are you trying to do? To install a second disk, open it from the bottom cover

I’m guessing this is for a memory upgrade :man_shrugging:

Yes. Memory upgrade. The HDD space is easy to access from the bottom. Just puzzled insofar as opening the top for the memory upgrade.

I see. Yes, @vadim could have been more comprehensive there

As could the RAM upgrade help page

2 Likes

Oh boy, what on earth possessed anyone to write this?

The whole response suggests AI was used.

No mention that the motherboard needs dismounting from the lower case.

1 Like

It’s probably true just not with a Nucleus One :wink:

1 Like

Yeah… Hence, following the write up, you can imagine my surprise upon removing the 4 long screws from the bottom, lifting up the cover and then finding another internal cover… :wink:

It’s a cut and paste from the official Help article:

Unfortunately, as @Suedkiez points out, it doesn’t seem to apply the the Nucleus One model.

I’ll flag the Roon Labs team responsible for these articles to get that article revised.

In the meantime, someone from Support should be along to help @Kiat_Lee

4 Likes

Hello @Kiat_Lee

Thank you for your patience.

Here is the video guide on how to replace the SATA cable on the Nucleus One, but it also shows the disassembly process. Please let us know if there are any other questions or concerns.

Thanks for that. That explains it. I have this question tho: what size Philips screwdriver does one use for the small screws on the back and the two on the side? I tried to use the smallest point Philips screw I have at hand on the two side screws (where the output points are) and it seems to require an even smaller tip. Any suggestions/guidance would be much appreciated.

But the video makes it seem so easy to do. I just wanted to also check to see how tightly screwed are these small screws? :wink:

Thanks!

Look for a precision mechanic tool set that includes Philips screwdrivers / heads maybe?

https://www.amazon.com/s?k=precision+machanic+tool+set&crid=62AZBQYK3D4D&sprefix=precision+machanic+tool+set%2Caps%2C203

Sorry but I had to change the link to text because the discourse software will otherwise change the amazon link for no good reason into a no longer working (in the sense of sending you where it was intended to) version. Please use copy and paste.

Good day @Kiat_Lee !

We can’t tell right now the exact size of the screw on that side because we’re yet to prepare an article for RAM upgrade. However, standard precision toolkit should work fine.

Regards.

Thanks. Sorry. I do not normally dabble in these things. Now I know what I need. Some precision kit that is usually for laptops, watches etc.

I invested in an iFixit toolkit a few years ago, and it’s been invaluable on many occasions.

Hi @Kiat_Lee !

No problems,

let us know please should you have more quetsions.

Regards.

Thanks! What I did was to seek the help of the local AD, Norman Audio. :slight_smile:

This topic was automatically closed 24 hours after the last reply. New replies are no longer allowed.