At the moment, they’re 42 kg each. By the time the ends are on and the carbon fibre and resin is applied, I reckon they’ll come in at about 50 kg per cabinet. The plinths will add another 15 to 20 kg to each.
Graeme, I look forward every day to seeing your progress. You have mad skills. I built two hydroplanes (boats) 60 years ago at age 15 with just hand tools, so I envy your skills and tools.
Thanks Jim. Learning new skills along the way is, I think, one of the most satisfying aspects of a project like this. I’ve spent many hours thinking about how to go about the next stages and changed my mind a few times along the way.
I’ve reached that stage in life where I can afford to buy good quality tools, so I buy what I need, knowing that I’ll always have them available for future projects.
Building boats with just hand tools at such a young age, that’s mightily impressive!
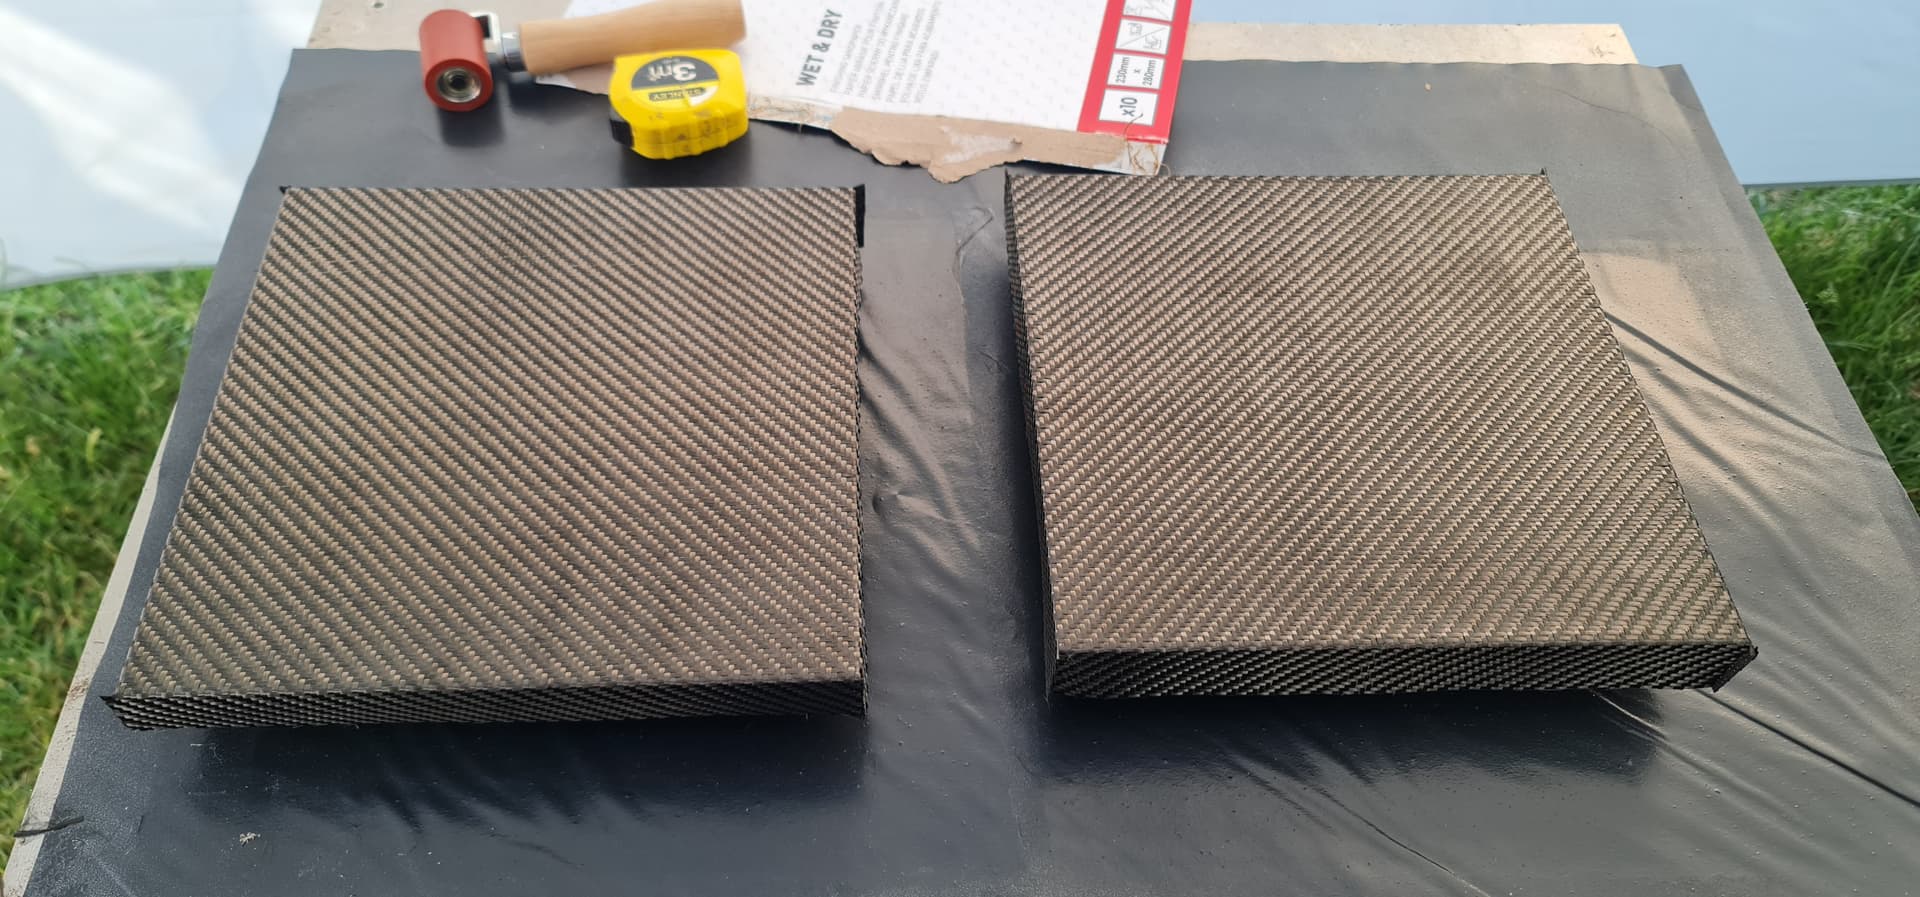
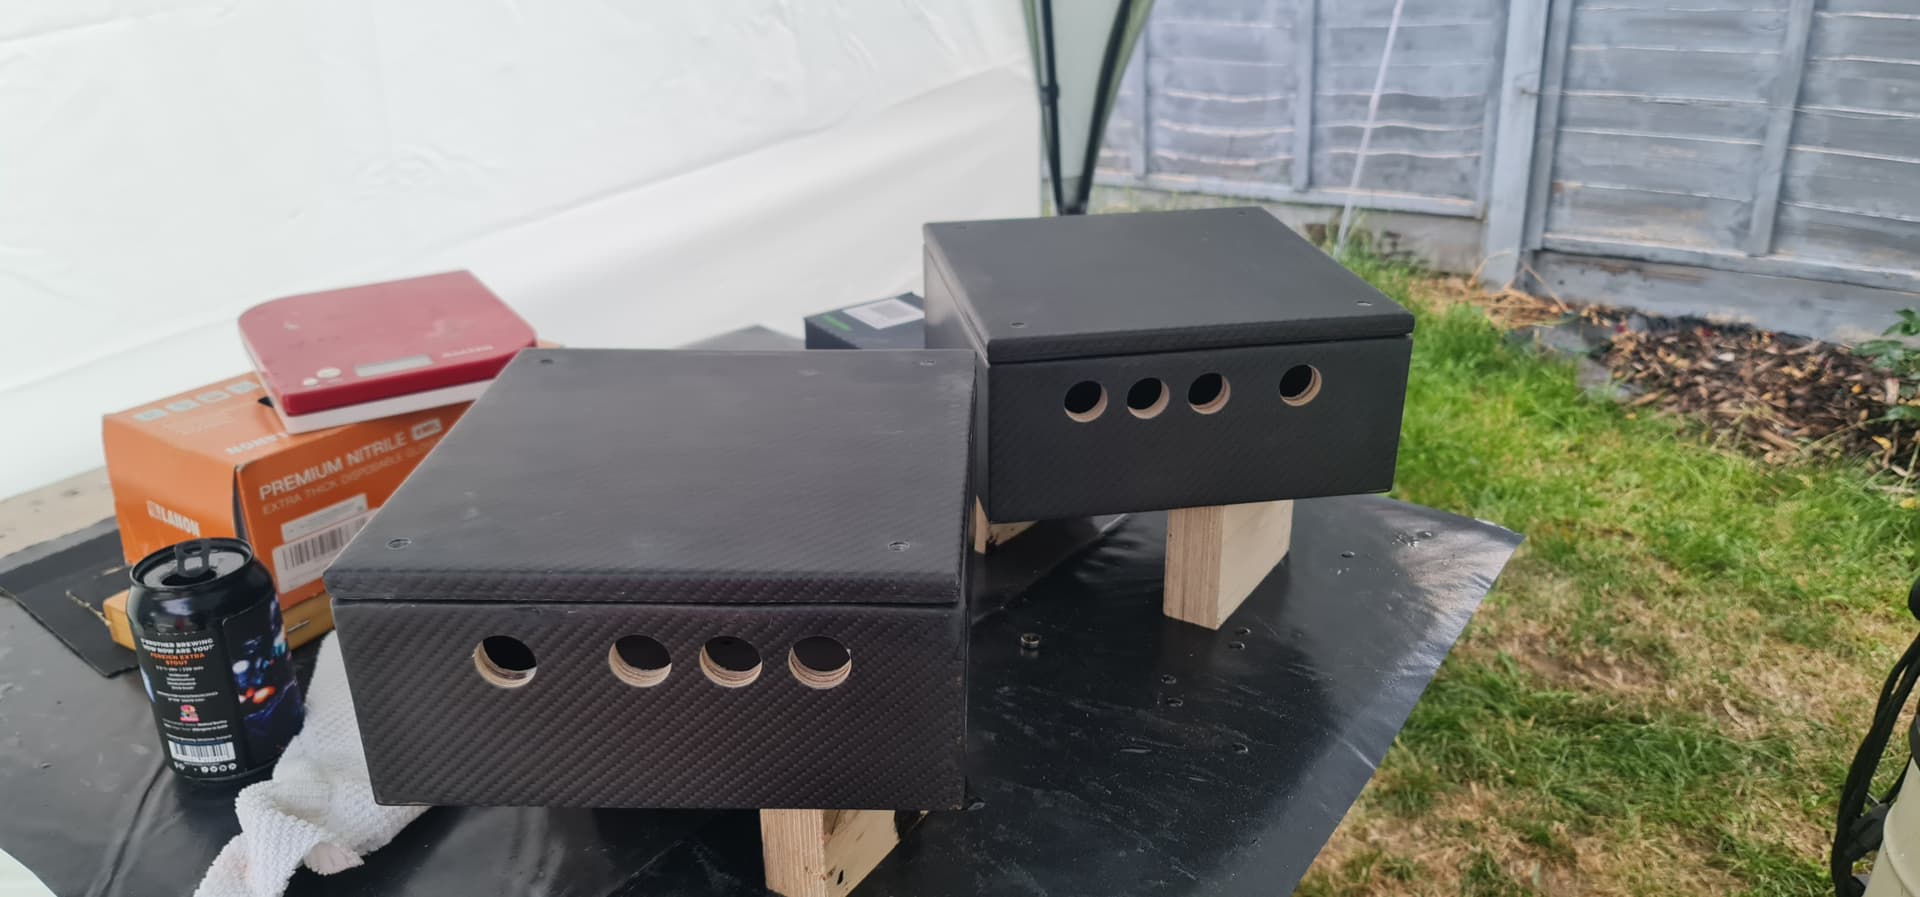
A little more progress today. A day of working from home with lots of meetings, so took the opportunity to have a couple of 10 minute breaks to do the next resin coats on the xover boxes. Once the initial ‘wetting’ coat of resin is applied, it is left to fully cure before sanding with 120 grit to key the surface. Then 3 to 4 coats are applied in succession, roughly 2 hours apart while the previous layer is ‘set’ but still soft.
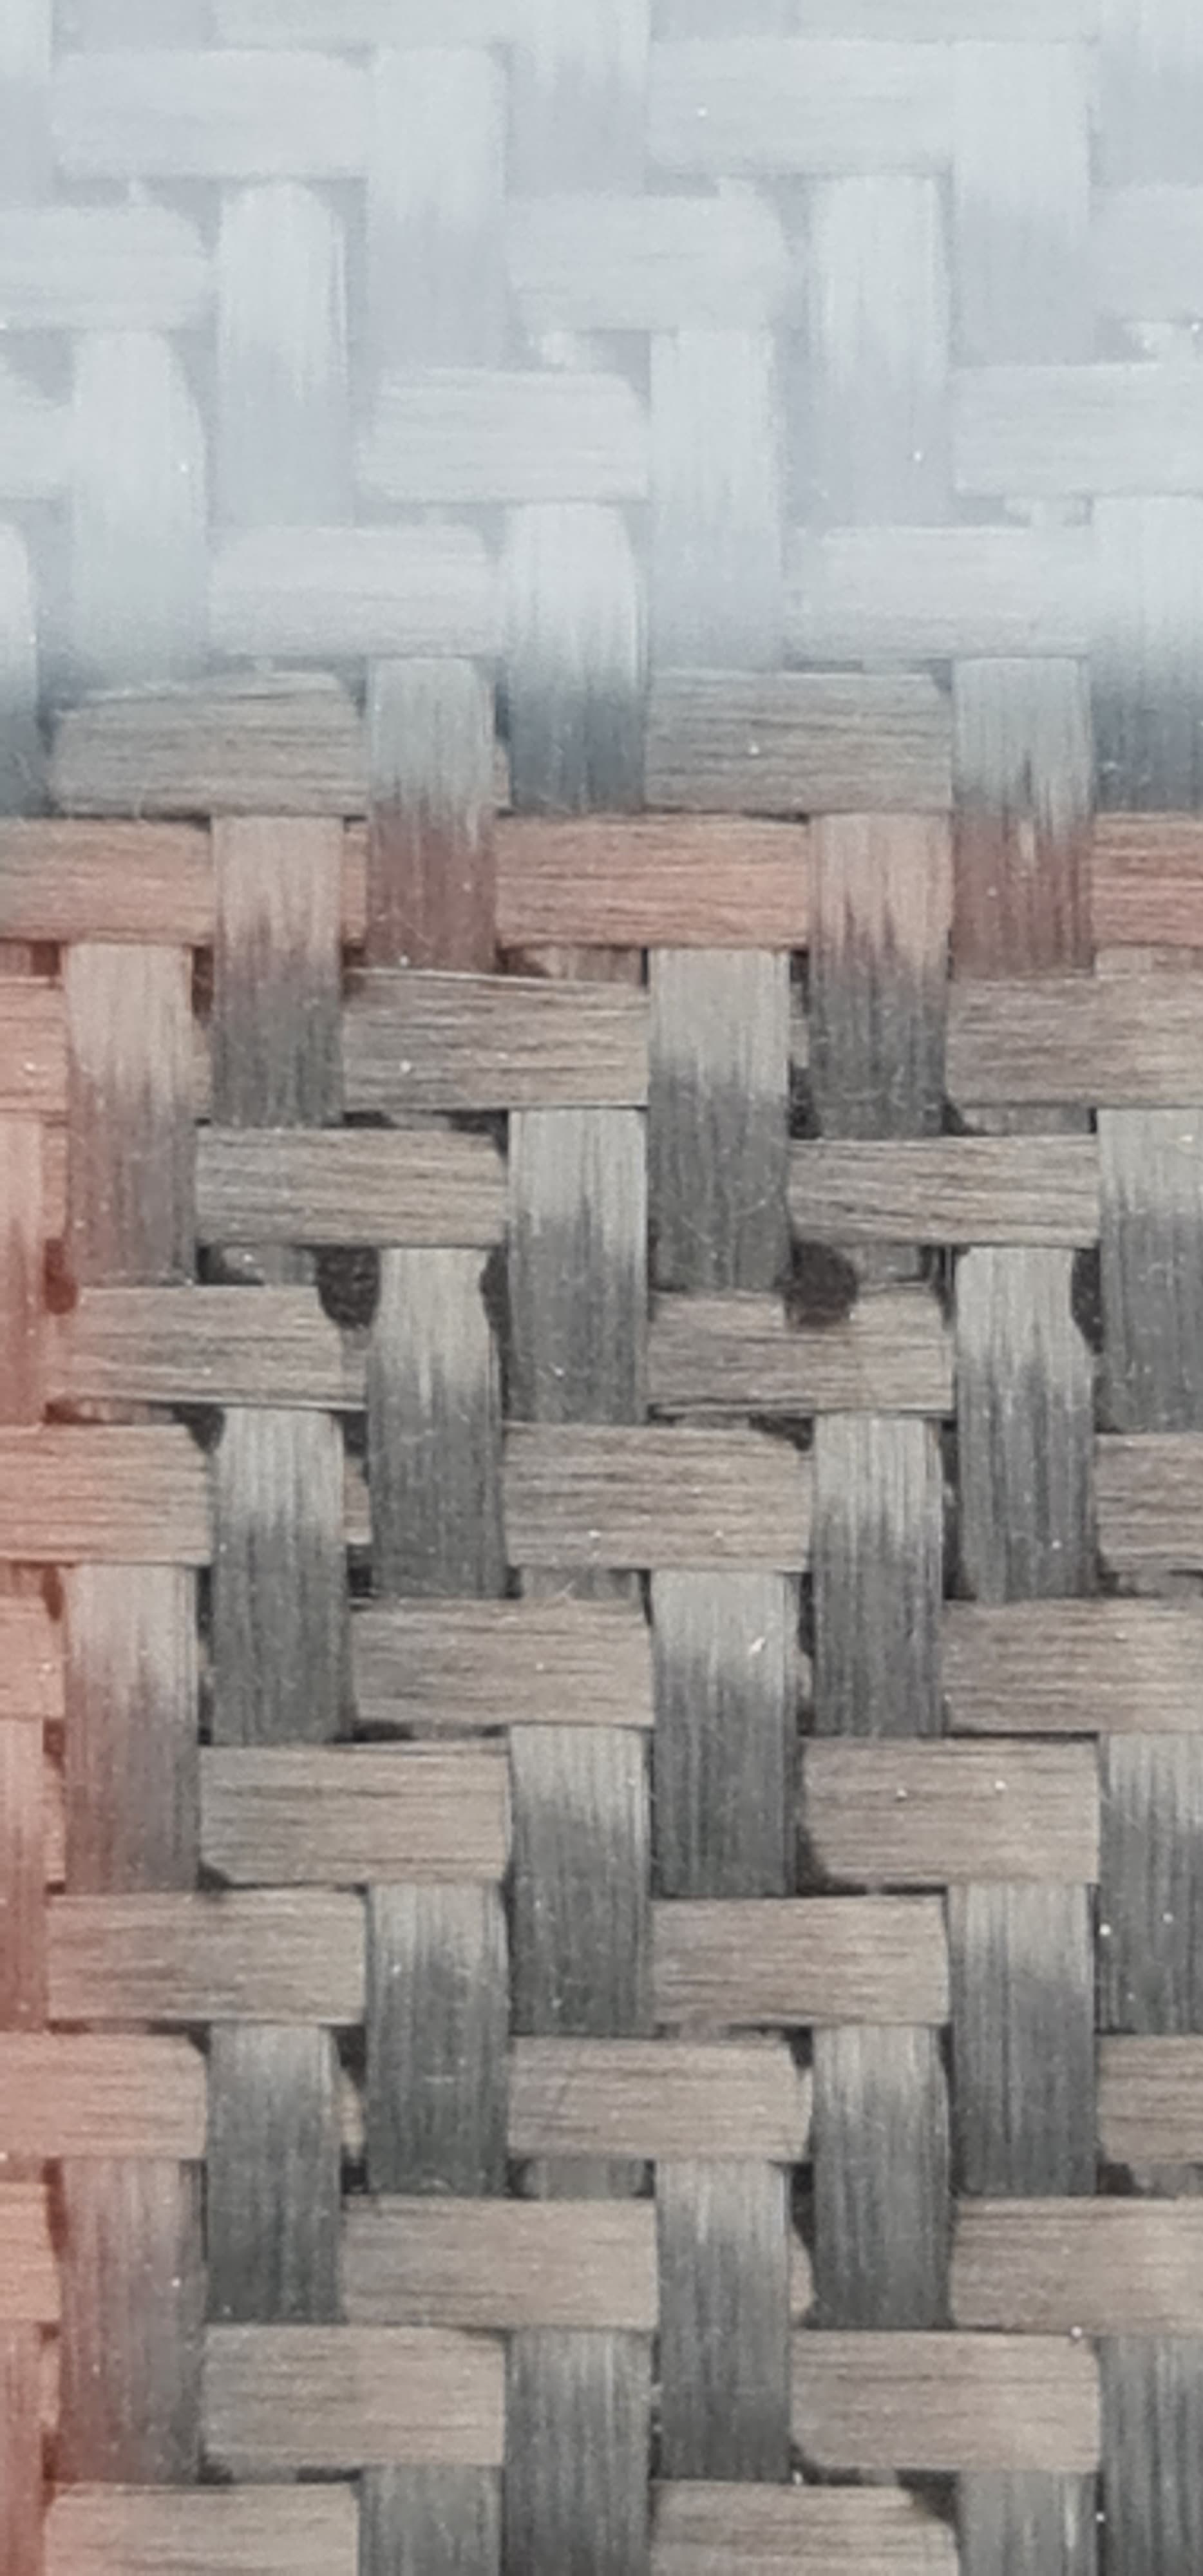
The pros make this stuff look so easy. In fact, it’s not that easy at all. The base coat is the same as the top coats with the exception of a black filler material. This prevents the base material from showing through the carbon fibre, especially if it is light in colour. It is applied and left to reach the ‘B’ stage (roughly 2 hours after initial application) before sticking the carbon fibre layer on.
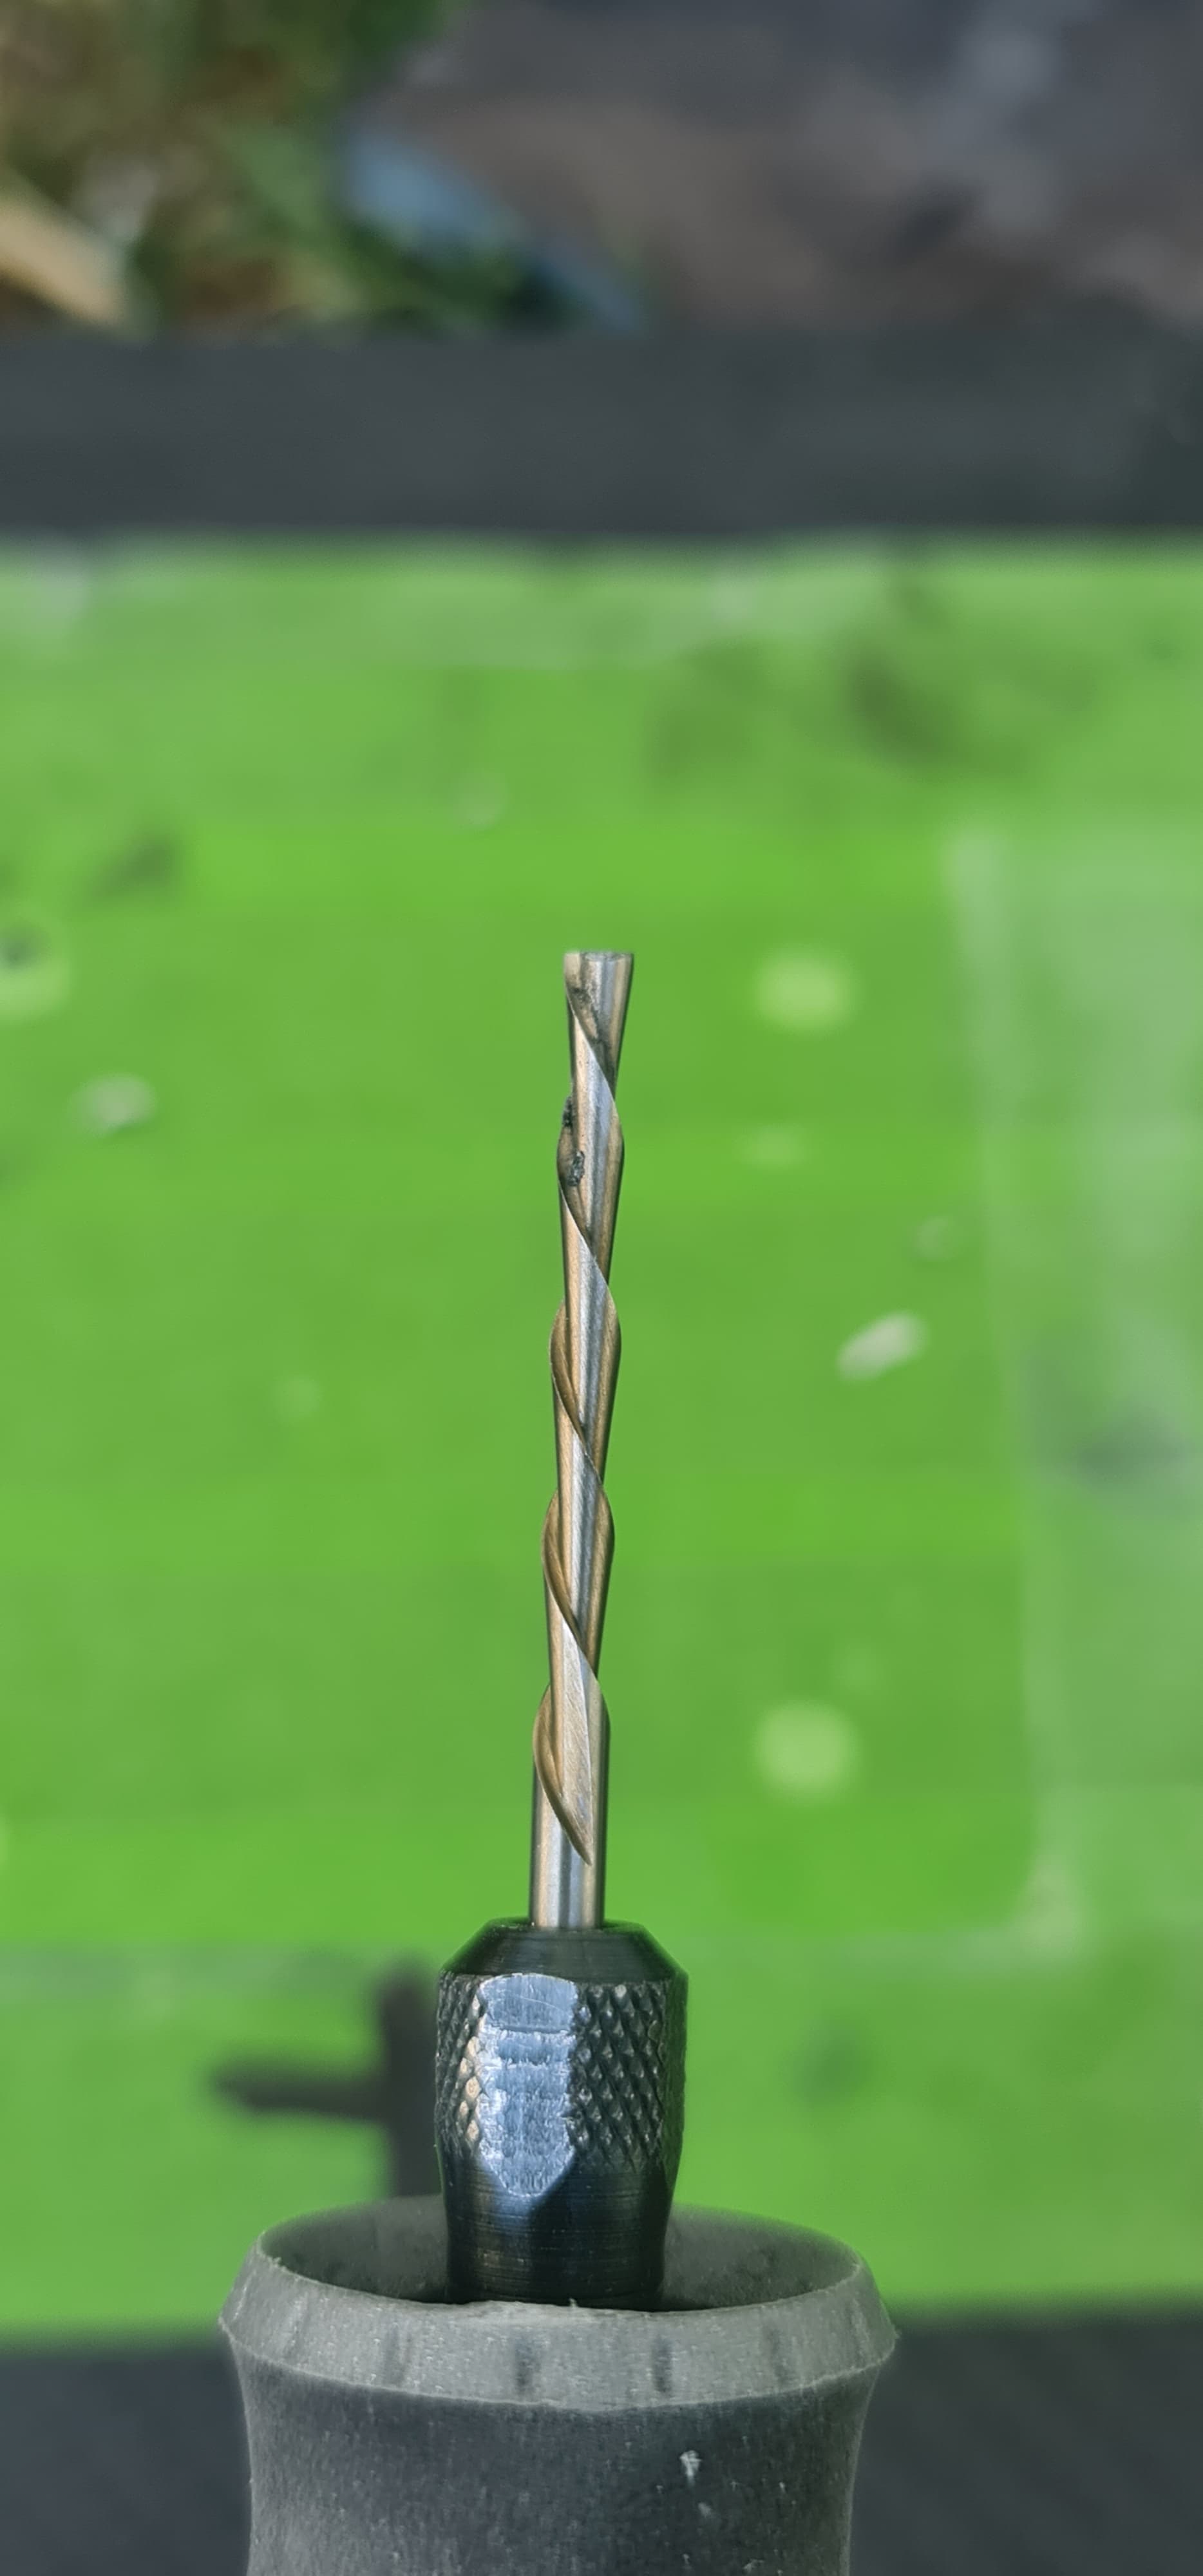
If it’s not at quite the right stage, you get some bleed-through which is visible in the final finish:
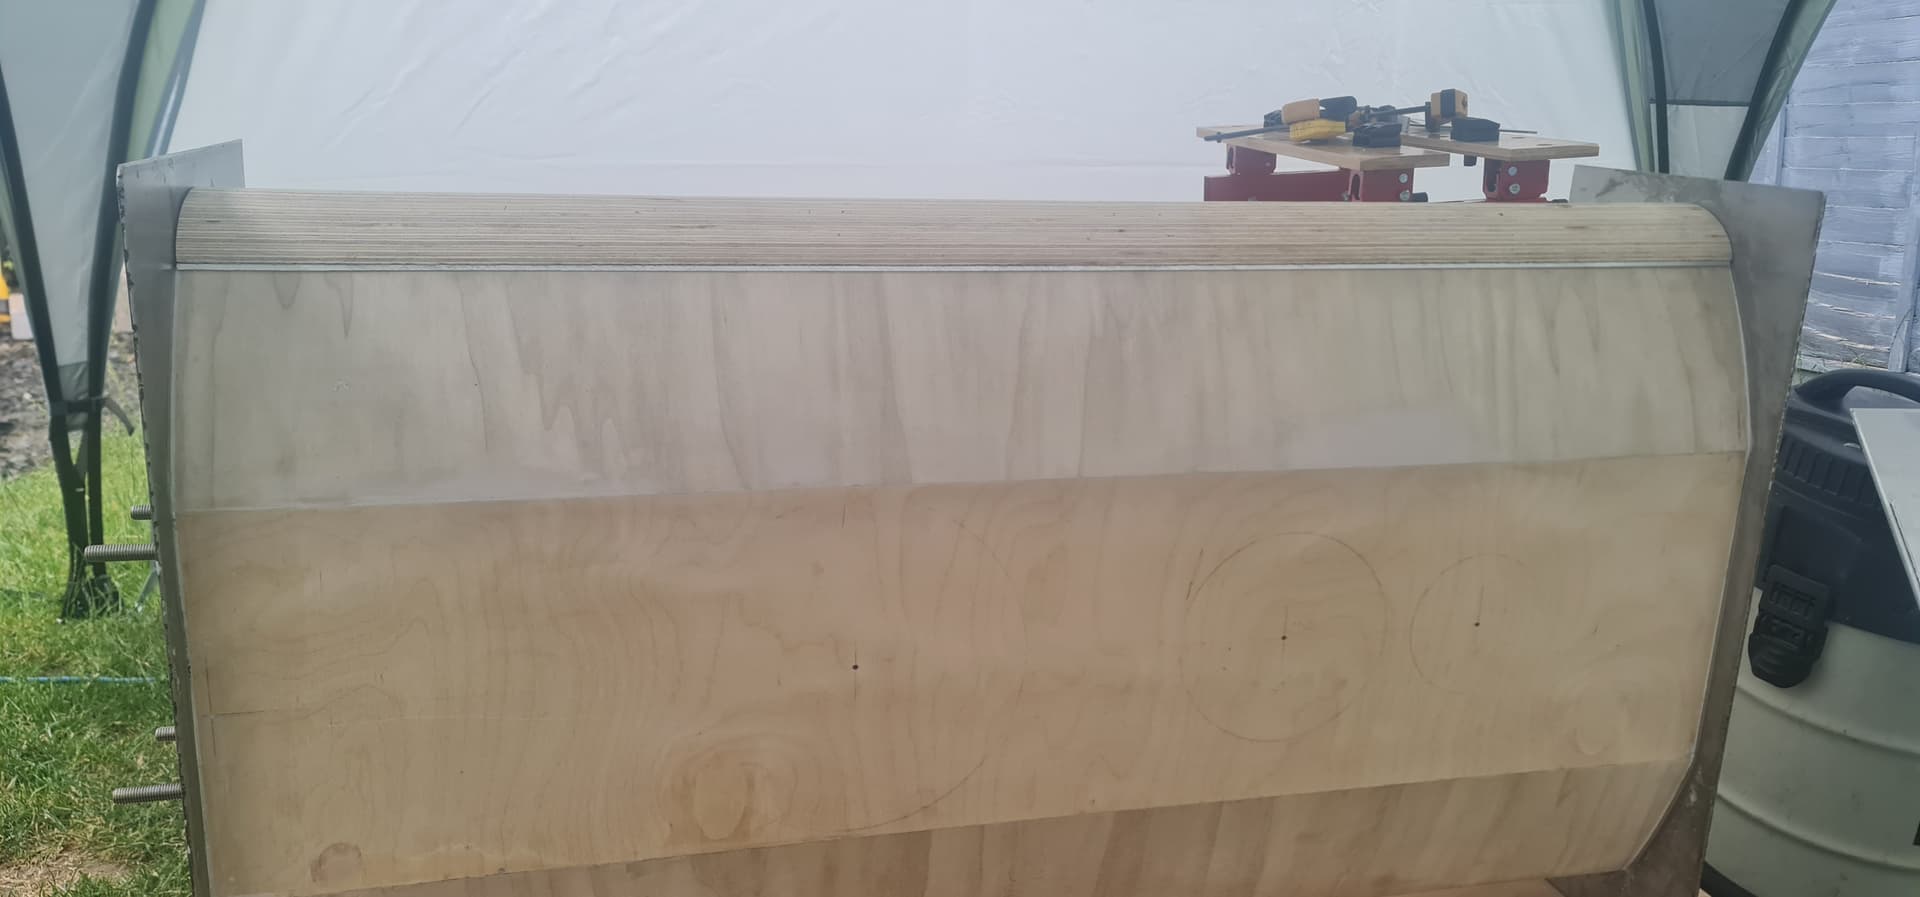
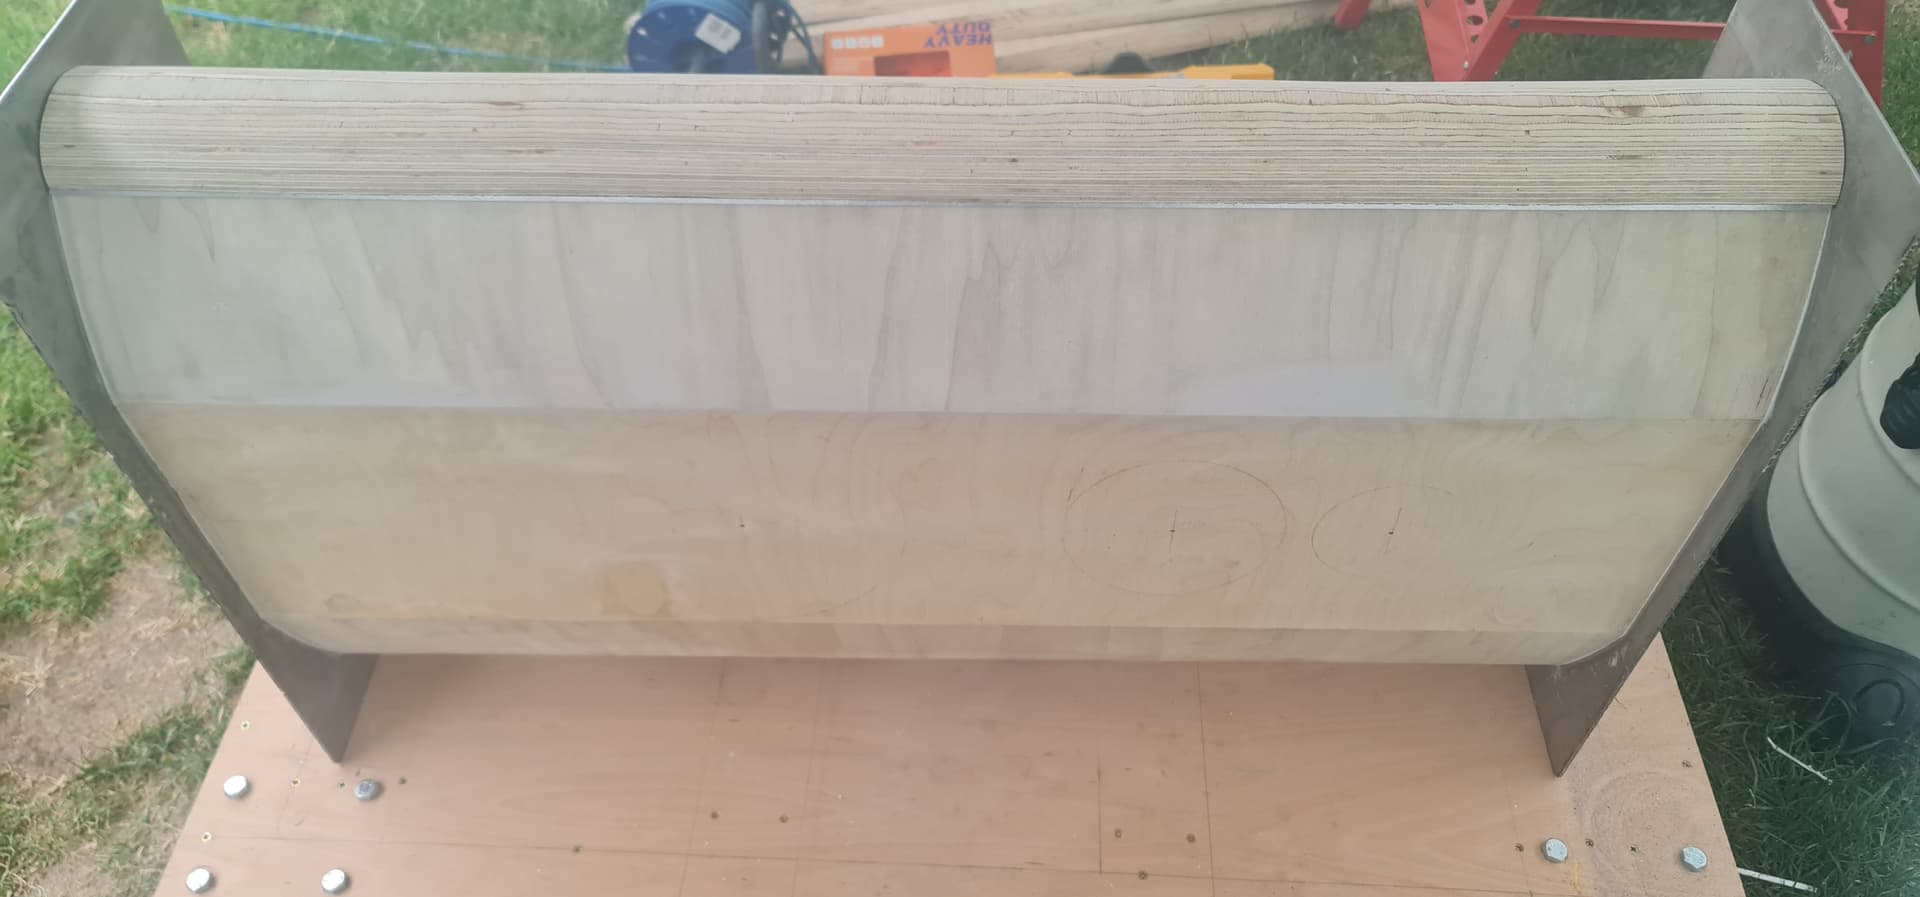
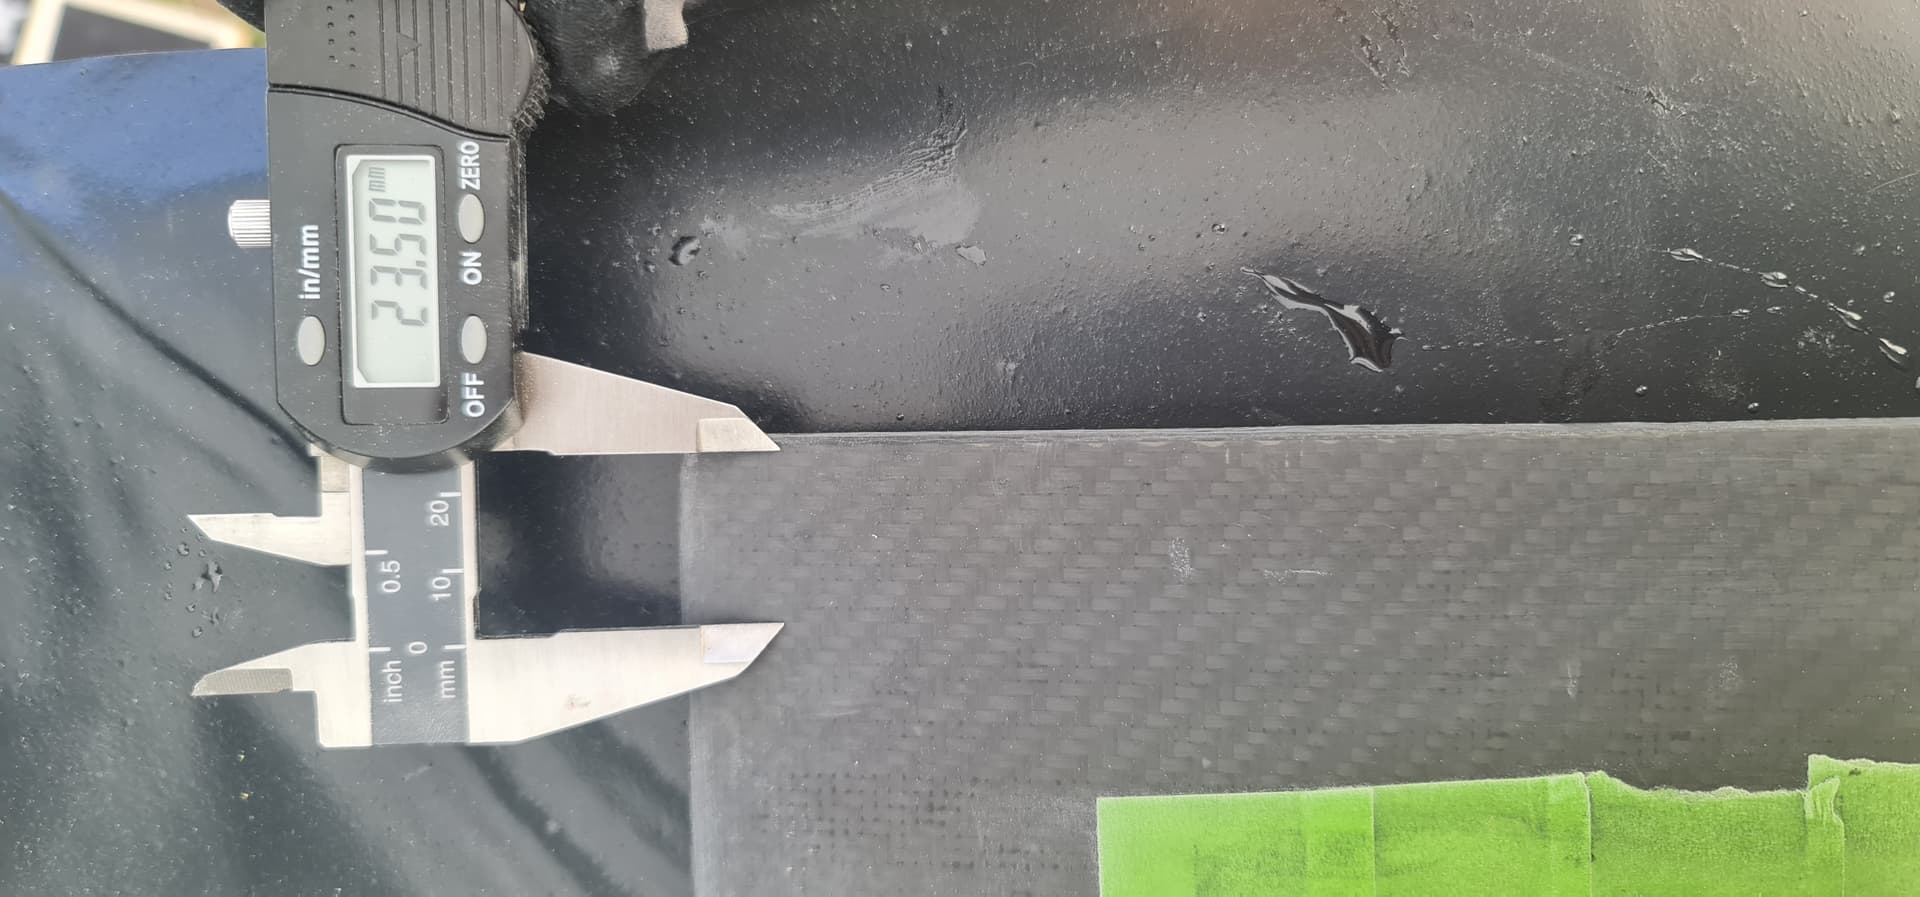
Despite being thin (~0.2 mm) and flexible, the carbon fibre doesn’t really like to go around 90° corners. Three of the box corners are slightly rounded, the end corner is square:
Ignore the curve at the bottom, that’s lens distortion from my phone’s camera.
For future projects with square corners, I’ll work it like a veneer project where you veneer each face separately and trim before applying the veneer to the adjacent side.
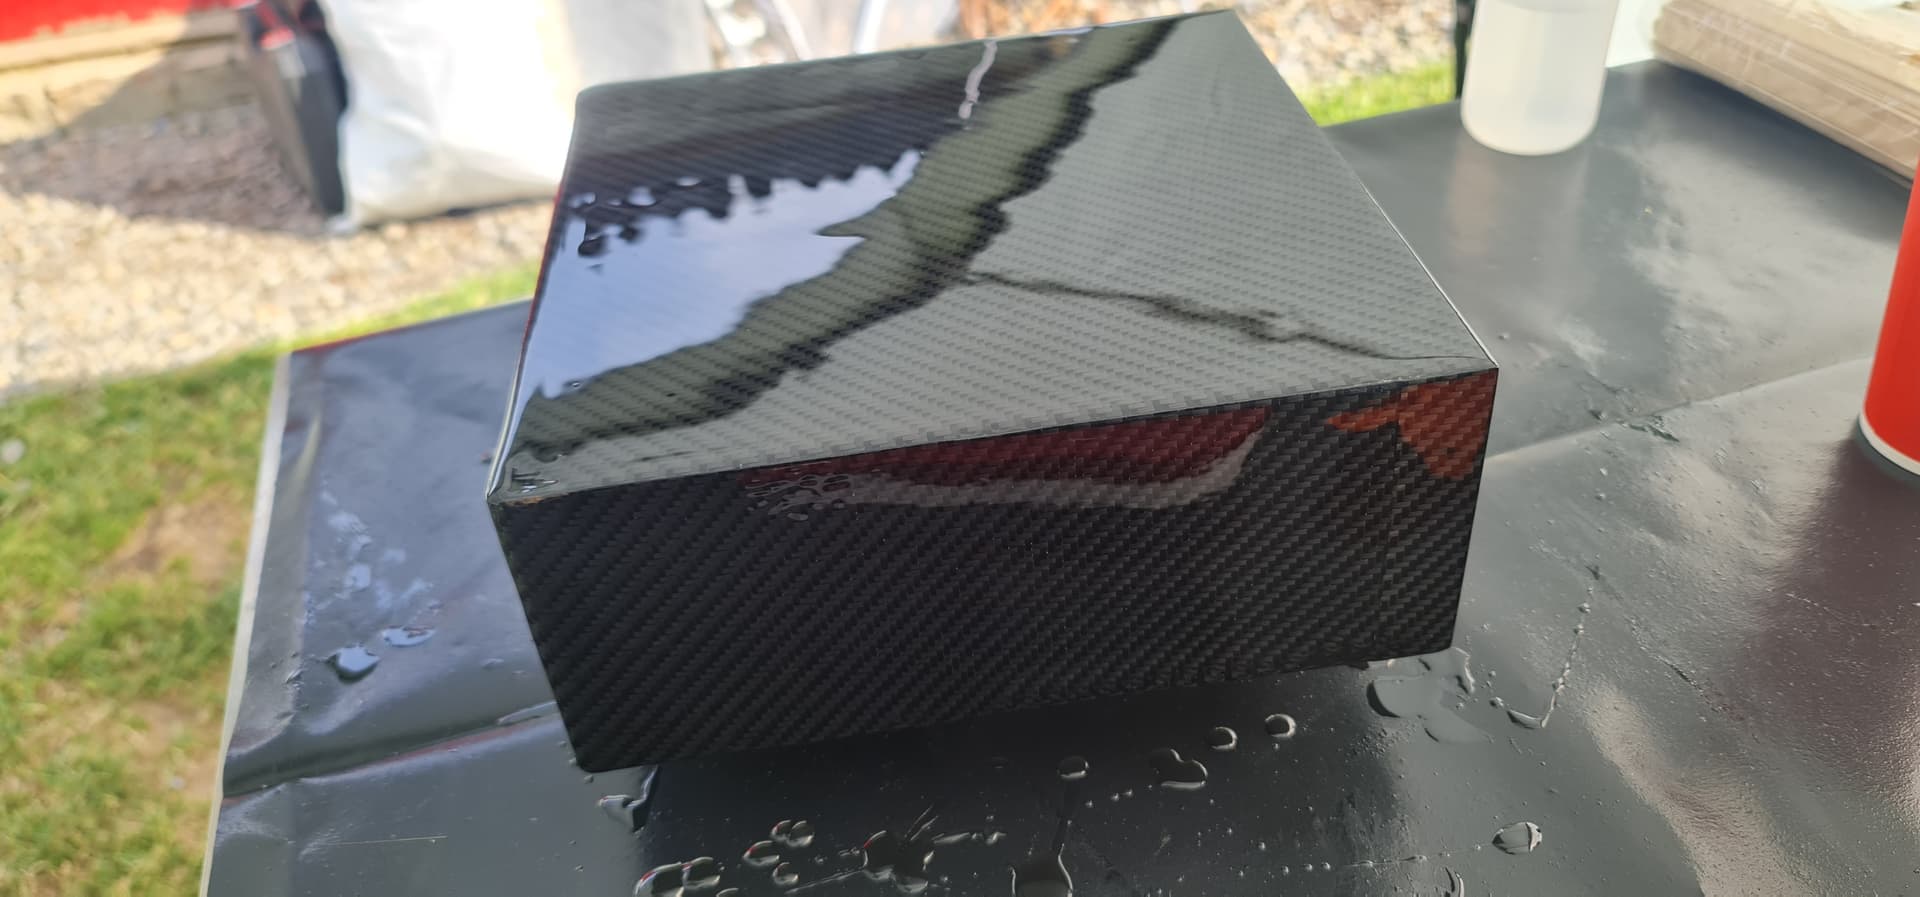
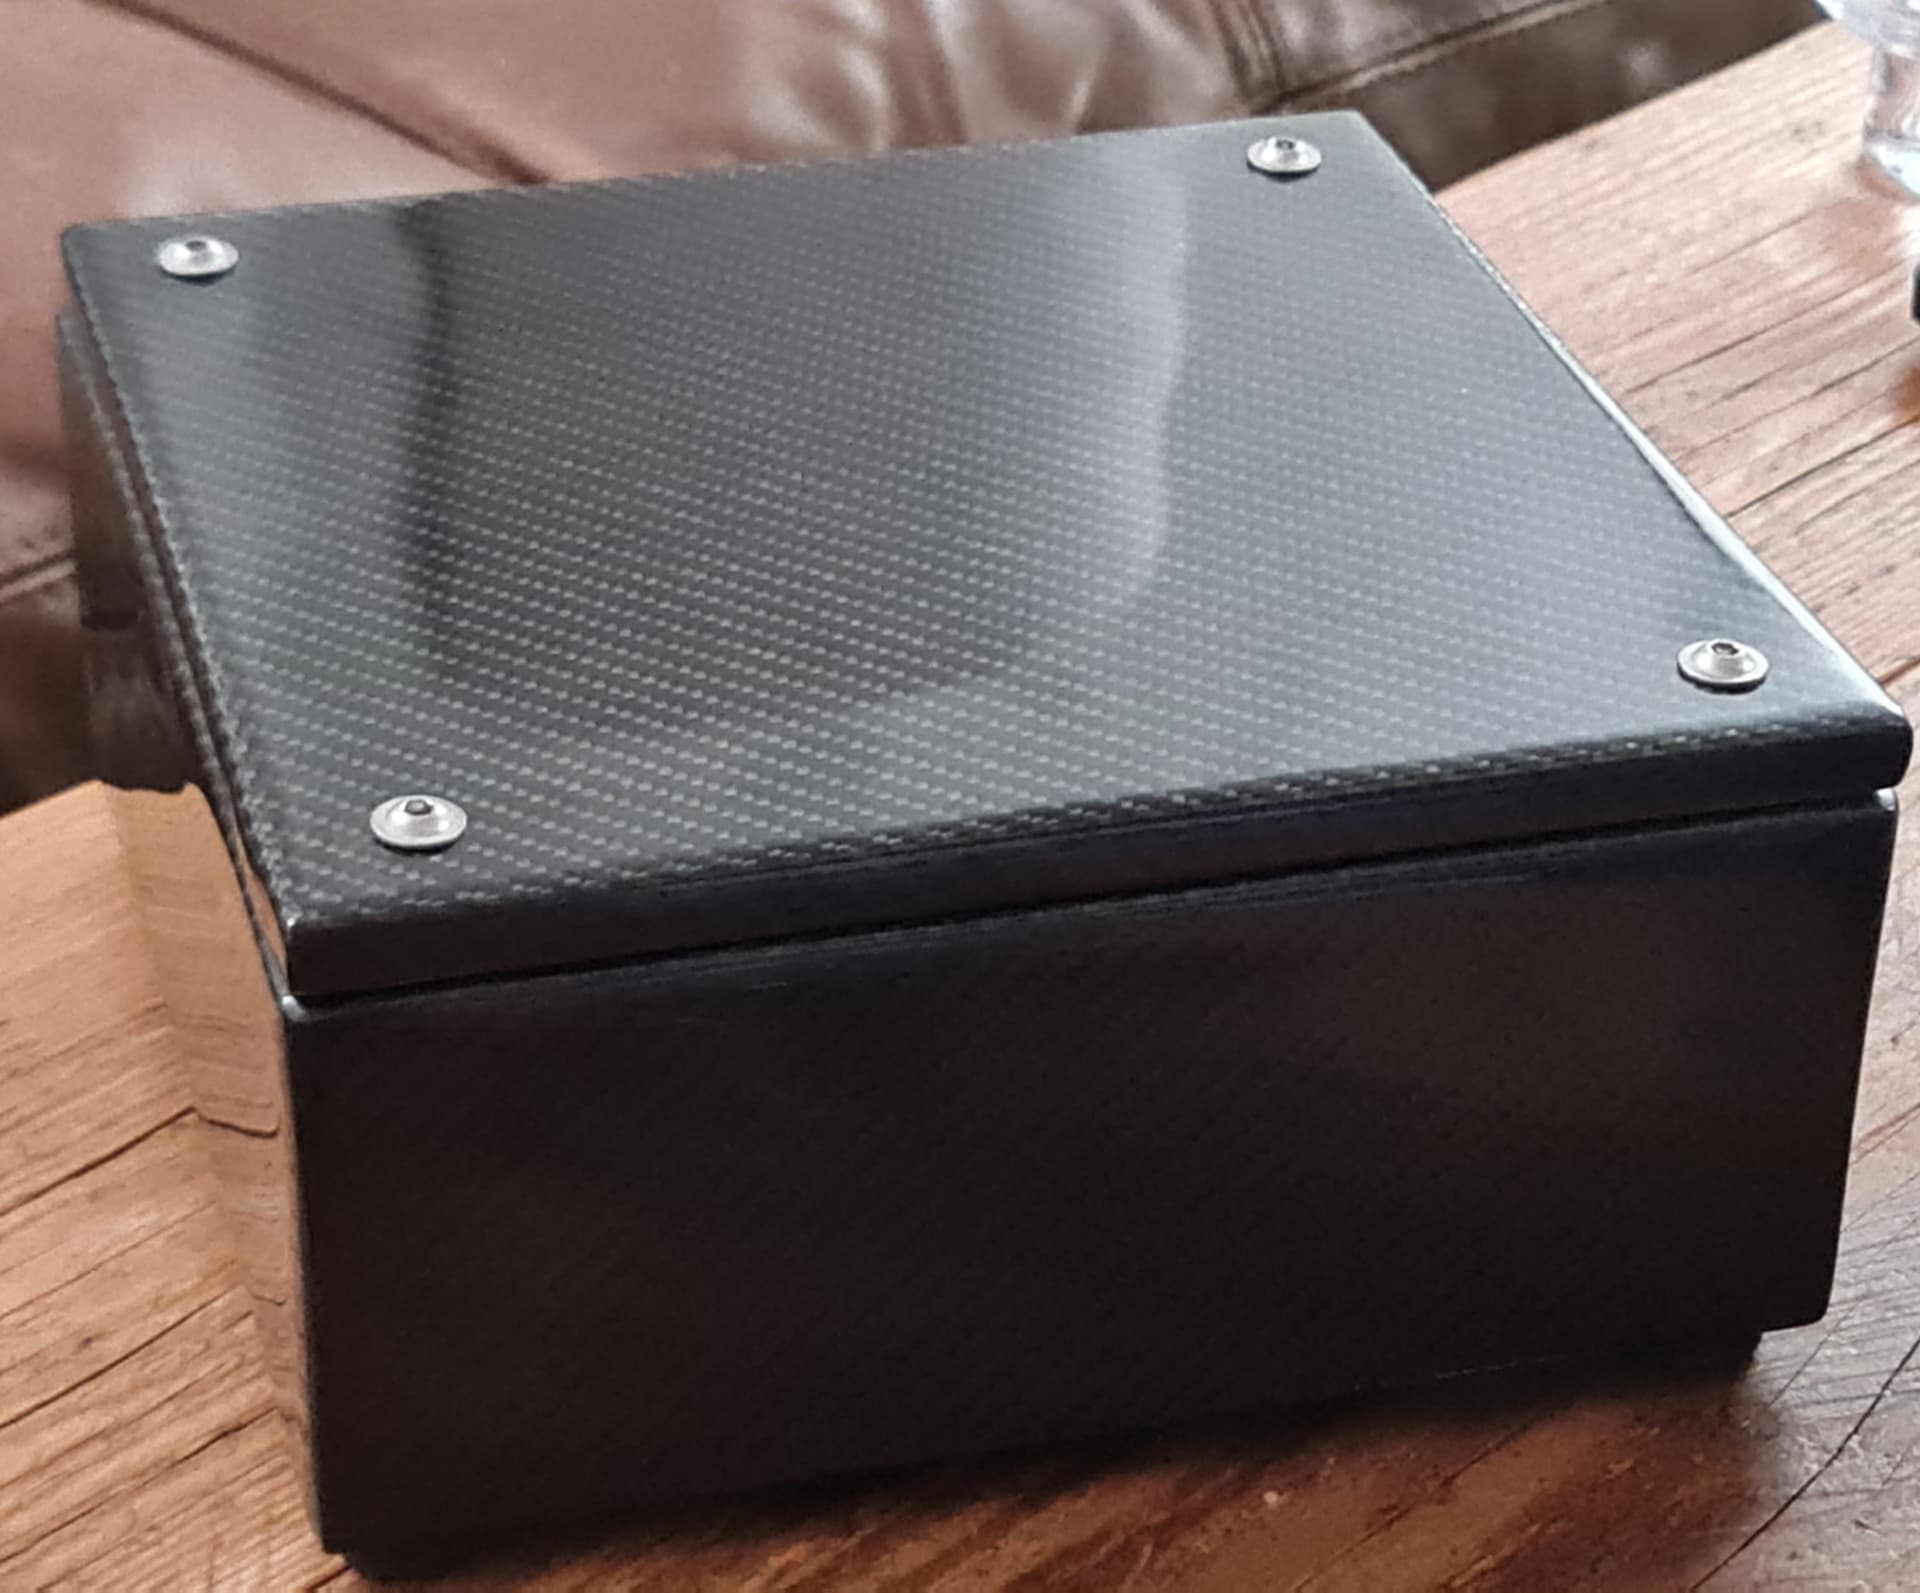
Even at ‘B’ stage, the base coat isn’t actually all that sticky, so the resin doesn’t “glue” the carbon fibre in place. One of the end corners opened and needed a repair. Carbon fibre seems to be reasonably forgiving in this respect. If the weave is lined up and glued properly, the overlap seam is only visible when inspected close-up:
I take my hat off to anyone who makes proper carbon fibre components with resin infusion. Whilst it may look easy on video, it takes a great deal of skill!
I’m glad I retained the patience to start with the xover boxes. The learnings will be very useful when it comes to the cabinets.
No progress yesterday due to a very long work day.
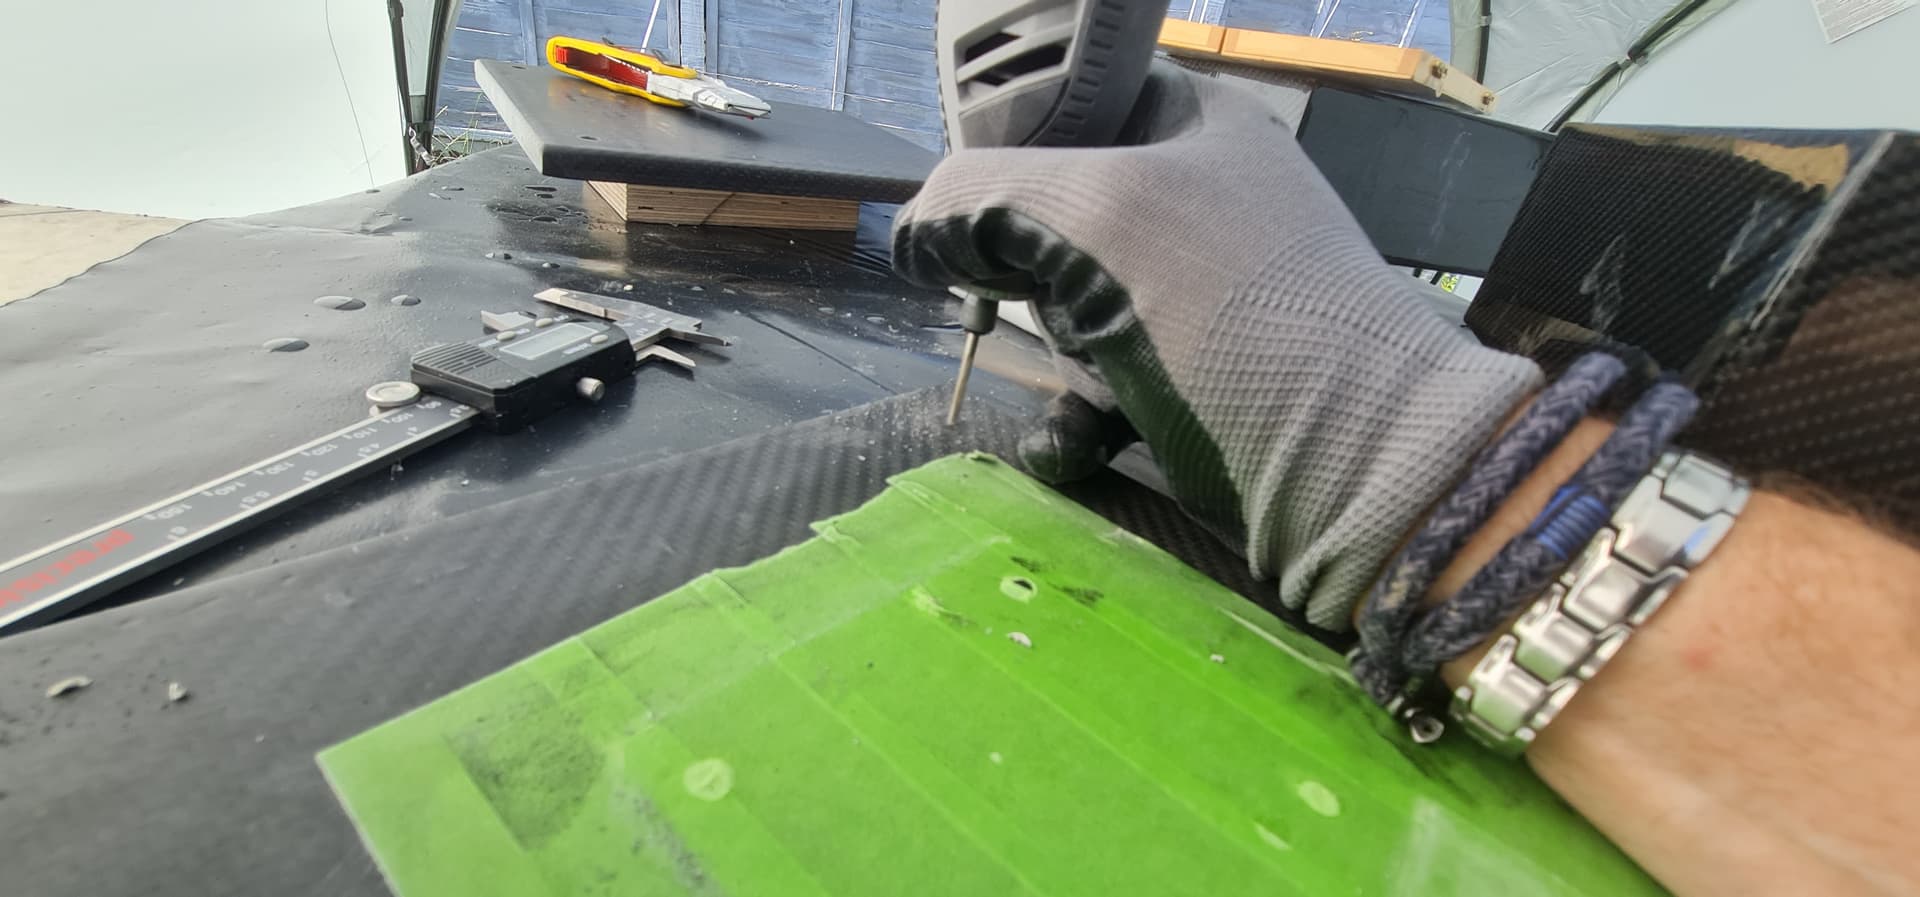
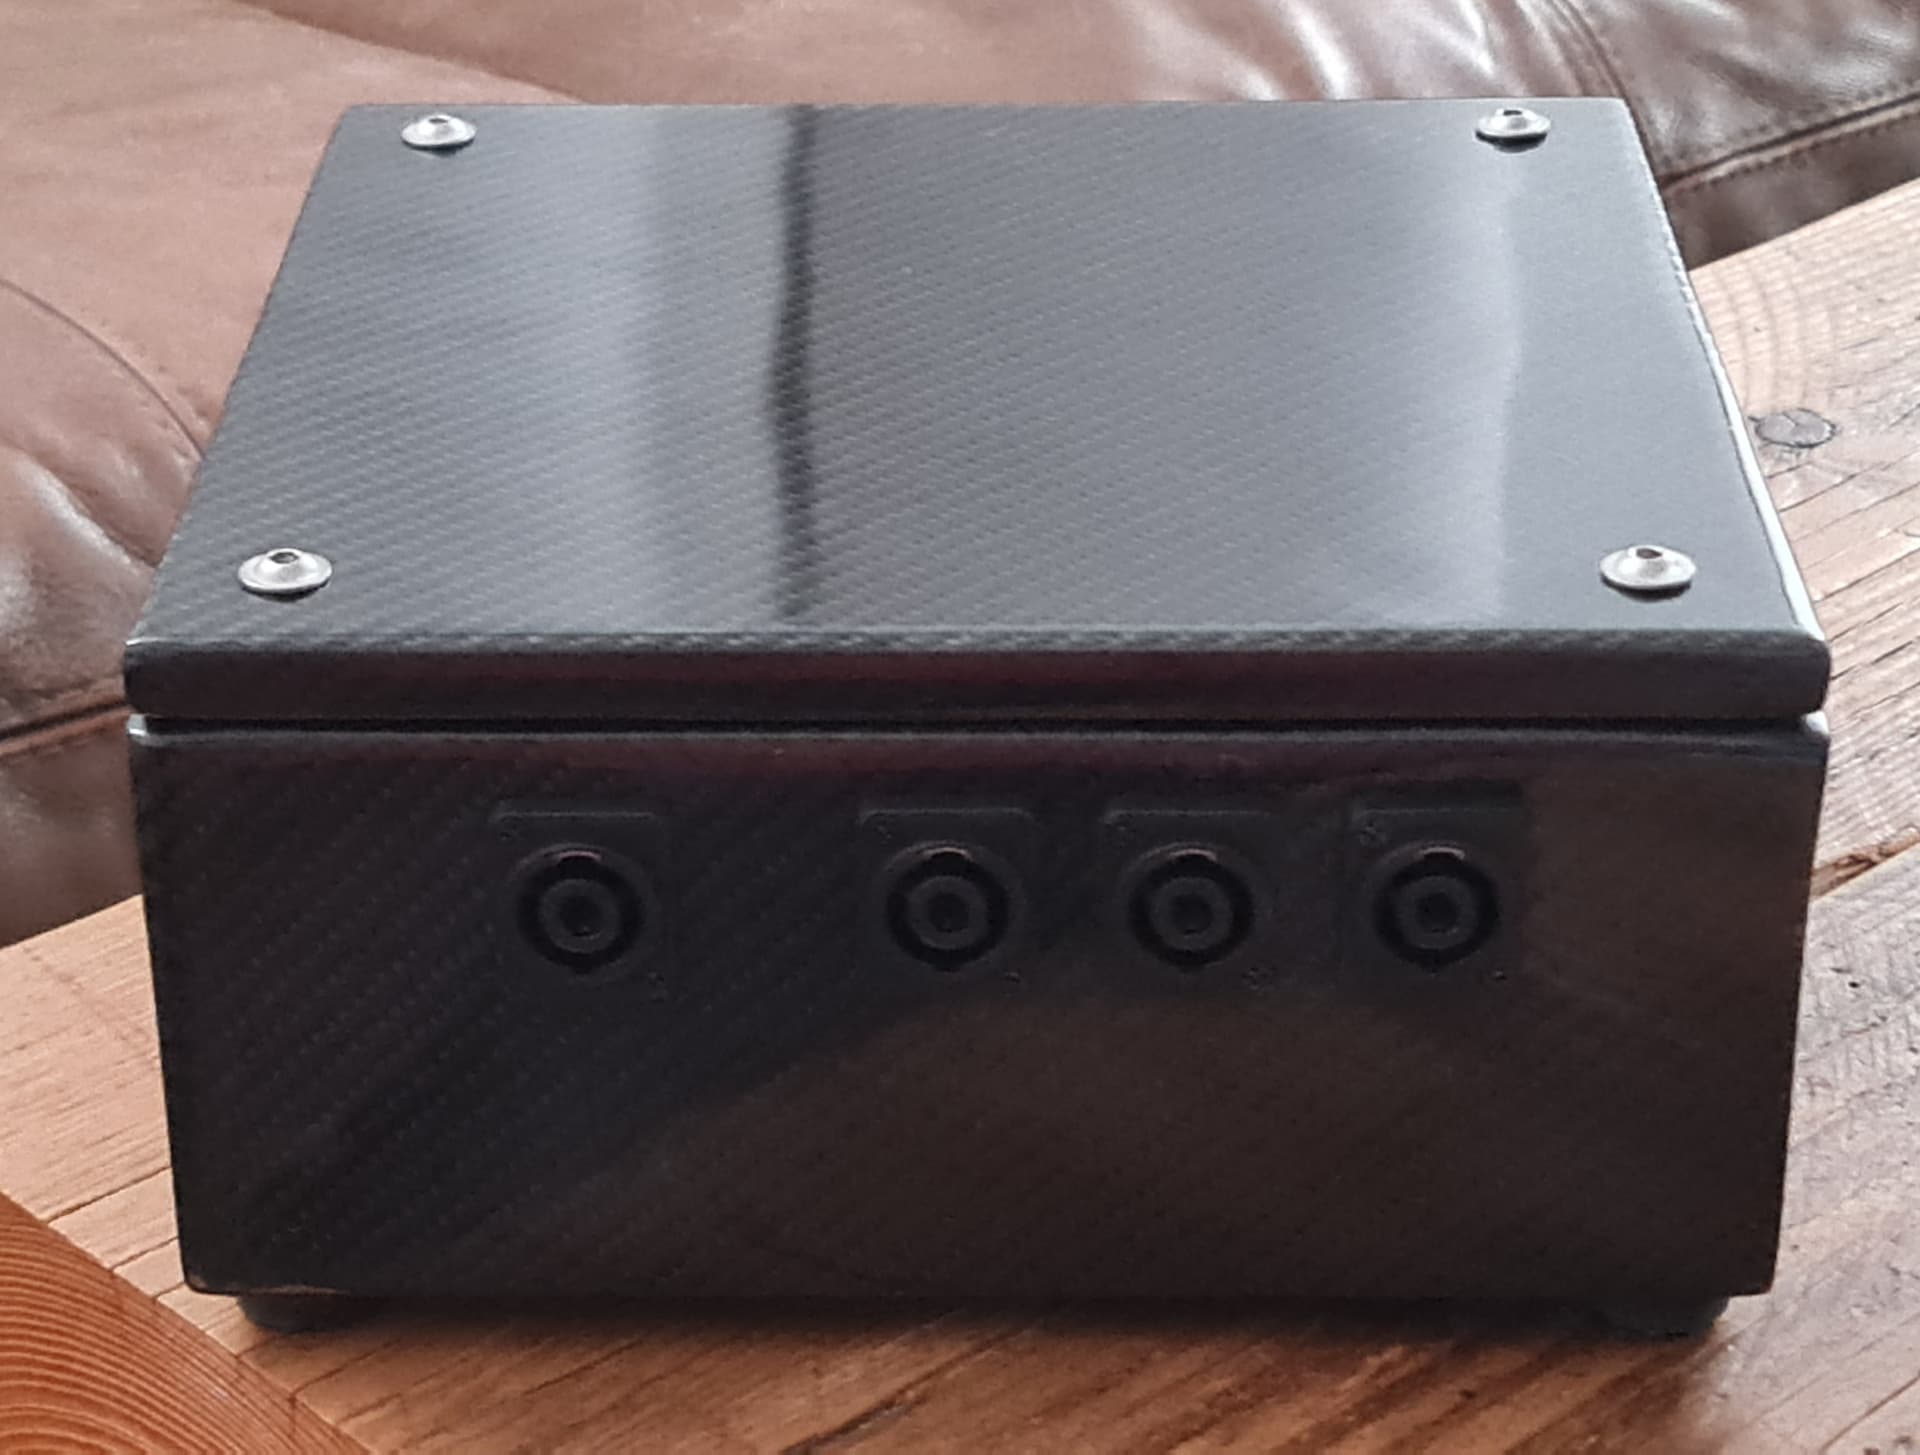
Final carbon skin on the xover box lids this evening. Taking in the learnings from the boxes, I took a different approach with the lids.
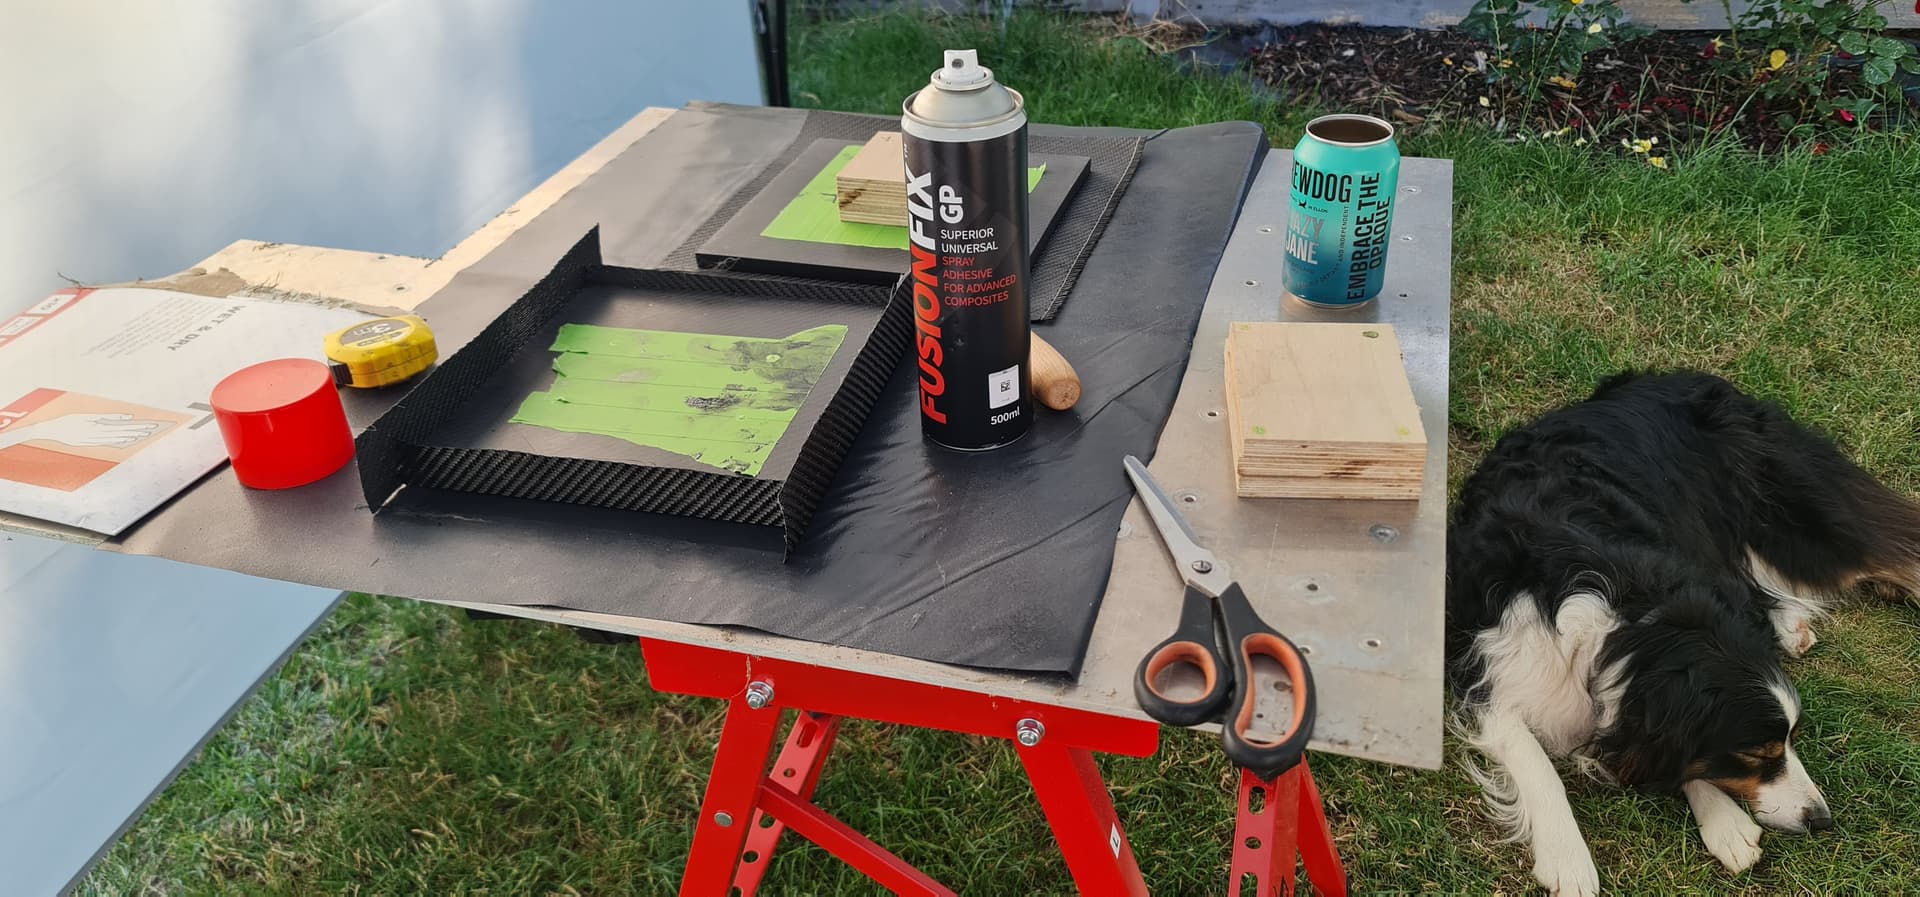
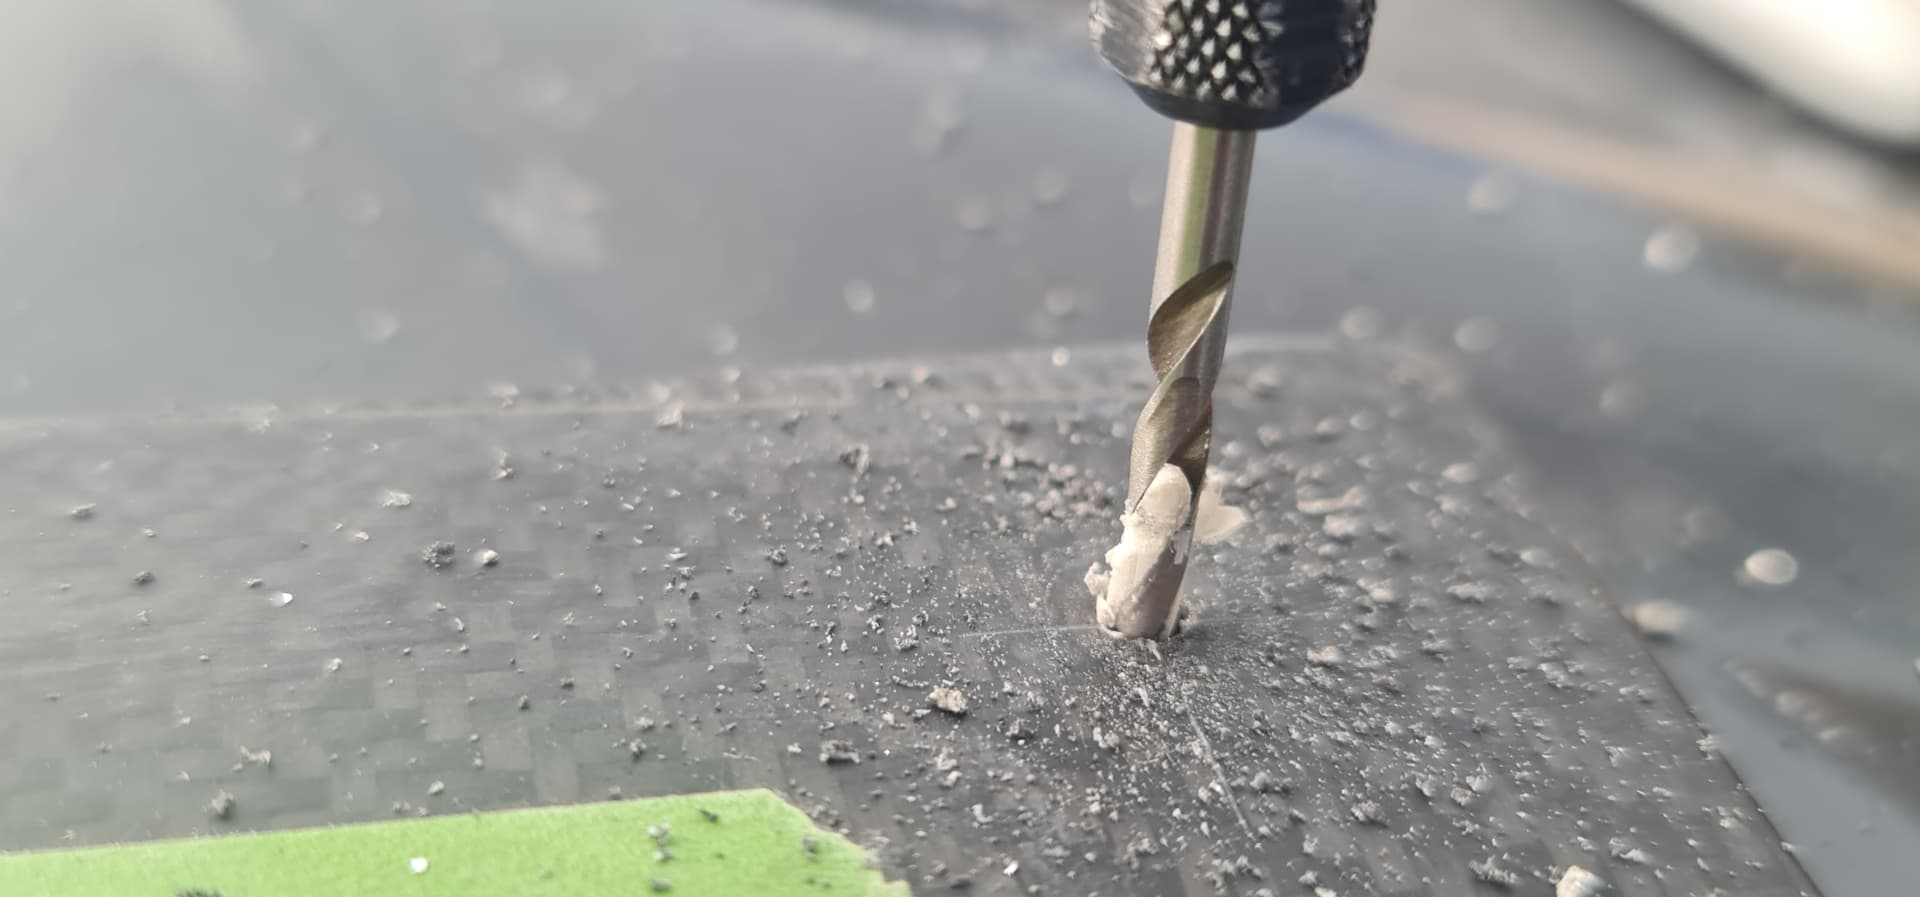
Applied the base coat to just the top surface, and then used FusionFix to stick down the edges. It’s a resin compatible thermoplastic adhesive which holds down the carbon fibre but still allows the resin to flow and adhere. It’s also great for stabilising cut edges. Even though the fibre weave I have is resin impregnated for better handling, it still tends to fray a little and shed fibres at the edges. The FusionFix holds it together for much cleaner cuts:
I love this thread, I am equally impressed and jealous! I want the tools and the skills. I have neither! Oh yeah, and the space. And my dog would eat all of it. But other than that…
Anyway, its a great thread, thank you for taking the time to photo and describe the process @Graeme_Finlayson !!
Perhaps unintentionally funny… but this is an international forum… There’s Scotland, England (where I think you are), then: FOREIGN. Is this in the left part of foreign? Or the right?
Michael, there’s still a fair way to go on the cabinets and I have yet to fabricate the plinths. A lot of carbon fibre and resin to go and a fair amount of stainless welding too.