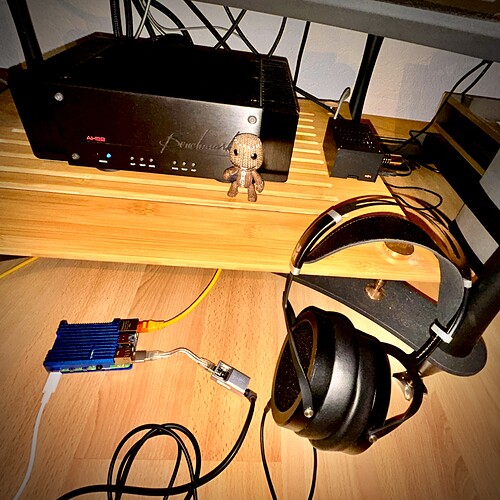
The goal: Connecting a CD Transport to HQPlayer Embedded Server in “elegnat” way. Benefiting from fully-fledged DSP and Room Correction and other features of HQ Player. And that is keeping CD Transport in the listening area (sort of normal, isn’t it?) but resting noisy and mighty HQPlayer Embedded Server in storage room “far far faraway”.
This topic really are the side-notes and remarks I took in making my very own set up. This is not at all “the standard” and rather is a very short spin-off from the mother-ship thread: " Using any audio source with HQPlayer - Spotify, Amazon, Apple Music, YouTube Music, Deezer, Soundcloud [2023] - Audio Gear Talk / HQ Player - Roon Labs Community"
The strategy is based on “input NAA” functionality available in HQPlyer ecosystem. That is using NAA device for the input and transitioning the source to HQPlayer station for DSP processing.
My current set-up is more or less Roon / HQPlayer classic. I have in my utility room the Roon ROCK running on NUC 10i7 feeding (ethernet) the HQPlayer Embedded Server machine (Linux Ubuntu 22.04.4) feeding (ethernet) the RPi4 NAA which is alrady in listening area feeding (USB) HoloAudio MAY DAC. This very digital system is controlled via iPad or iPhone primarily with Roon control.
After some exhange in “mother-ship” threat at least two scenarios for “elegant” integration were discussed:
-
Dropped: Using miniDSP USBStreamer B (now is out of stock and probably replaced by MCHStreamer Box - USB Audio Swiss-Army knife (minidsp.com) - this scenario is assuming that the USBStreamer device is connected to the already existing RPi4 NAA. But after going into details I saw few complications with USB-C docking, power supply, USB A - USB C cable, etc… plus config “trial and error”. Finally I dropped this option as unnecessarily “complex”, howerver this is still a real scenario.
-
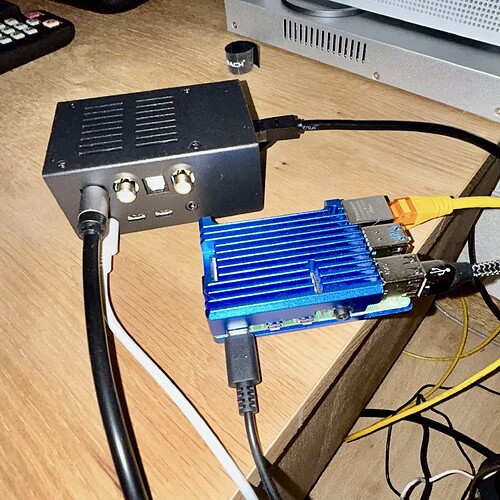
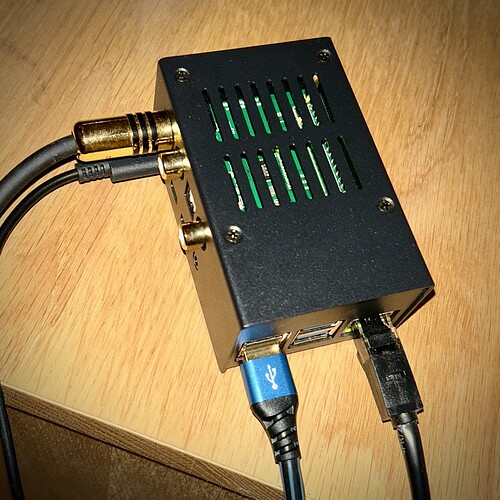
Selected: Using HiFiBerry Digi+ I/O | HiFiBerry. Obviously this one is used in conjuction with RPi4 board. HiFiBerry sells pretty nice steel case as well Steel case for HiFiBerry Digi, Pi 4, V2 | HiFiBerry
Hardware
Ok, now with the scenario for “elegant” integration selected, this is the list of the things you will most probably need:
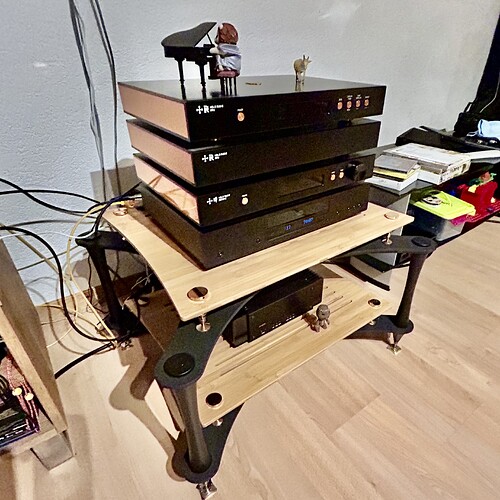
- CD Transport (isn’t that obvious?) with Toslink/SPDIF output. In my case it is Cambridge Audio CXC Compact Disc Transport CX Black Edition - note that the size of the transport is amazingly almost 1:1 match for HoloAudio MAY / Serene ecosystem. And the unique black color is equally perfect match for the stack. So, my choice of CD Transport (in it’s mid range price segment) has equal part of aesthetic to the overall set-up.
- Input NAA, i.e. “the receiver” components:
- Raspberry Pi 4 4G Model B
- Raspberry Pi Official Raspberry Pi 4 Power Adapter USB-C (OK, power supply is a separate topic, you may choose whatever you wish following your experience or educated or subjective opinion. I pick official RPi4 powesupply.)
- HiFi Berry Digi+ I/O
- Steel case for HiFi Berry Digi, Pi 4, V2
- SD card 32GB
- A bit unexpected…
- Somethig similar to Micro HDMI to HDMI 2.1 8K Adapter (HDMI) - this is to connect your RPi4/HiFi Berry Digi to the Screen. You also can use Micro HDMI to HDMI cable. Or whatever your available screen requires. Whatever you choose, please Note, this is Micro HDMI on RPi4 side !
- USB Keyboard
Software
Ok, now the most tricky part - the necessary config lines to have this working. It looks very logical once you have a grip of it (but not obvious at all, I must say).
- Configuring RPi4 Hifi Berry Digi
- today (May 2024) we are using the NAA 5 image for RPi4: NAA-500-Raspberrypi4-HoloRed
- after you “burn” the image on the SD Card you need to to add two lines at the bottom of config.txt, they are:
force_eeprom_read=0
dtoverlay=hifiberry-digi
- configuring /etc/networkaudiod/networkaudiod.xml - this is when RPi4 is already booted, and now this is where you will need the connection of your RPi4 / Digi to the screen. This is the line you will need to add to the networkaudiod.xml file:
<input channels="2" device="hw:CARD=sndrpihifiberry,DEV=0" format="auto" name="HifiBerry Digi+ I/O" nperiods="4" pack_sdm="1" period_time="100"/>
- This will make it appear as “HifiBerry Digi+ I/O” input device. It should also appear under it’s regular name, but this is more convenient and allows some extra adjustments through the config file.
- HQPlayer Embedded - manual configuration :
- You will need to add something like this at hqplayerd.xml side:
<input address="naa-XXXXXXX" device="hw:CARD=sndrpihifiberry,DEV=0" ipv6="1" name="DigiIO @44.1k" samplerate="44100" type="network6"/>
- Note: instead of naa-XXXXXXX you put the detected name of your own RPi4/Digi
- Note: the “device” attribute can also point to just name of the virtual device defined in networkaudiod.xml
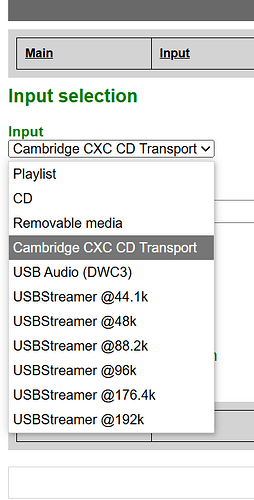
- Note: you can change the attribute “name” to your liking, I have name=“Cambridge Audio CXC”
- HQPlayer Embedded - web inteface configuration
- you are almost done! pick your favourie playback setting combination PCM / SDM, filters etc…
- in the “Input” tab you should be able to see your “name” device in drop down list. Pick the selection and don’t forget to click “Select”
- in the meanwhile insert your CD and click play on CD Transport.
- it will take few seconds depending on rate/filter/modulator selection to initialise and playback should start as normal
- on the “Main” page you should see “Playing” in a status and your “name” device in “Song”
Voila. Done. Enjoy.
Another reference thread is here: HQPlayer OS Raspberry PI USB Input - Audio Gear Talk / HQ Player - Roon Labs Community
Special thanks to @dabassgoesboomboom and @Stefano_Antonelli for support and inspiration !!!
