A Mac with T2 security chips will probably need to temporarily allow booting from an external usb drive. That’s controlled from the Startup Security Utility which is accessed before the OS loads by pressing Command-R. Select Allow booting from external or removable media. After the back up disks are formatted you can put it back to disallow booting from external media. About Startup Security Utility.
Next, insert the usb stick with the Ubuntu image. Power down the computer. More info: Change startup disk
-
For Apple silicon you’ll need to turn on the Mac and continue to hold the power button and release when you see the startup options screen. Select the external usb drive.
-
For Intel, press and hold Option (⌥) or Alt as you press the power button to start up to Startup Manager and select the external usb drive.
Once it starts to boot Ubuntu, you might see a console based boot menu with GNU GRUB at the top, select “Try or Install Ubuntu” with the enter key. After that it should boot to the Welcome to Ubuntu GUI. Select language, any accessibility needs, keyboard layout, we’ll need the internet option to install exFAT utils on the usb stick, skip the update though, finally, select “Try Ubuntu” and then the green close button. You should see the Ubuntu desktop now. Leave the Ubuntu usb drive plugged in and plug in the corrupt usb stick as well. Clicking on the bottom left circle icon with three dots brings up the applications available, mainly Terminal and GParted.
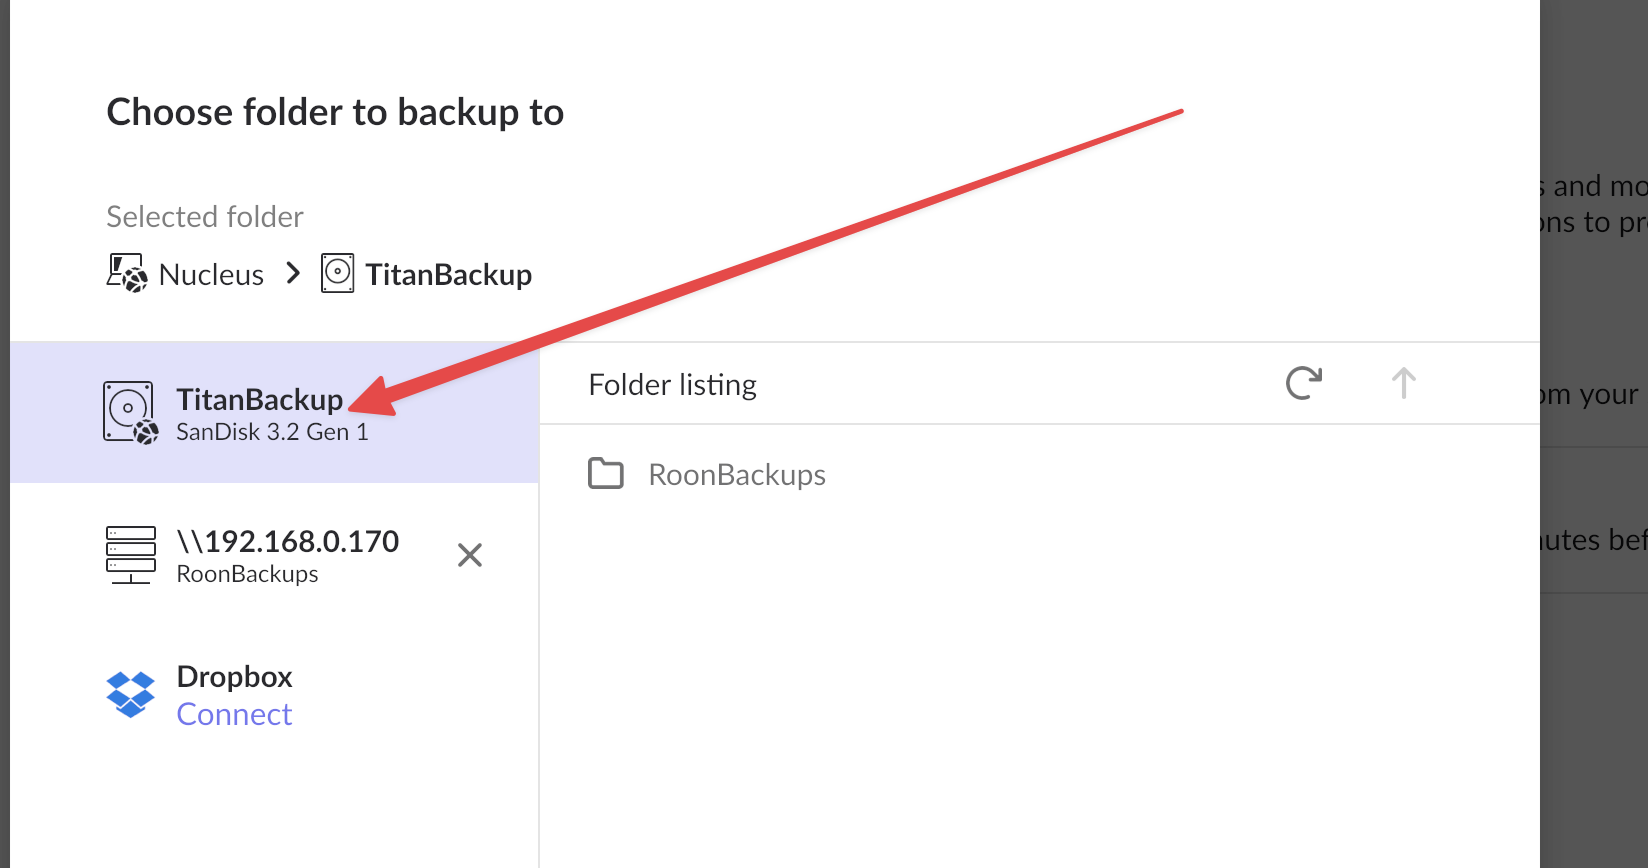
From here we have two options, try and repair the file system on the usb stick or reformat it. My thought is that since you’re not seeing any errors about the database being corrupted, format the new usb stick to be safe and start with a fresh backup state. The Roon Server process checks the validity of the database before doing the backup each time so you would get notified. Only the manifest file for the backup (metadata covering the backup) is corrupt since it didn’t get written out completely.
Get the /dev/sdXN path to the exFAT partition
Look in the /dev/disk/by-id/ folder to see how the usb stick is assigned, it’ll start with ‘usb-’ and we want to pay attention to the ../../sdXN part (the ../.. is relative so it’s located at /dev/sdXN). For me, the disk itself would be /dev/sdb and the partition the file system lives in would be /dev/sdb1. If more partitions show up, we can use lsblk to get sizes and filesystems to see which are the ones we care about.
$ ls -l /dev/disk/by-id/
total 0
... internal HDD listed as well ...
lrwxrwxrwx 1 root root  9 May 23 23:45 usb-Kingston_DataTraveler_Max_BFB8357EA880718B04DE-0:0 -> ../../sdb
lrwxrwxrwx 1 root root 10 May 24 01:11 usb-Kingston_DataTraveler_Max_BFB8357EA880718B04DE-0:0-part1 -> ../../sdb1
lrwxrwxrwx 1 root root  9 May 23 15:35 usb-Lexar_USB_Flash_Drive_AAY9SZH5CYYFYA6E-0:0 -> ../../sda
lrwxrwxrwx 1 root root 10 May 23 15:35 usb-Lexar_USB_Flash_Drive_AAY9SZH5CYYFYA6E-0:0-part1 -> ../../sda1
lrwxrwxrwx 1 root root 10 May 23 15:35 usb-Lexar_USB_Flash_Drive_AAY9SZH5CYYFYA6E-0:0-part2 -> ../../sda2
lrwxrwxrwx 1 root root 10 May 23 15:35 usb-Lexar_USB_Flash_Drive_AAY9SZH5CYYFYA6E-0:0-part3 -> ../../sda3

$ lsblk -o NAME,SIZE,FSTYPE | grep "\(NAME\|sd\)"
NAME          SIZE FSTYPE
sda          59.6G iso9660
├─sda1        5.9G iso9660
├─sda2          5M vfat
└─sda3        300K
sdb         238.5G
└─sdb1      238.5G exfat
Option 1, Repair
Repairing the file system requires exfatprogs program to be installed from the terminal with sudo apt update && sudo apt install exfatprogs then sudo fsck.exfat -p -s /dev/sdXN
$ sudo apt update && sudo apt install exfatprogs
Hit:1 http://security.ubuntu.com/ubuntu noble-security InRelease
... Bunch of other hits ...
Reading state information... Done
The following NEW packages will be installed:
  exfatprogs
... More info about the process ...
Processing triggers for man-db (2.12.0-4build2) ...

$ sudo umount /dev/sdb1 # it may or may not be mounted

$ sudo fsck.exfat -r -s /dev/sdb1
exfatprogs version : 1.2.2
/dev/sdb1: clean. directories 1, files 0
At this point it might be repaired and can be used normally again.
Option 2, Reformat
Formatting the file system requires exfatprogs program to be installed from the terminal with sudo apt update && sudo apt install exfatprogs then sudo mkfs.exfat
$ sudo apt update && sudo apt install exfatprogs
Hit:1 http://security.ubuntu.com/ubuntu noble-security InRelease
... Bunch of other hits ...
Reading state information... Done
The following NEW packages will be installed:
  exfatprogs
... More info about the process ...
Processing triggers for man-db (2.12.0-4build2) ...

$ sudo umount /dev/sdb1 # it may or may not be mounted

$ sudo mkfs.exfat -n ROONBACKUP /dev/sdXN # replace X and N with what yours are
exfatprogs version : 1.2.2
Creating exFAT filesystem(/dev/sdb1, cluster size=131072)

Writing volume boot record: done
Writing backup volume boot record: done
Fat table creation: done
Allocation bitmap creation: done
Upcase table creation: done
Writing root directory entry: done
Synchronizing...

exFAT format complete!

$ sudo umount /dev/sdb1 # just to make sure it didn't auto-mount
Top right is the shutdown menu. Let us know how it goes and if you need help clearing the usb stick of the Ubuntu image and getting it back to the way it was.
